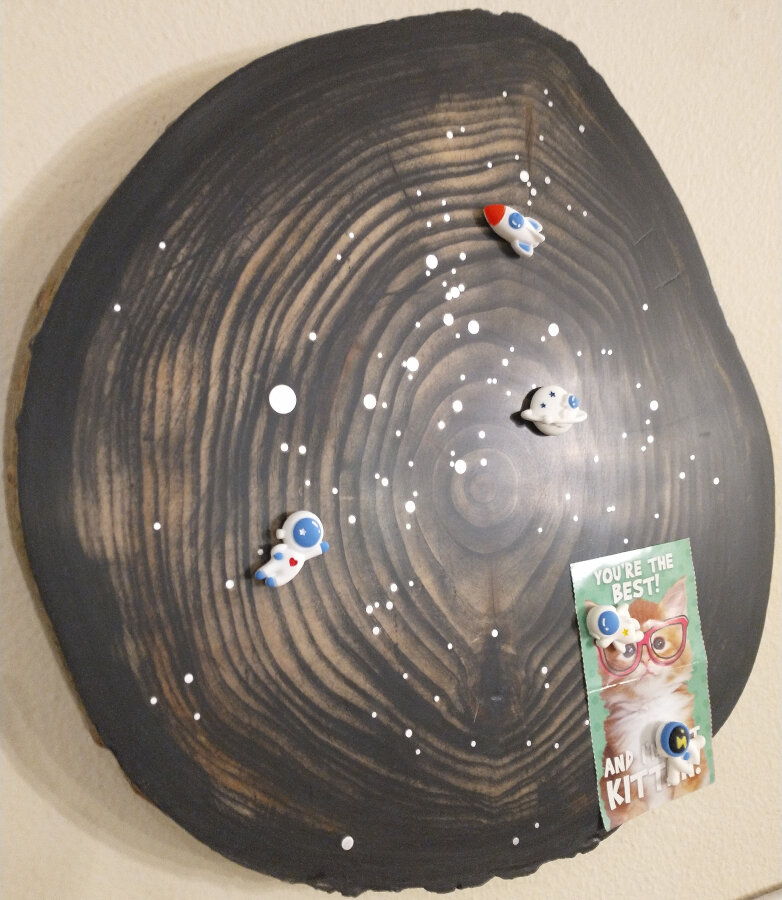
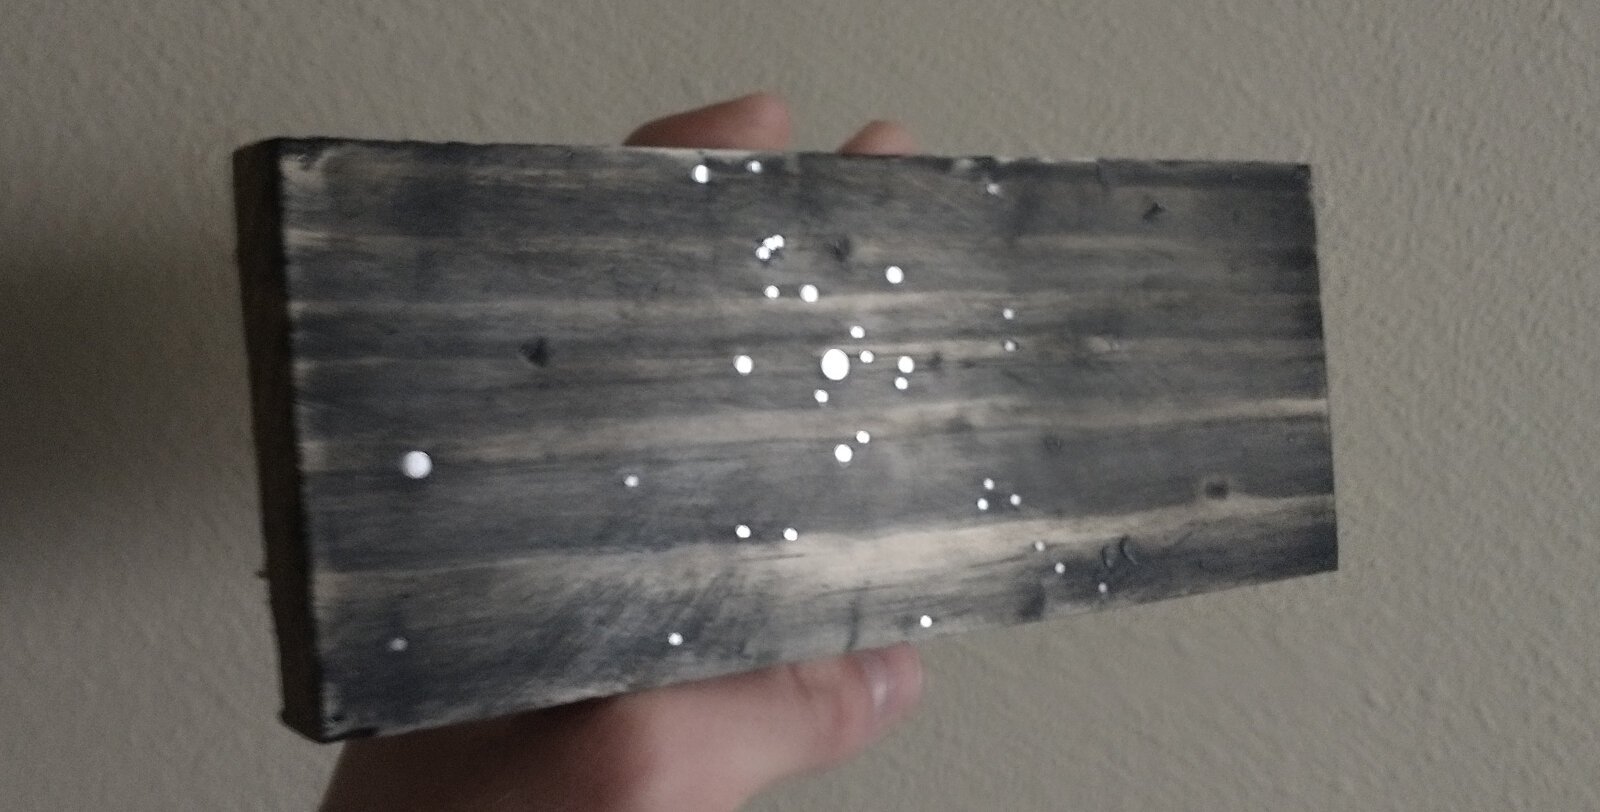
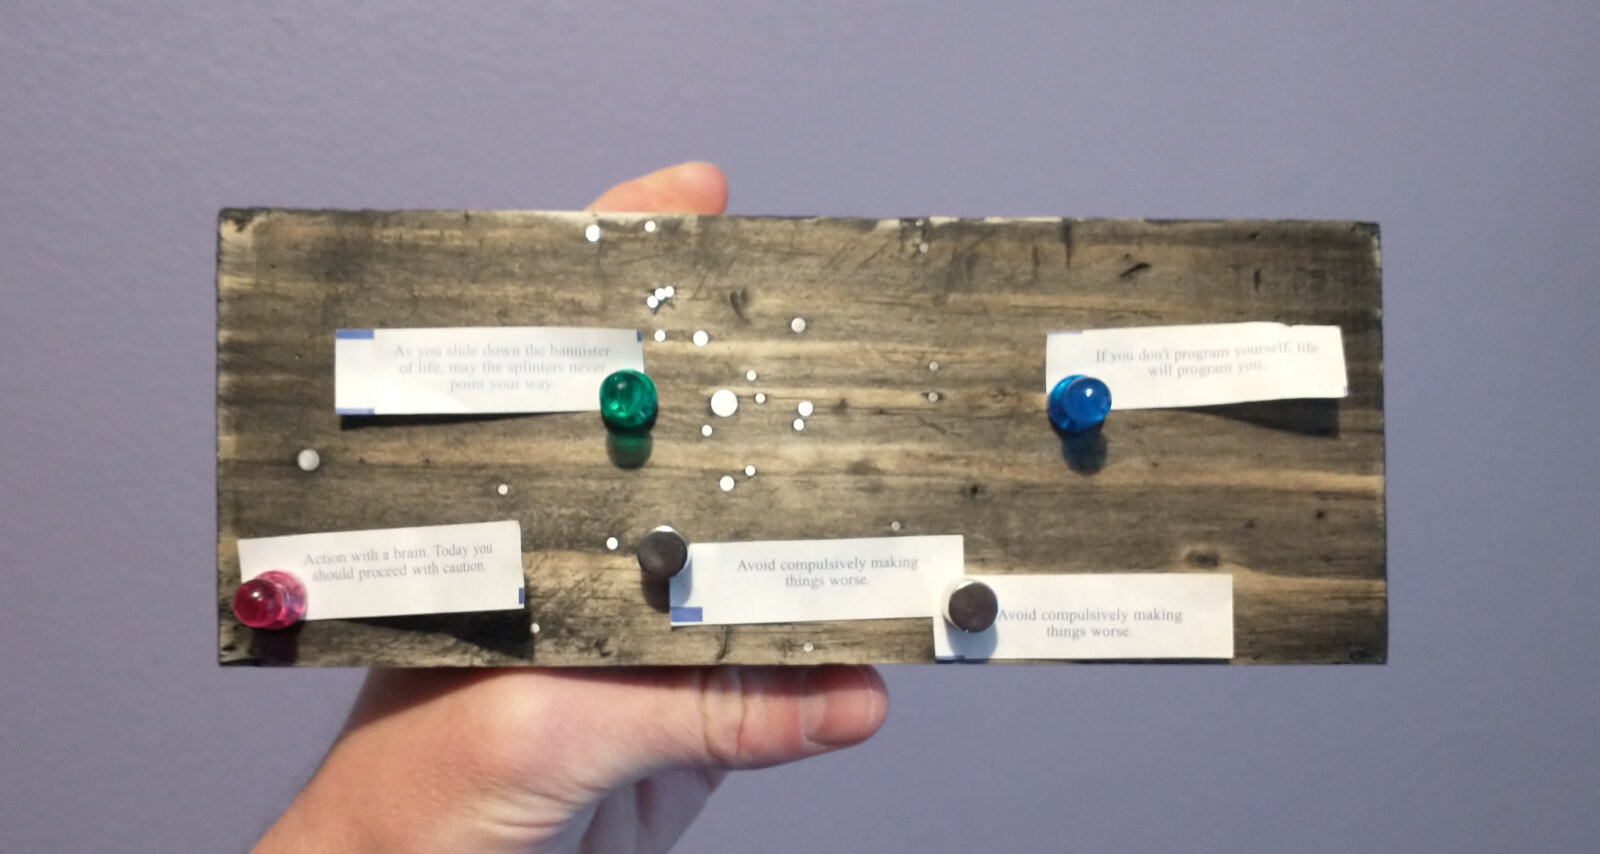
My friends recently had a baby, and I made them this magnet board as a gift. It’s an idea that I have been thinking about for a while as a gift to commemorate an important occasion. I made a small prototype before, but making it by hand took so long to do that I decided to wait for something really important before I made a big one. The stars on the magnet board are arranged as a stereoscopic projection of the sky as you would have seen it (ignoring the atmosphere) if you were to turn North and look up when and where their baby was born, and the reflective area each star points is proportional the absolute magnitude of the star it represents.
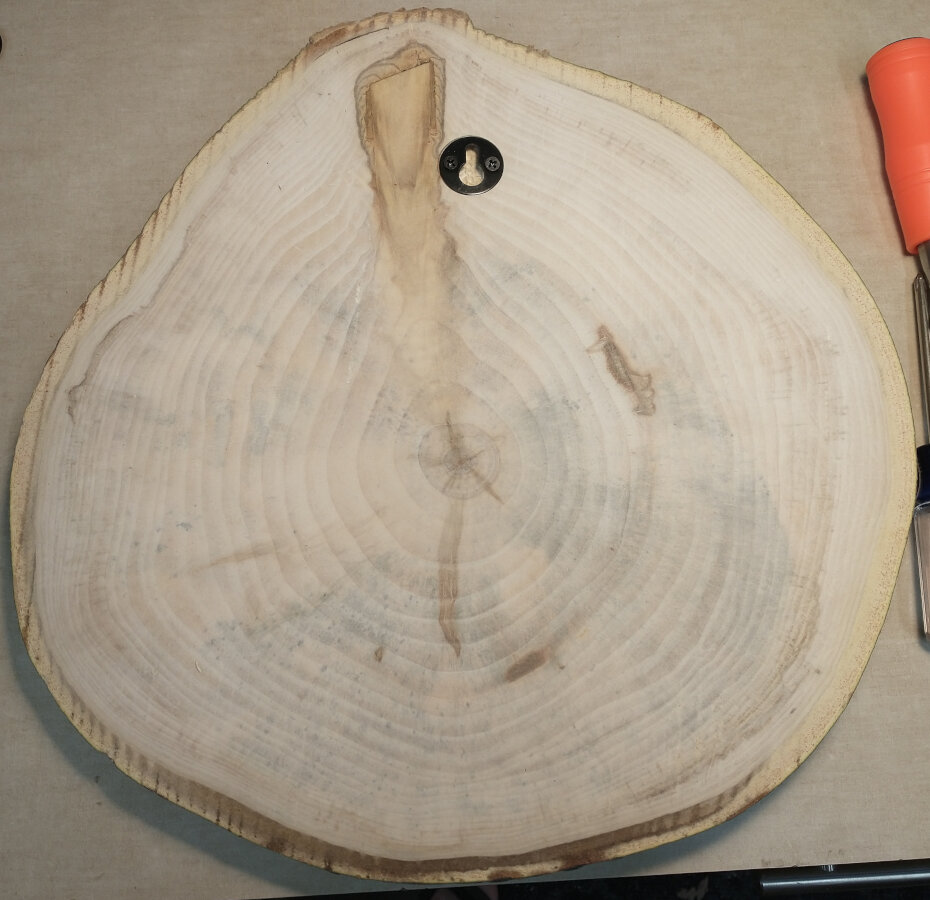
I started with a tree cross section from my local natural wood store, Mourning Reclaimed Wood. It met all my requirements:
- Almost perfectly circular
- Very few cracks
- Cut in winter
- Dried in a kiln almost immediately
I wanted to keep the bark on the final piece for as long as possible. Eventually, given some wear, it will probably fall off. Cutting the tree in the winter and quickly drying it should have increased the bark’s holding force. I eventually sealed all the surfaces with polyurethane, which should keep it from absorbing water vapor from the air and hopefully reduce its expanding and contracting.
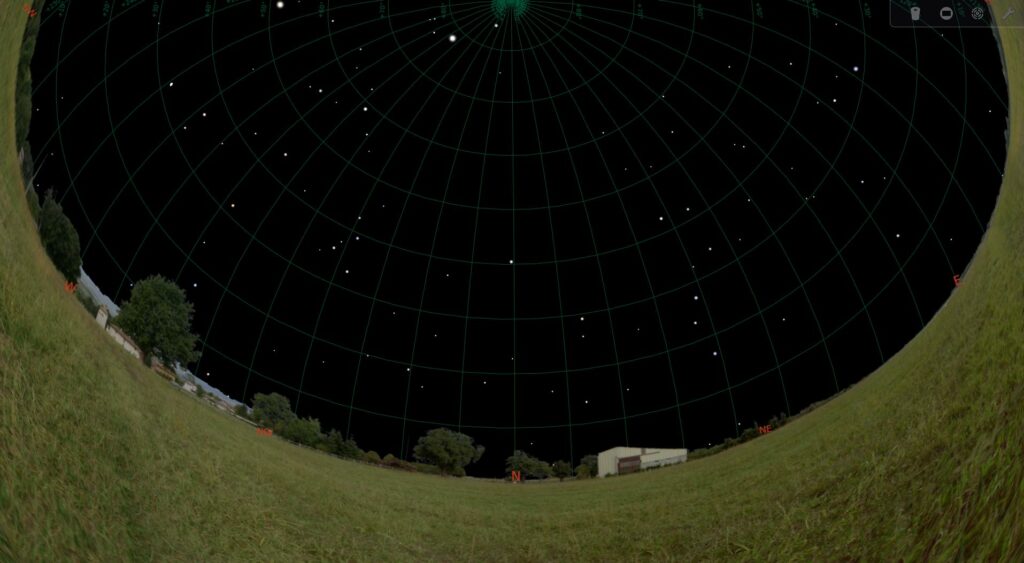
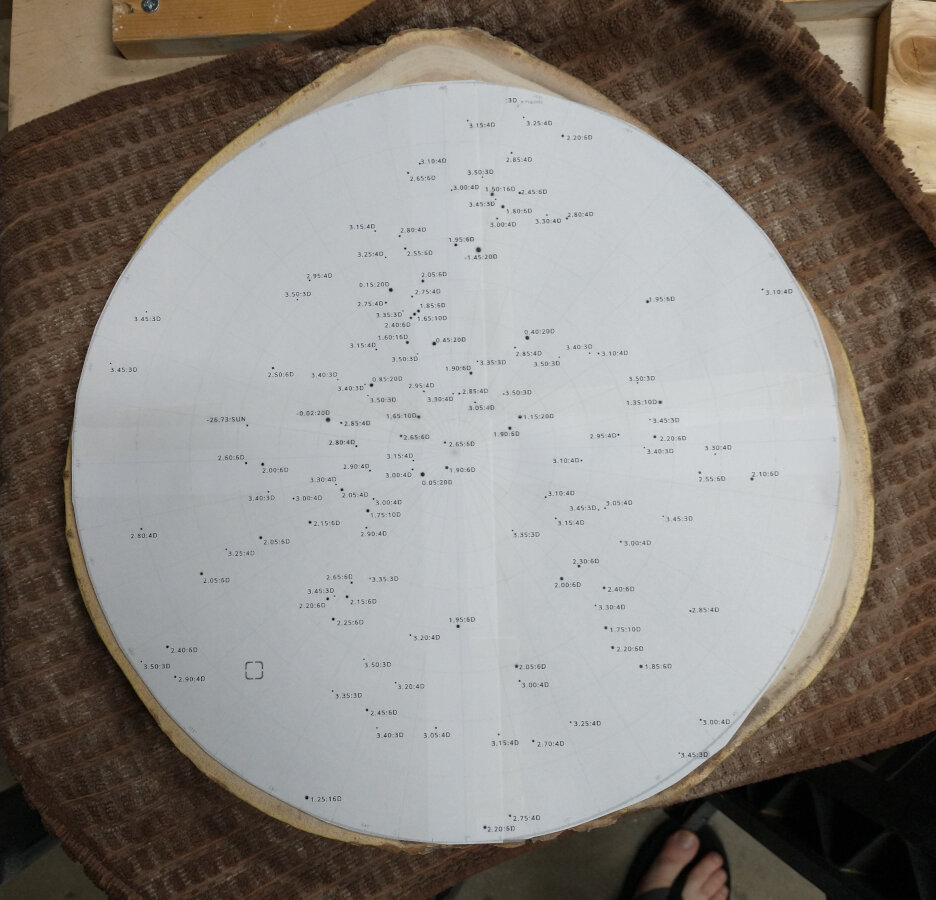
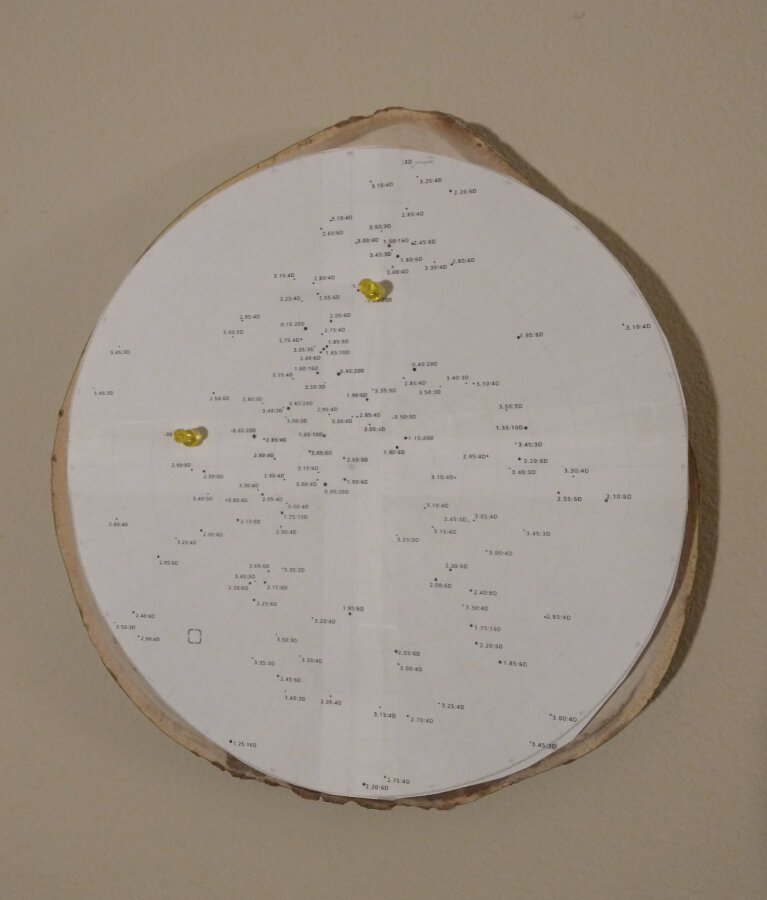
I used a great program called Stellarium to pull up the star map for the correct time and geographic coordinates. I filtered the view to only include stars and other celestial bodies that were over a base threshold of brightness. Stellarium does not support truly custom labels (yet) so I exported the view as an image and opened that image in GIMP to add the labels by hand.
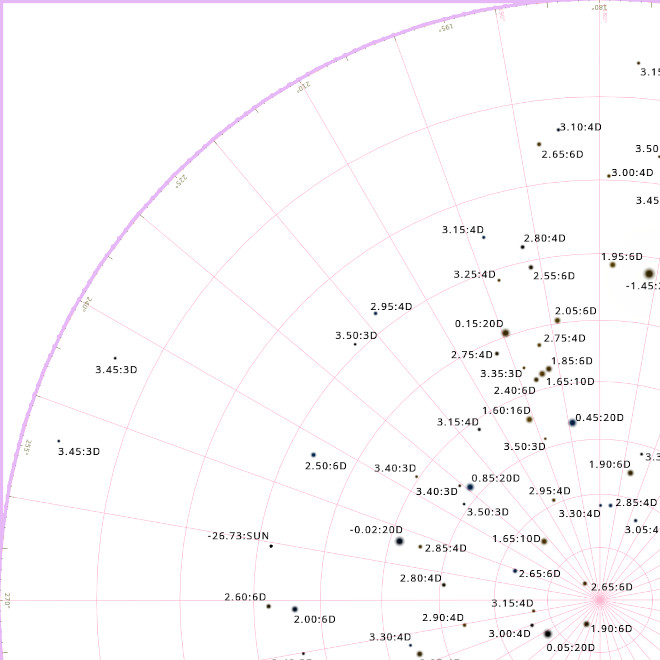
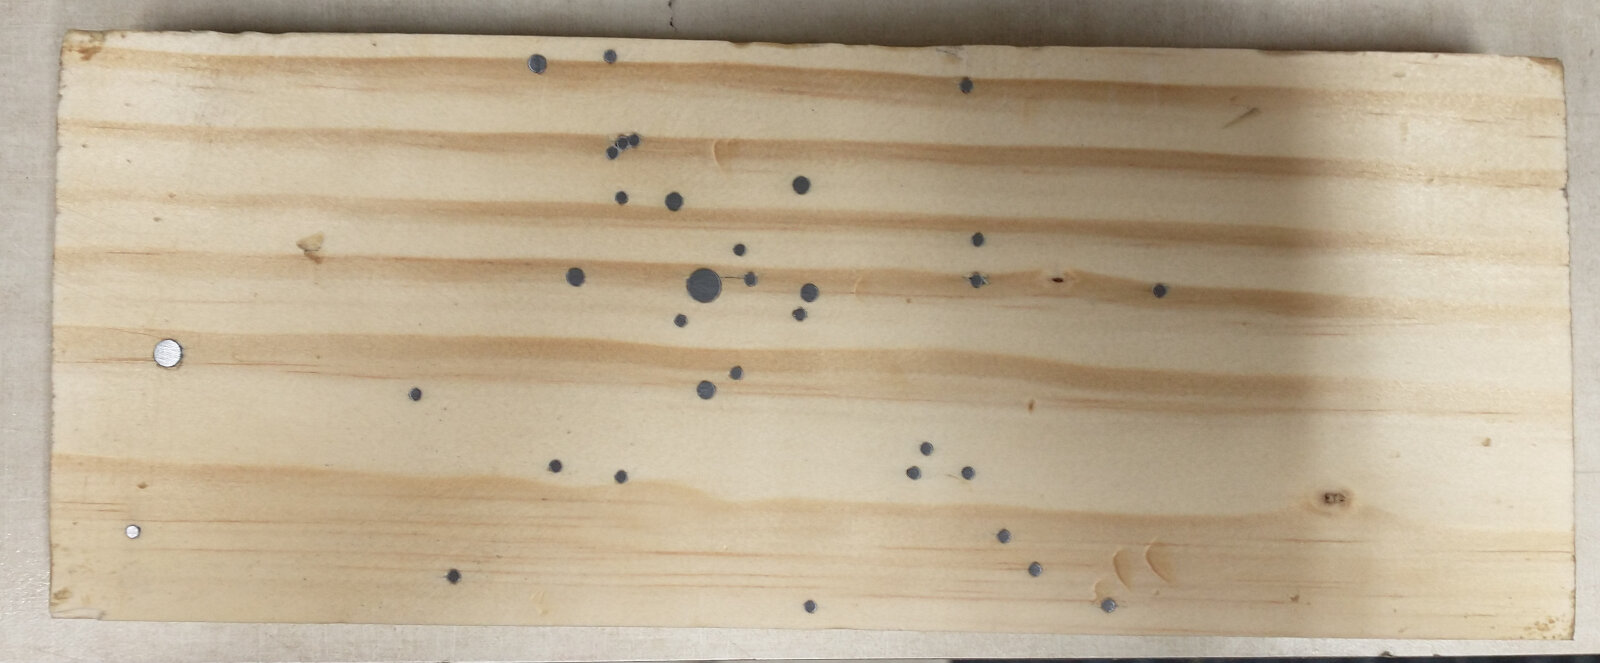
I also created a spreadsheet with the absolute magnitude of each celestial body and created a fit function to identify which size of nail should be used for each point. Magnitude is a logarithmic scale, and the surface of each nail is a function of the radius of that nail squared. This was more art than science, but it allowed me to create a series of bins so sort the stars into by their relative magnitudes. For example, a 20D nail has a cross-sectional area 8.65 times the cross-sectional area of a 3D nail, so stars will be represented by a 20D nail if their linear-scale brightness is at least 8.65 times the linear-scale brightness of stars represented by 3D nails.
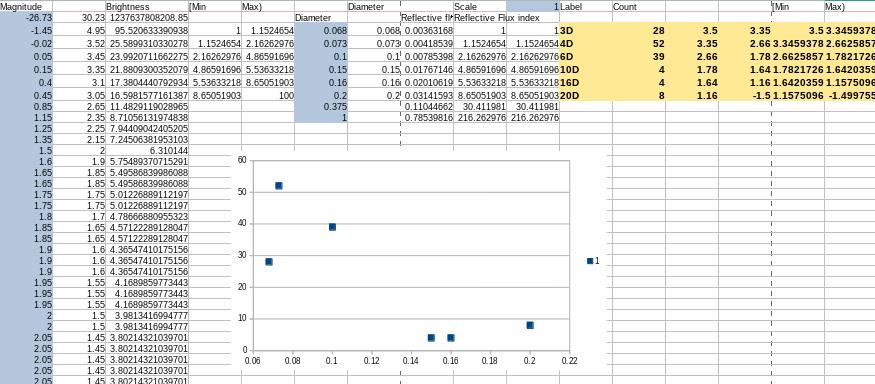
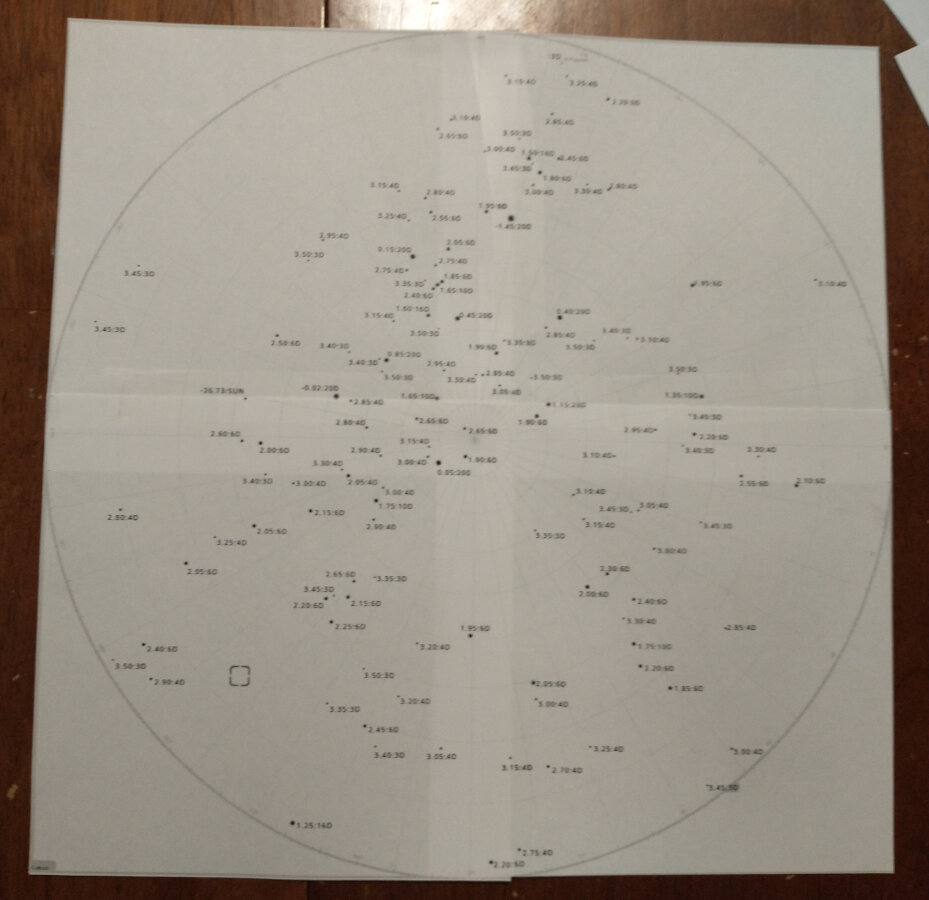
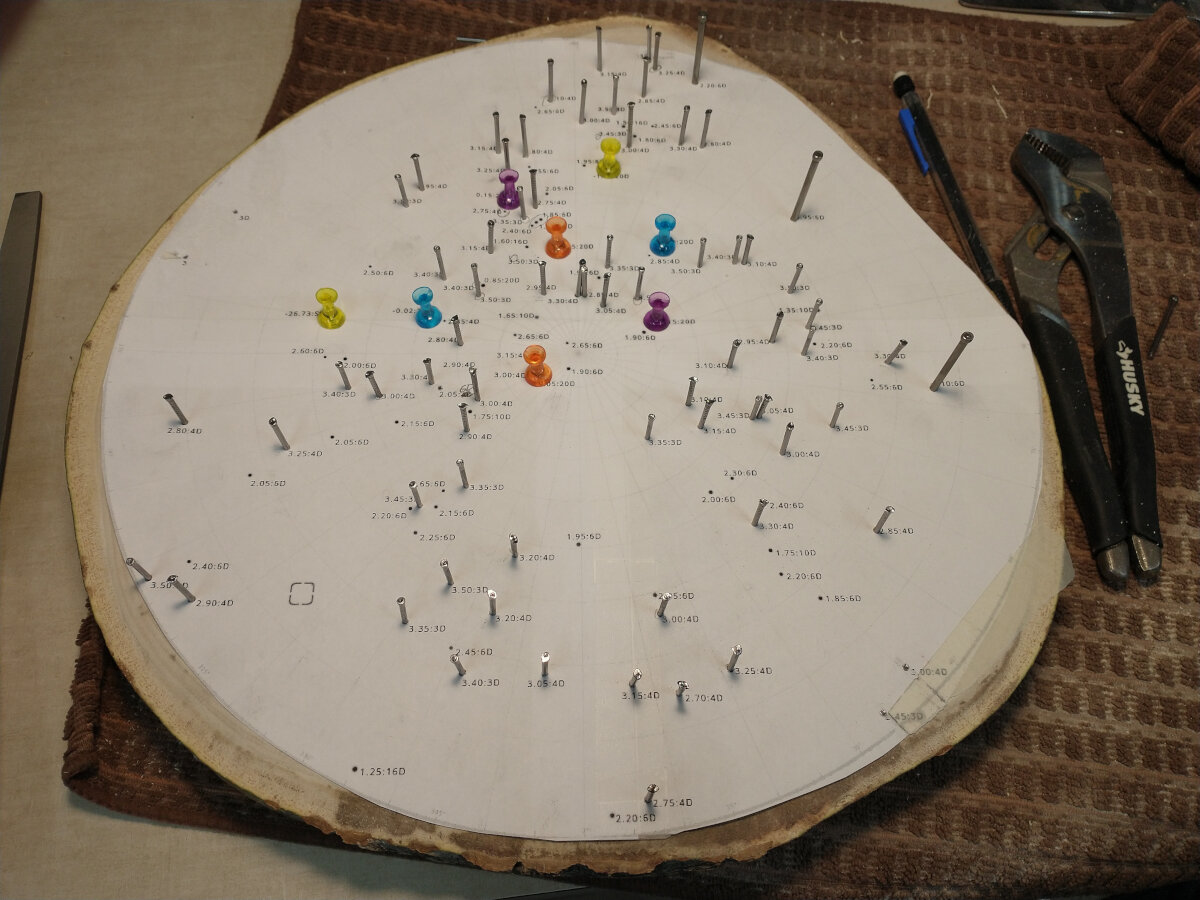
With the spreadsheet, I was able to go back over my GIMP project and label each point with the size nail that should be used. The biggest inaccuracy with this scaling approach was that little one was born in the late afternoon, so the sun was in the frame. I used a 3/8-inch steel rod for the sun so that it would be significantly larger than the nails, but the sun is definitely not on the same brightness scale as the other stars or it would be larger than the entire board.
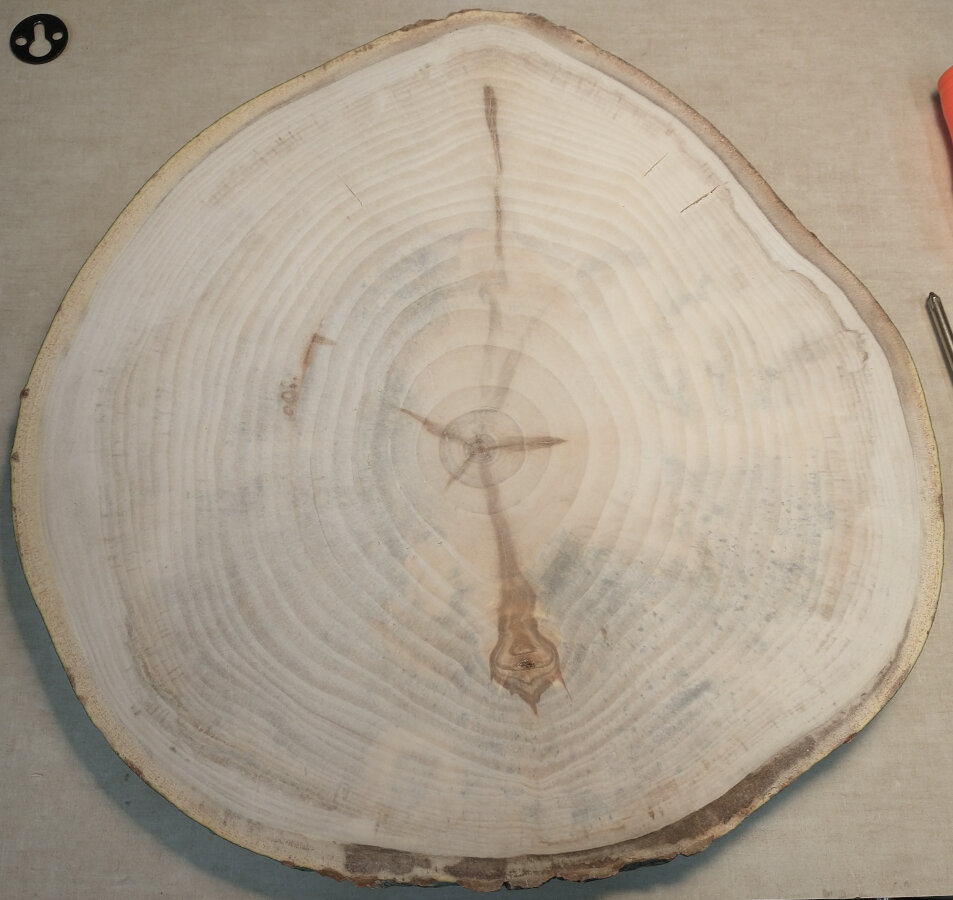
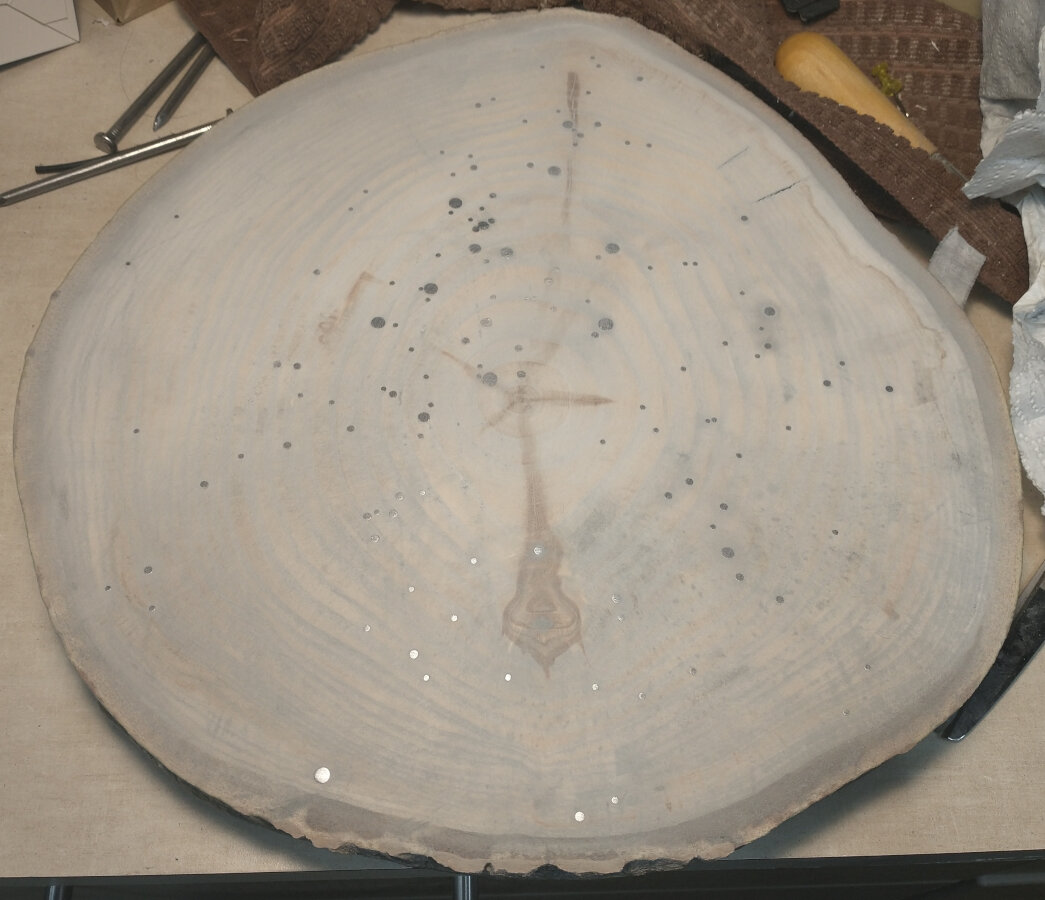
I started by sanding the wood smooth to fully remove the chainsaw marks. I picked the direction that the circle would hang that would look good and installed a recessed hanger in the back so that it would always hang with South pointed up as though you were facing North and then tilted your head back.
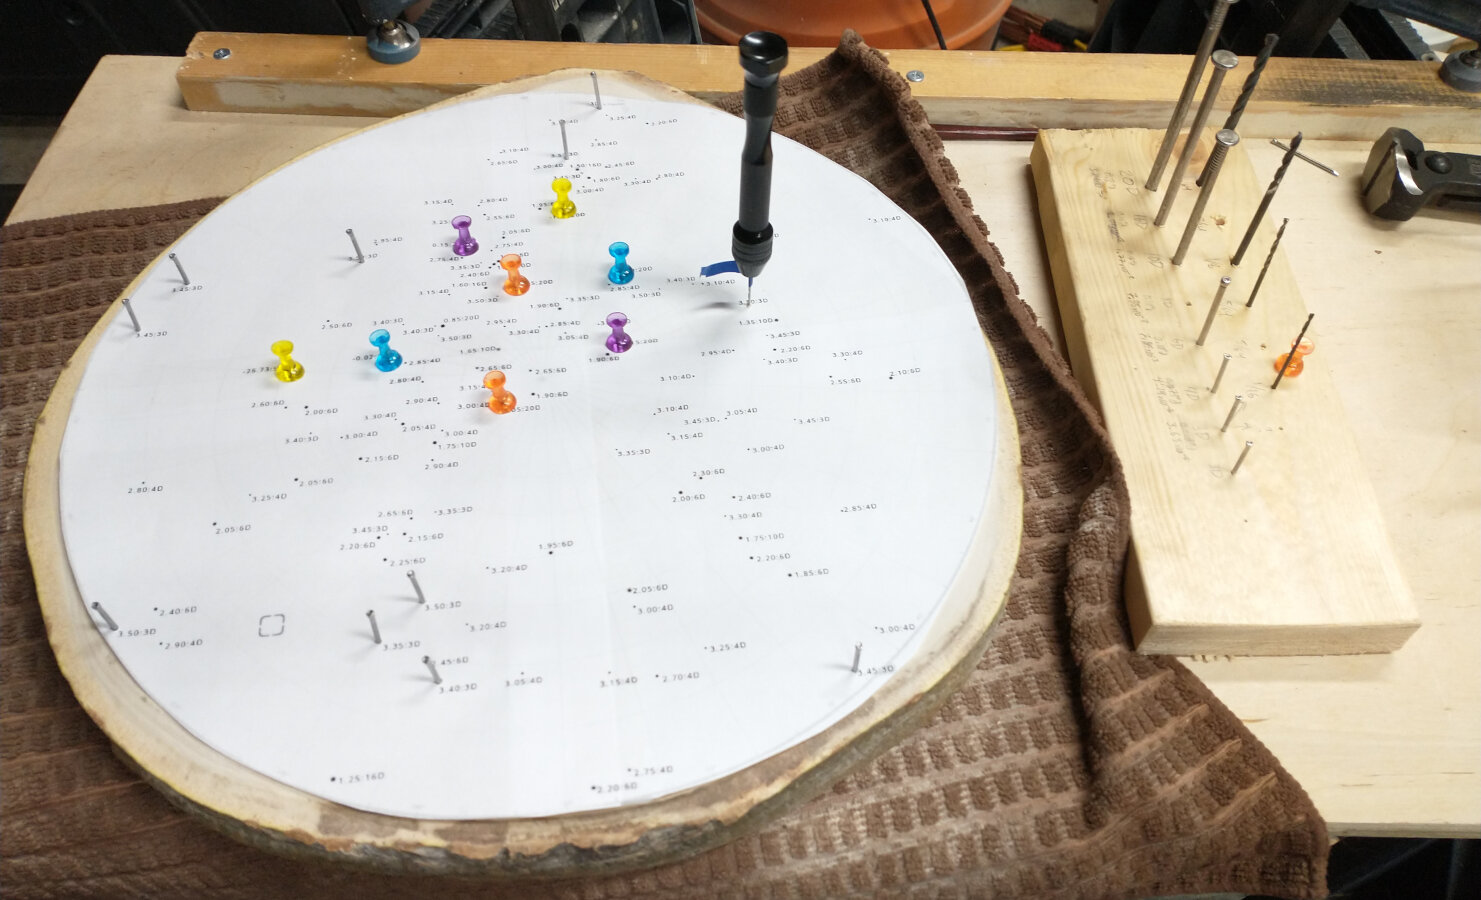
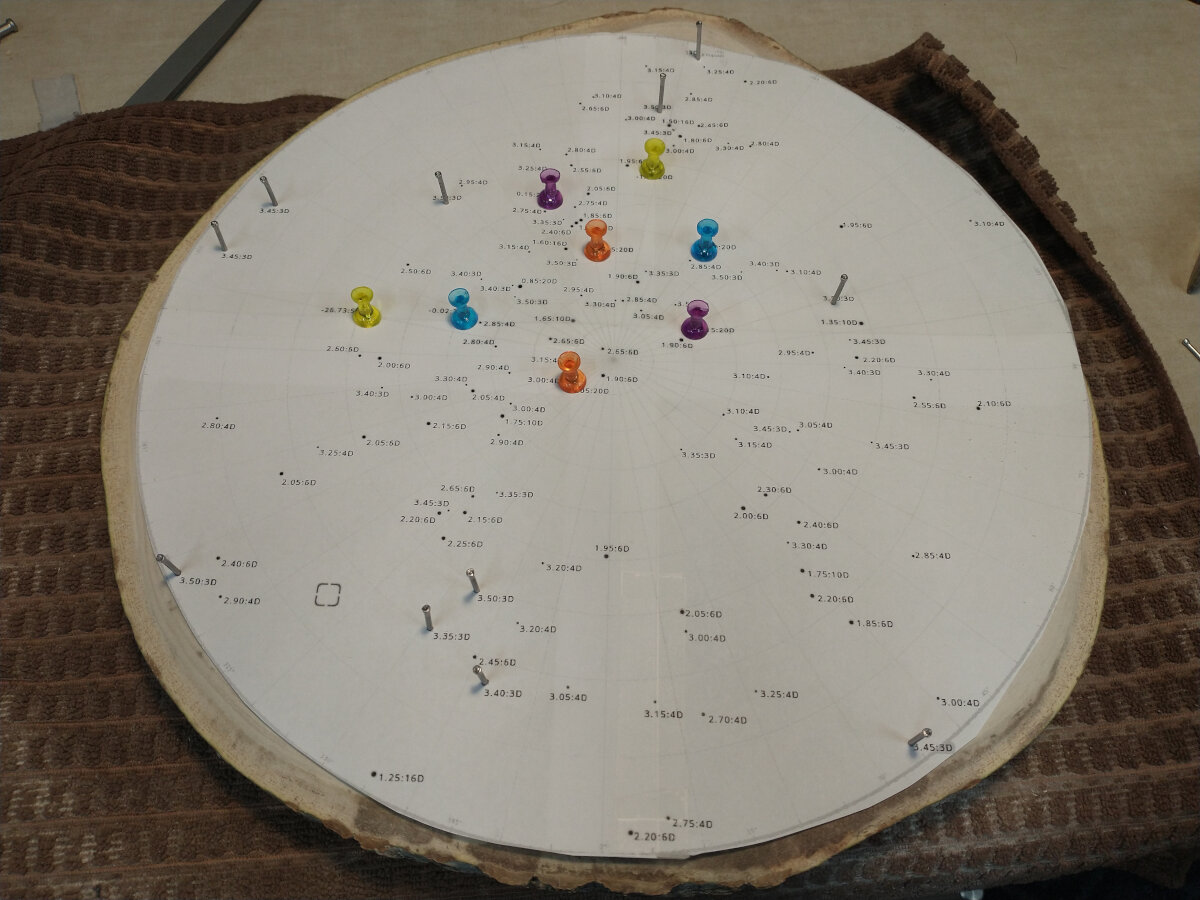
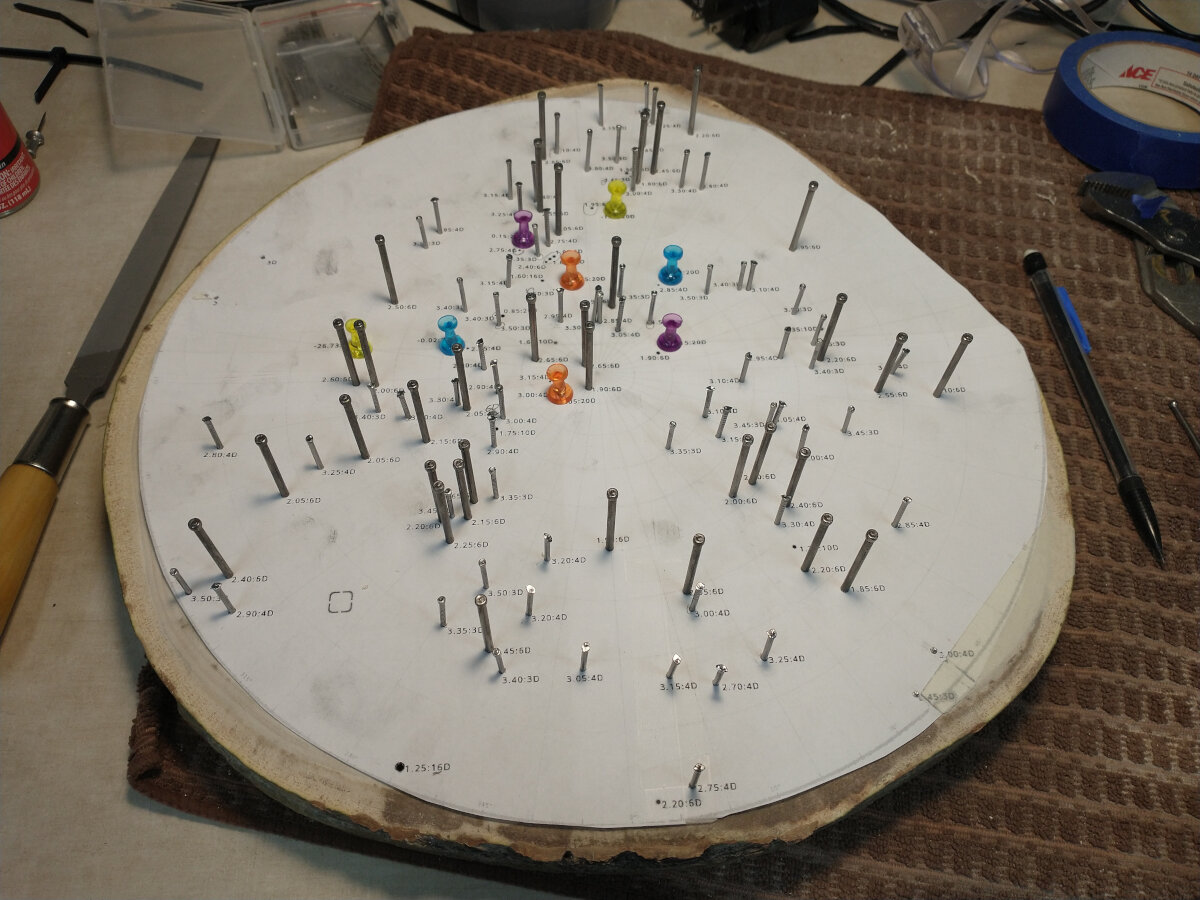
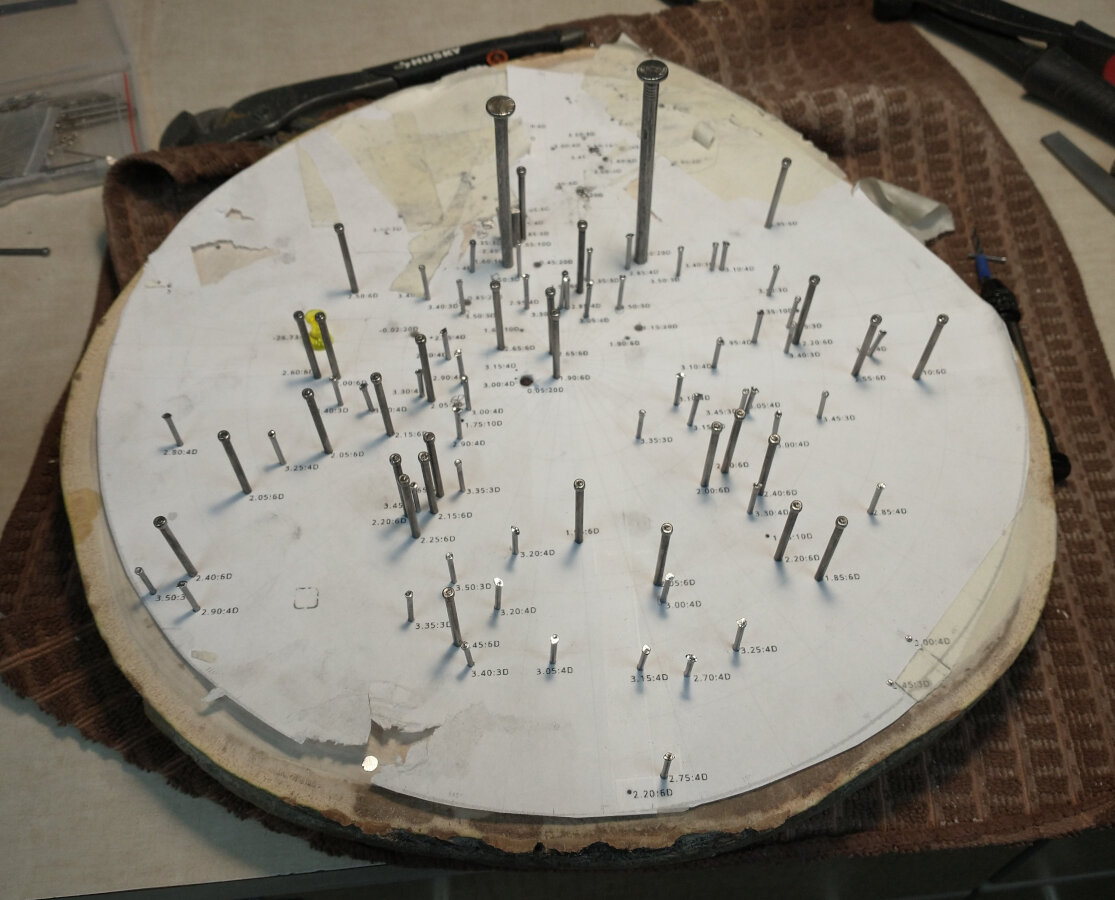
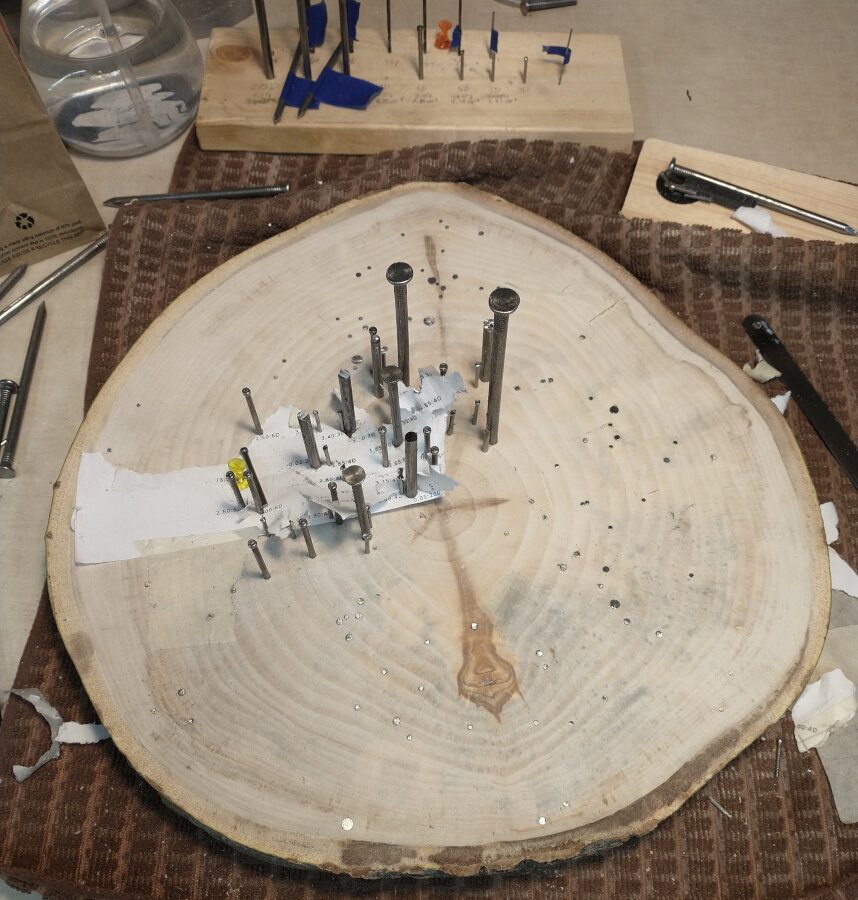
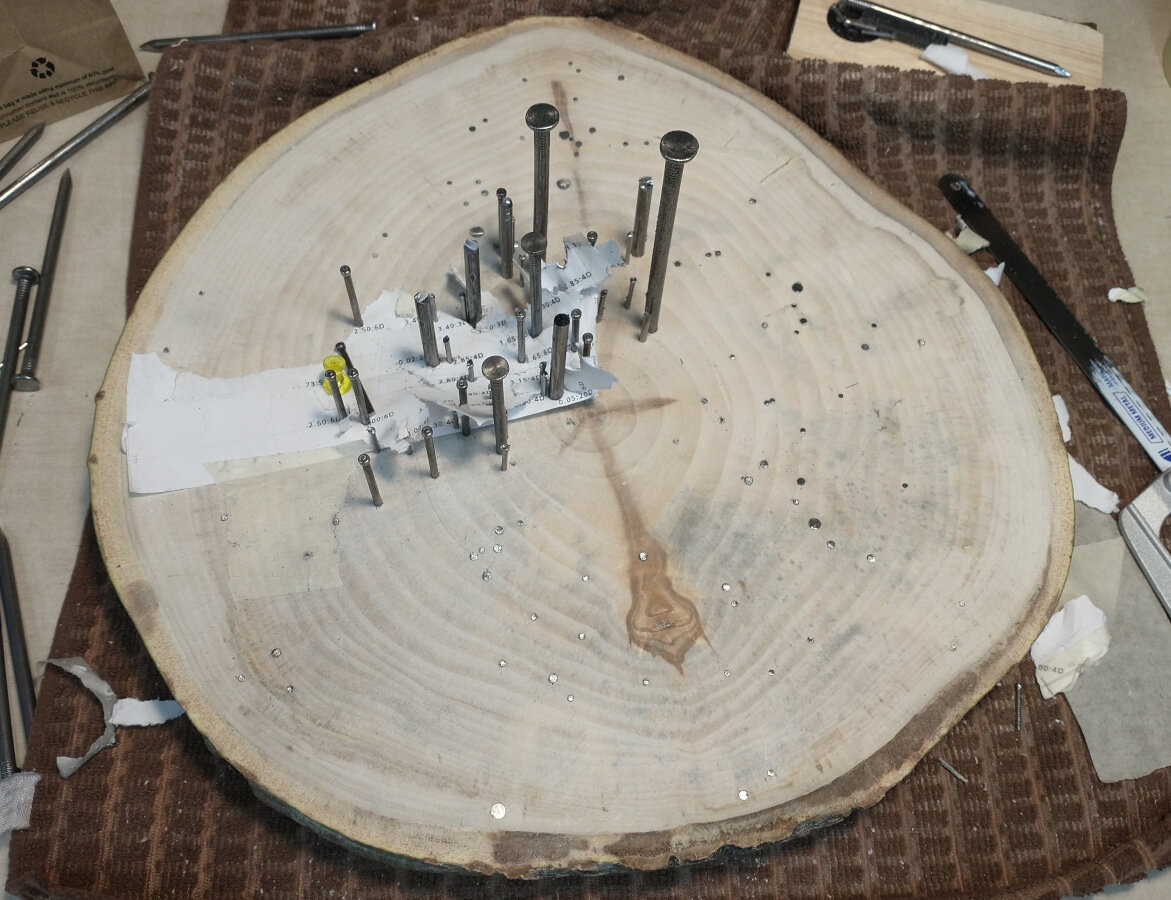
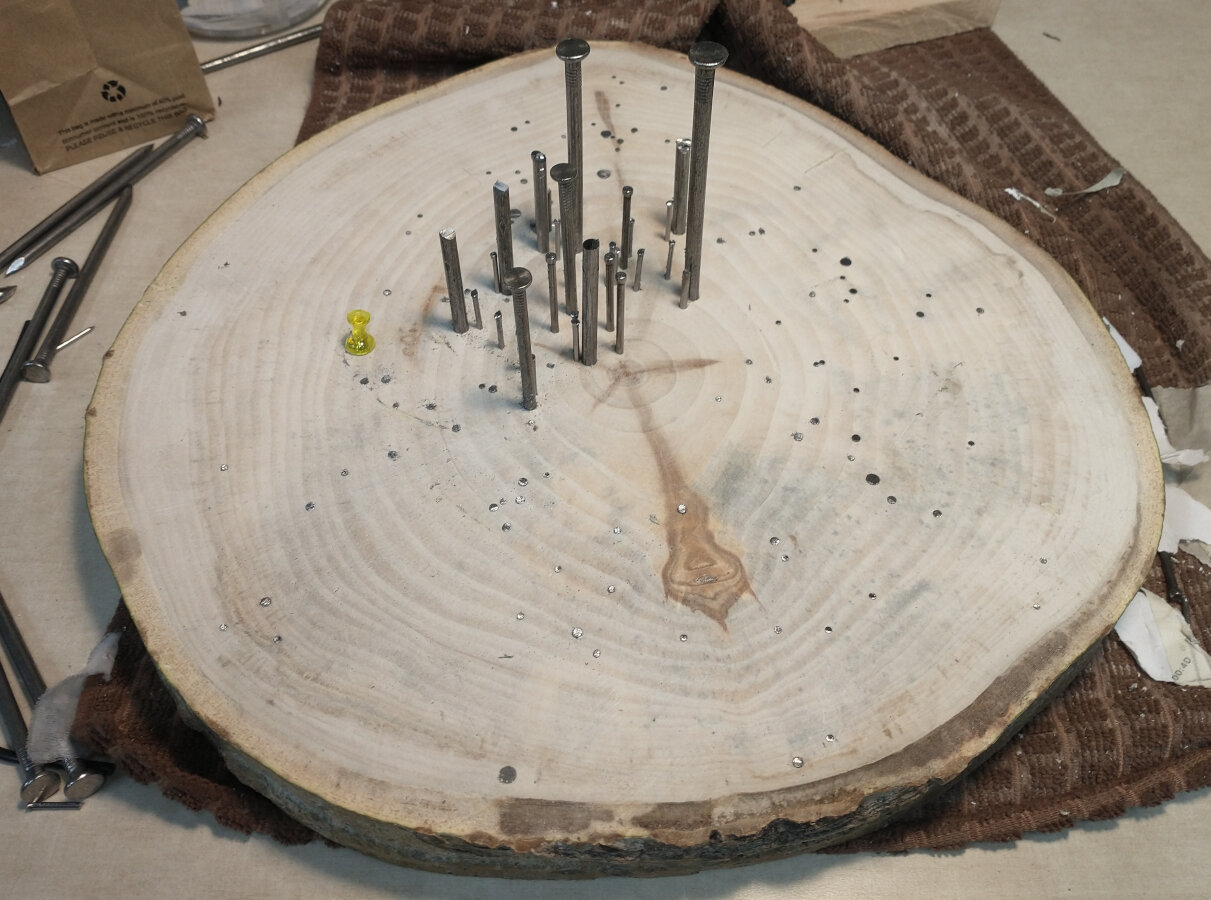
With all of the wood prep done, I tacked the map on and started hammering in nails. I drilled a pilot hole for each nail in order to make sure they were located as accurately as possible and that they wouldn’t split the wood when they were driven in. In some cases, like with Orion’s belt, the stars are so close together than I had to cut one of the nails off in order to drill a hole right next to it for another nail. Both holes couldn’t be drilled at the same time, because that could have caused the unsupported bit in between them to tear.
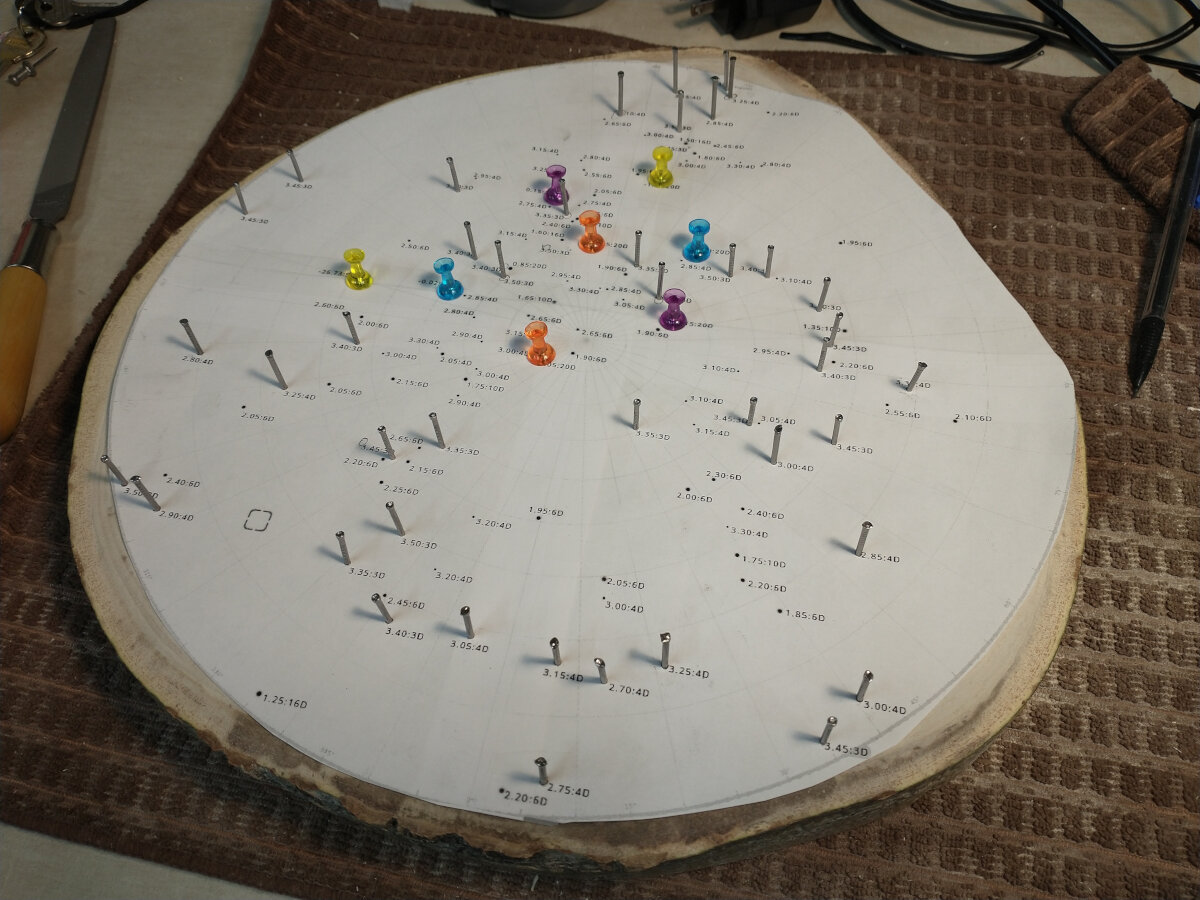
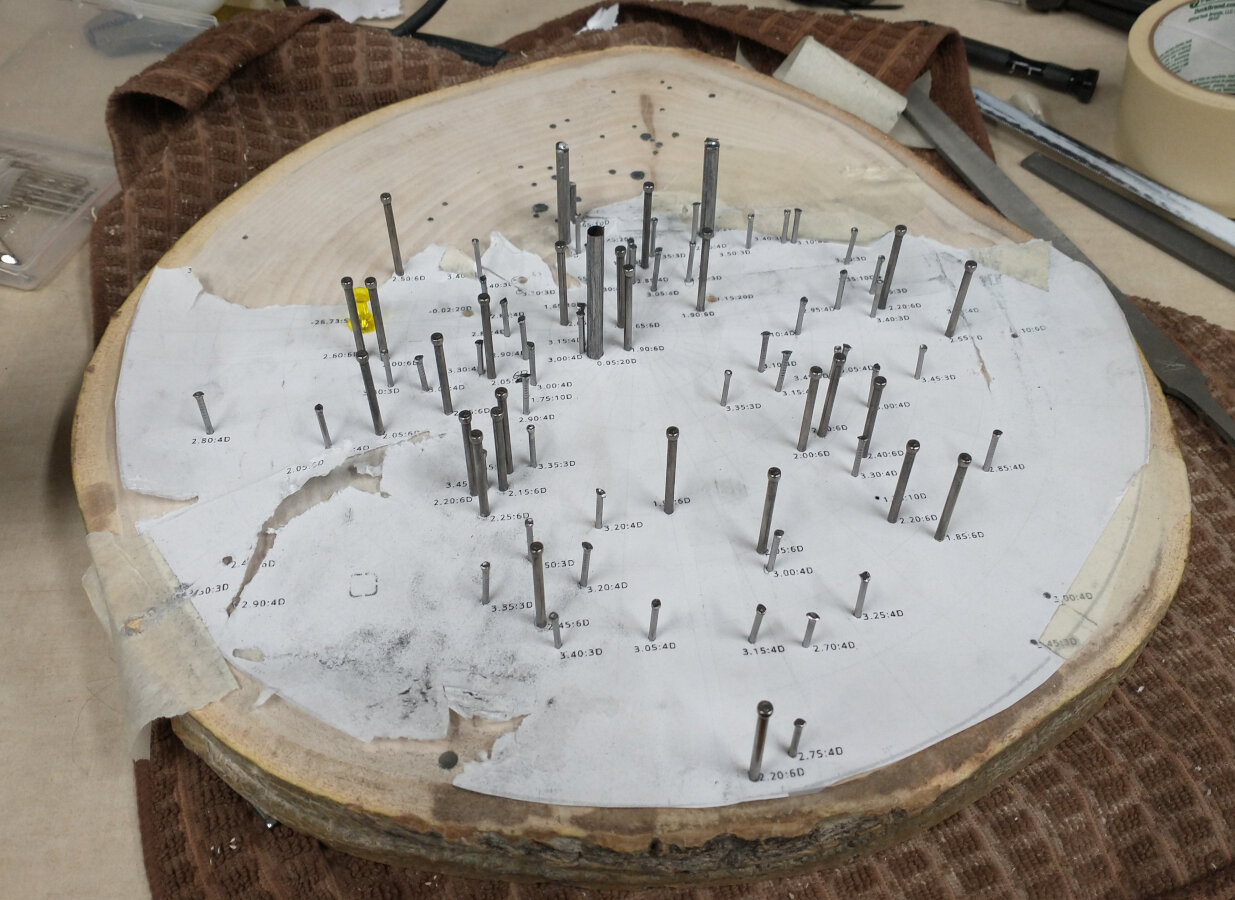
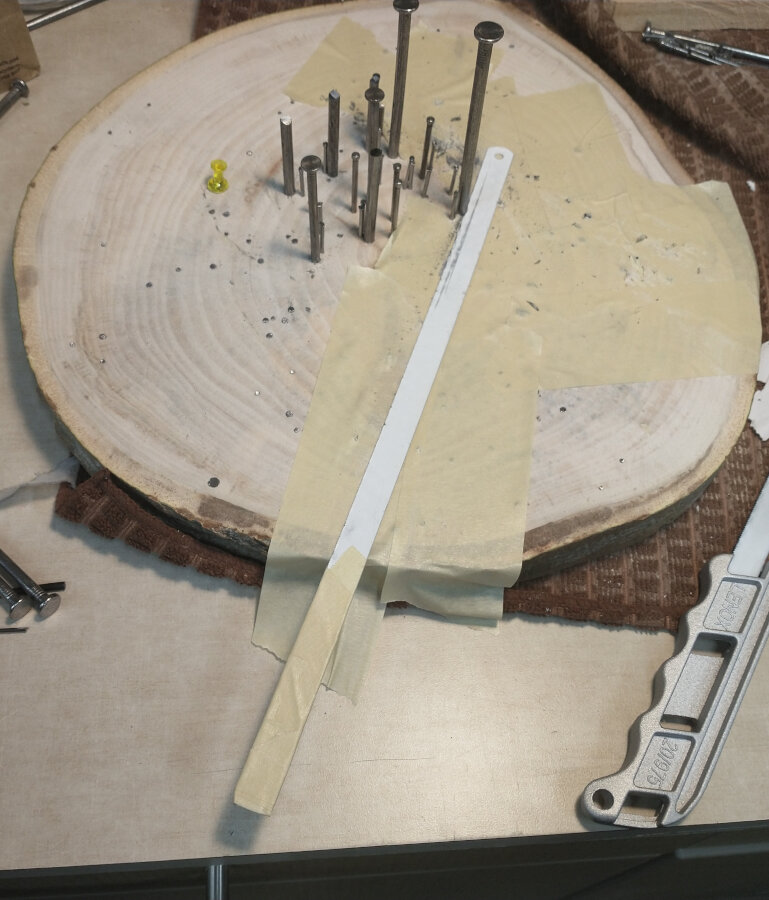
Once the nails were all in, I started cutting them off flush with the surface of the wood. I tried a couple of methods for this, but I eventually settled on covering the surface with masking tape and using a hacksaw blade wrapped in tape as a knife. The masking tape kept the teeth set closest to the wood from cutting into it, and I used the blade in reverse in a pulling motion so that it wouldn’t bend and scrape with enough force to go through the tape. The downside of this method is that it is not possible to put much force on the blade, so the cutting takes a really long time.

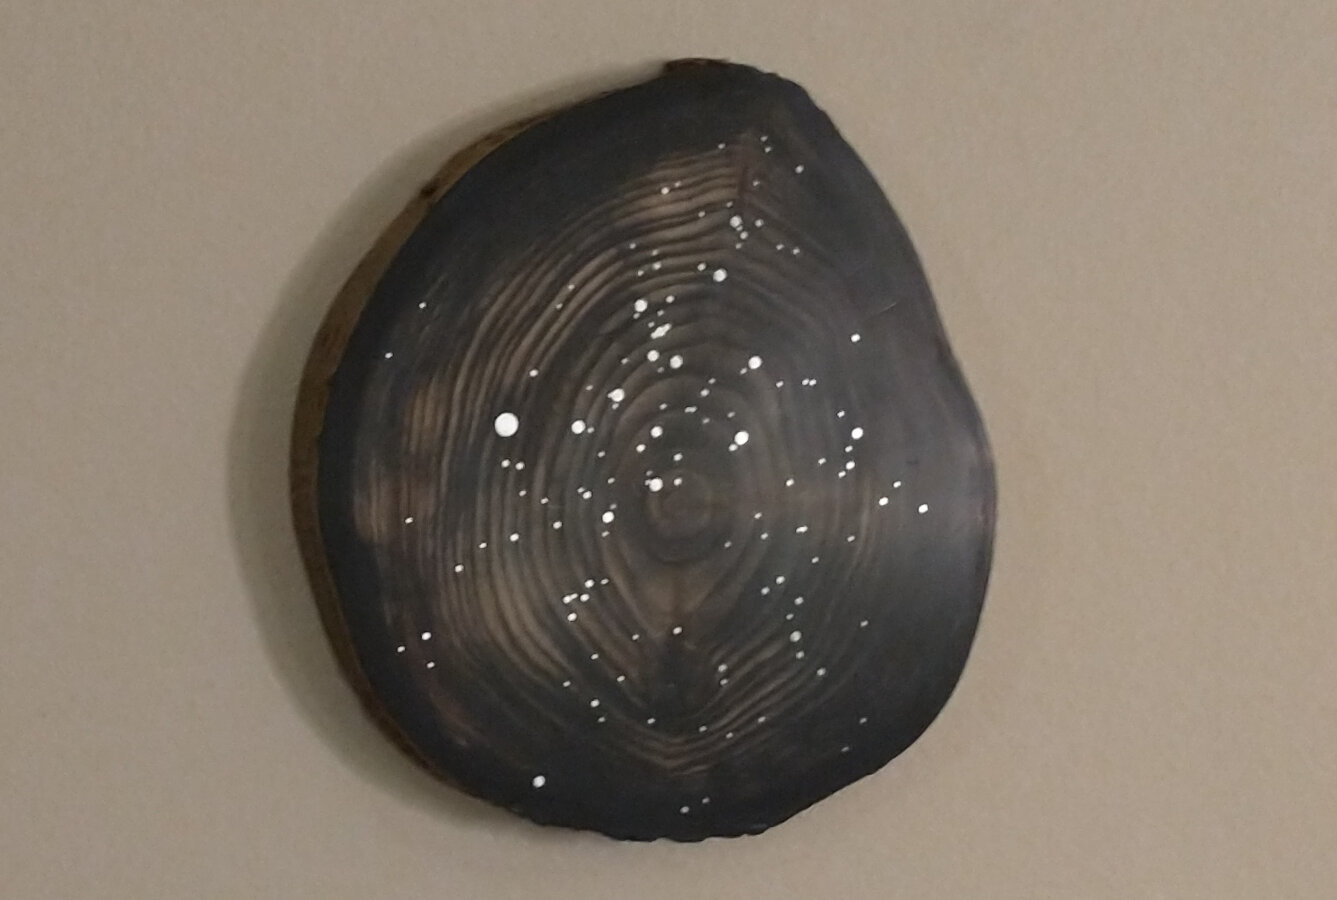
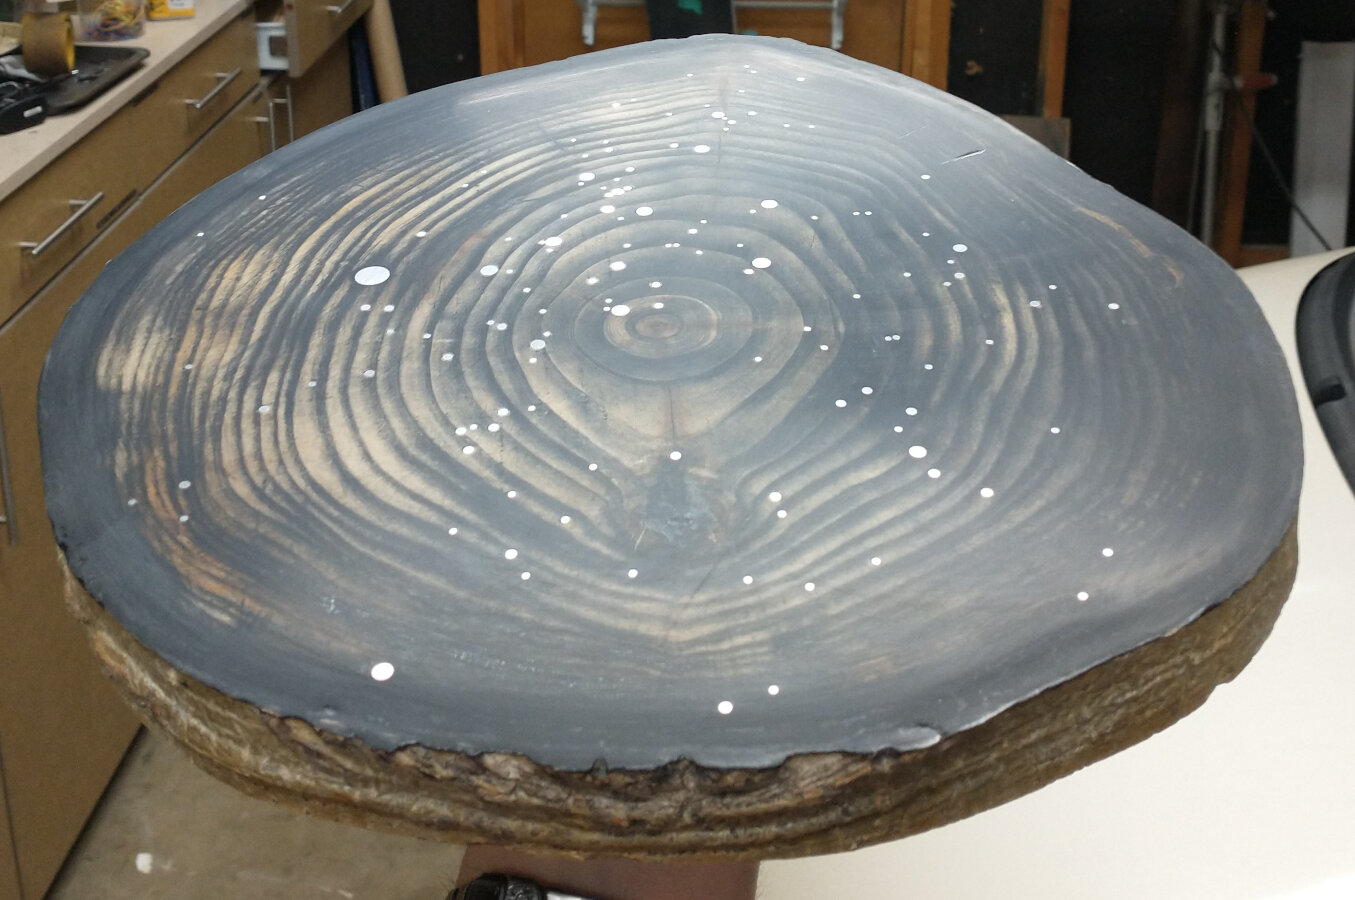
After the nails were cut off, I sanded them down to the surface. Before staining the surface I polished the stars with 600-grit sandpaper so that stain wouldn’t settle into any scratches. I used 2 or 3 coats of a dark black stain and then sanded a bit to smooth the appearance and reveal some of the wood grain. Since wood absorbs stain unevenly, I was lucky that the lightest portion happened to be where the sun was. Once the stain was fully dry I went back with an ultra-flat polyurethane to seal the surface. I did 2 or 3 coats of the polyurethane and then carefully cleared and polished each star with 600-1500-grit sandpaper to remove the polyurethane from the surface, which means they can shine brighter and act as a better magnetic surface.
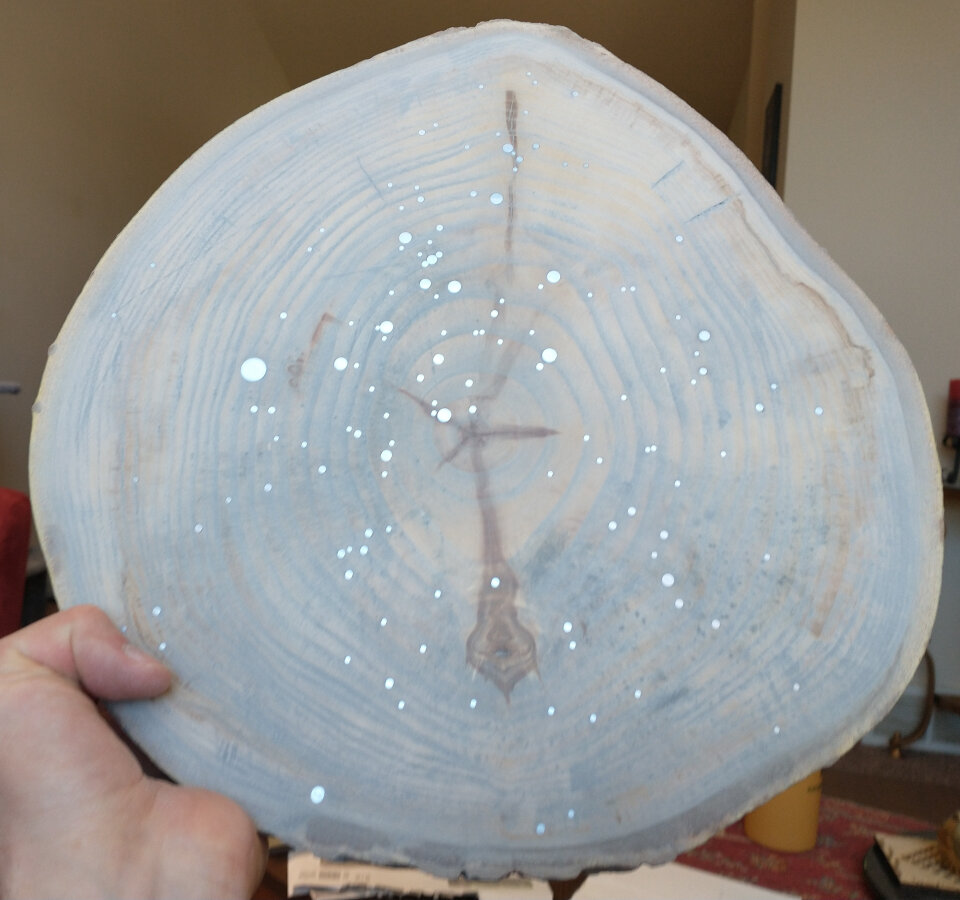
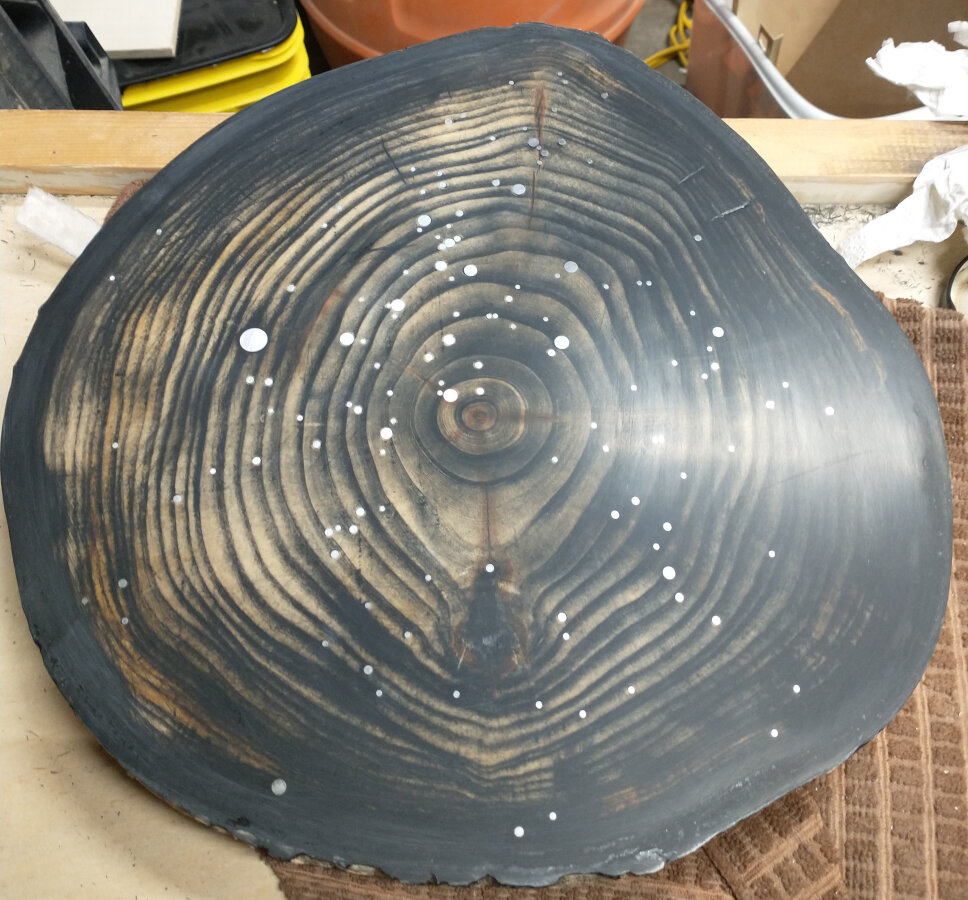
In order to protect the bark and keep the wood from leaving marks on a wall, I sealed the bark and back side with a couple of coats of polyurethane. With the front surface polished, it really does give the illusion that the stars are twinkling out of the wood.