
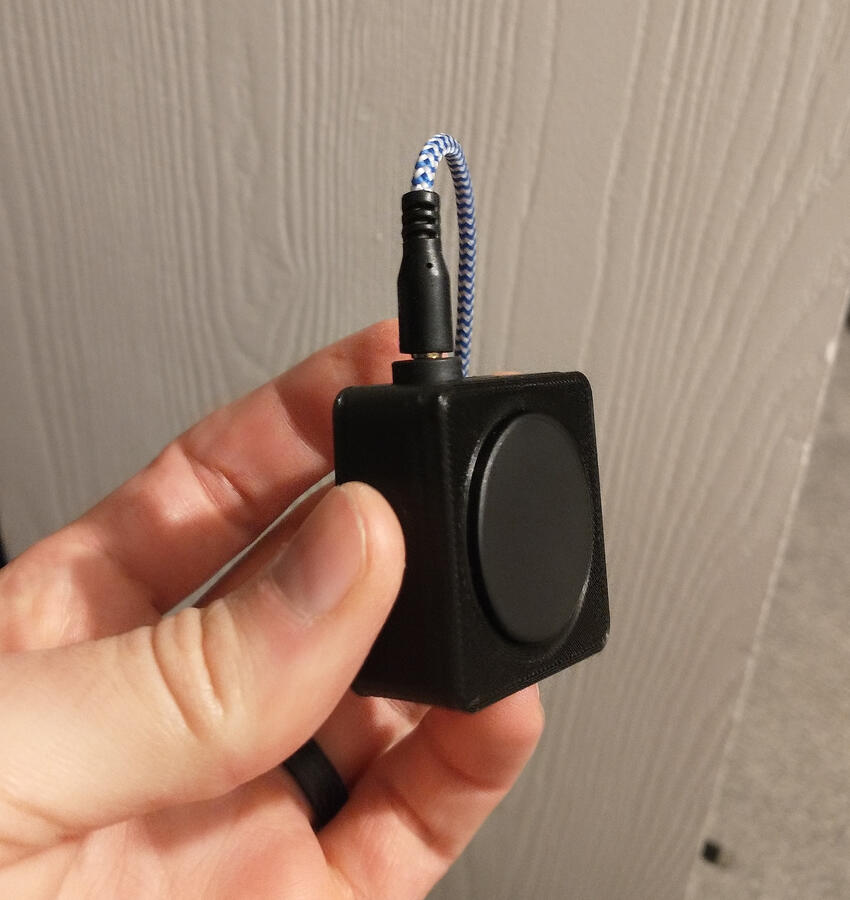
My old KVM was causing some weird issues similar to a sticking key, and wasn’t USB 3.0 compatible, so I decided to replace it recently. I bought this USB switch from Amazon because it had wide compatibility and a button on a lead for activating the switch. The button was only on a short cable, though, so I decided to redesign the button enclosure so that I could use a common AUX cable to extend it as far as I want.
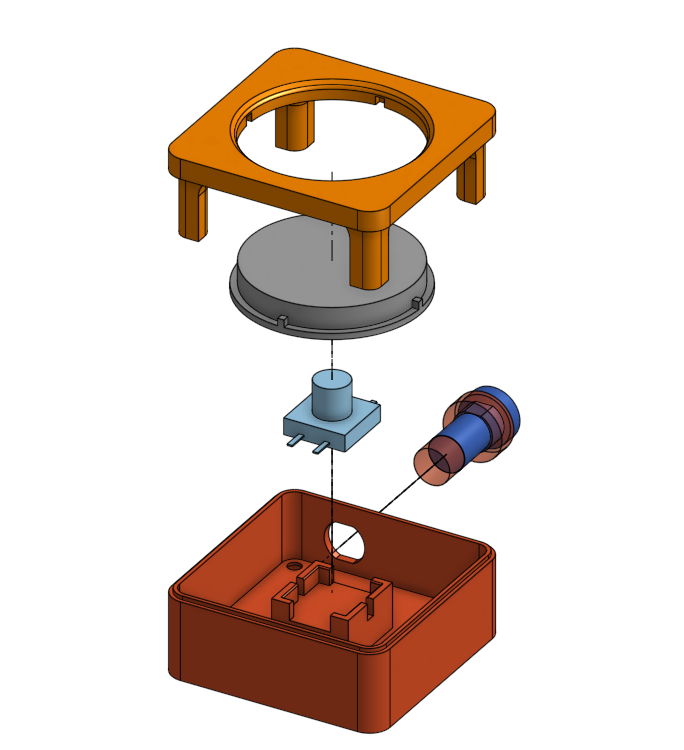
I started by ripping open the existing button to see if I could fit an AUX port into the existing box, but it was too small for that.
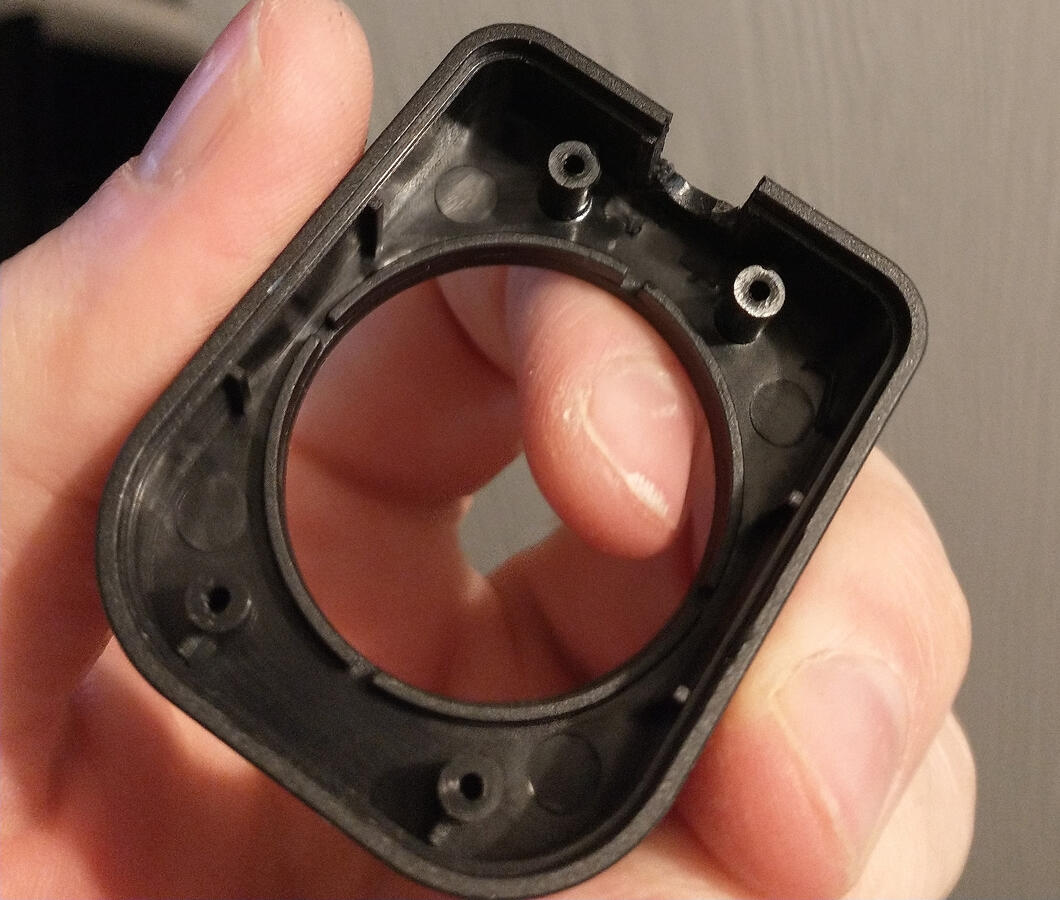

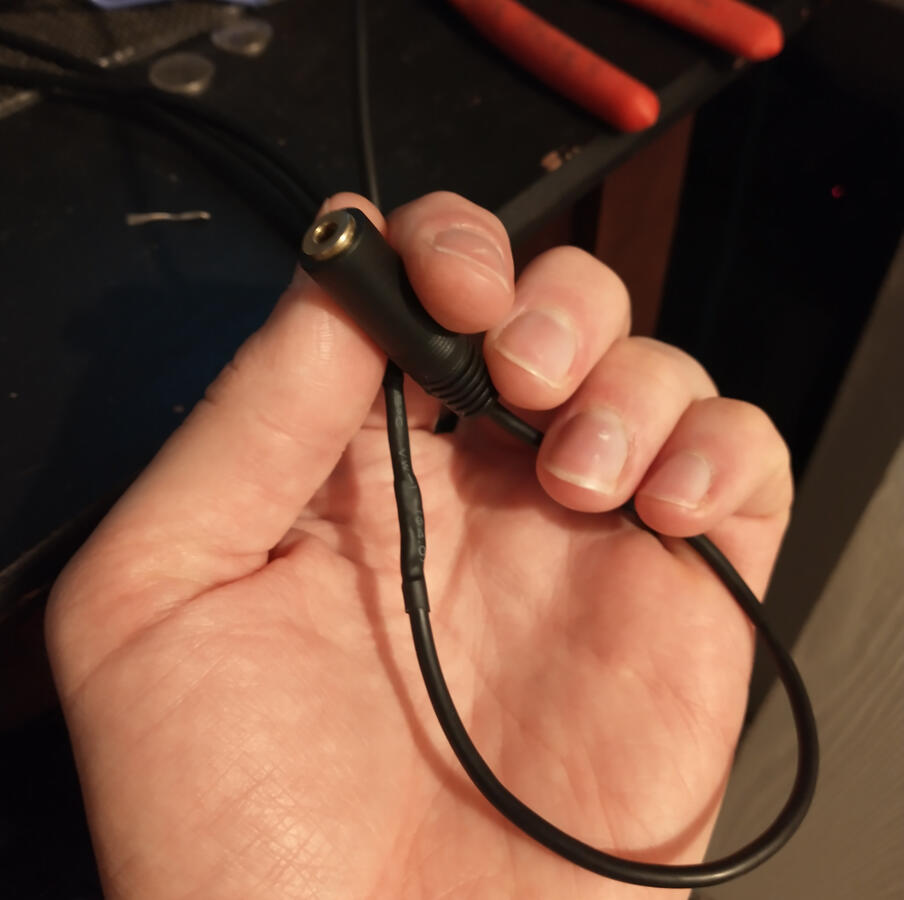
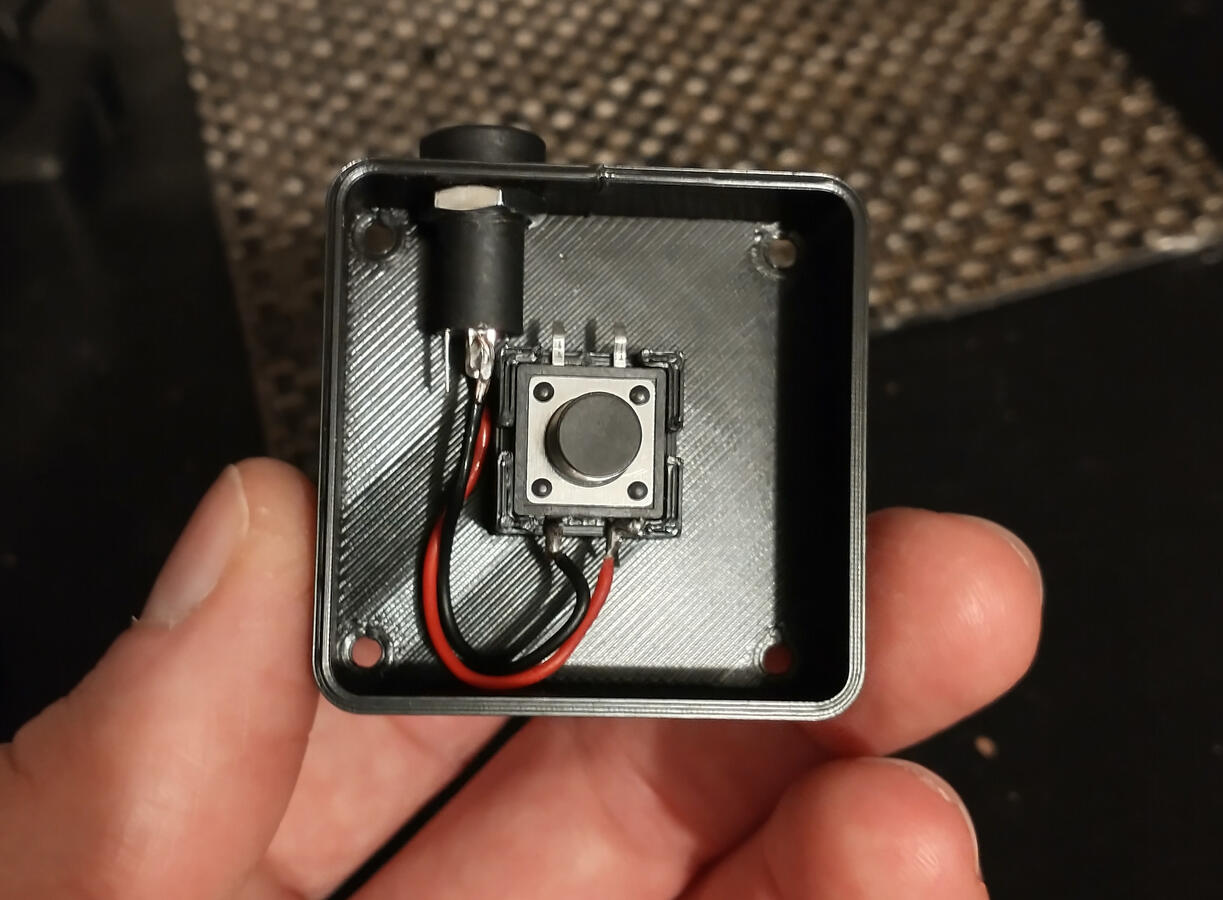
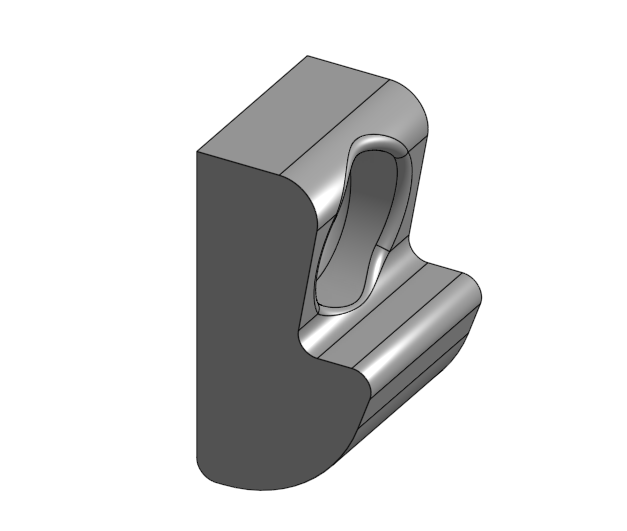
I cut the button off and spliced on the female end of an AUX cable, then ripped apart the button enclosure and measured all the components. I wanted to reuse the switch and the button from the original device, and to use one of these panel-mount AUX ports I had from repairing my headphones last year. I drew up the components in Onshape, then arranged them in a way I thought made sense. I have a whole bunch of these tiny machine screws, so I used those to fasten it together.
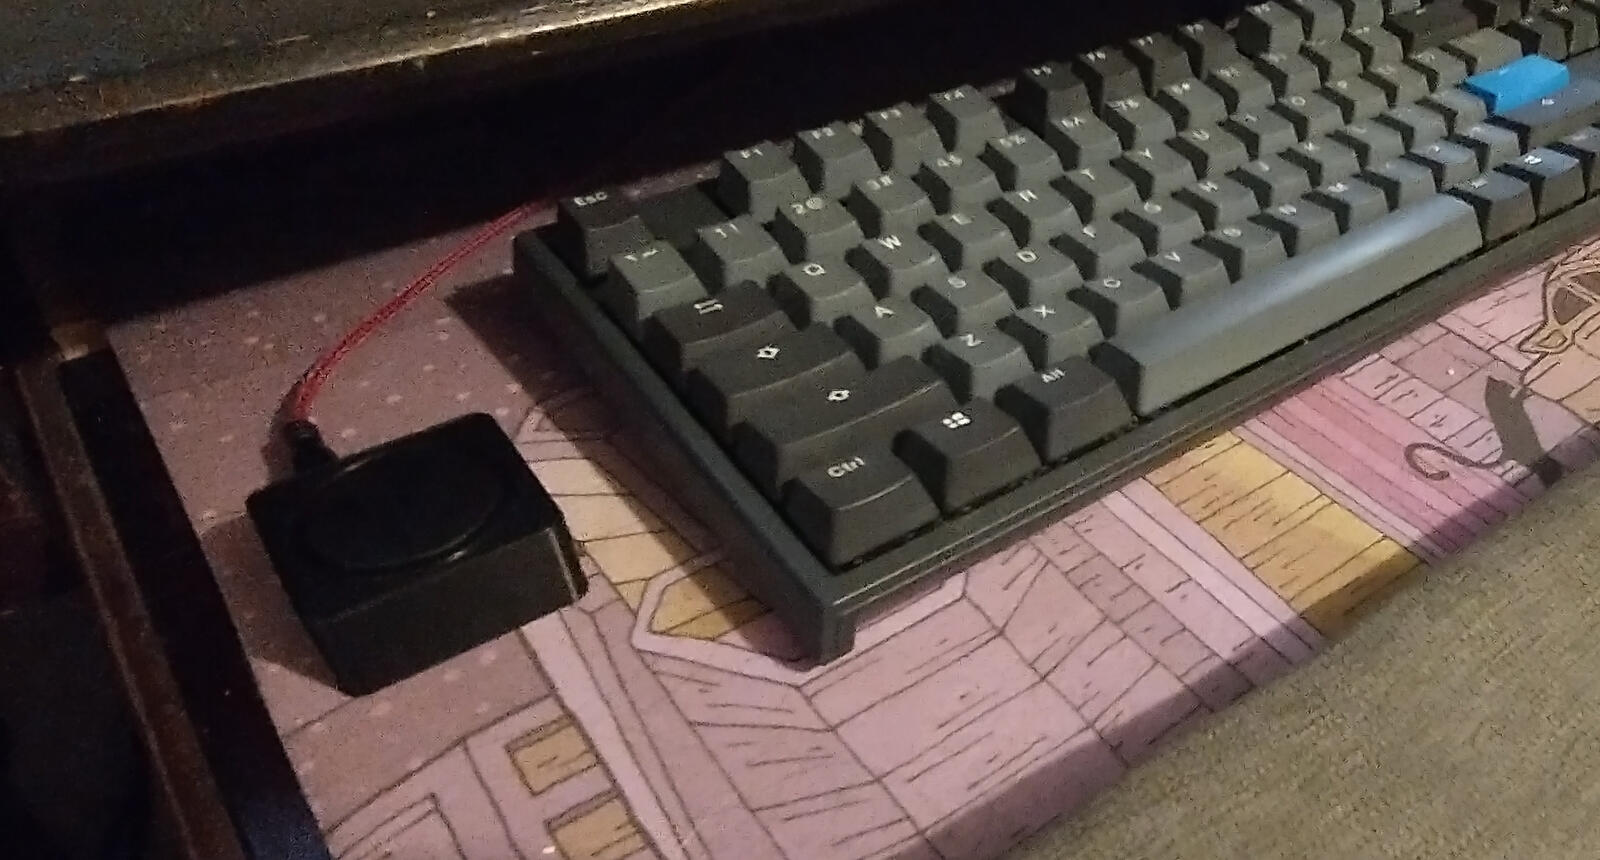
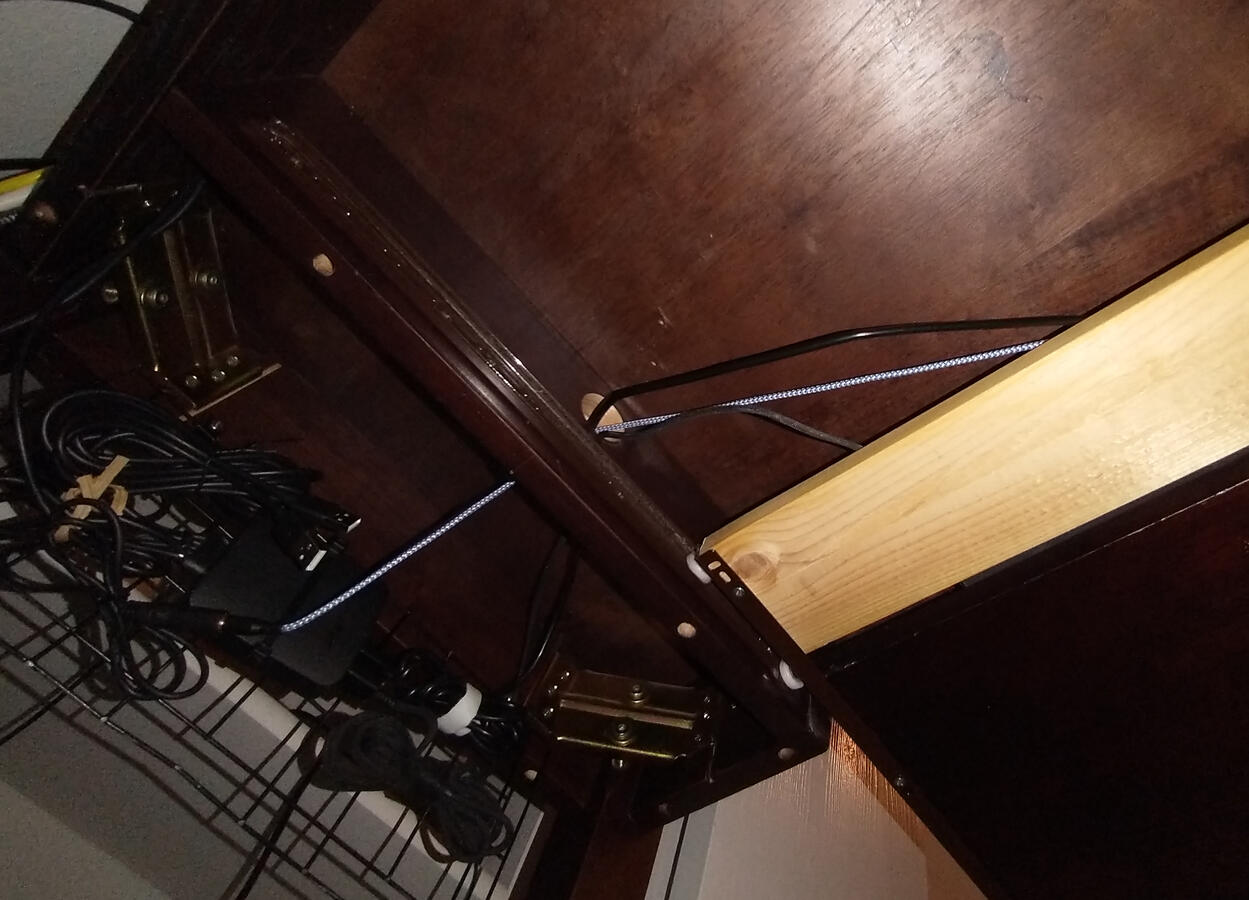
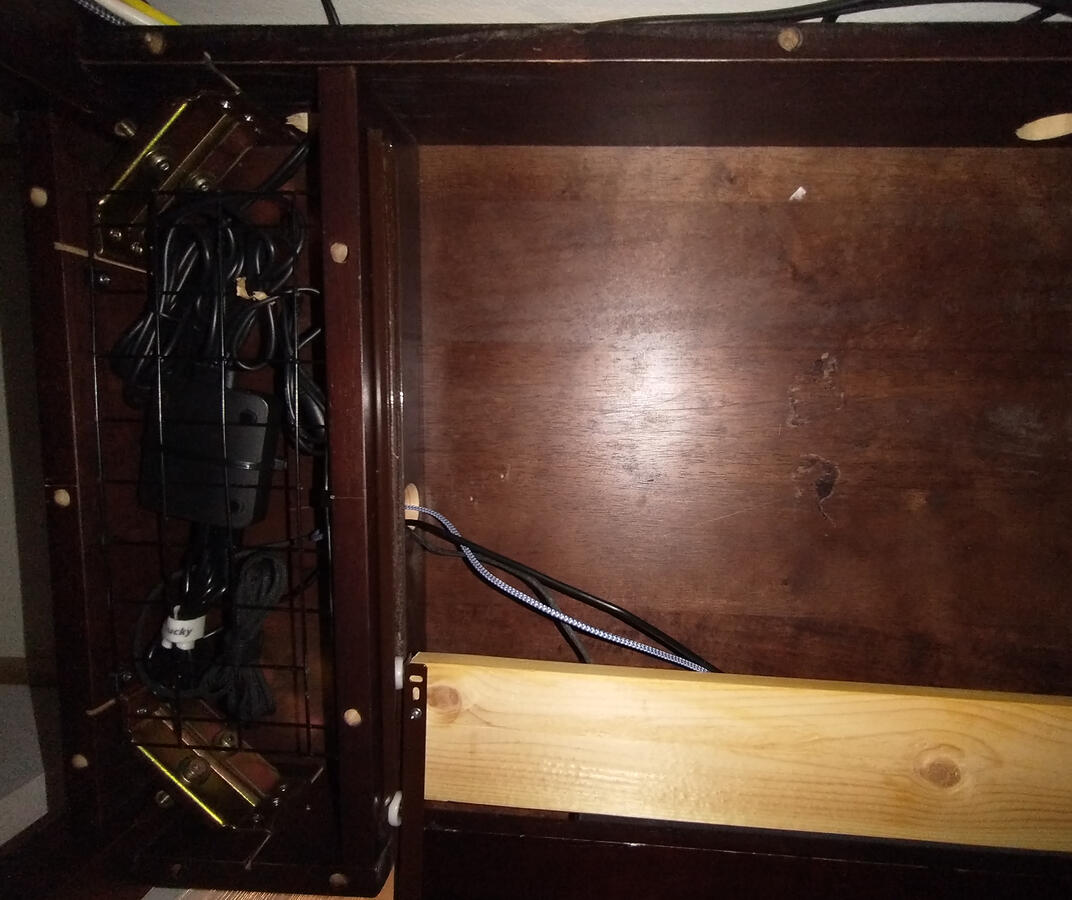
With a nice button, the next thing I wanted was to hide all the wires up under my desk. I went to EcoThrift in Fort Collins and spent about a dollar to get a few wire baskets that had the right size and spacing to form into shelves inside the unused space to the side of my keyboard drawer. I cut this one up and ground down the rough edges, then designed and 3D-printed clips to hold it in place.
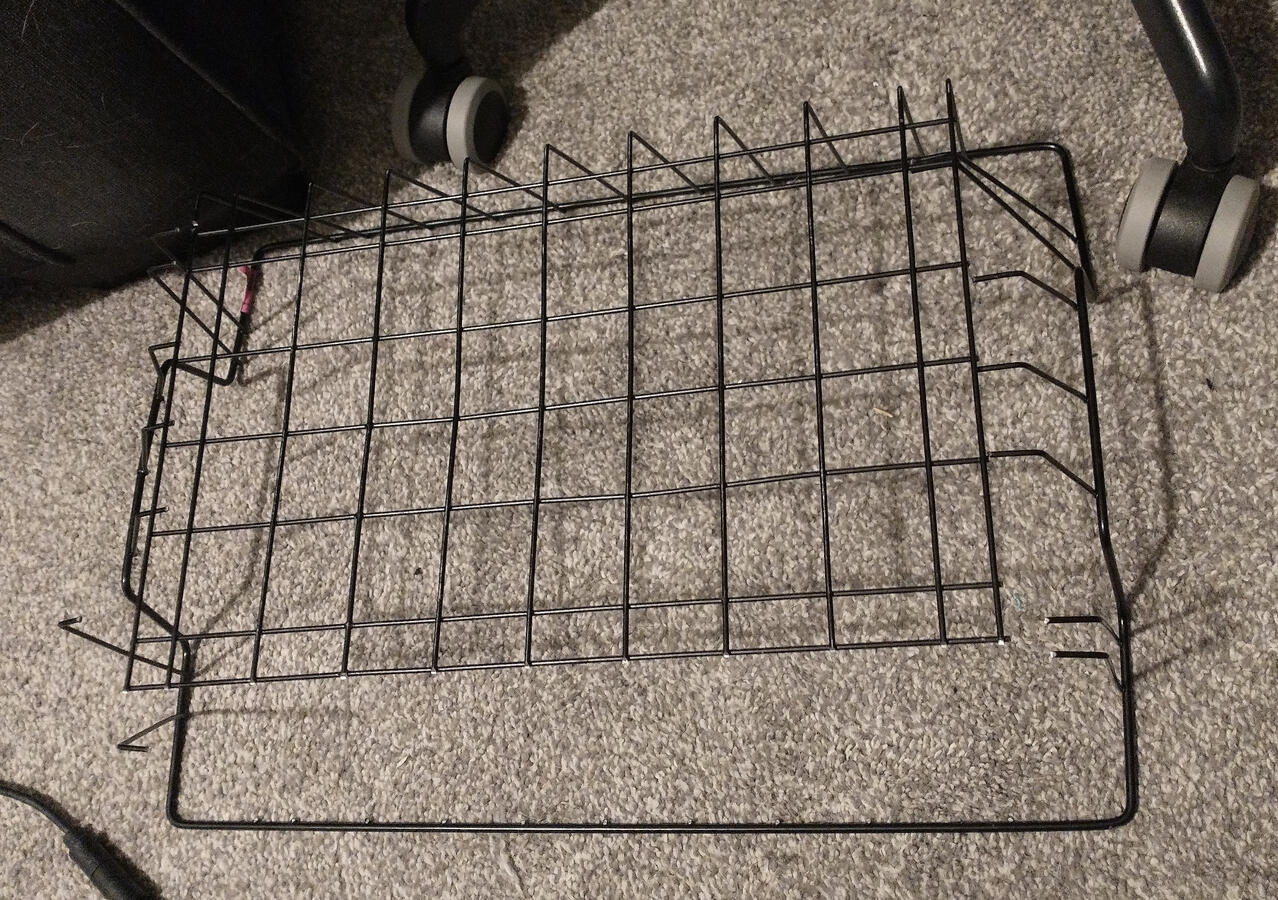
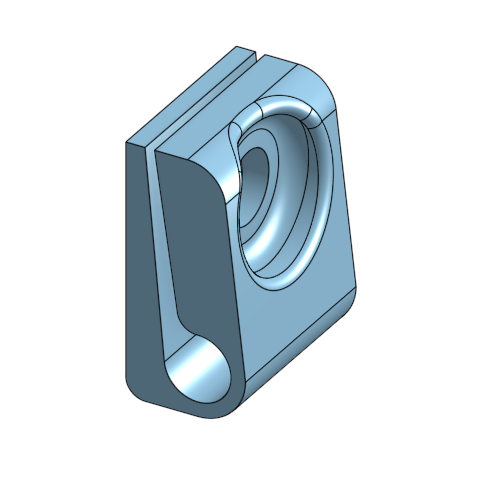
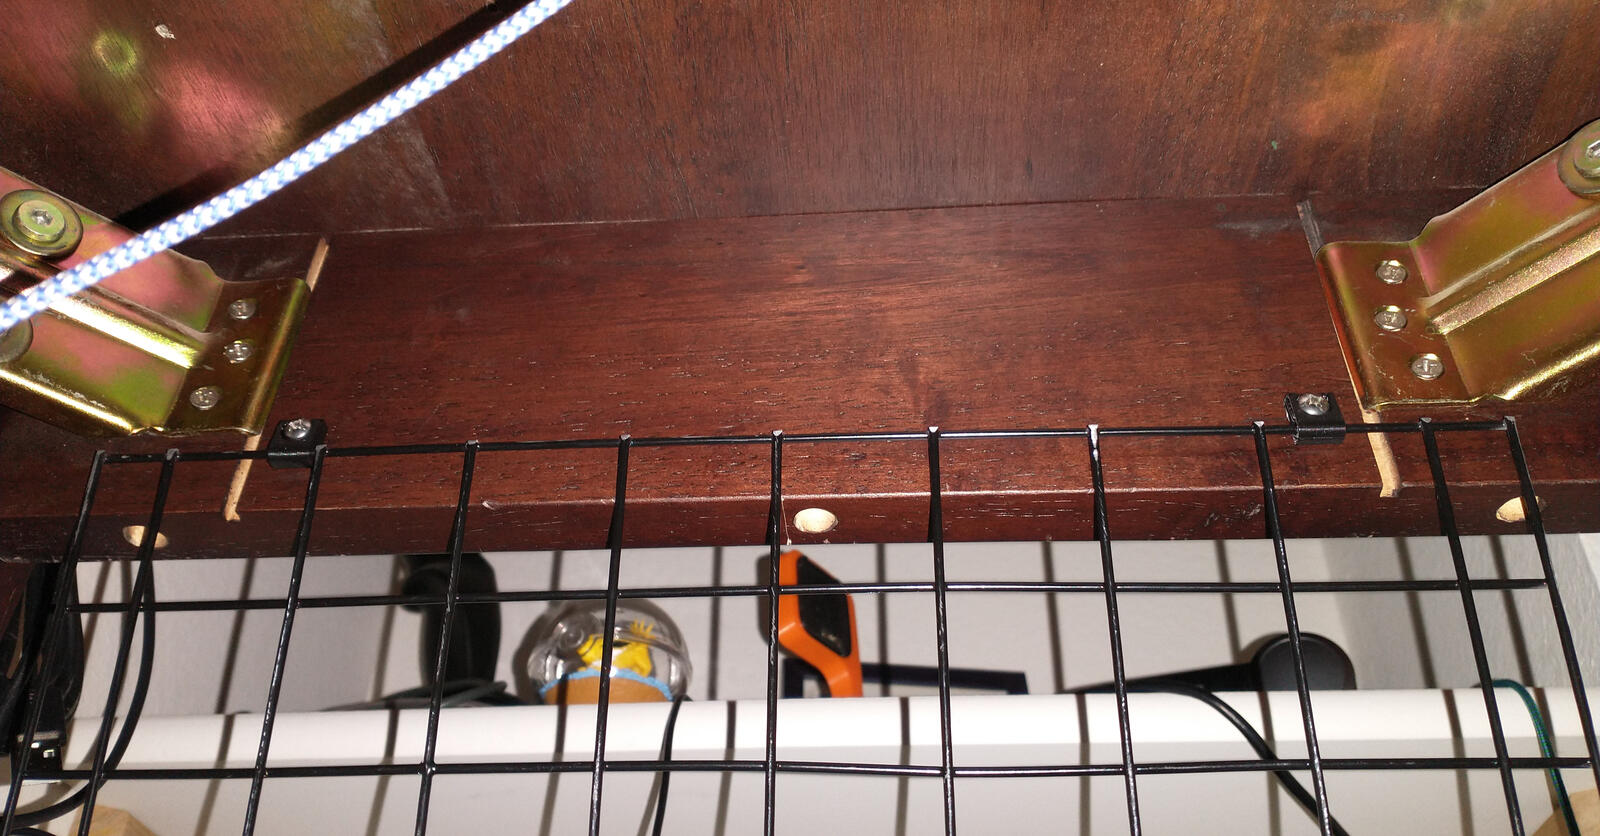
I cut the wire rack in such a way that there is a section on the edge that is long and loose enough to flex around a retaining clip, which I also designed and 3D printed. I can open the shelf up and tie all my various lengths of cable to it, then snap it closed to hide everything inside the desk.
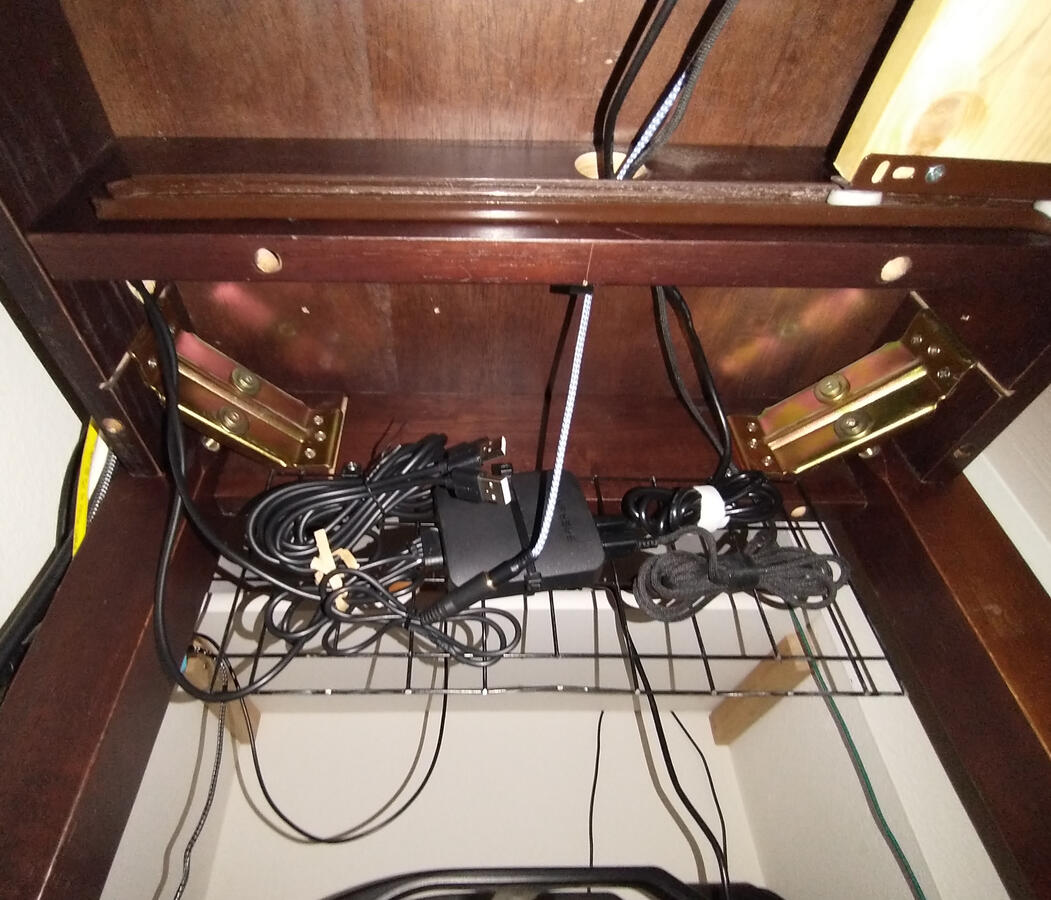
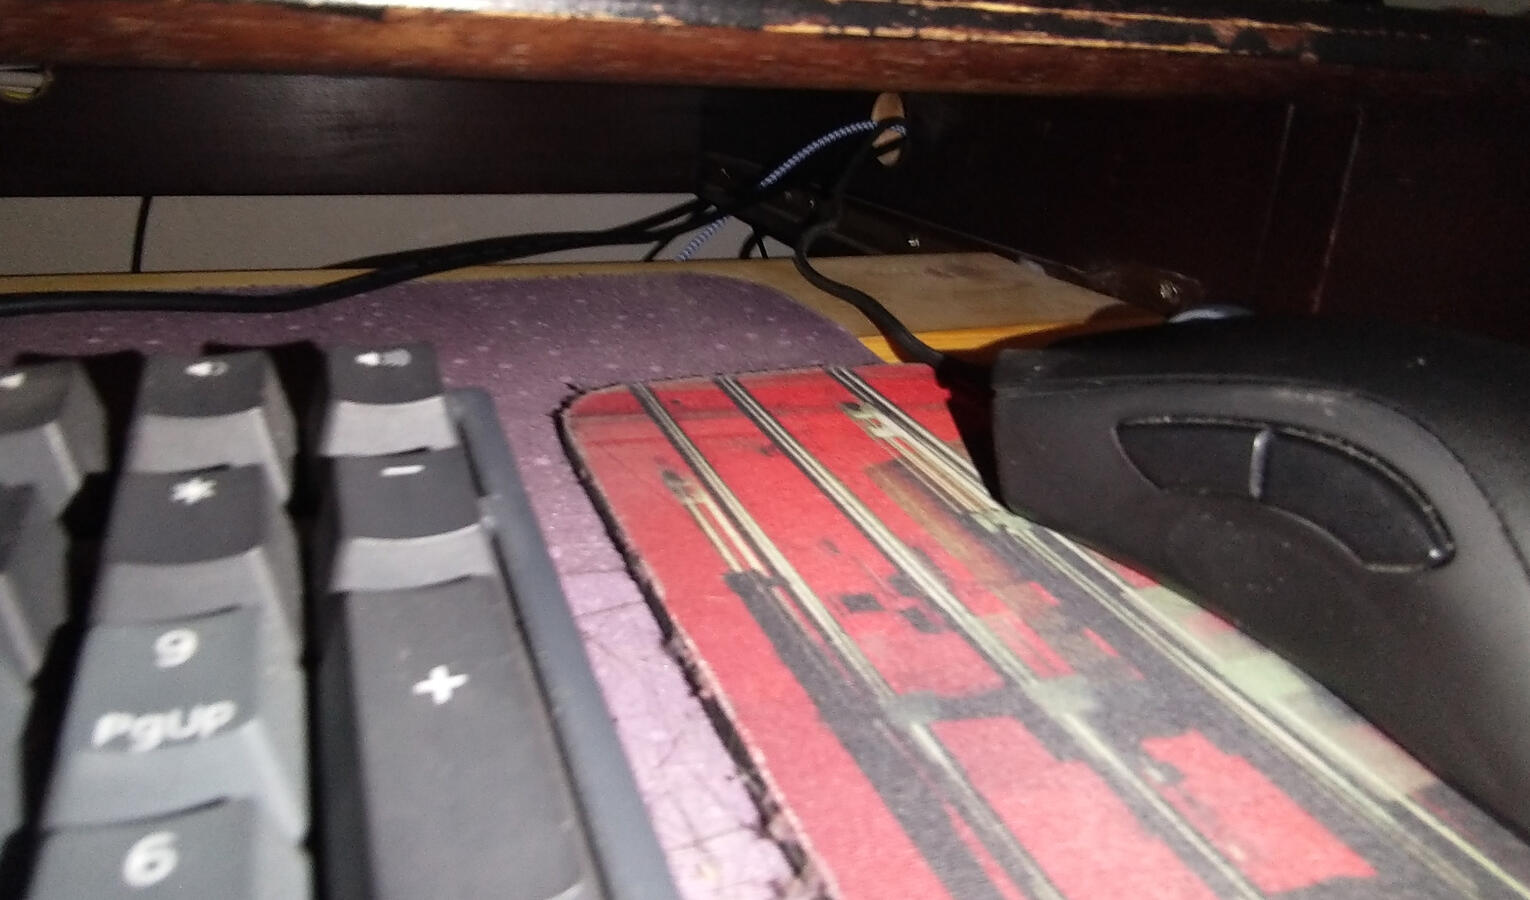
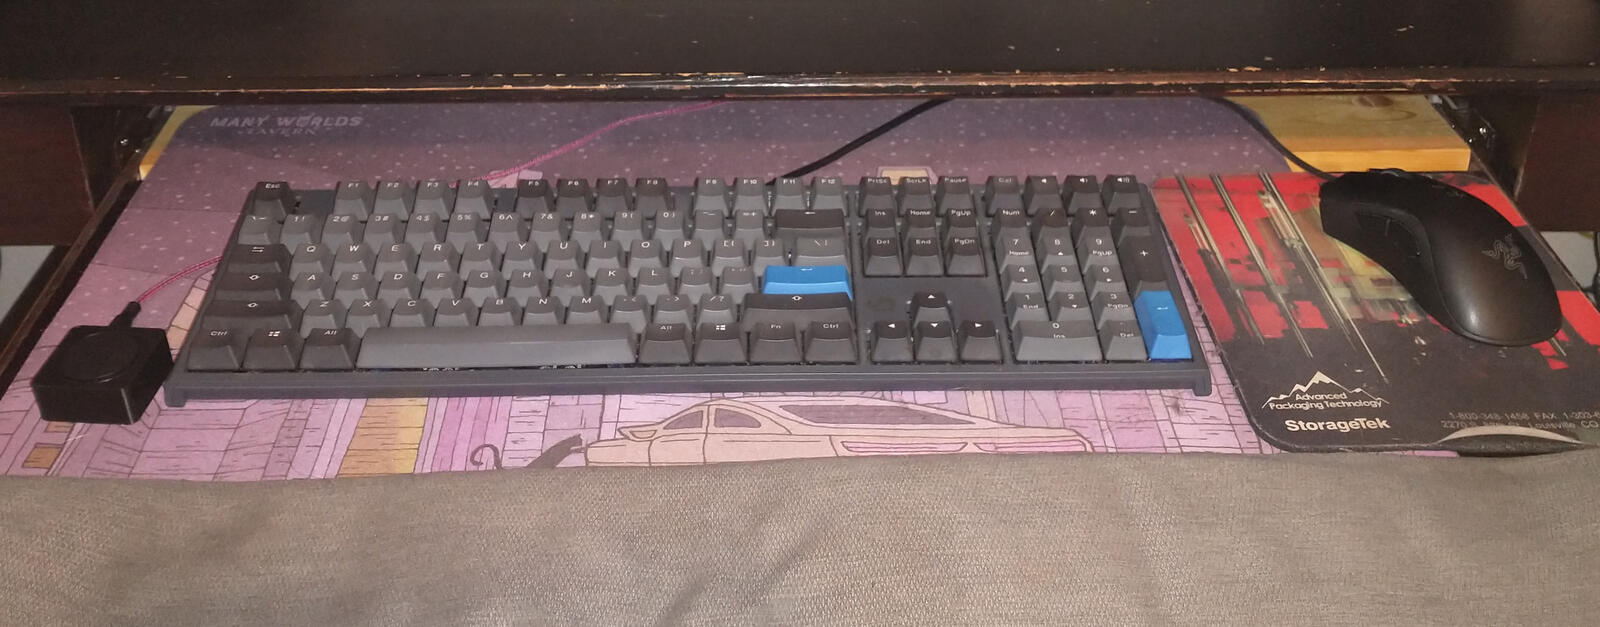
Now my desk is all clear of loose USB cables, and my KVM switching button conveniently reaches the left side of my keyboard where I like it.
I designed all the 3D printed parts in Onshape, so the designs are available for you to fork. I don’t know why you would want to fork my design that was made with the random bits I had lying around, but maybe it will save you some time on your own salvage project. You can find the enclosure design here and the wire shelf clip designs here.