
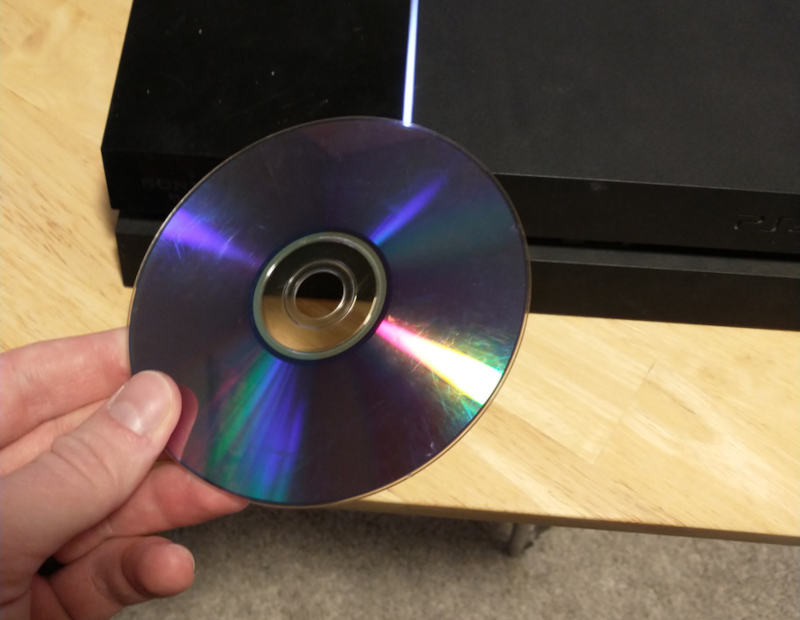
I am borrowing a previously refurbished PS4 from a friend. When I pushed the eject button, the drive made a faint click and then the machine beeped 3 times. When I went to load a game for the first time, the slot drive blocked my disc. This drive has a little wall that it lifts up so that you don’t accidentally stick a disc in while the disc in the drive is spinning, but this drive had a bit of an underbite. That wall was jammed above its intended position and was locking the rest of the mechanism. I took apart the disc drive and reassembled it to make it functional again. This is a description of how I fixed this issue, and what I determined to be the correct alignment for the mechanism of one of these drives.
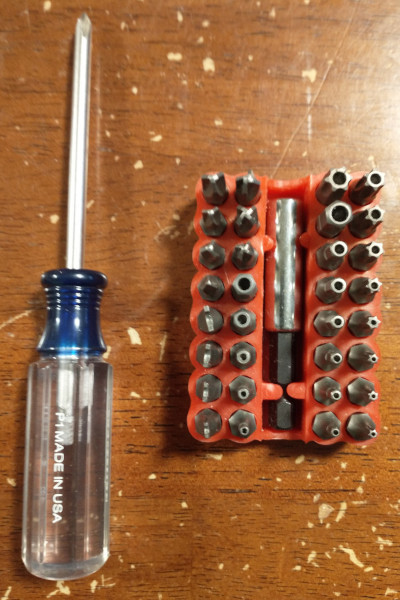
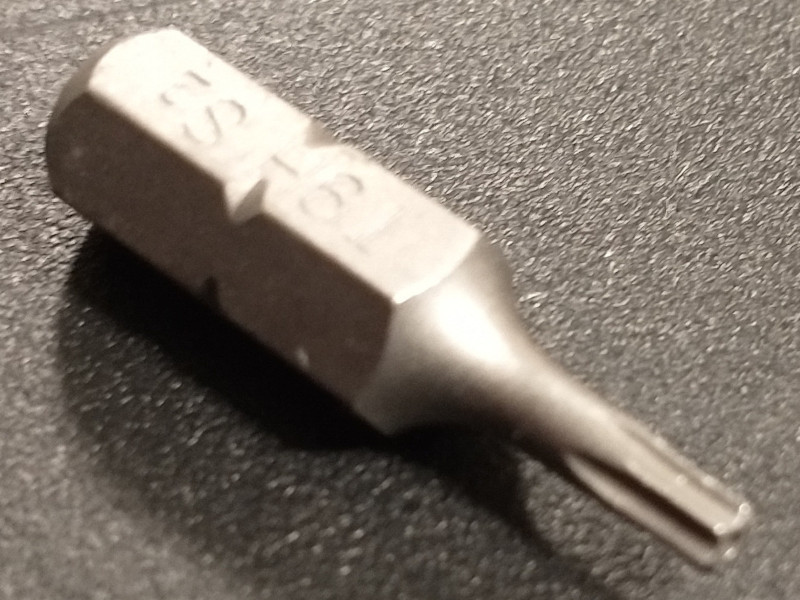
The bottom part of the PS4 is the only side that has to be opened to get access to the disc drive. Working on the PS4 requires a safety Torx T9 driver. This is purely for the purpose of making it difficult to open, the same way that Nintendo uses tri-wing screwdrivers. It’s almost as though they don’t want us to fix these things ourselves. At any rate, safety Torx are really easy to find online, so everyone should have a set.
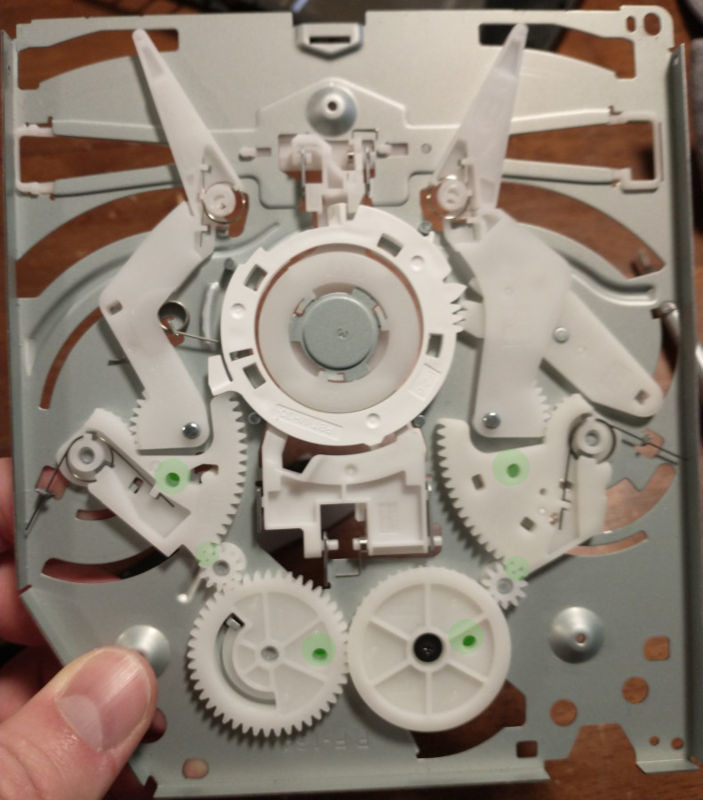
As far as I can tell, single-disc drives can be separated into 3 groups based on their mechanical systems: top-load, tray, and slot. The top-load drives are sturdy and simple while the tray drives are a bit more complex but can be loaded from the side of a machine. I honestly think that the slot drive is a case of function following form.
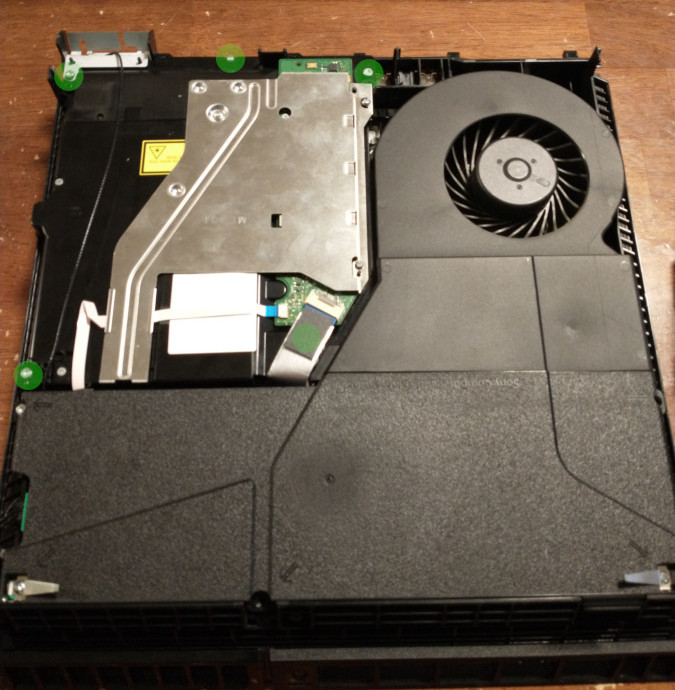
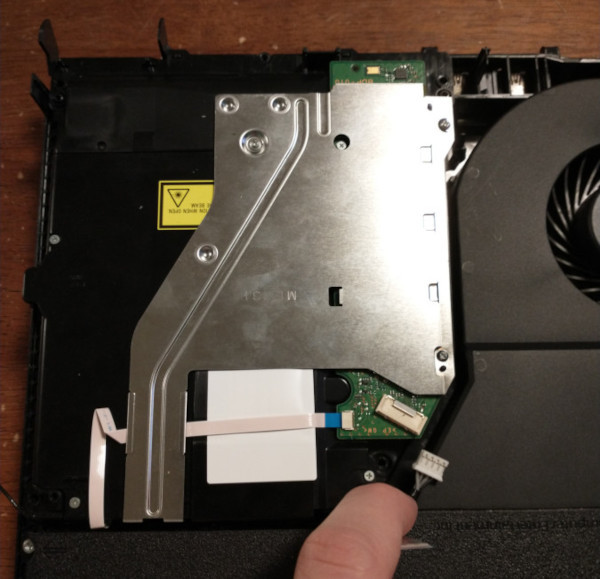
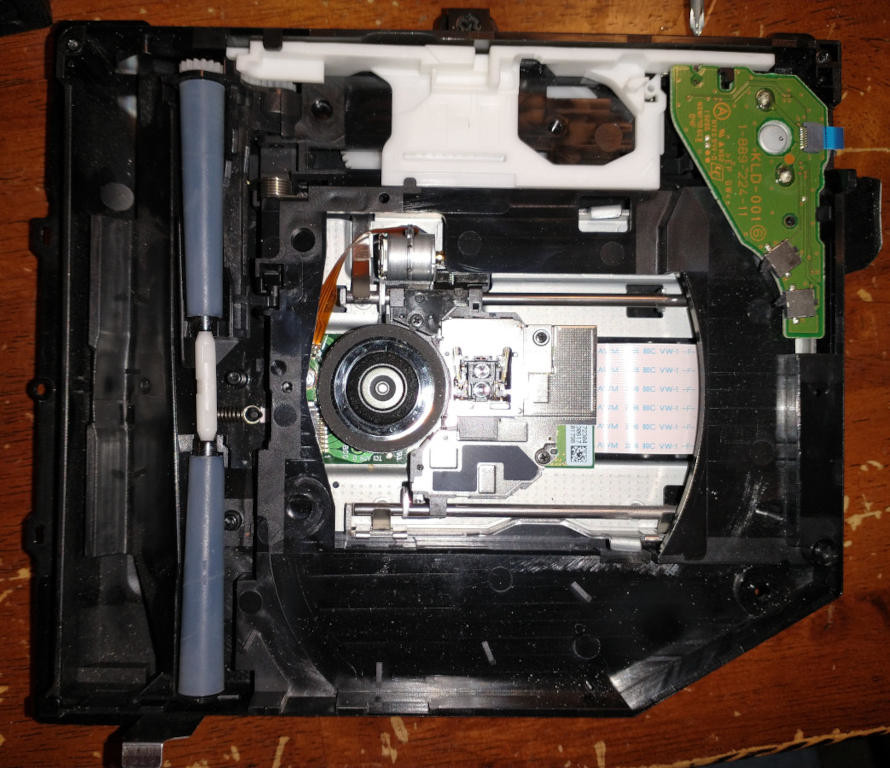
With the bottom of the PS4 off, the drive can be removed by unplugging the ribbon and power cables and removing all the screws around it. The power supply does not have to be removed to get the disc drive out, but the power supply does have a lot of capacitance, so it is good to wait for a bit after unplugging it to open the box up.
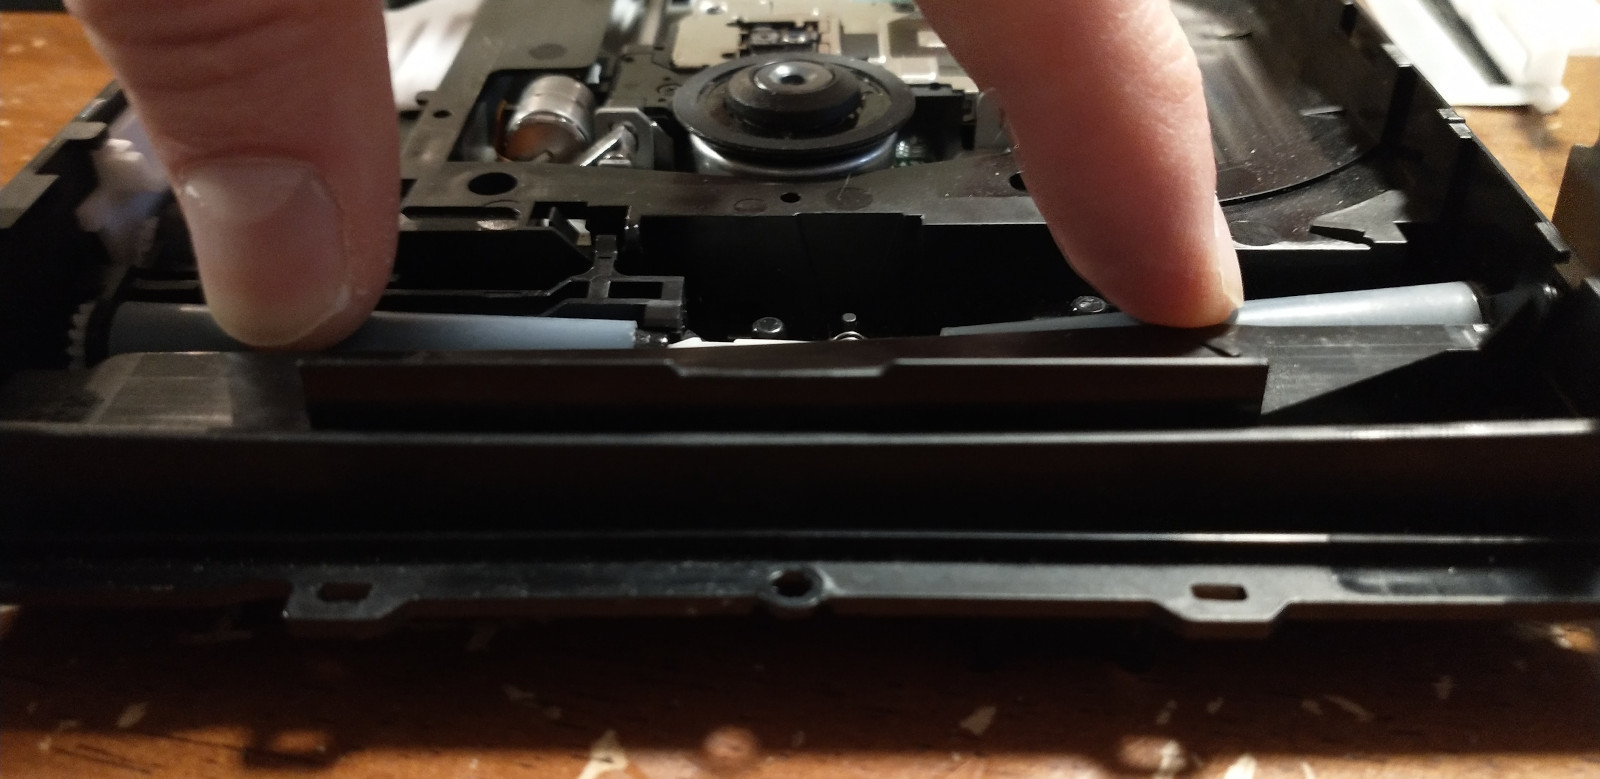
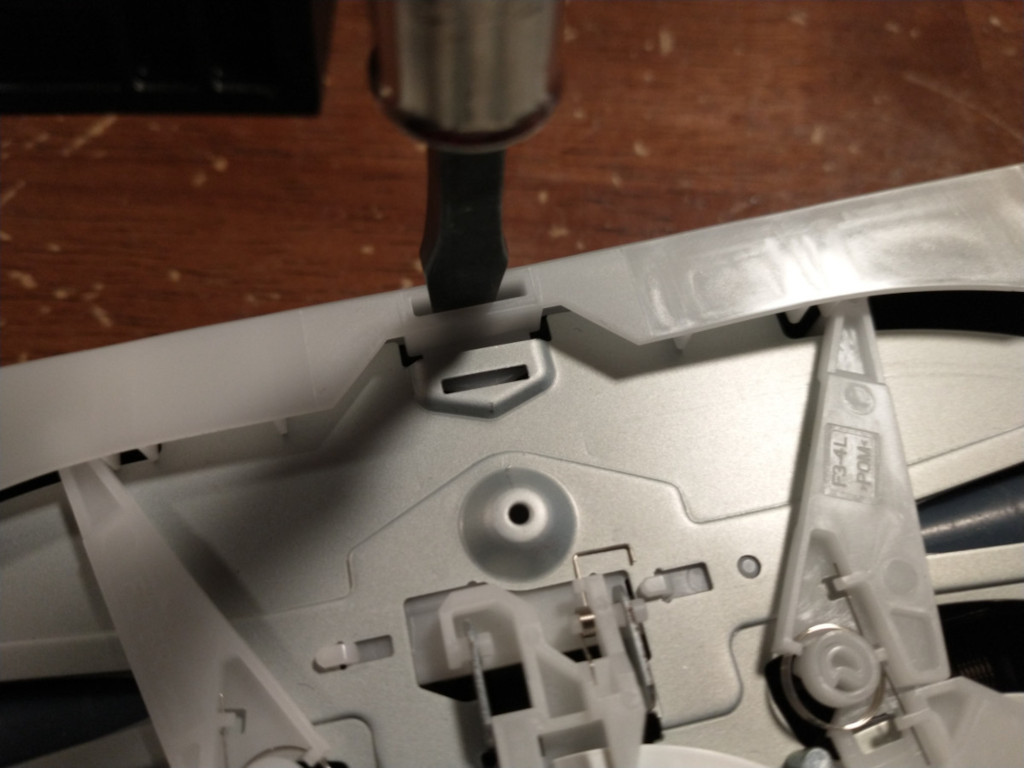
The problem I was having looks like this:
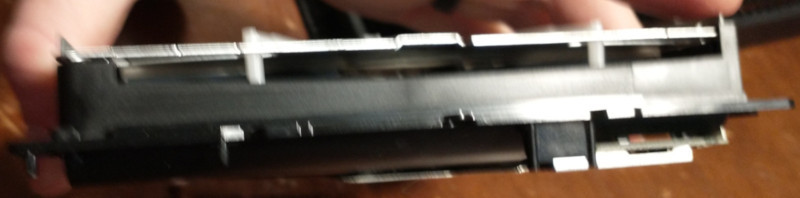

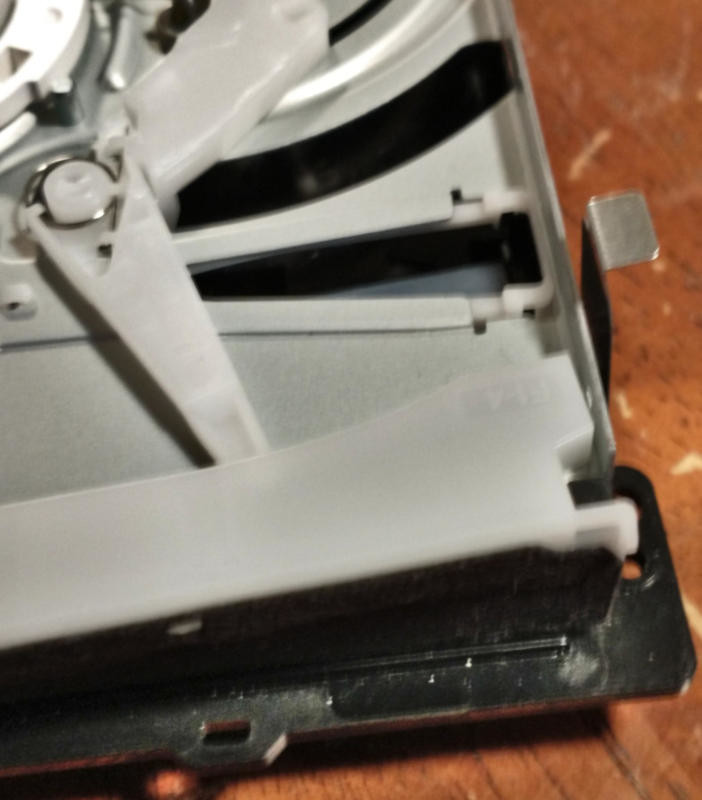
The slot mechanism separates from the rest of the drive pretty easily with the screws and the faceplate removed.
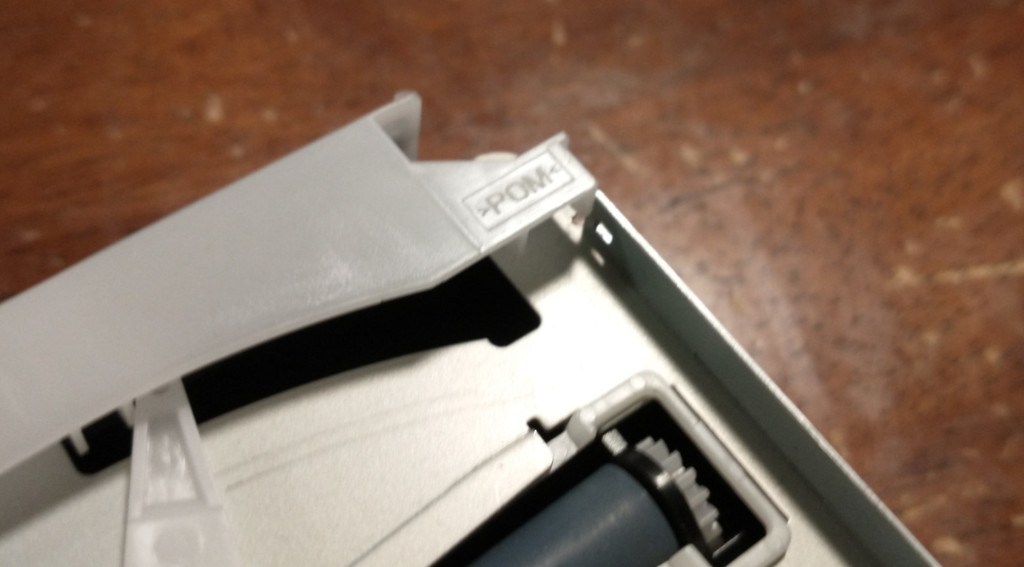
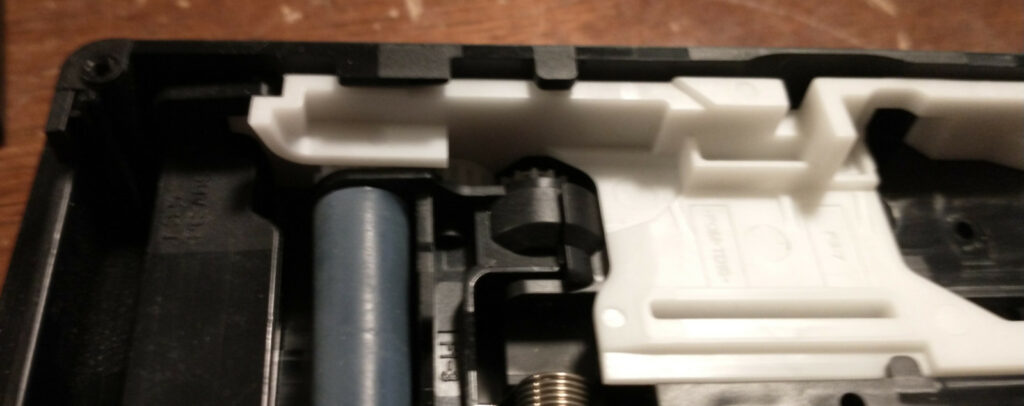
This white plastic piece slides forward and backward, and it has teeth on the bottom that engage a gear. When it is pushed forward, it engages with the linkage that holes the rollers and the gate, pushing the rollers down and the teeth up.
It is entirely possible for some load to cause part of this assembly to skip out of alignment, which is what resulted in the gate being jammed shut on my drive. There are several ways this could go wrong, though, so to repair it just slowly push it all the way to the back of the drive, completely disengaging it from the gears, and then push it forward and gently re-engage it. It should be just slightly forward of the point where it starts to engage the gear in order to reassemble the drive.
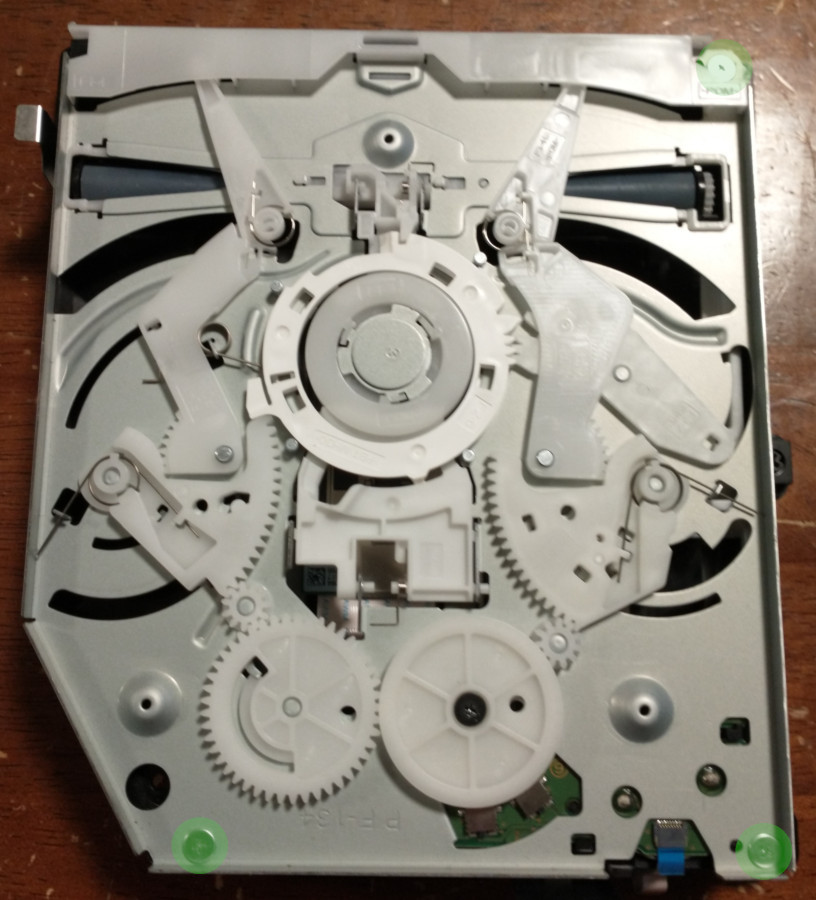
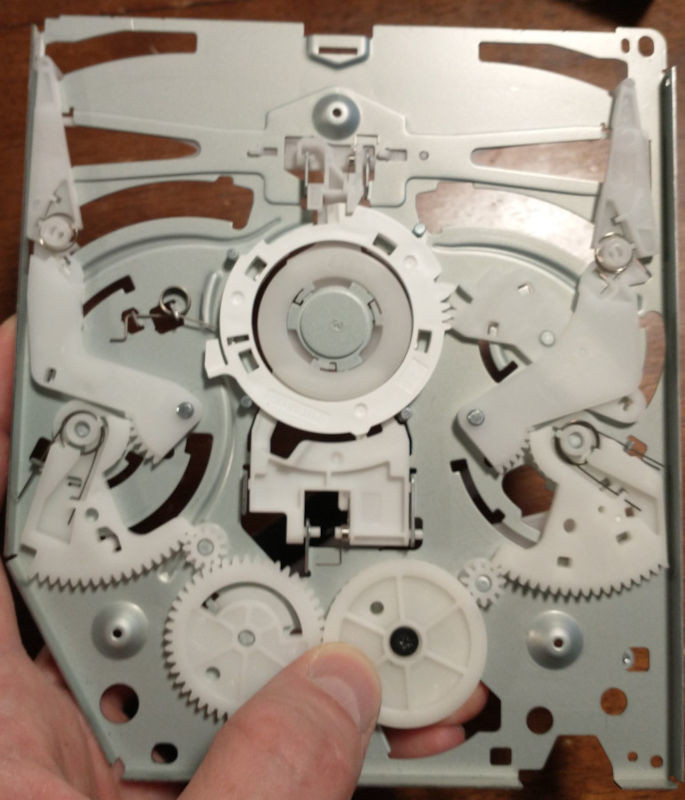
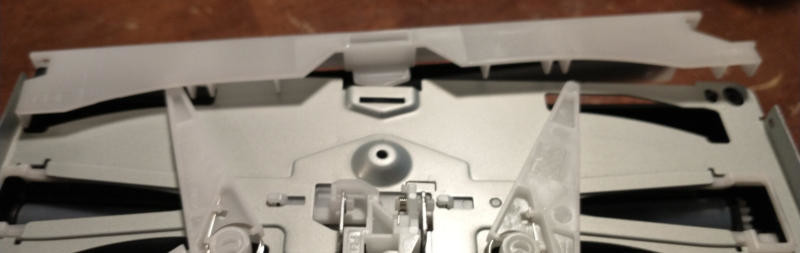
In the top of the slot mechanism, make sure that this gear near the back is engaged with the smaller gear, the hole in the metal nearly lines up with the hole in the gear, and the little metal arm is hooked just over the edge of the shelf on the inside of the gear. This is important, because this mechanism is installed on the bottom side, which means that little arm is keeping the gear from falling out.
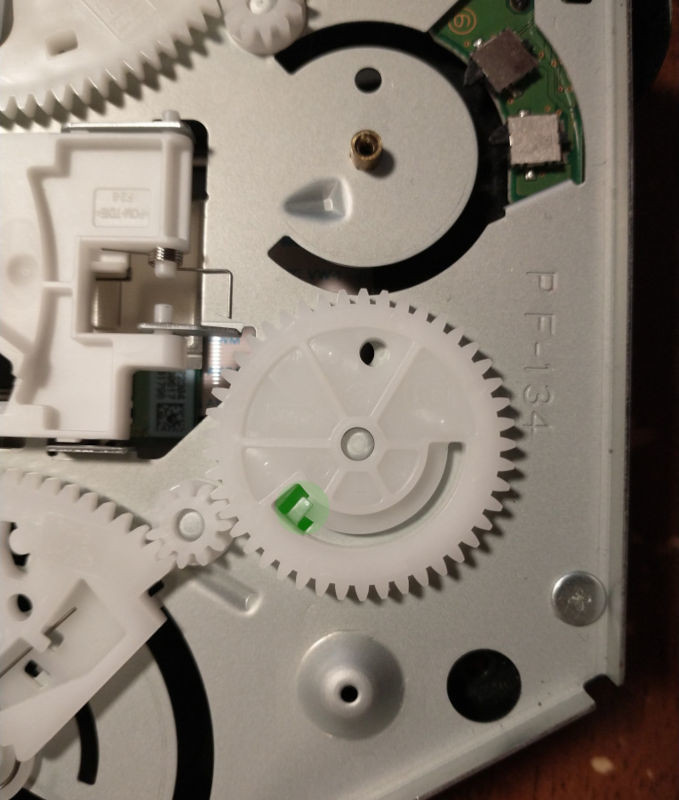
It is probably necessary to pull the black screw out and remove the gear it holds in place. When putting the gear back in, be careful not to damage the switches next to it.
Also check all the points highlighted in this picture. The gears have holes that are supposed to very nearly line up with the holes in the metal at the same time as all the other gears, so they should all be slightly off by about the same amount when the pieces are all resting.
On the left and right there are two small gears that engage with some cool-looking partial gears. When the system is at rest, those small gears should be engaging the last 2 teeth on the partial gears. I found that only 1 tooth was engaged on the right side.
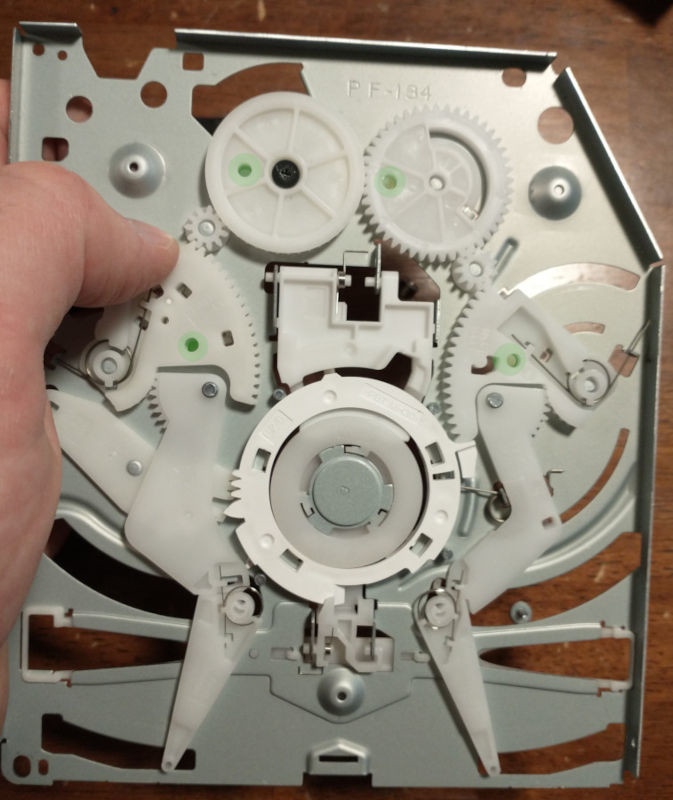
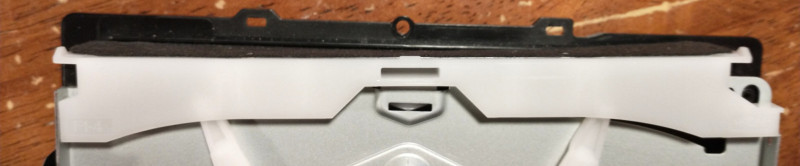
To make sure the mechanism is aligned correctly, first rotate the gear with the black screw until the arms are fully open.
Then flip the mechanism around and gently push on the partial gear as shown in the next picture. with the mechanism pushed slightly in that direction, make sure that all the holes in the gears are aligned with the holes in the metal under them.
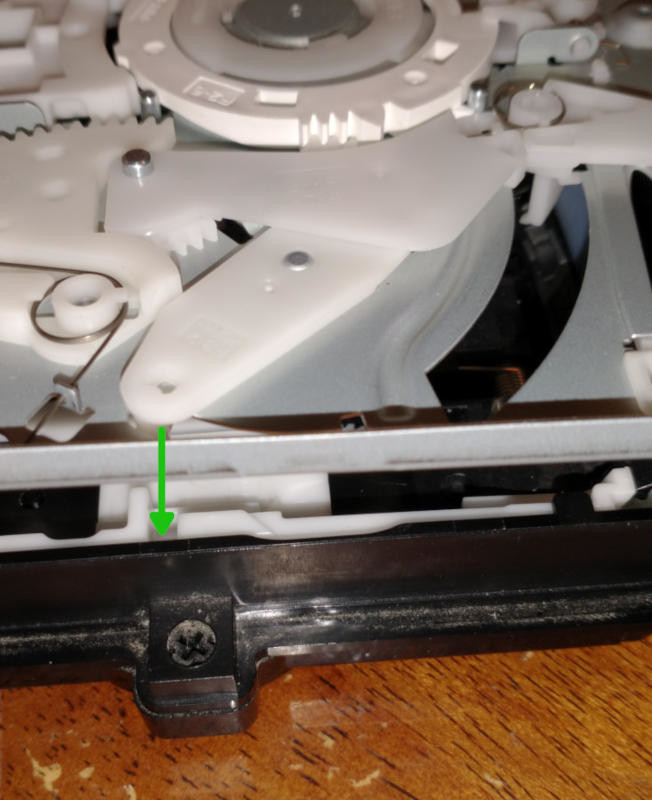
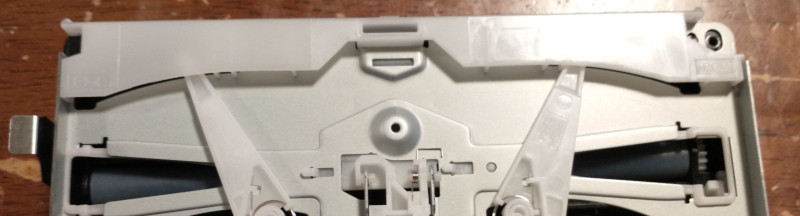
When placing the slot mechanism back on the drive, the slot white plastic slider needs to capture the pin on that side of the mechanism. The slider probably has to be move a bit to get it to line up,
It is easiest to put the faceplate back on while the screws are still out. Looking at it from the front of the drive where the disc goes in, start by pushing the sheet metal into the slot on the right side of the back of the faceplate while tucking the faceplate into the black plastic slot on the drive. Then work across the faceplate to tuck it into that black plastic slot, insert the clasp in the middle, and fit the sheet metal into the back of the faceplate on the opposite side. Sometimes the arms can get in the way. Do not forget the screws, because that would probably cause the drive to separate and malfunction again like it did for me.
Once the drive is reassembled and reinstalled in the Playstation, it is almost ready to use. The position that the slider was left in is not the zero position, so the drive probably isn’t fully open for a disc but also probably will not eject since there is not a disc in it. I grabbed my nearest AOL coaster and pushed it in far enough to trigger the slot mechanism, which made an acceptable noise and partially took the disc.
Once it has tried to take the disc, the eject button should work and it will spit it back out, initializing the position of the drive.