
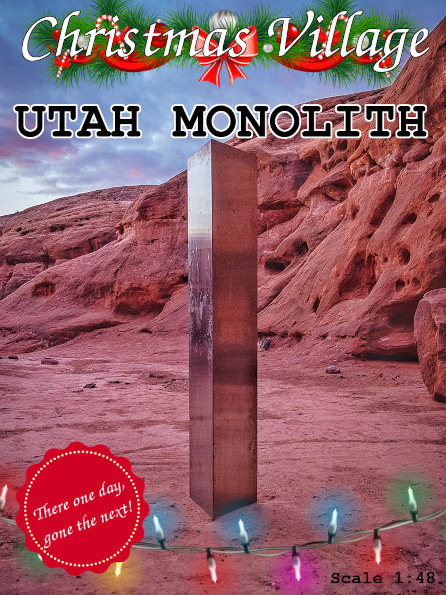
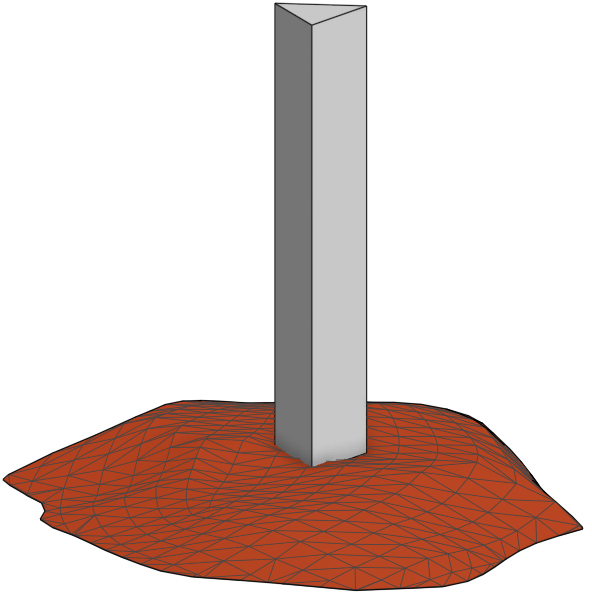
Every year around the holidays a few people in my mom’s family make “Christmas villages” with these winter-themed model buildings. They’re cute. Last year I made a “Christmas Monolith” for a few people with a shiny silver pillar and a red rocky base. That led me to discover that the typical model scale for these products is about 1:48, as in 1 inch on the model scales to 4 feet of real building.
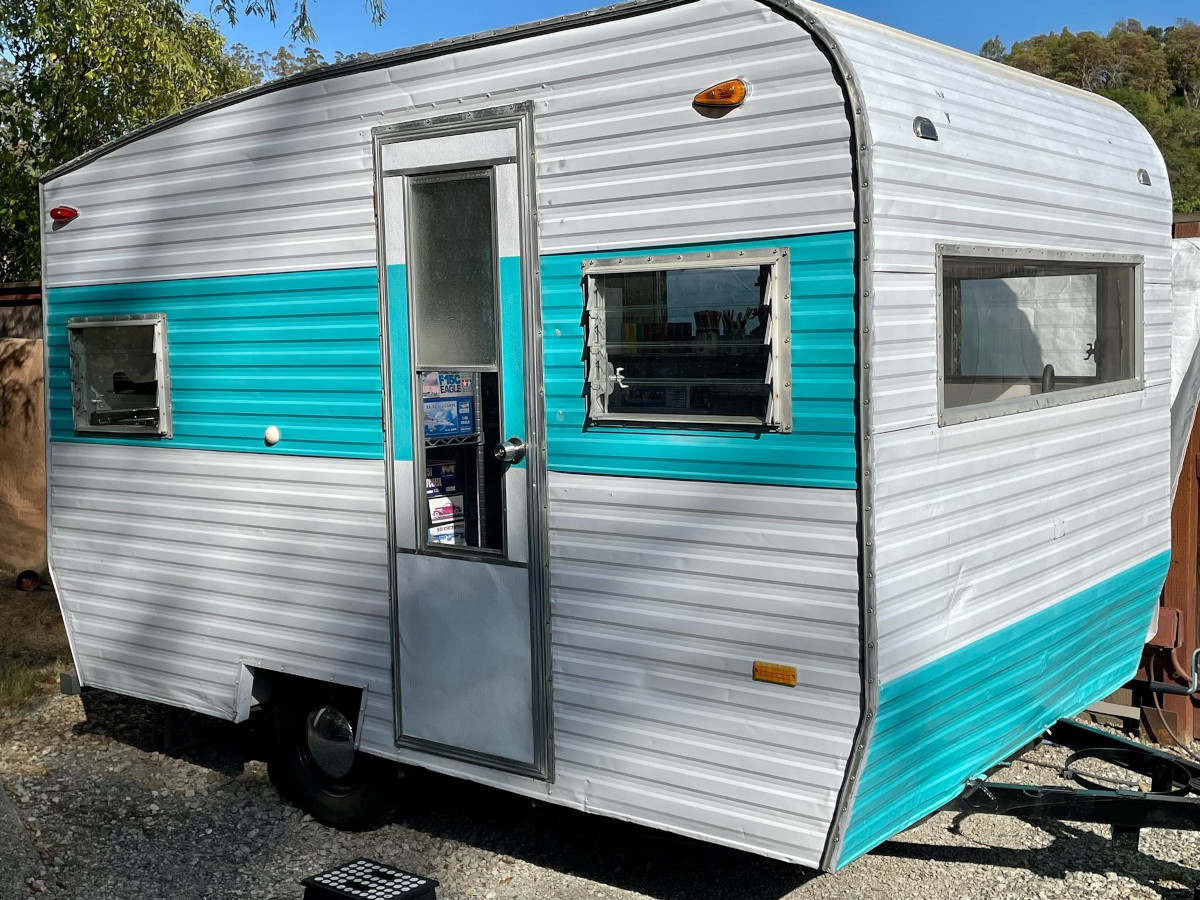
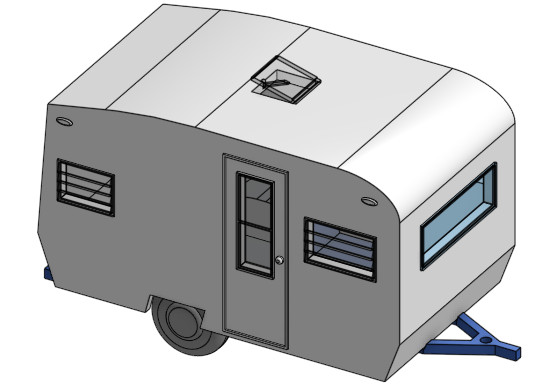
My aunt just moved to my hometown a couple of years ago. She has a cute camper trailer in her yard where she tutors students, so I thought a model of her trailer would be a cute present for her. I live in Colorado and she lives 1500 miles away in California, so I couldn’t just walk out and measure the thing with a tape measure. On top of that, These old camper trailers kind of followed the vehicle body-builder mentality of yearly batches, so there are a bunch of variations of each model and not a lot of documentation about them. My uncle told me the exact make and model, so I was able to find a sales brochure online indicating the length, width, and standing room height, which I do not think were entirely correct, but were definitely a good ballpark.
I went through pictures my family sent me of the trailer and selected one with a good view of the front and right sides without much distortion. Then I drew lines along the top and bottom edges of the trailer, which I suspected were parallel in reality, to establish perspective. From that perspective point I used a ruler to mark the height of each of the components along the side of the trailer, like the edges of the door frame and windows. I used the print that I measured from as wrapping paper, so I have reproduced it a little bit digitally to show the method. Once those were marked out, the relative vertical coordinates could be established by measuring the distance between the outer edges and a given point. By drawing a projection from the perspective point, that measurement can be done at a point along the closest edge of the picture to get higher measurement resolution.
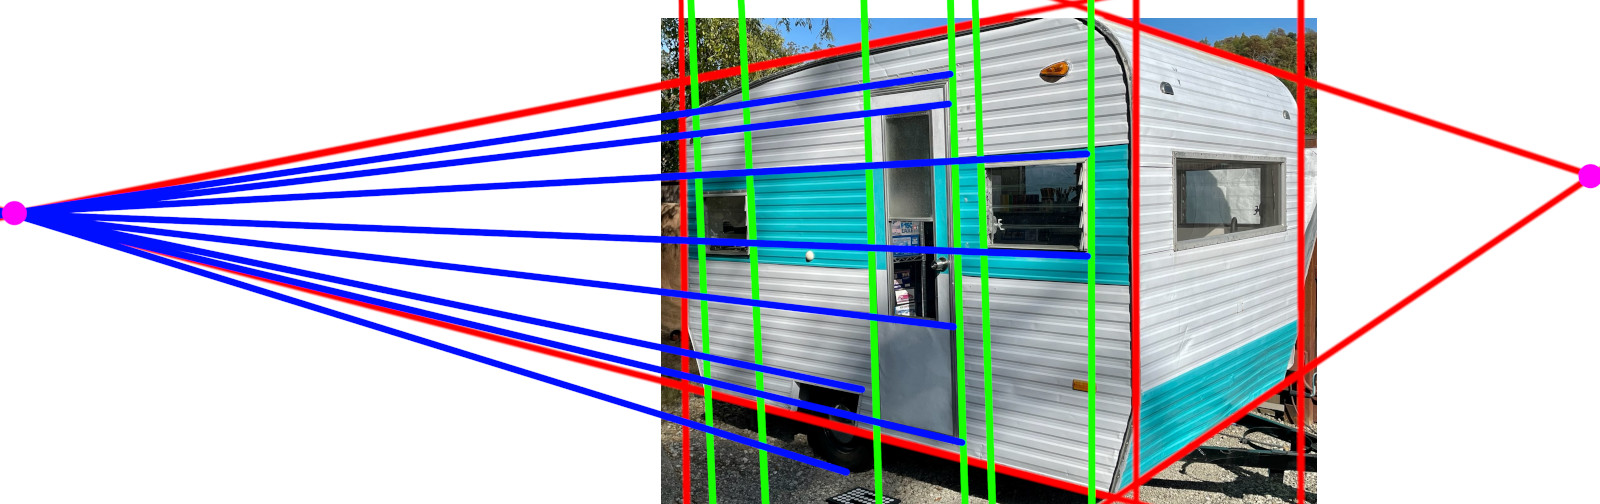
Measuring the position along the length of the trailer is harder. The farther away the points are, the closer they will appear together. This problem can be solved with math. I calculated that, in the region where I was measuring, the difference between the distance I measured straight off the page and the distance once I had corrected for perspective would be something on the scale of 10%, so for most of the small distances I just eyeballed the correction.
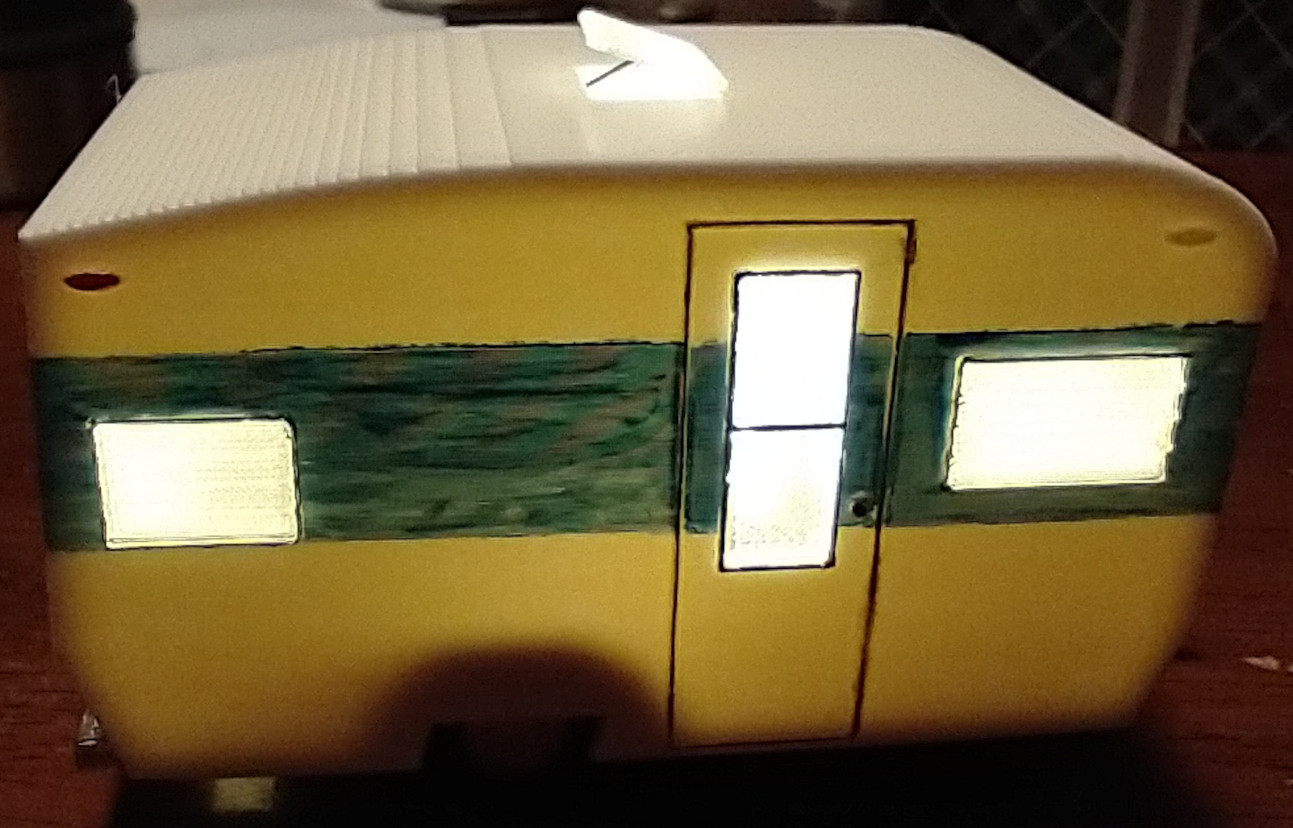
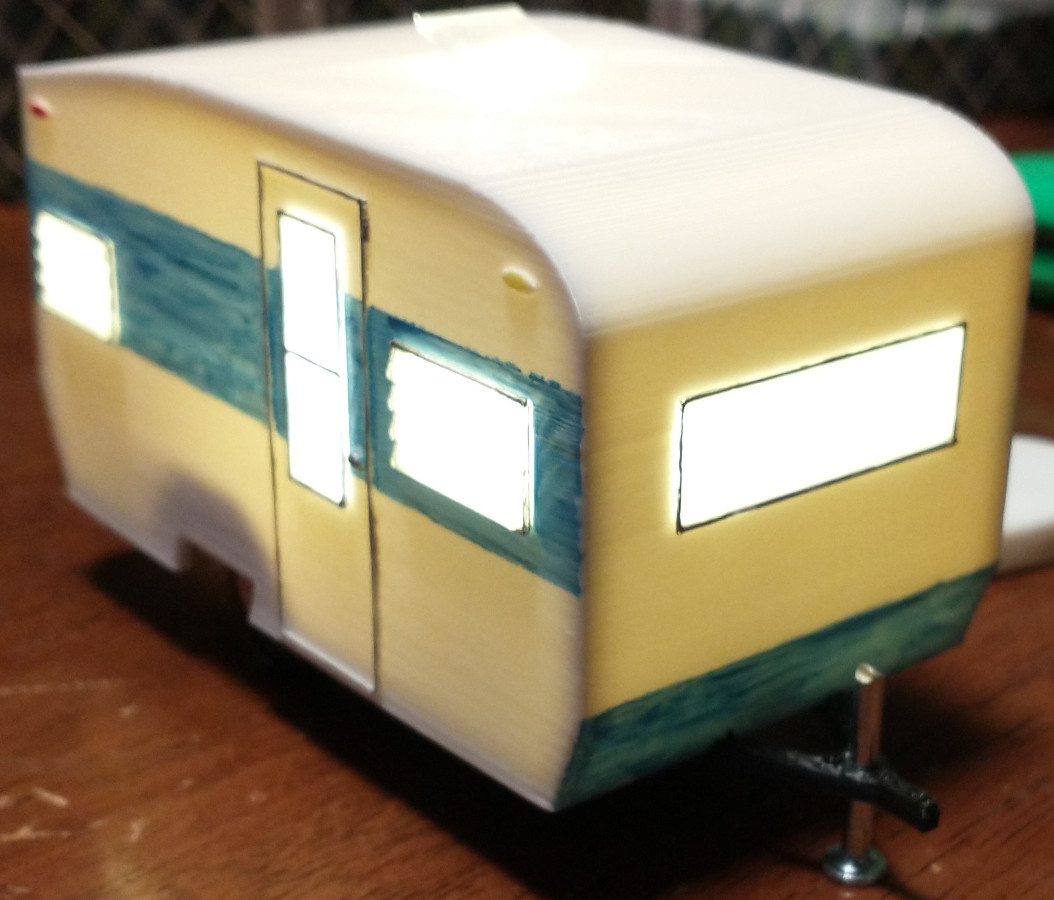
After that was done, it was time to mock up the trailer in a solid model. I knew that I wanted it to snap together out of different materials so that I could have true black plastic for the wheels and bottom, white plastic for the outer walls, and transparent plastic for the windows. The most prevalent colors outside of those were a turquoise and silver, which made sense to paint on.
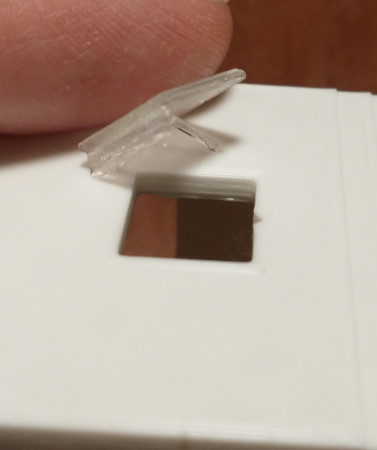
Dialing in the clearance for the windows was tricky, since they needed to snap in. One advantage of 3D printing snap-in parts is that, if the snap-in direction is normal to the print surface, the bumps between the layers kind of act like teeth that can help lock the parts in place. The window on top is also transparent plastic, and it gently snaps in place with one edge sitting on the top and a very delicate leg propping it up against the trailer body. The advantage to having these parts snap in place is that the final piece is very easy to repair.
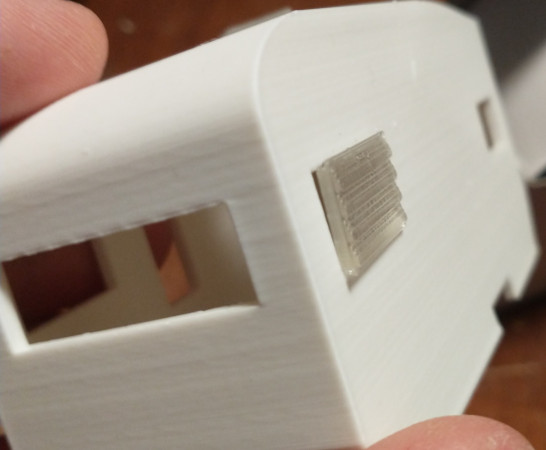
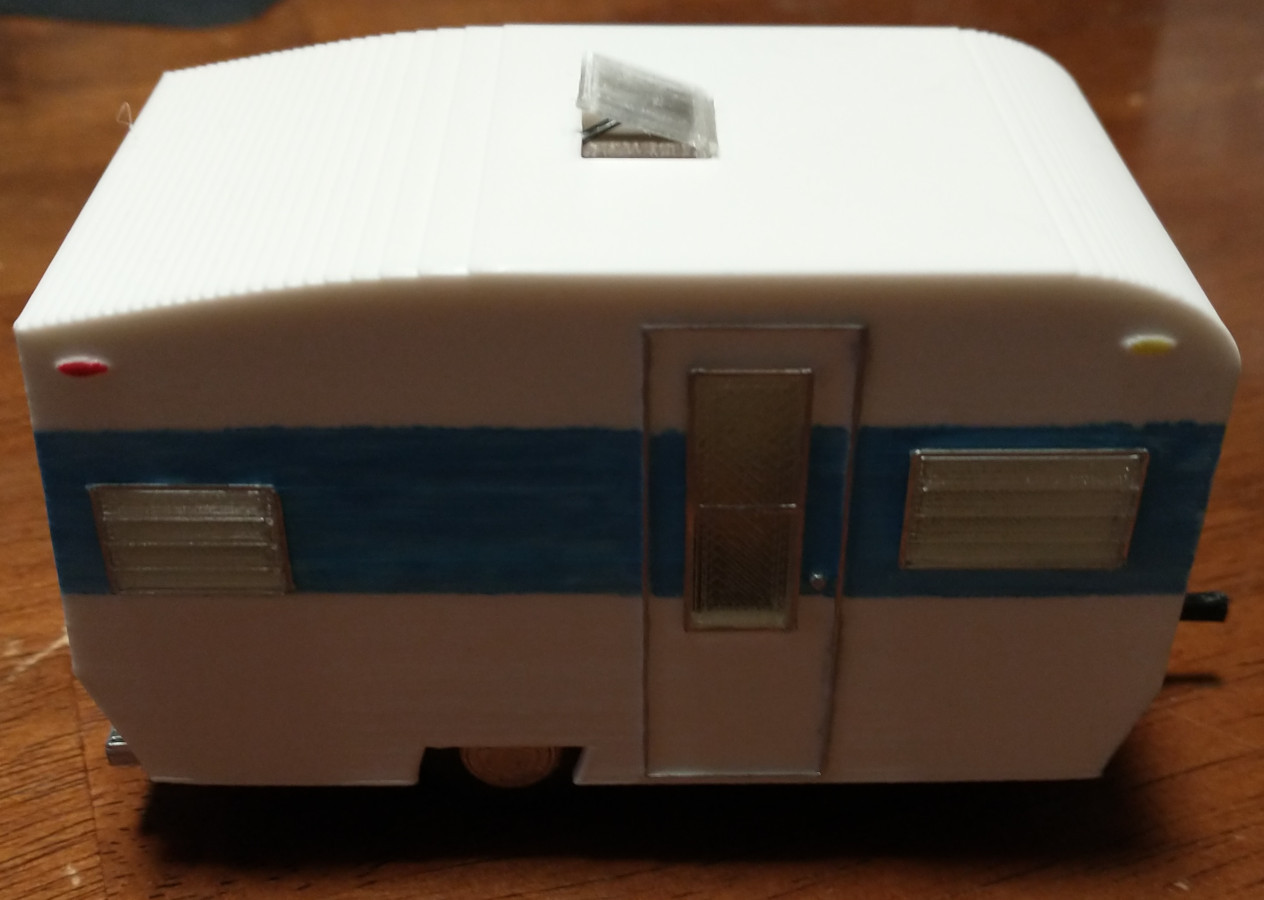
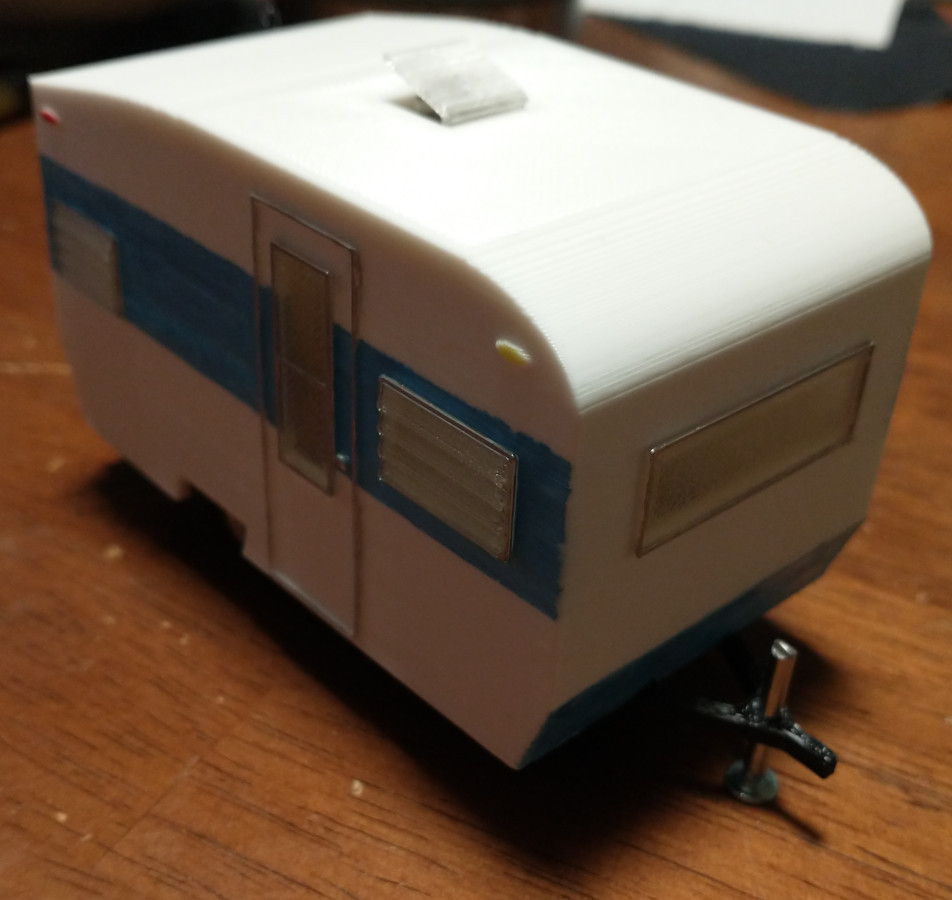
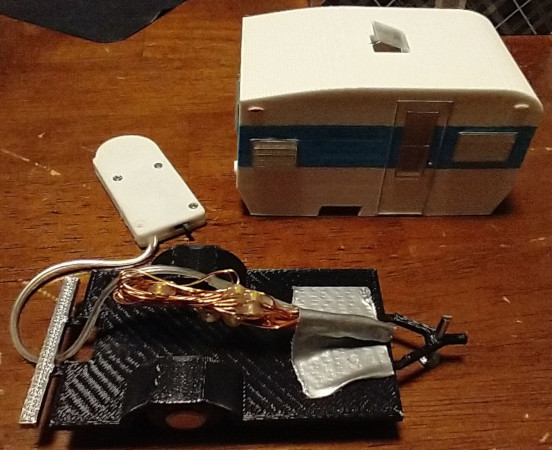
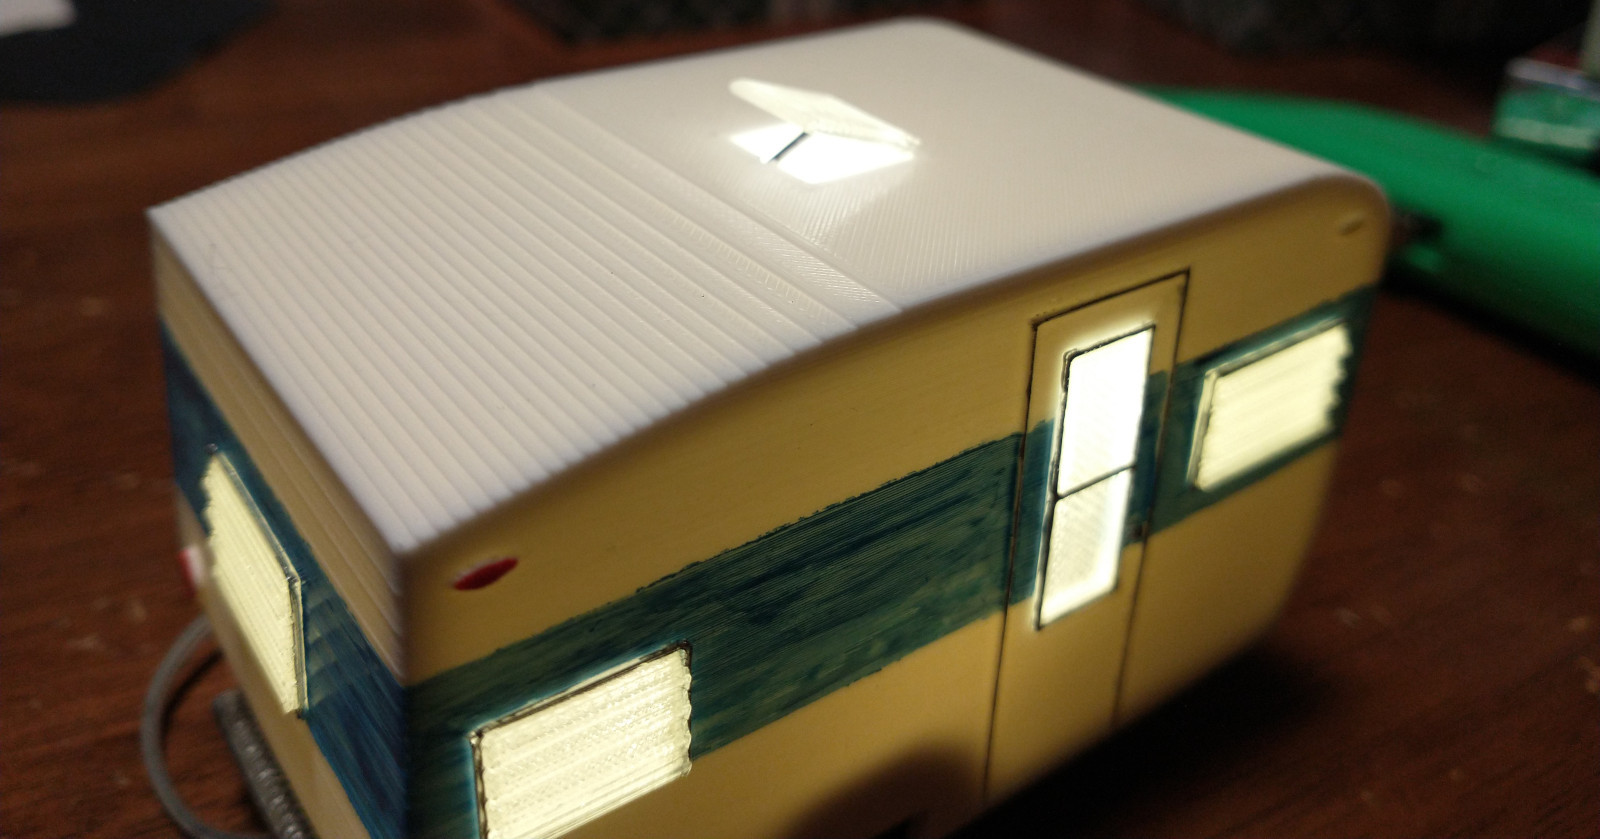
It took a couple of tries to get the clearance right on the axle, which is made from the shaft of a wood nail. I used a small nail for the jack on the front of the trailer. The nail is held in by friction, and it can be moved to adjust the trailer angle if it is parked on a hill. After two iterations of the wheels, I was able to get the wheels to press-fit on. I did a second iteration of the bottom of the vehicle that has a small rectangular hole near the back so that wires can run through the bottom to power a light inside.
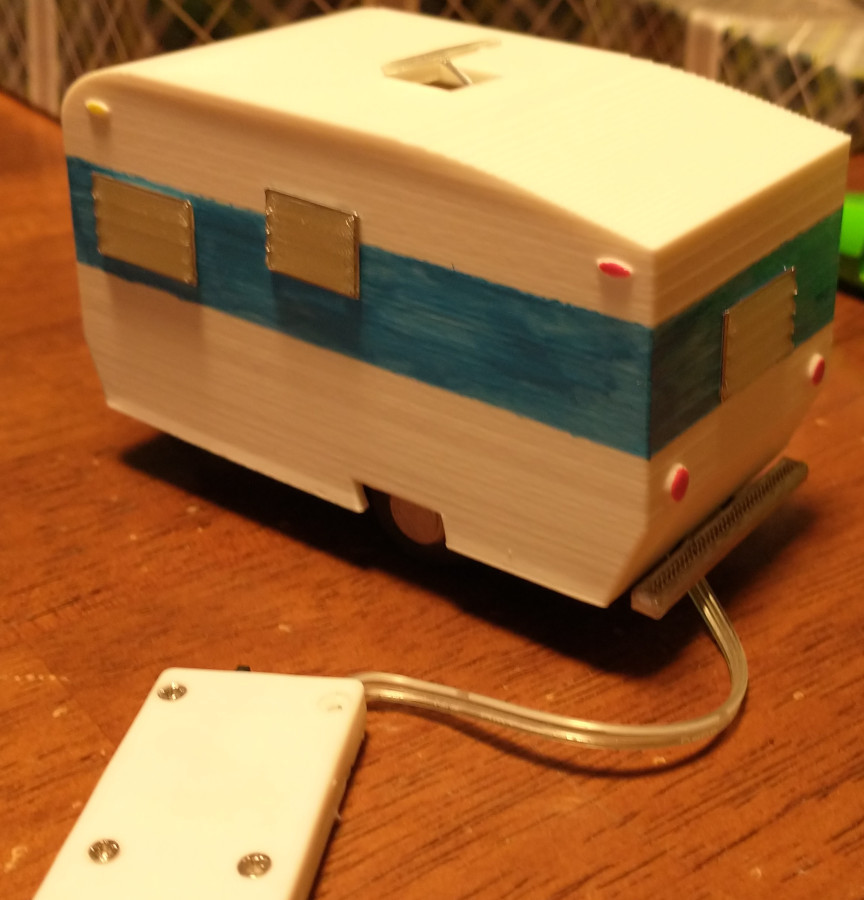
Each of the windows has a raised trim component where the silver paint could be applied easily without touching the window surface. On the side of the trailer, there is a raised component for the door trim, but painting that part was especially hard because the “grain” of the plastic is across the raised portion, which wicks the paint along to places where it shouldn’t go. I was able to paint it pretty well by waiting for the paint to start to thicken before applying it, then carefully cleaning up any runs with mineral spirits. To wrap up the painting, I used gel nail polish to really accentuate the signal lamps.
If you would also like a 1:48 scale model trailer, you can take this design from my Onshape project. Fair warning, this is more art than science, so the design parameters are pretty messy.