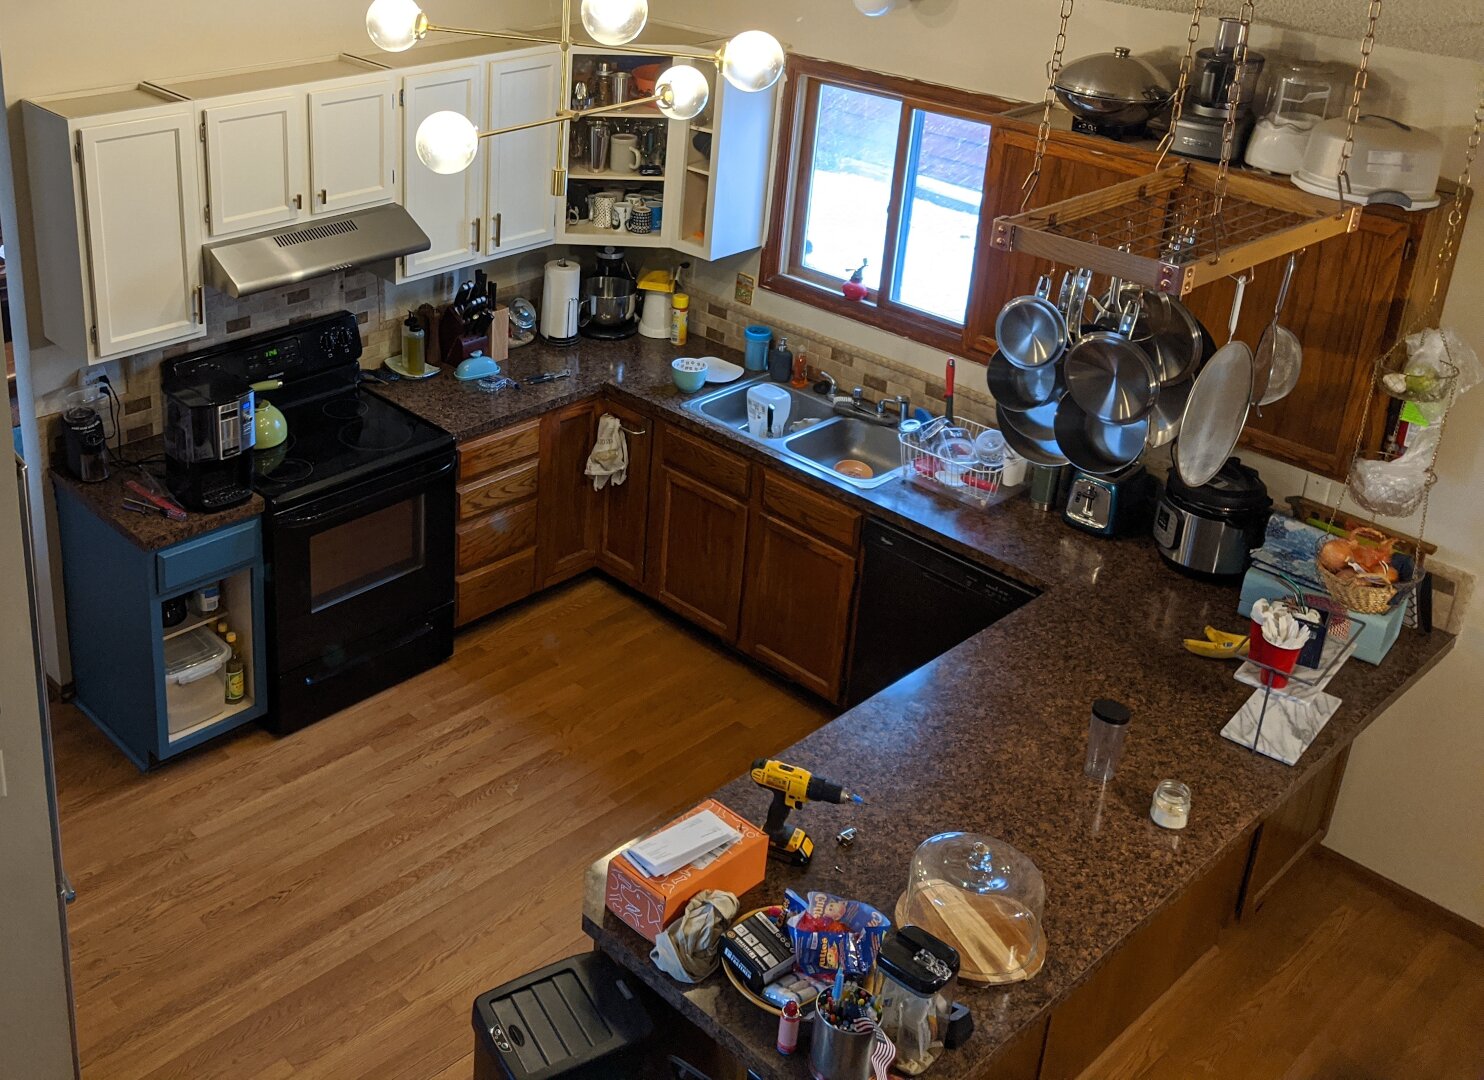
Last summer we started a long process to resurface our kitchen cabinets and counters to make them both more functional and more modern-looking.
We started with a plan that we wanted to do something about our ugly cabinets. My best guess is that the previous owner had tried to stain them a redwood color, but spread the stain on instead of rubbing it in. The result was pools of red liquid all over the cabinet surfaces, especially the doors. We also found issues with our counter, which was a brown laminate counter with a fake marble pattern.
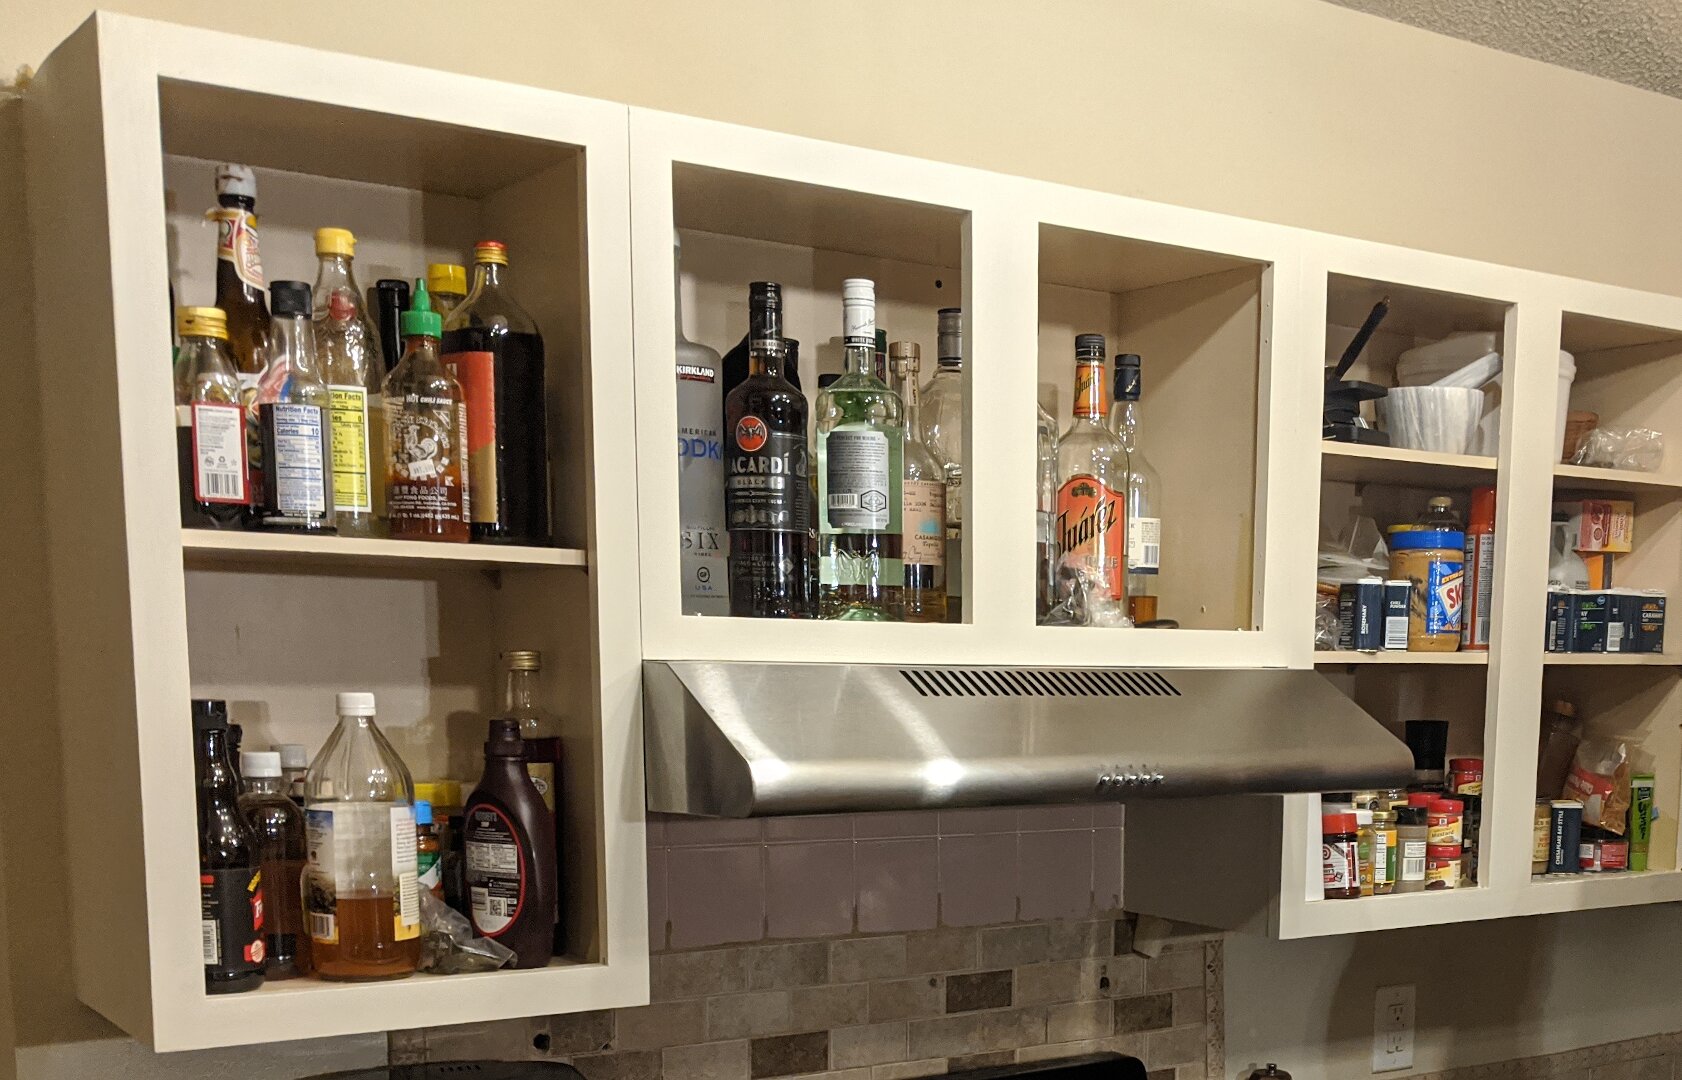
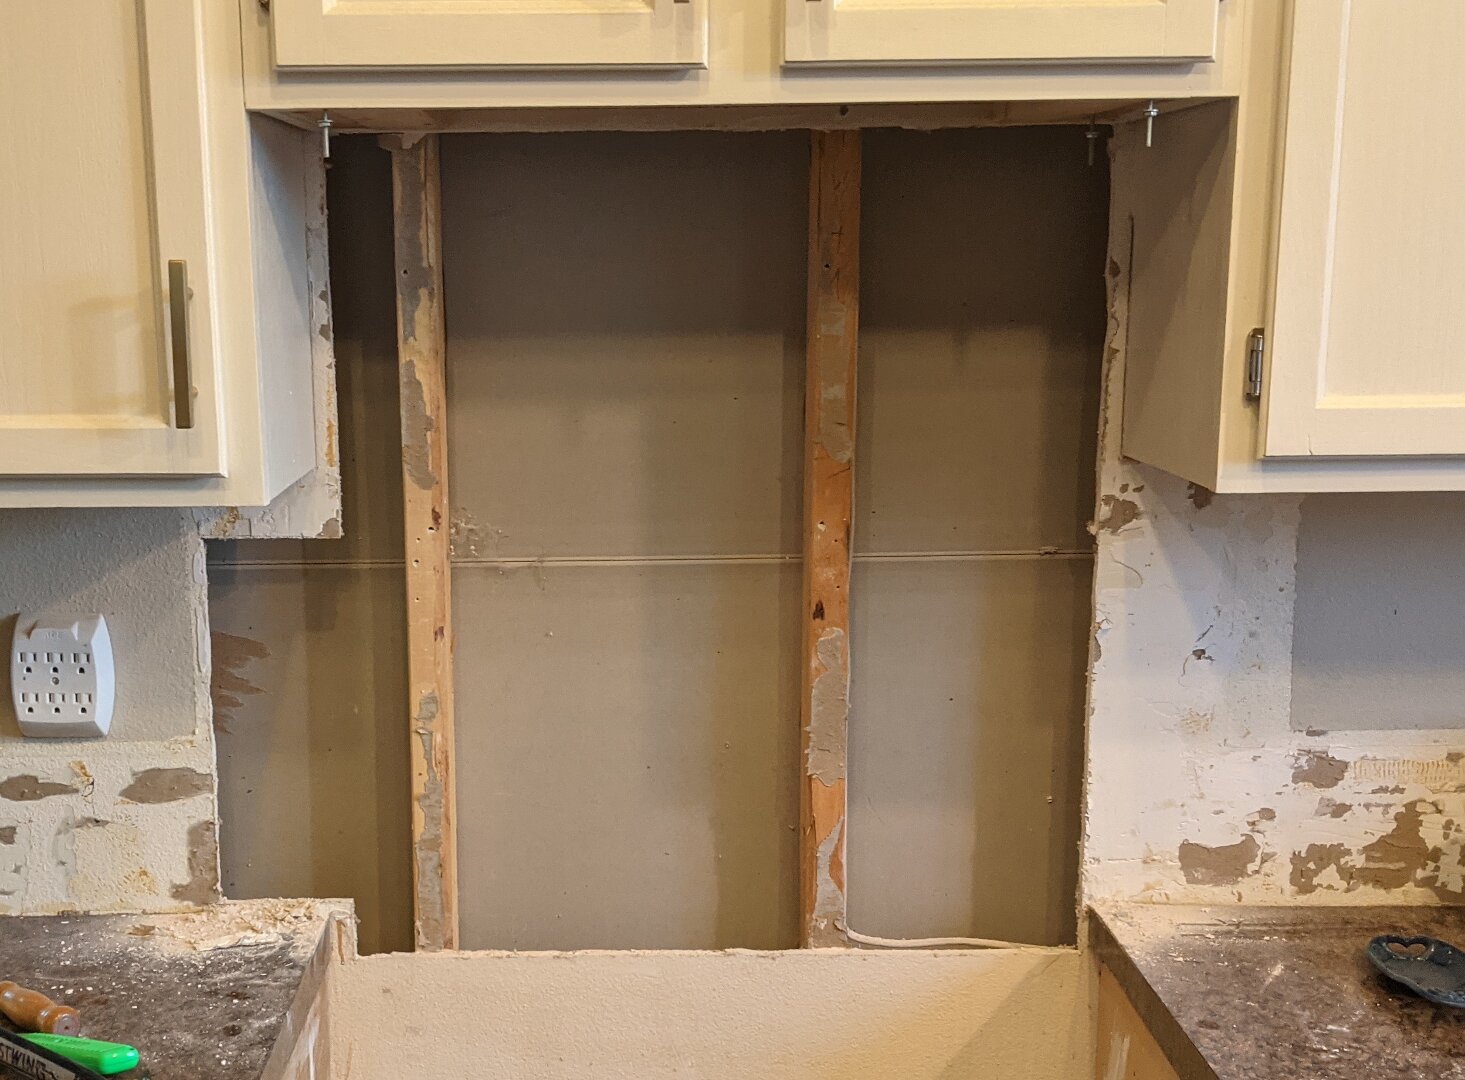
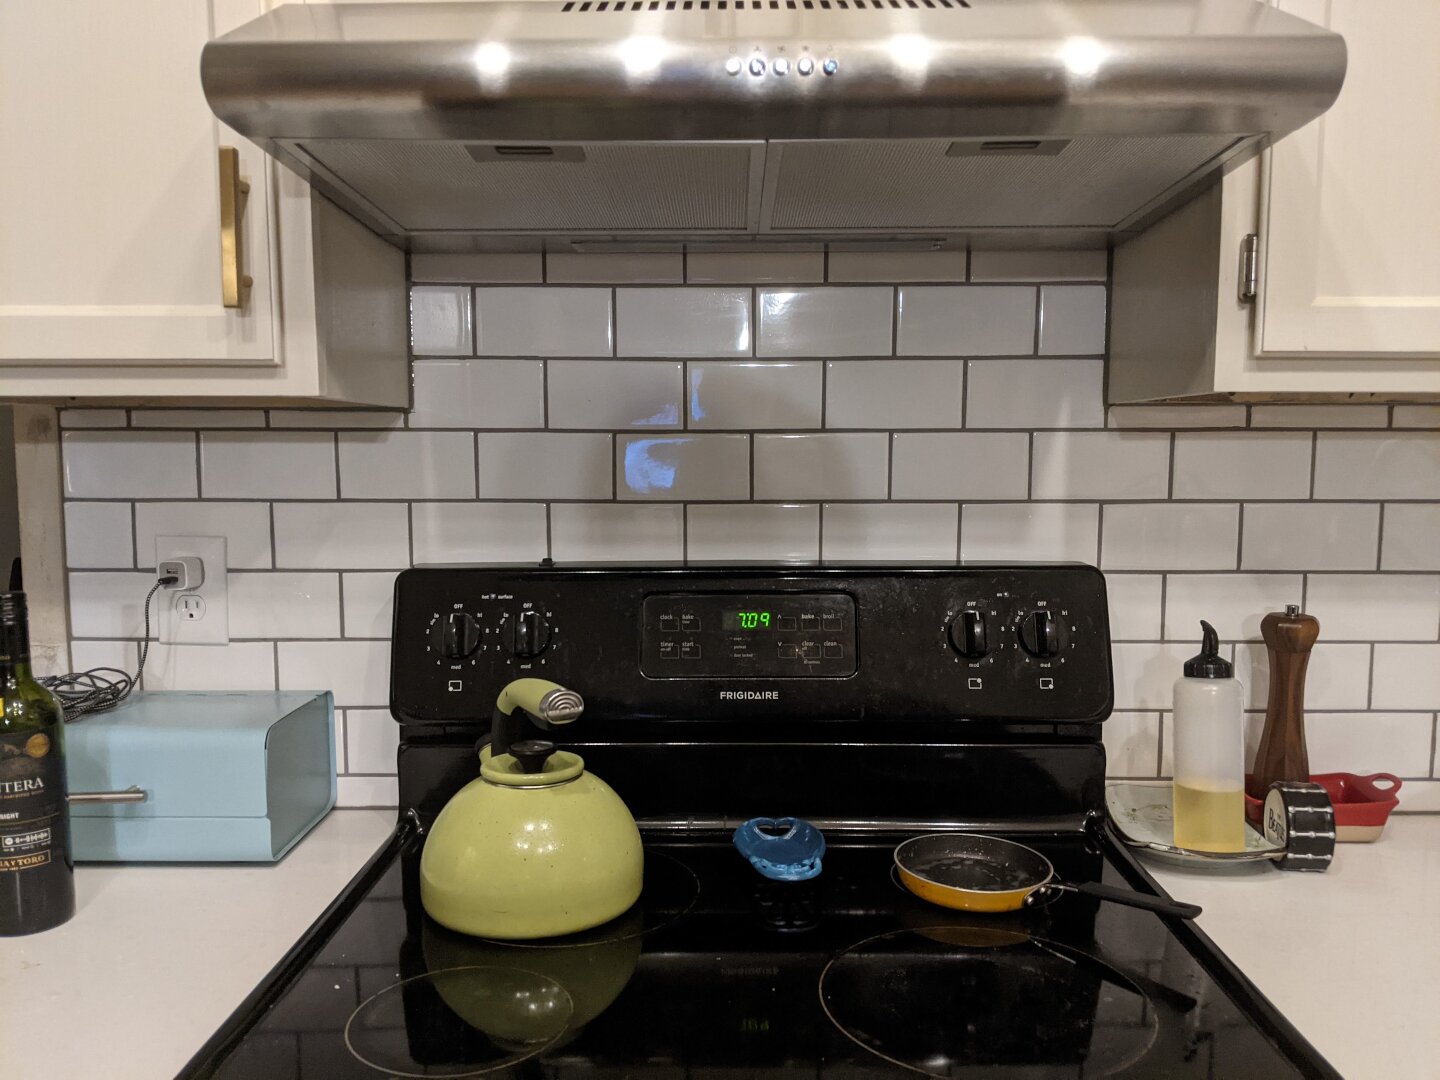
We started off with simply removing our above-stove microwave and replacing it with a hood. Removing the microwave revealed an interesting tile configuration behind the stove.
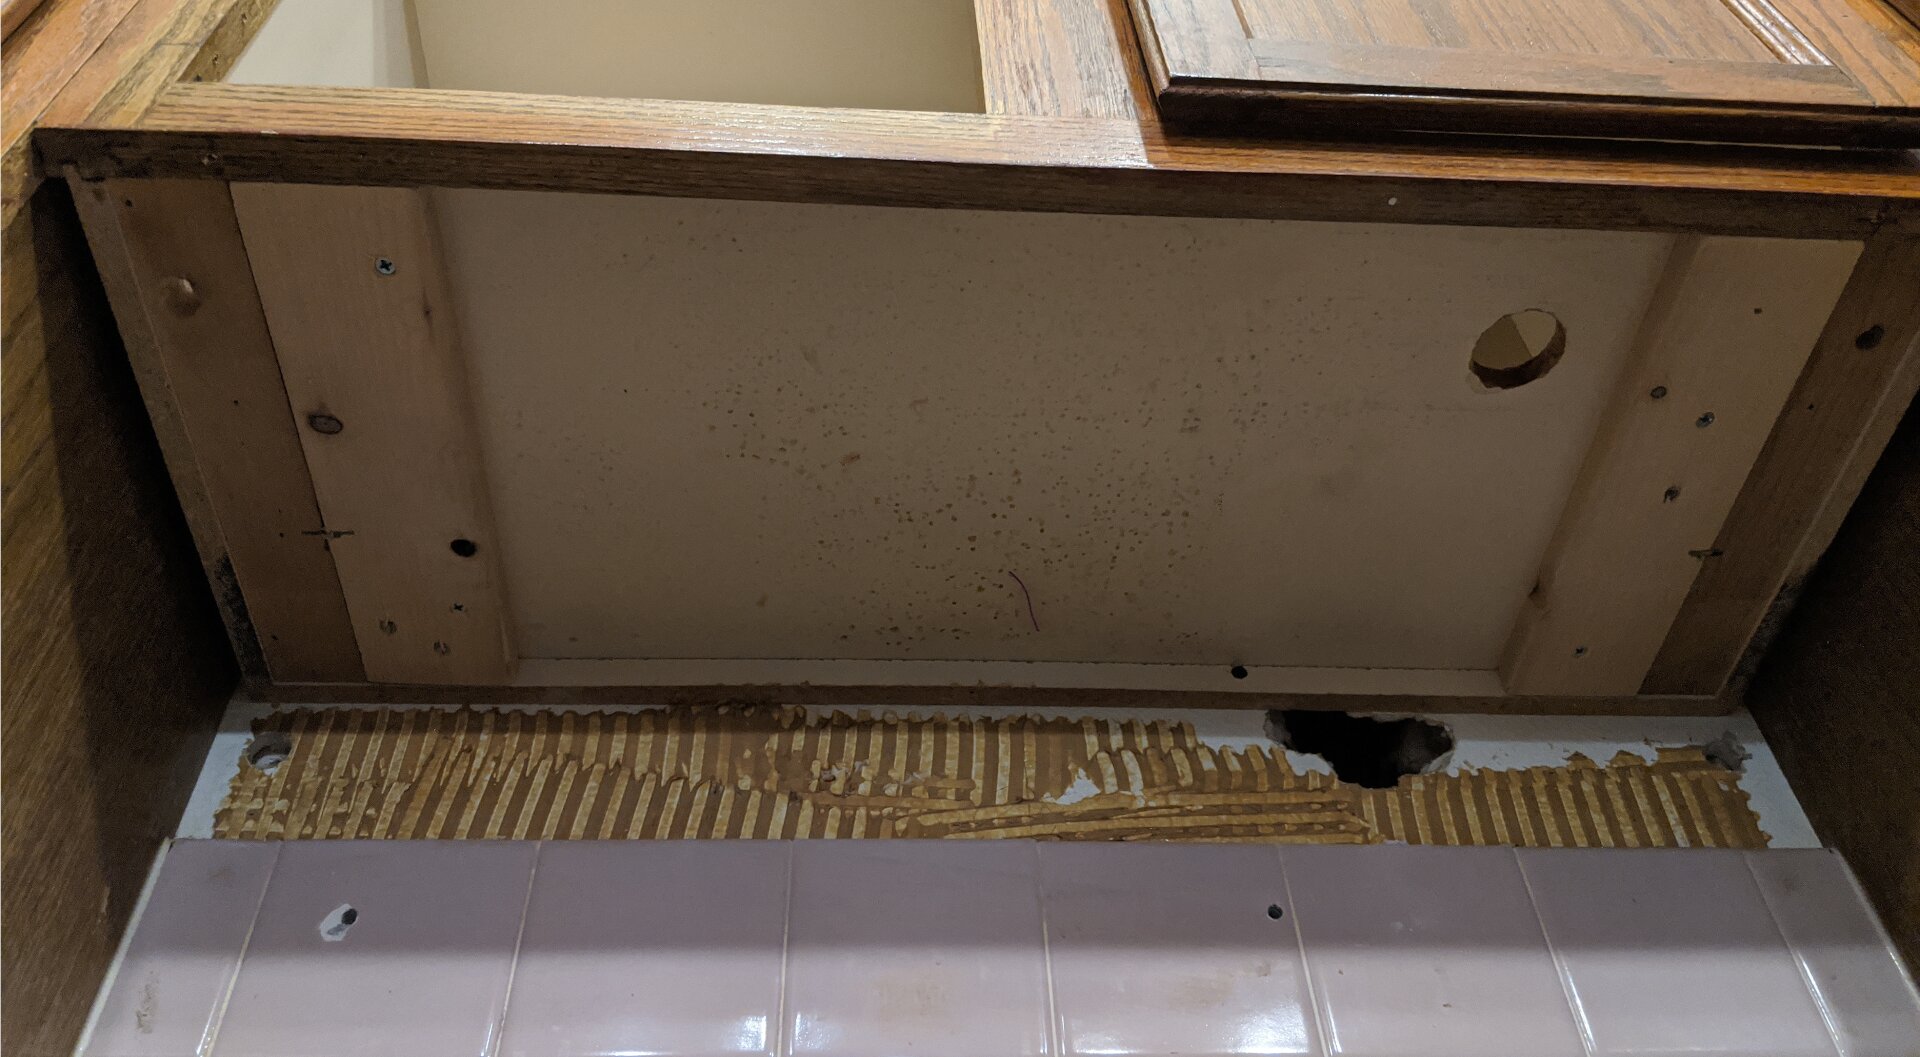
Whoever installed the microwave probably did it after the installation of the backsplash. The wall here was completely hidden by the microwave, so they used some of these cheaper square pink tiles that they probably had leftover from one of our bathrooms. They didn’t tile all the way to the cabinets, but they did apply adhesive all the way up. It turned out there were several holes in the drywall that were patched very poorly before the tiles were put on, and one near the top that wasn’t patched at all.

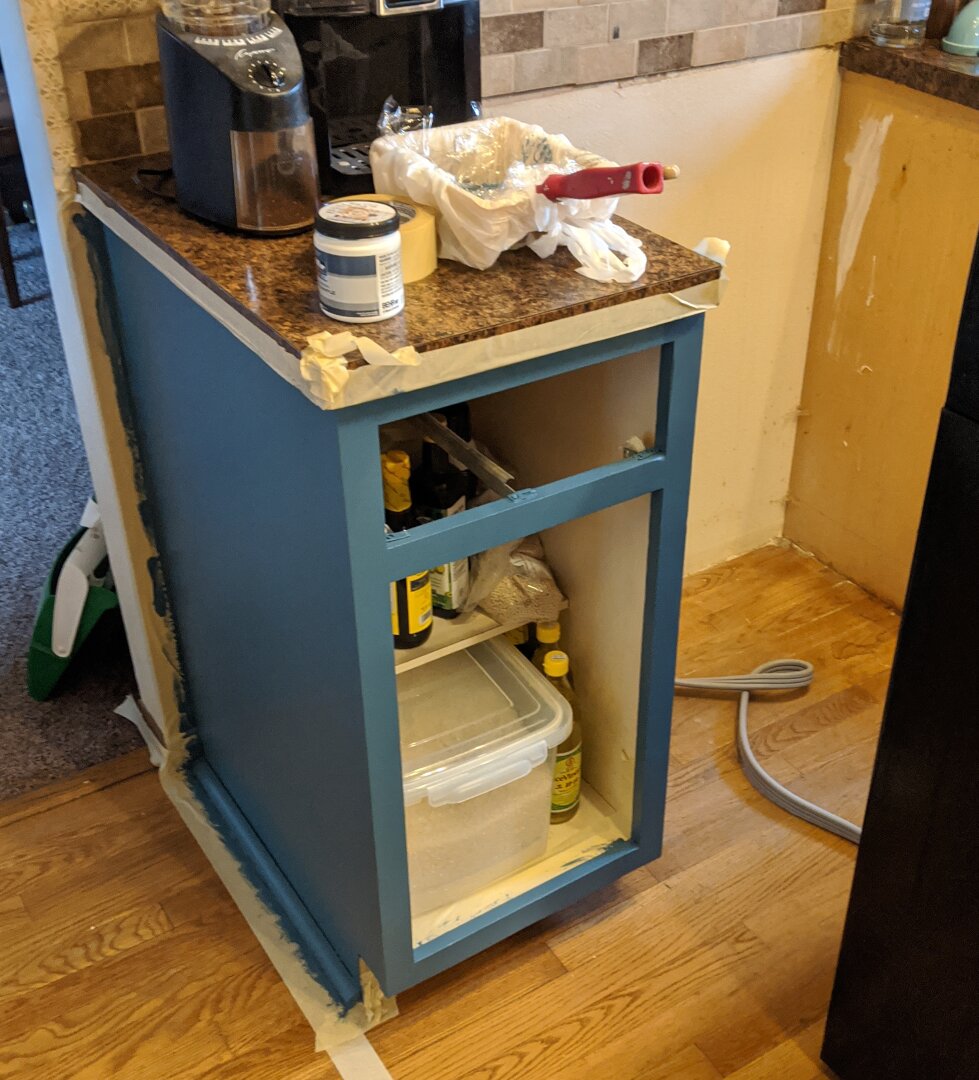
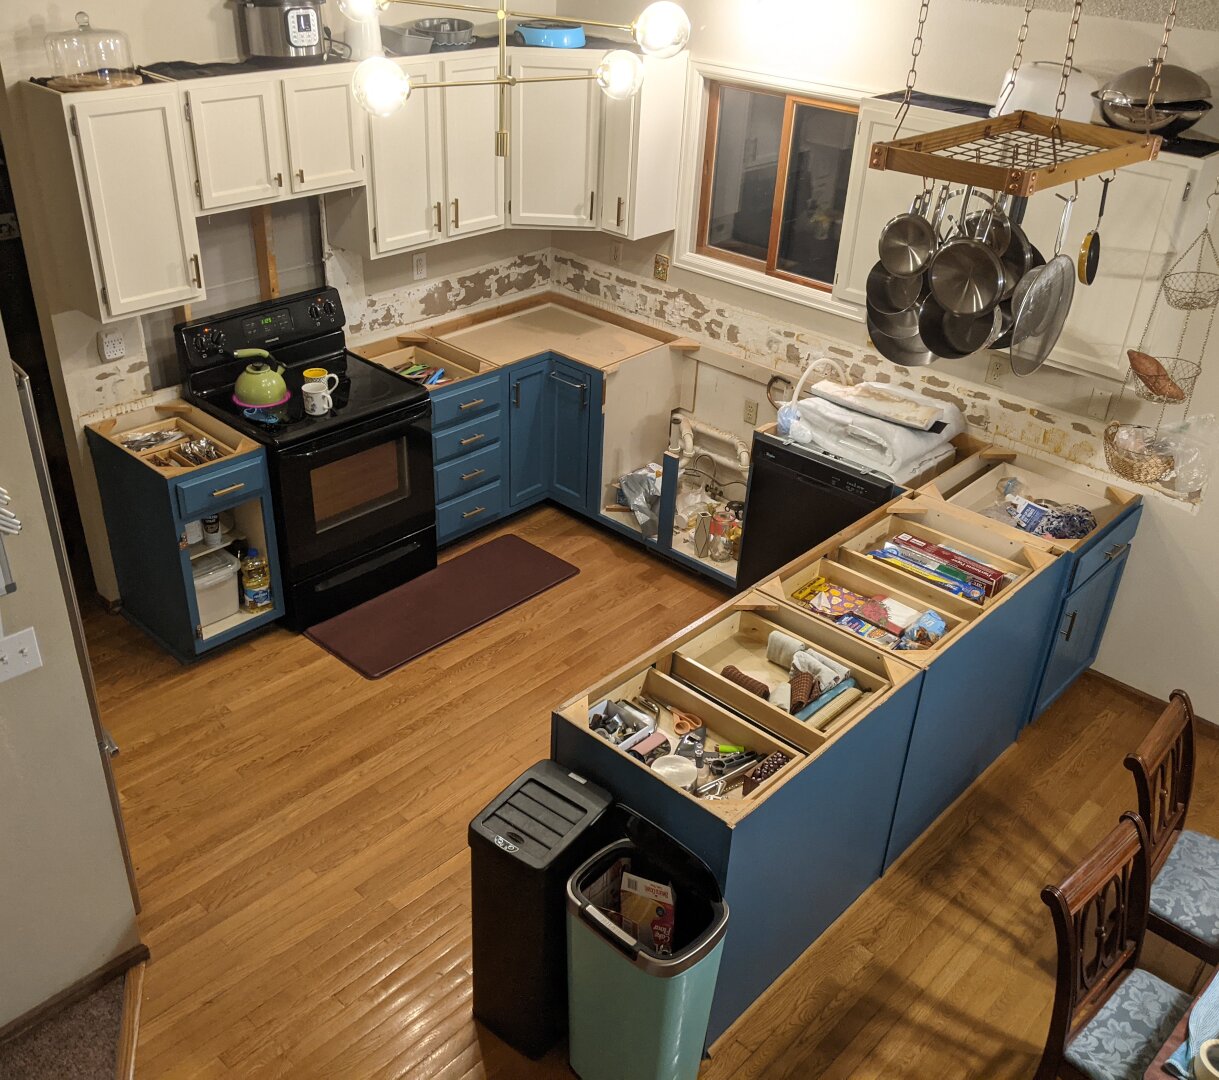
We test-painted the lone cabinet a shade of blue and then picked a shade of white and painted the upper cabinets. Cleaning and sanding all that gunk off the cabinet door surfaces really drew out the process, and we had a few weeks without upper cabinet doors. The lower cabinet door was in bad shape and we accidentally painted it along with the white doors, so it lived in the garage until we got around to painting the other lower cabinets later in the year.
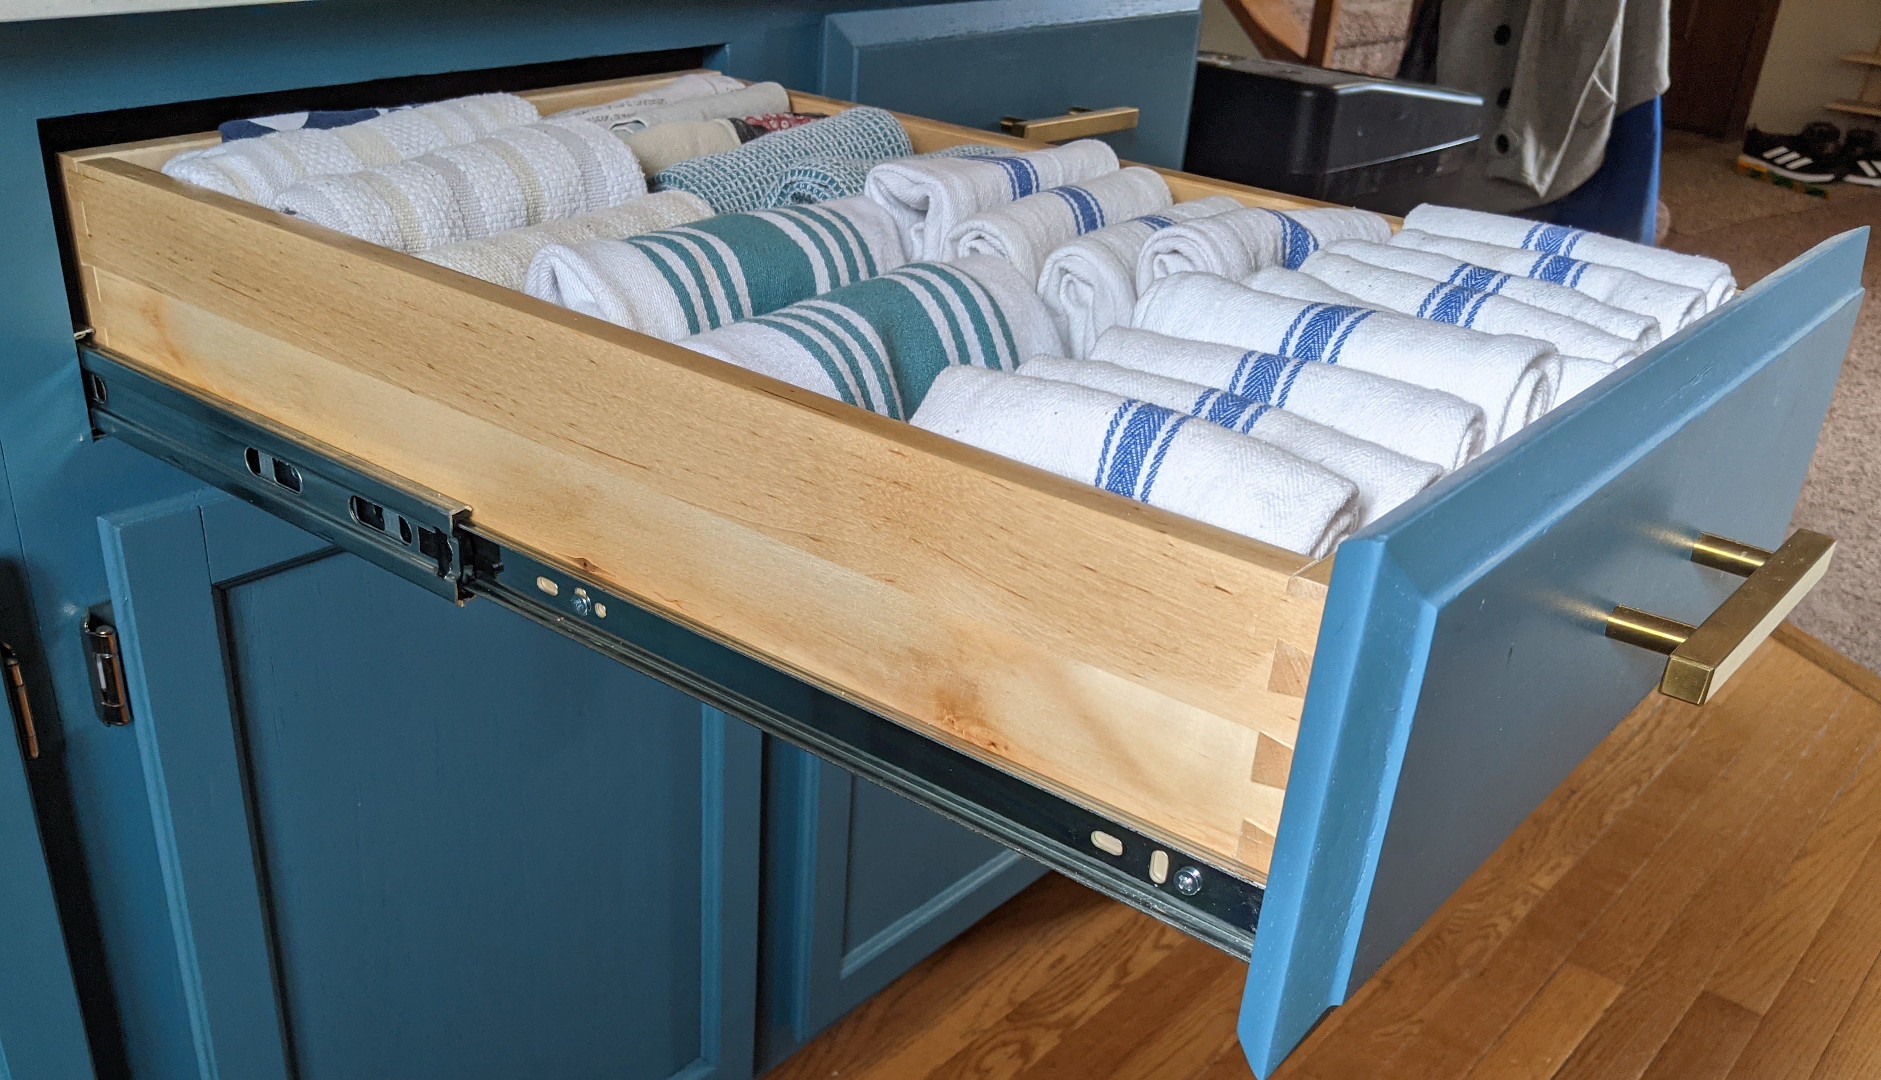
I mentioned in an earlier post that the previous owners of our house were pretty hard on their kitchen cabinet doors. It turns out they were equally hard on the drawers. More than half were broken and pasted back together with this stuff. I thought at first it was liquid nails, but it actually seems to be some variety of wood glue.
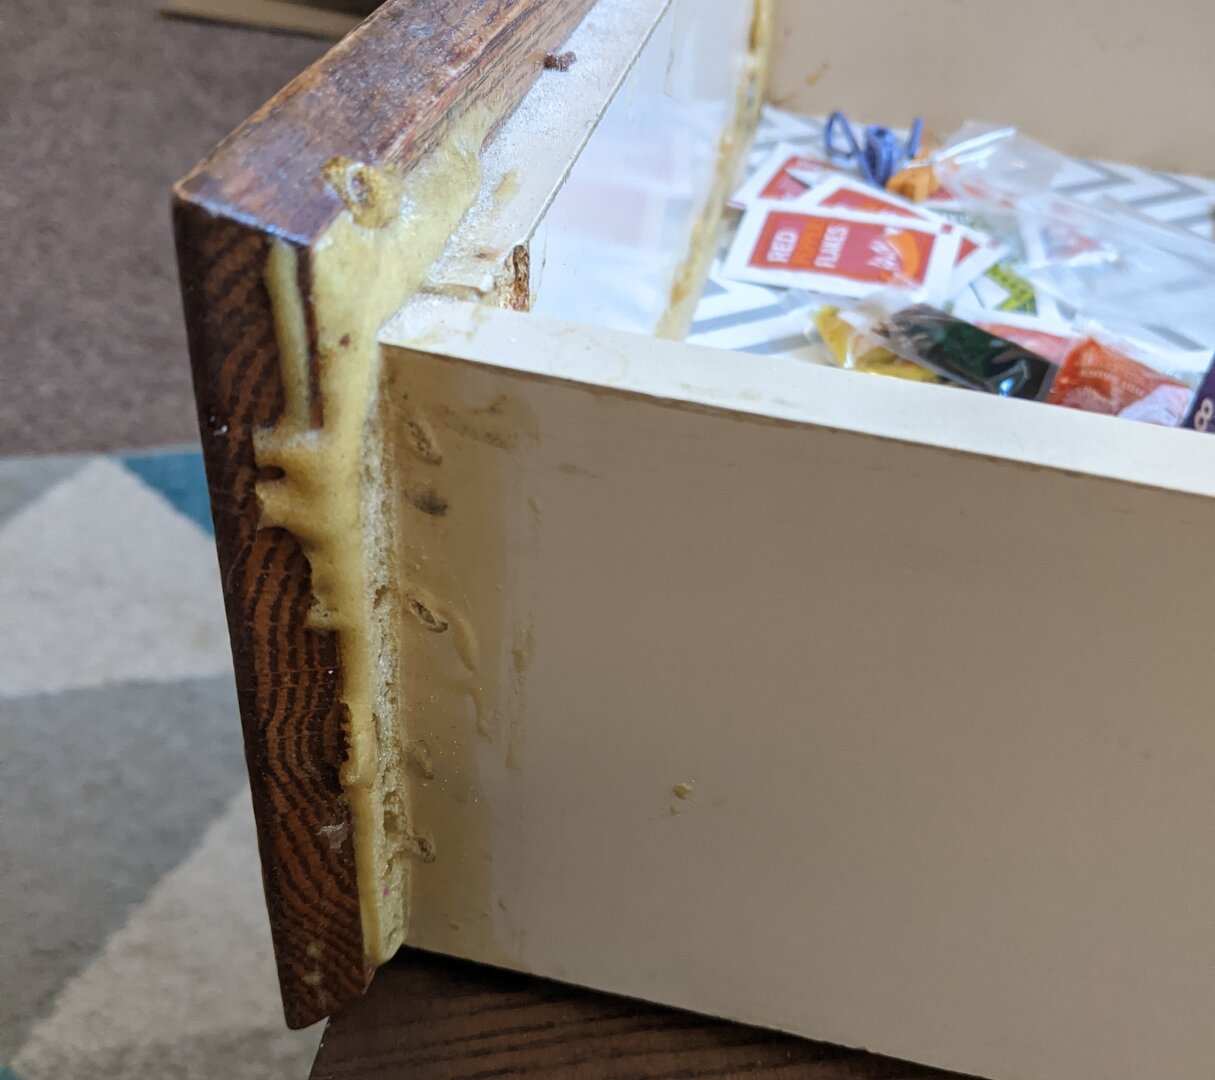
I broke down all the drawers to salvage the face plates and removed the crappy box rollers from the cabinets. We ordered replacement drawer boxes and slides from an online suppler, so now our drawers are sturdy and soft-closing.
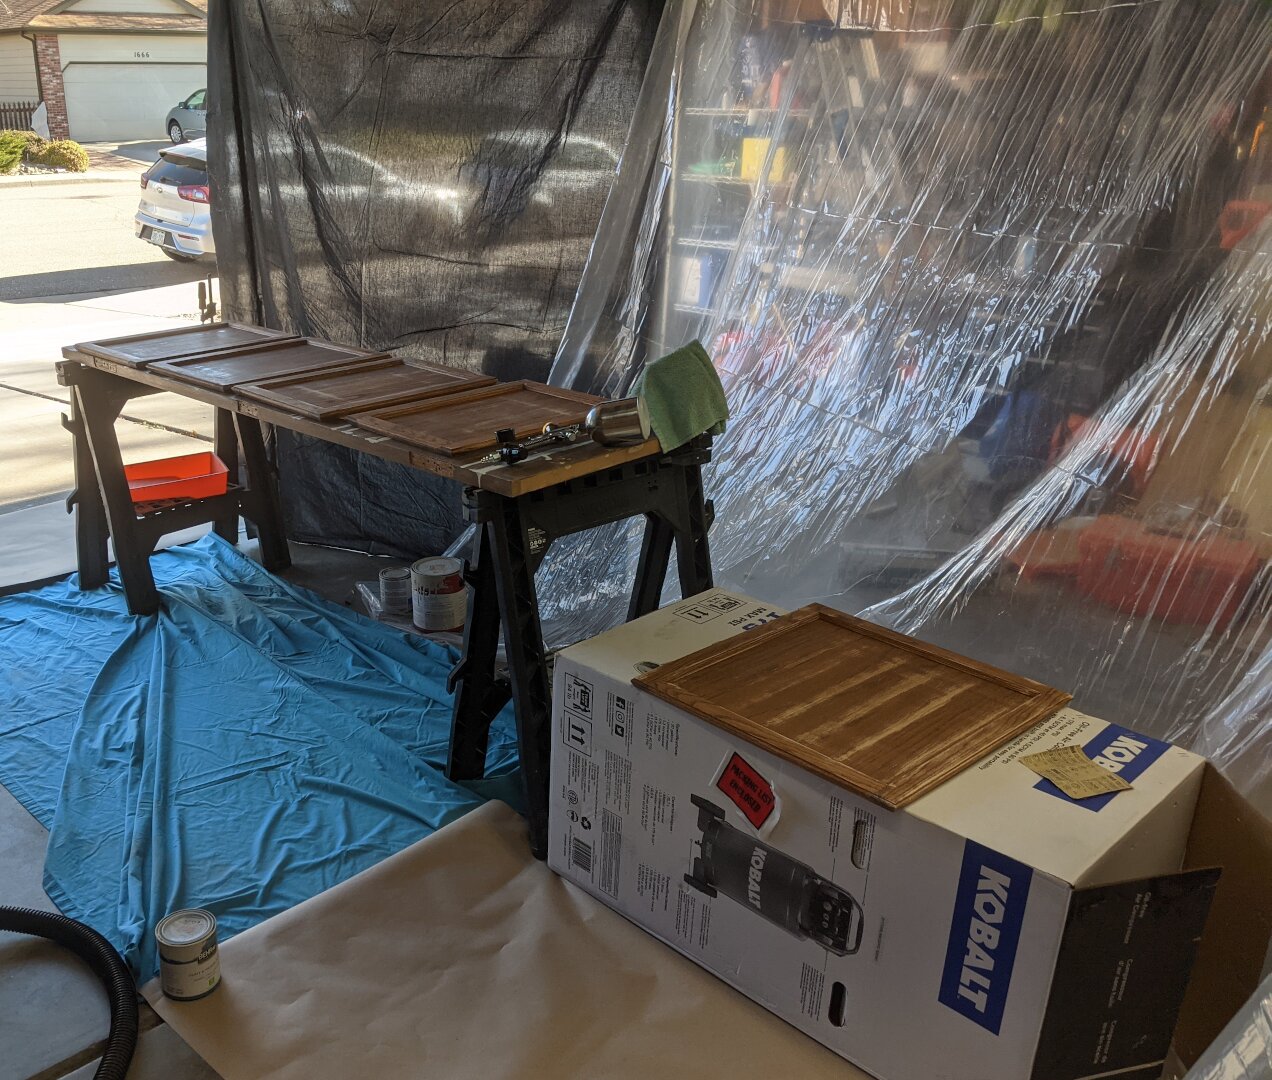
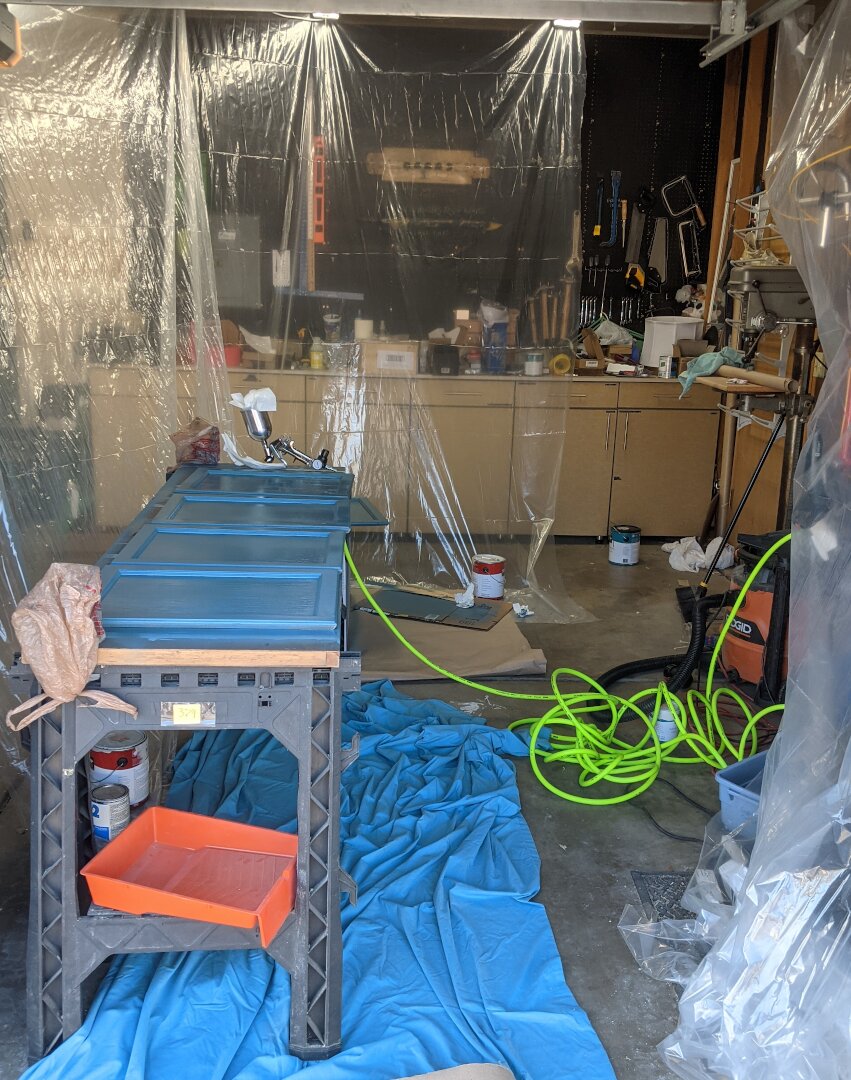
After painting the upper cabinet doors by hand, I decided to buy some power tools. I picked up an air compressor from the hardware store for about $200 and got a paint sprayer and pneumatic hoses for a less than $100. Tarping off the garage was unnecessary, except that it may have prevented me from tinting the floor blue to some extent. Spray painting the doors this way was insanely easy, and I can’t recommend it enough. This is the paint sprayer I used. It’s cheap and the 1.7mm nozzle appears to work well with latex-based paints. Plus, now I can go and buy other size nozzles for when I spray other things.
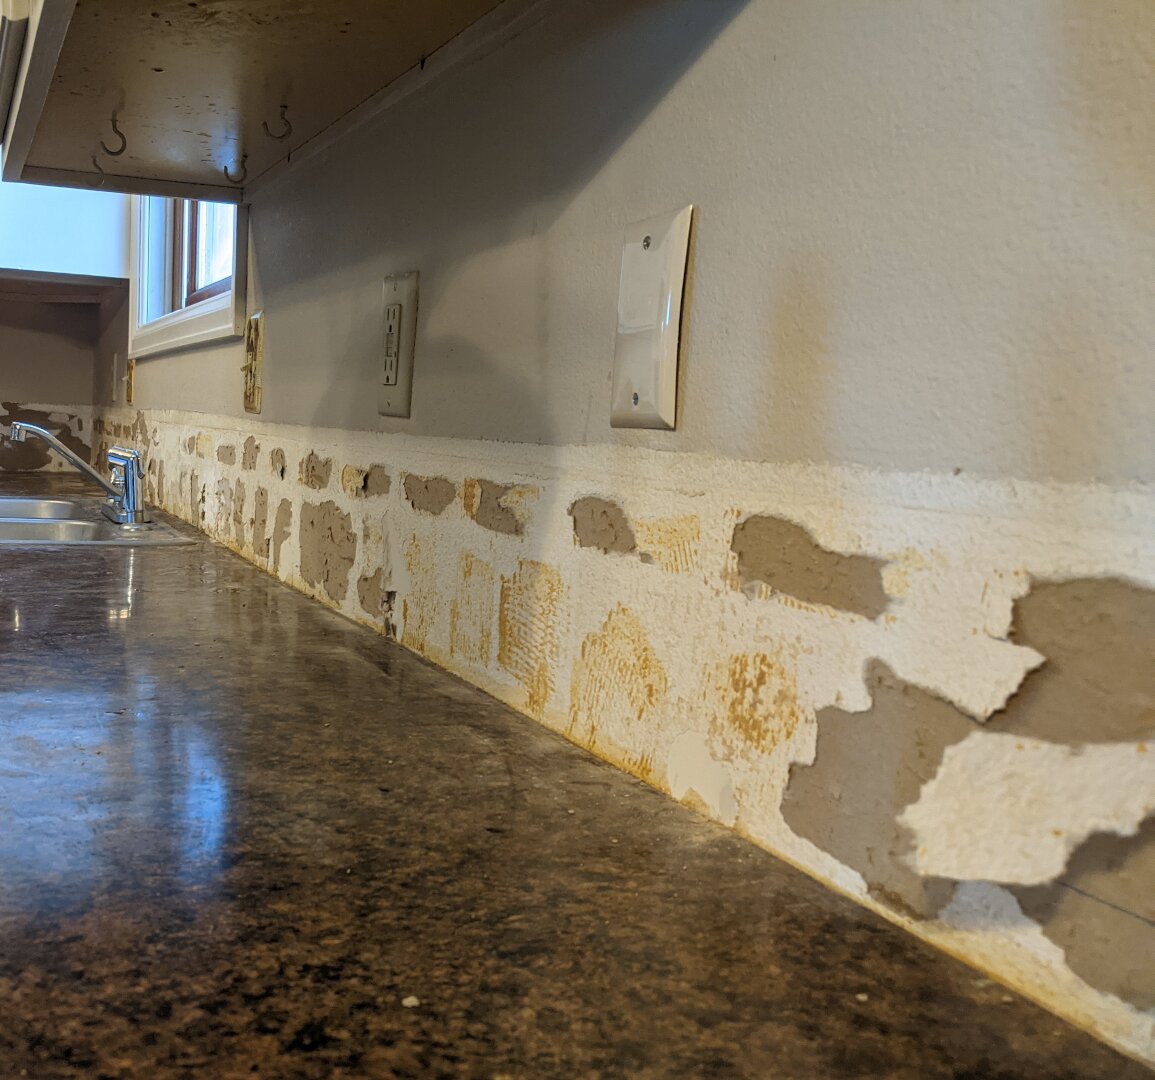
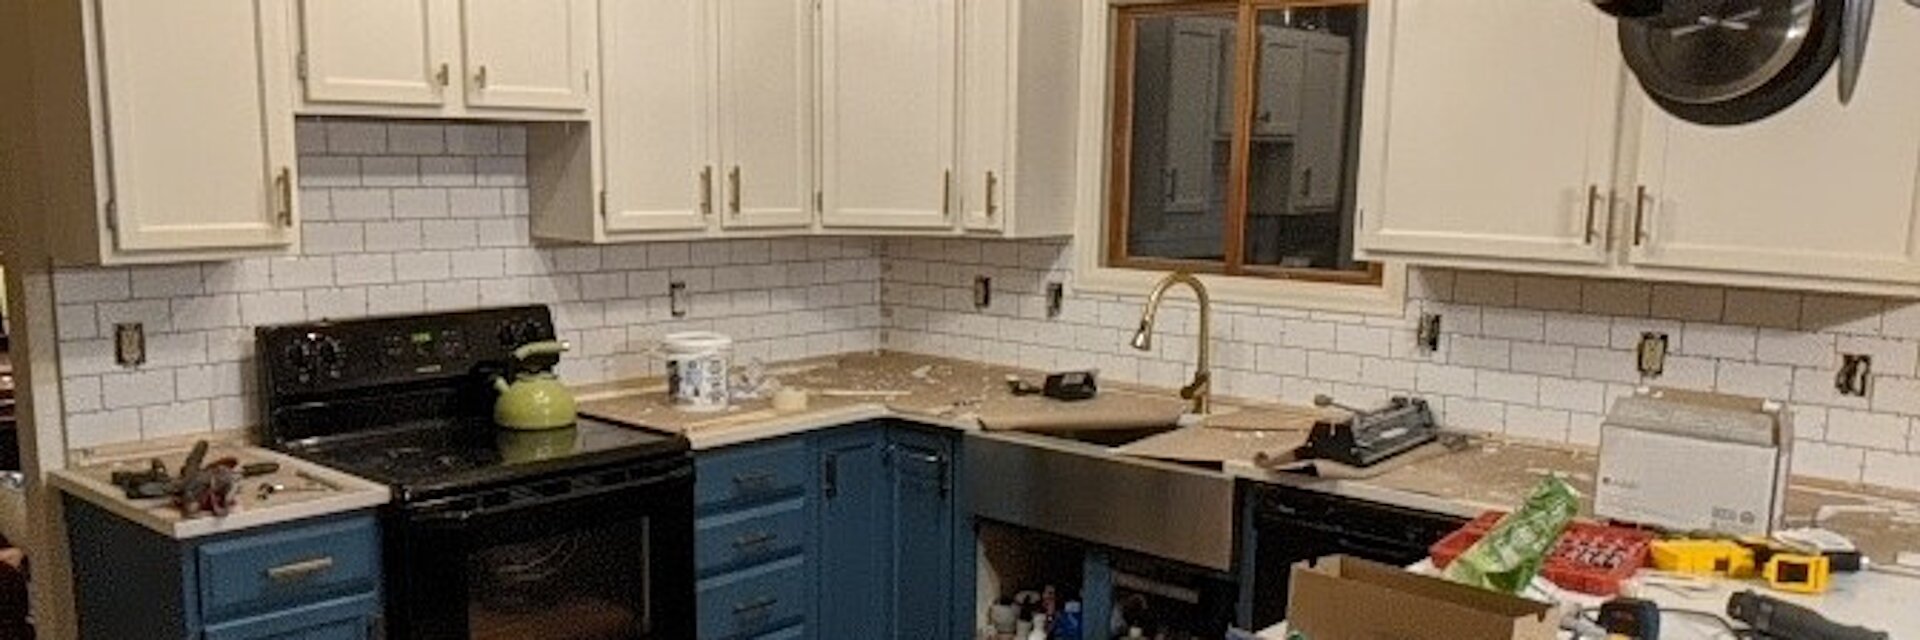
While we were waiting for the paint to dry we tore the backsplash off the wall. This is usually easy to do with a sharp crowbar and doesn’t damage the wall, but all the places with drywall damage that was plastered before the tiles were put on, like everywhere behind the stove, needed some extra work. I eventually gave up and cut a huge chunk out of the wall behind the stove and patched in some drywall panels.
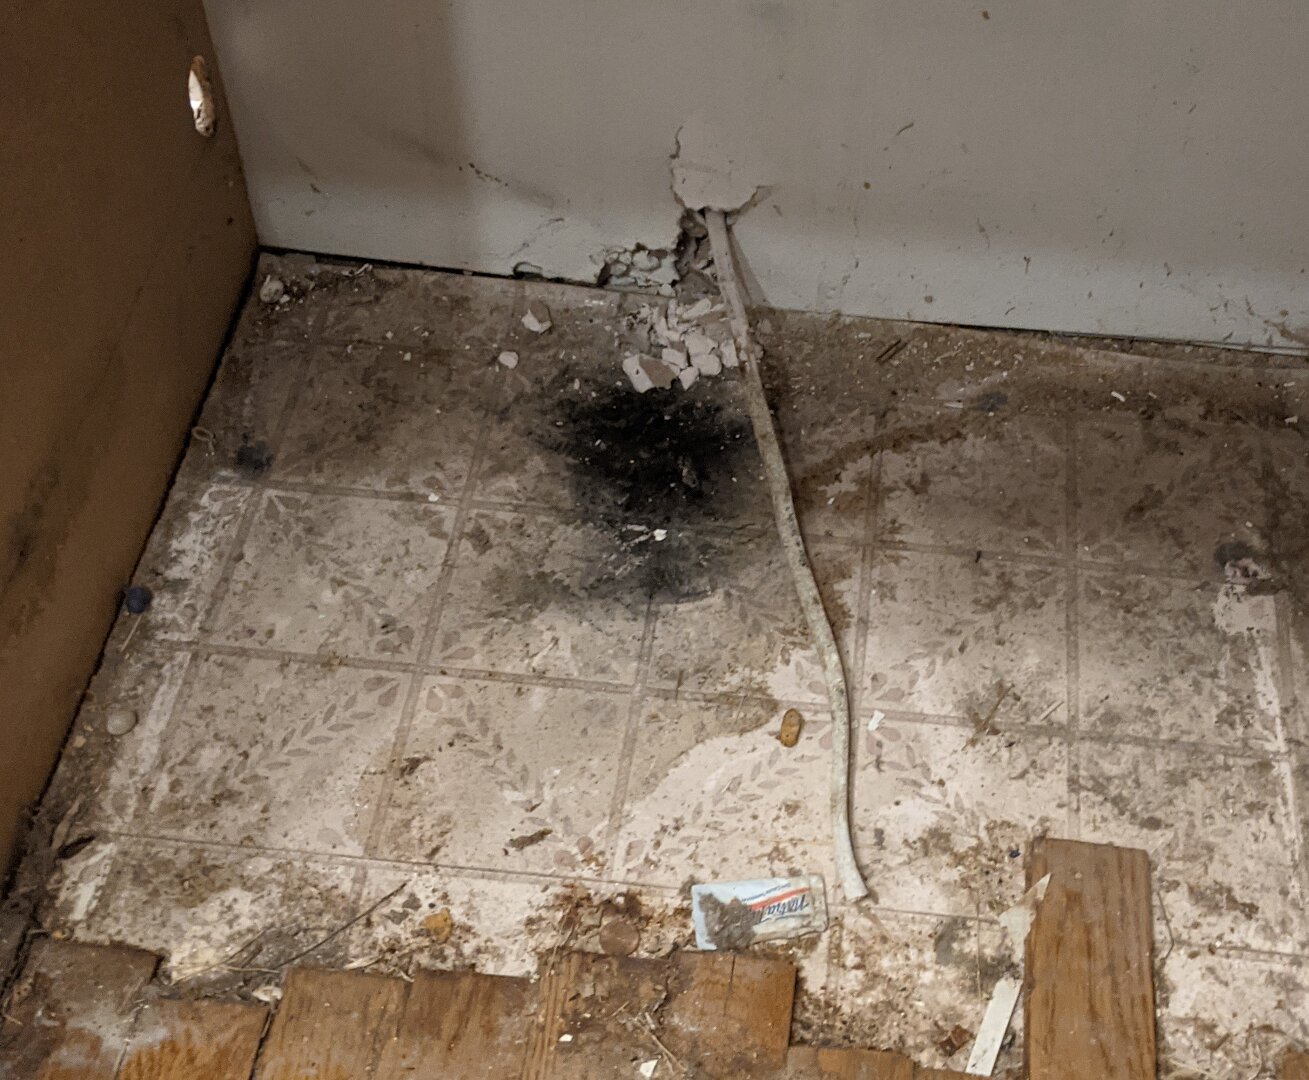
Pulling the dishwasher away from the wall, one of the power wires ripped out of its wire nut and shorted to the case ground. The installers hadn’t used a strain relief and had just punched a hole in the drywall for the cable, so pulling it out we found damaged drywall and some gross mold on top of the original linoleum. I replaced a large patch of drywall behind the dishwasher and installed an electrical outlet in the upper-right corner. Then I installed a new power cable for the machine with a strain relief.
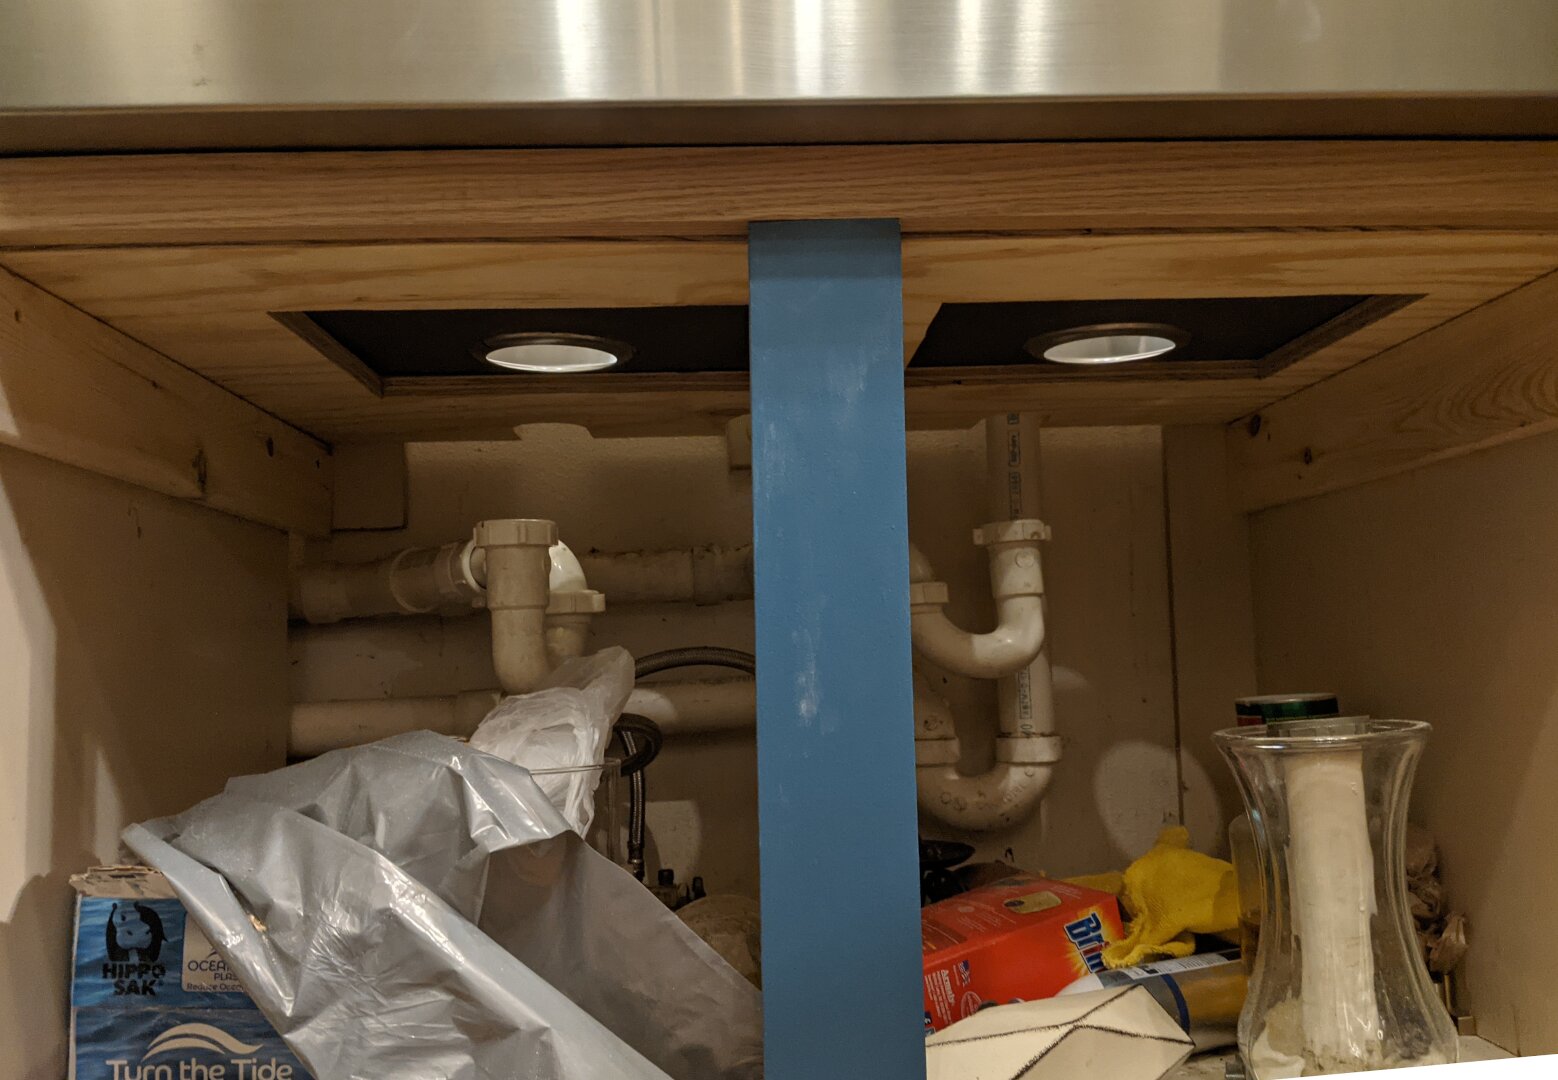
I was really proud of how effectively we timed everything right before the Ikea contractors were supposed to install the counter. Then a contractor arrived to measure the next day and said that we had been given the wrong information. We would have to mount our sink before they would go ahead with anything, including measuring for the counters. I asked if he could wait for 15 minutes while I placed it, and he said that their policy was no.
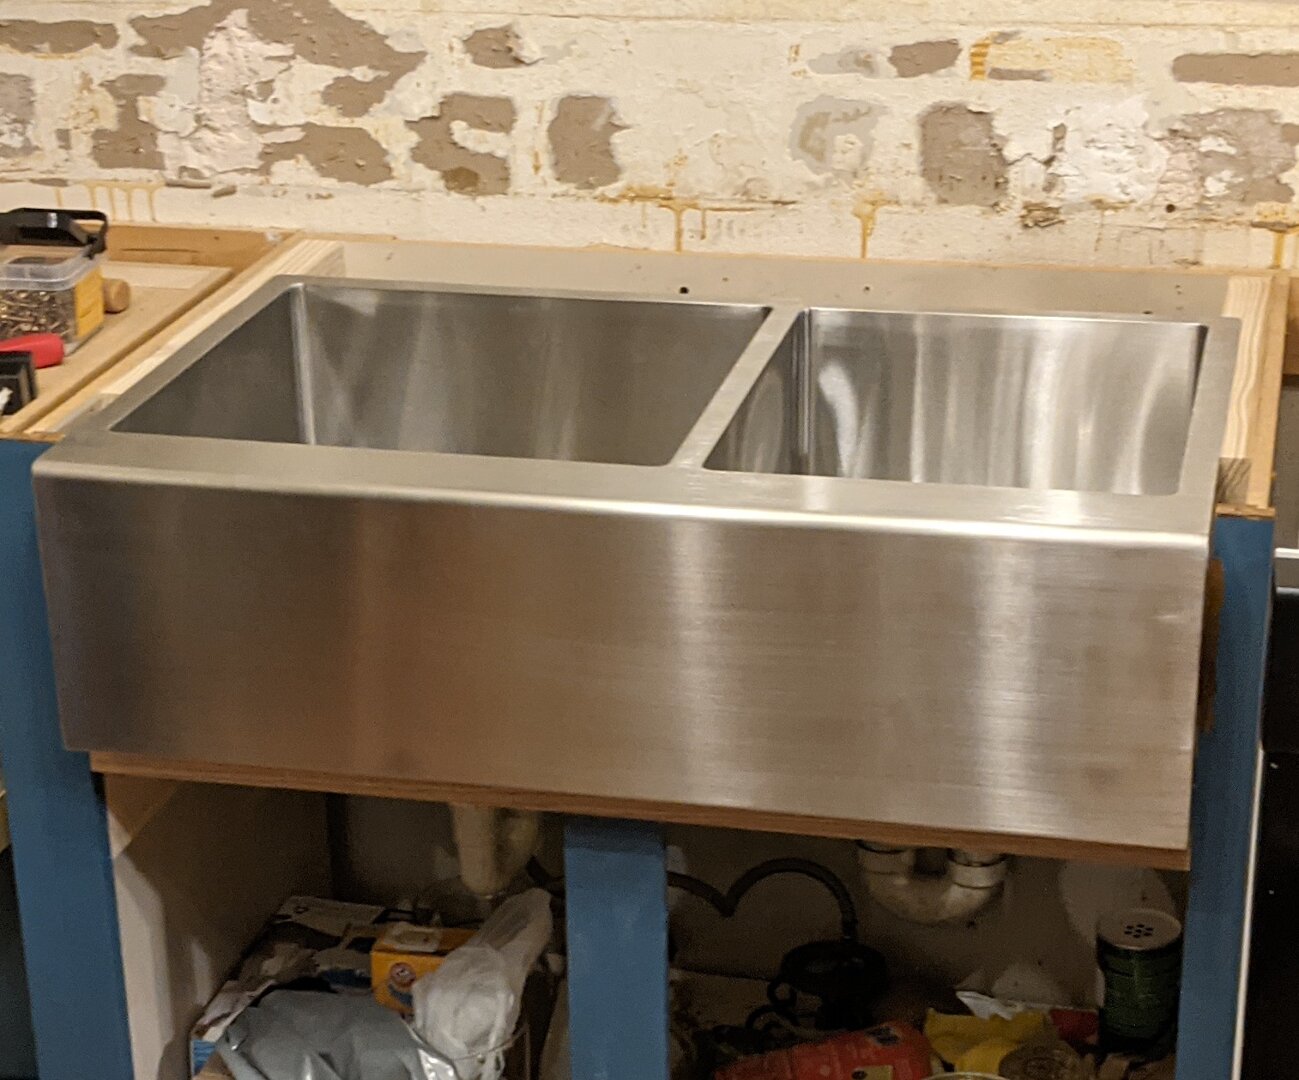
So I installed the sink that day anyway. Apparently it came with little tabs for mounting it to a cabinet frame, but I decided that it would make for a sturdier sink if I framed it in directly. I cut the cabinet face down to make room for the apron and laid beams support the top flange on the left and right. Then I laid in a shelf frame on the cabinet walls and cut a piece of 3/4-inch plywood with a jigsaw to match the shape of the sink.

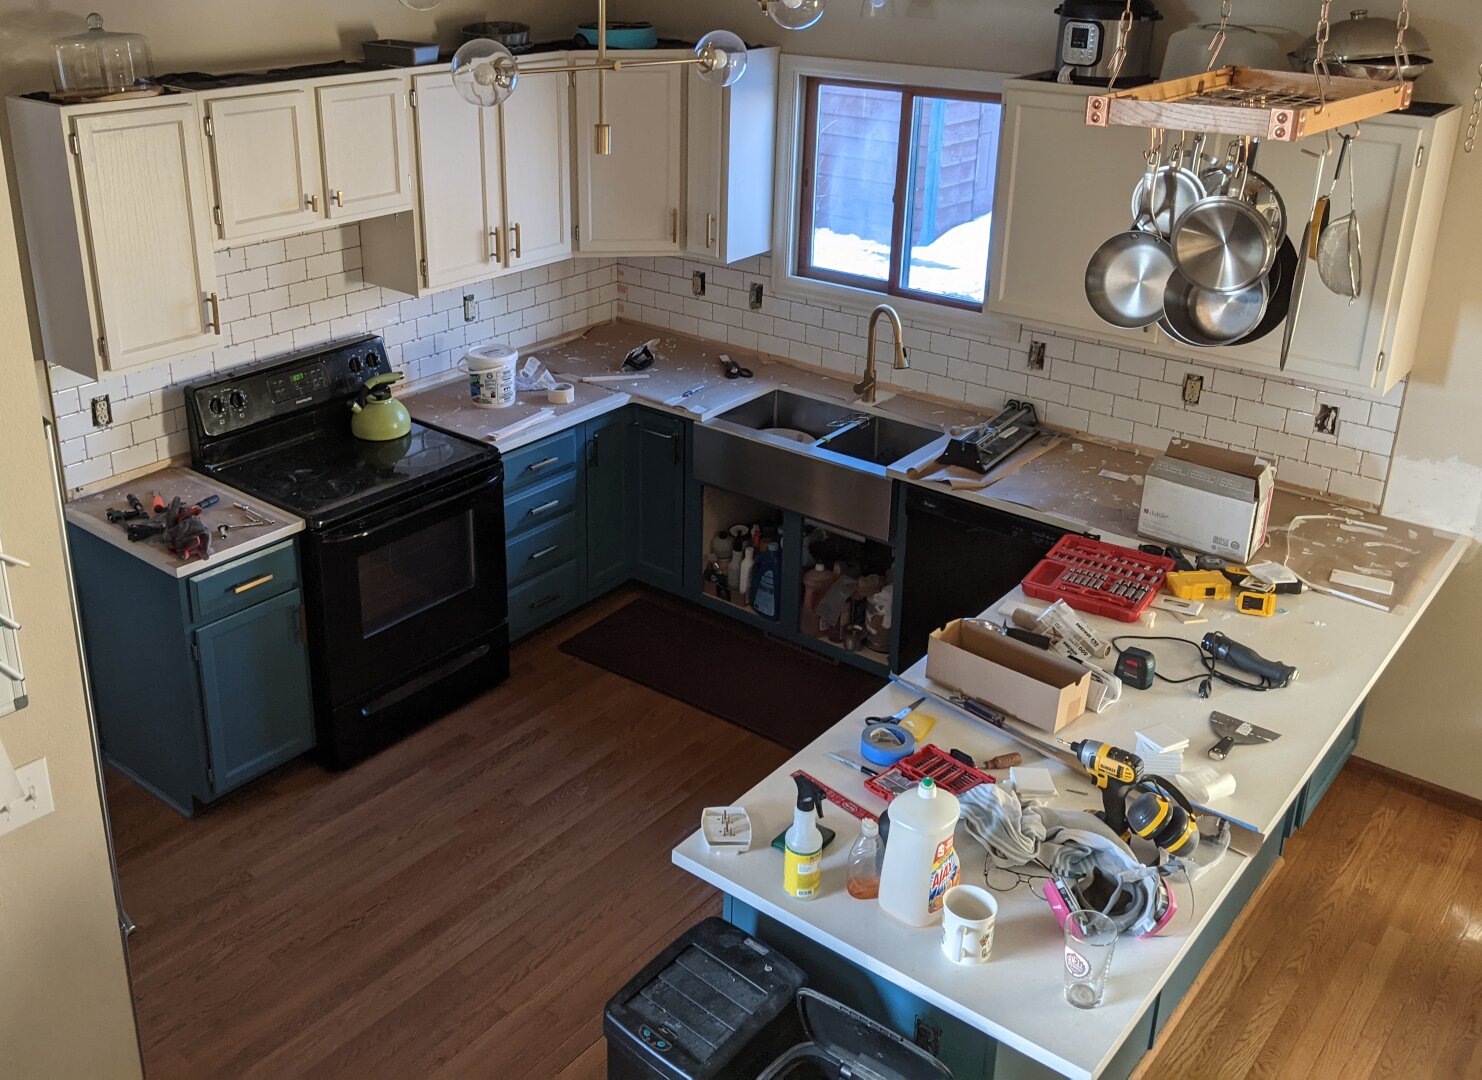
After having to delay our countertop installation, I took a saw and cut the countertop into manageable sections that we carried back inside and placed back on the cabinets. It was almost a month before we were able to get the counter installed, which was the week before Christmas, so we needed this as a functional counter until then. While we were waiting, I used drywall patching compound and sandpaper to smooth the damaged parts of the wall.

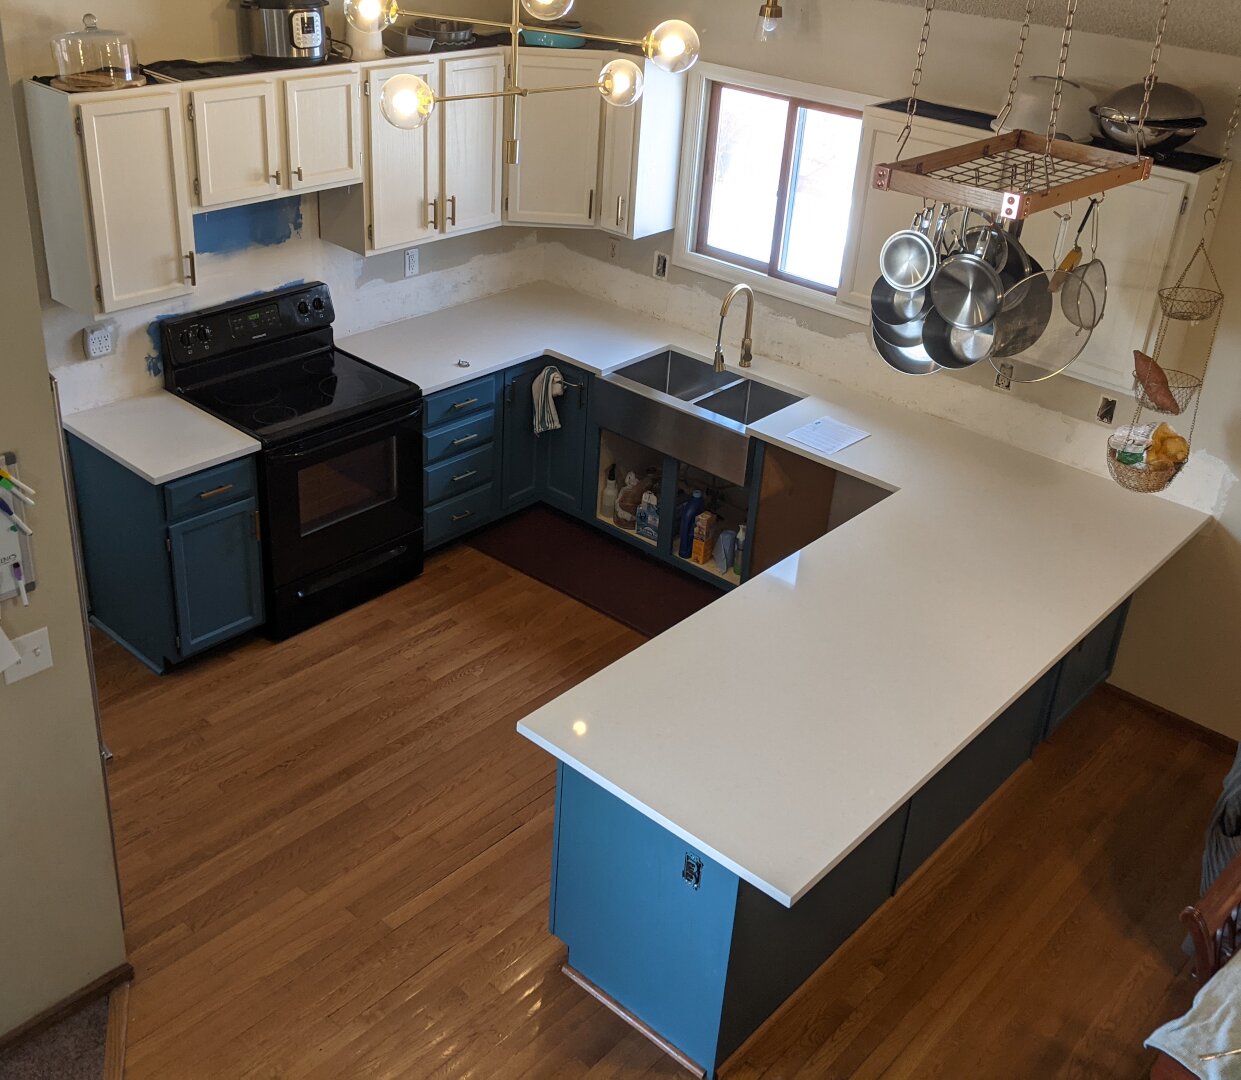
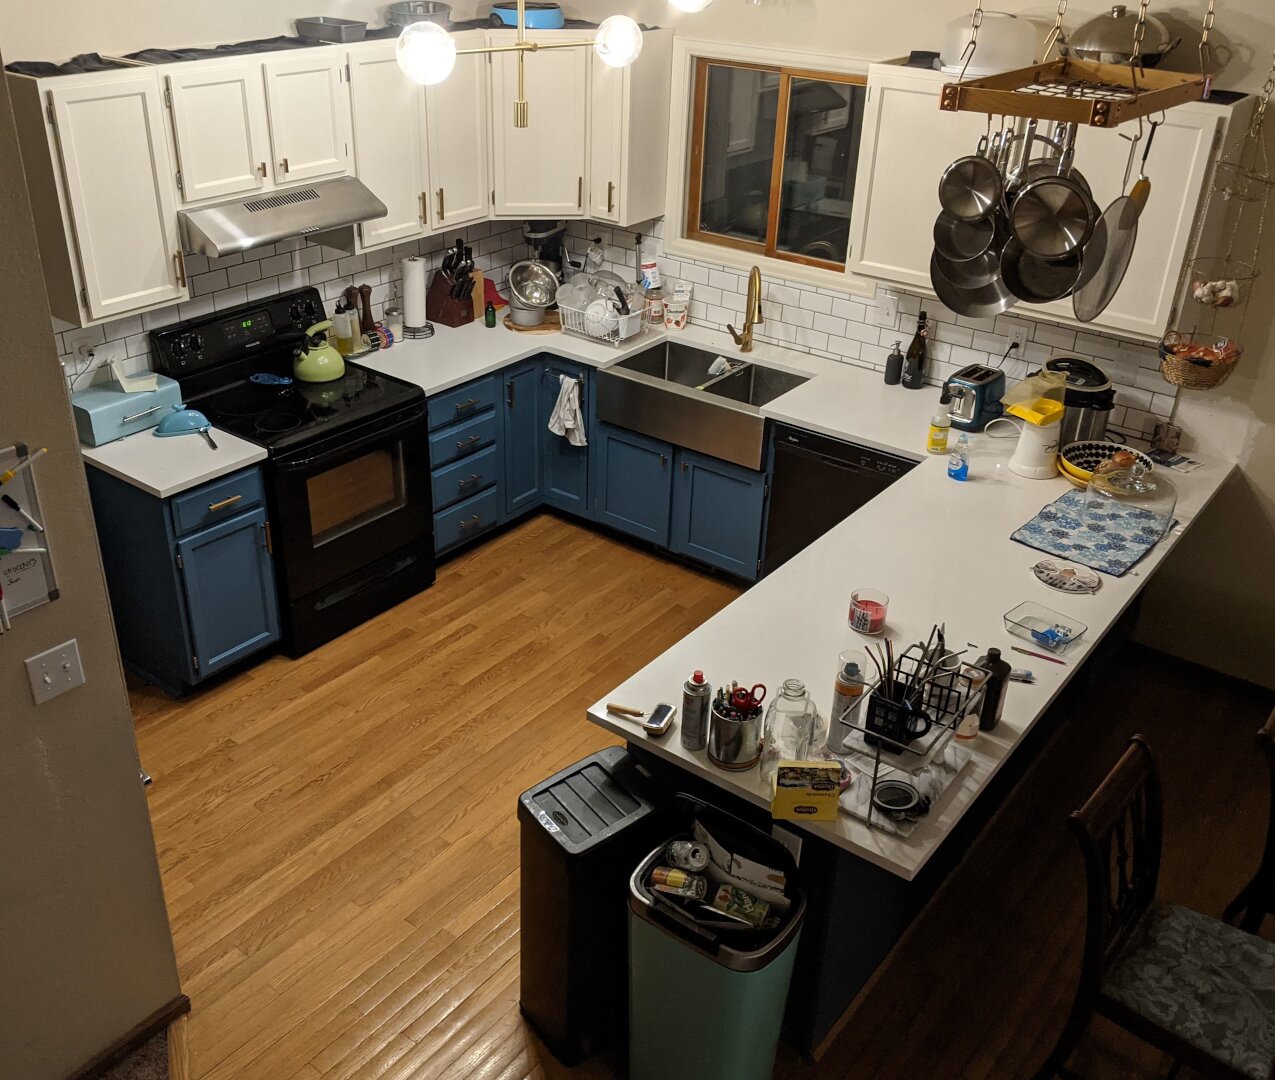
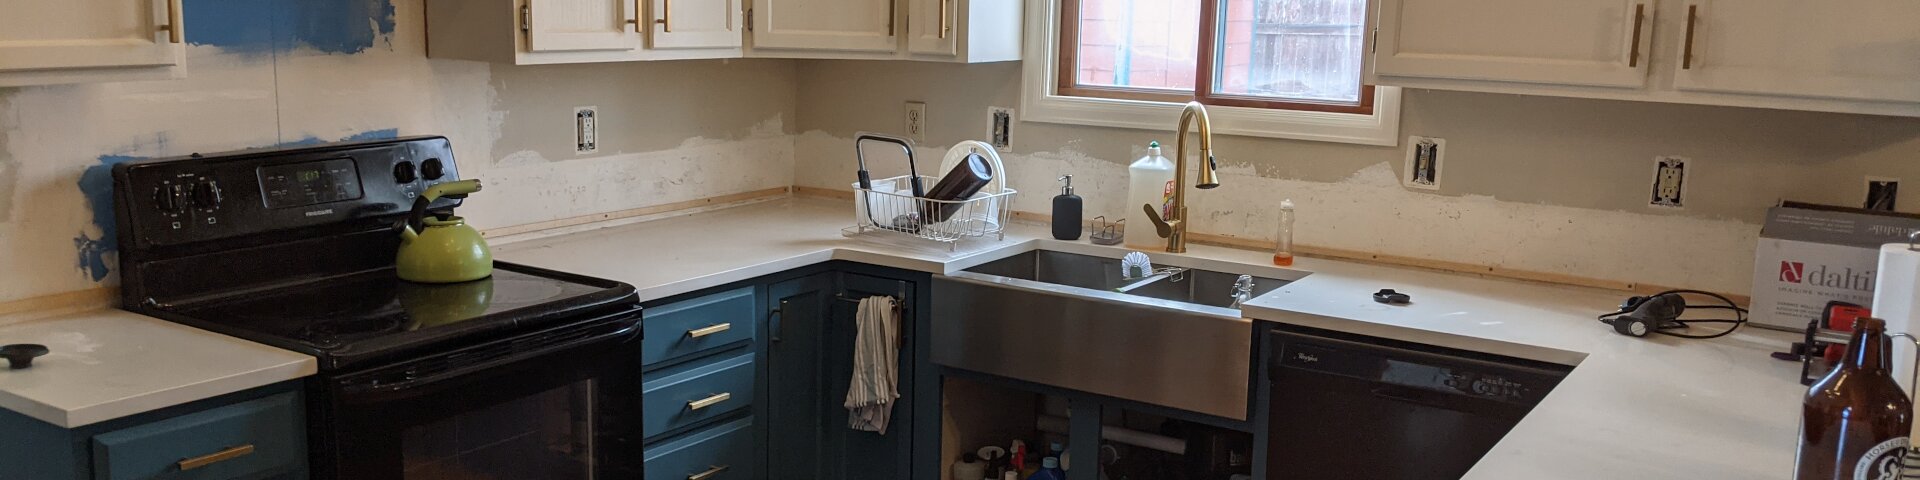
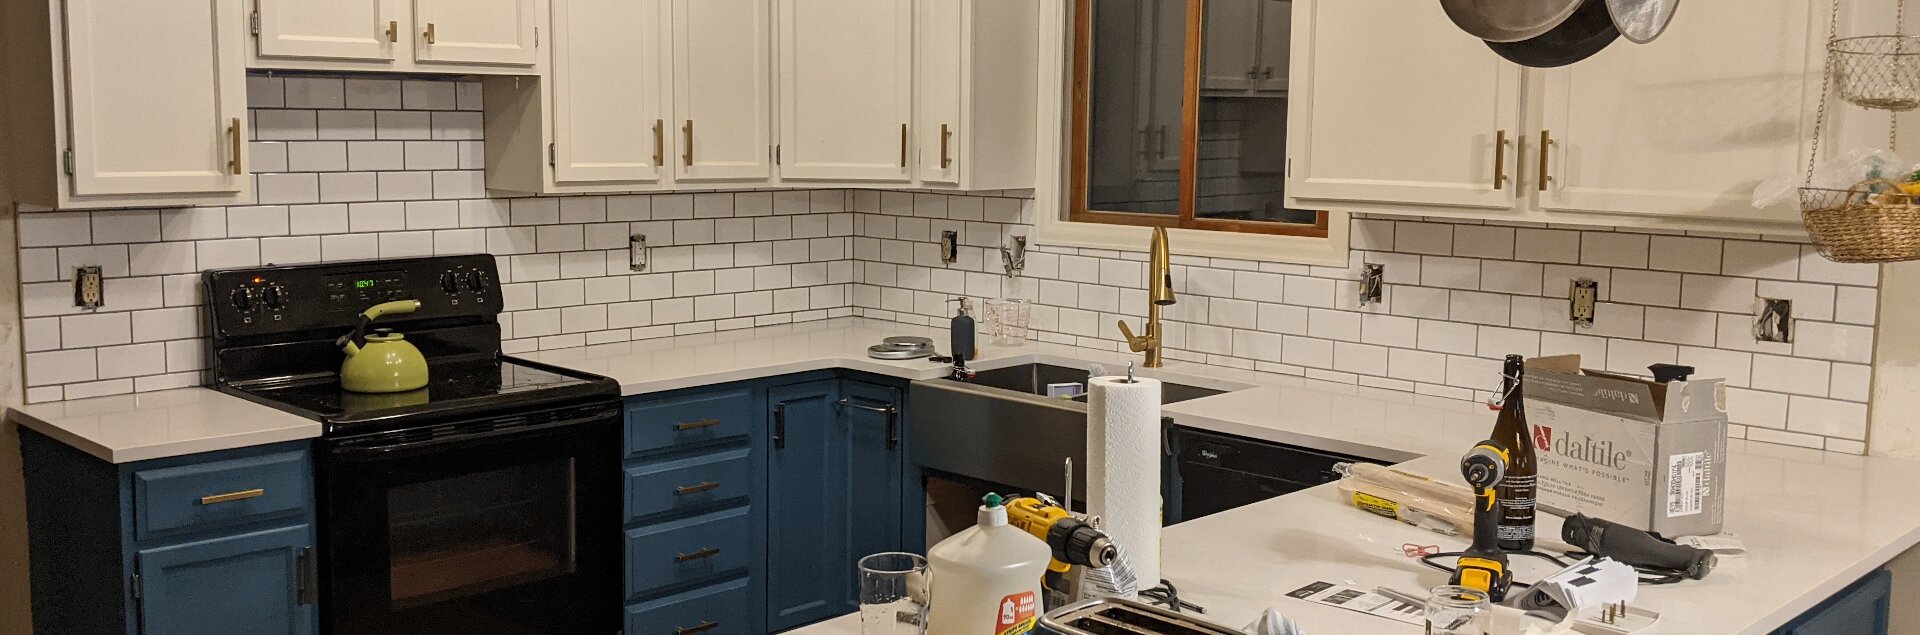
Once the countertops were installed, they did look great.

After the countertops were in place, I used a laser level to place ledger boards all around the kitchen for tiling.
We used a tile adhesive to fix the tiles in place rather than thinset, so applying the tiles before the adhesive dried was a two-person job. I used a tile cutter and a grinder to cut the tiles while my wife placed them on the wall.

After the adhesive had time to dry, I removed the ledger board and cut tiles for the bottom row. Then all that was left to do to finish the tile was grout and caulk. I decided to use white caulk around the window trim to hide the awful leveling that the original builders did on the window trim.

A while later we placed an order for some new cabinet doors. We picked some that are just different enough from the original ones that they look like they are intentionally different size and shape for under the sink.
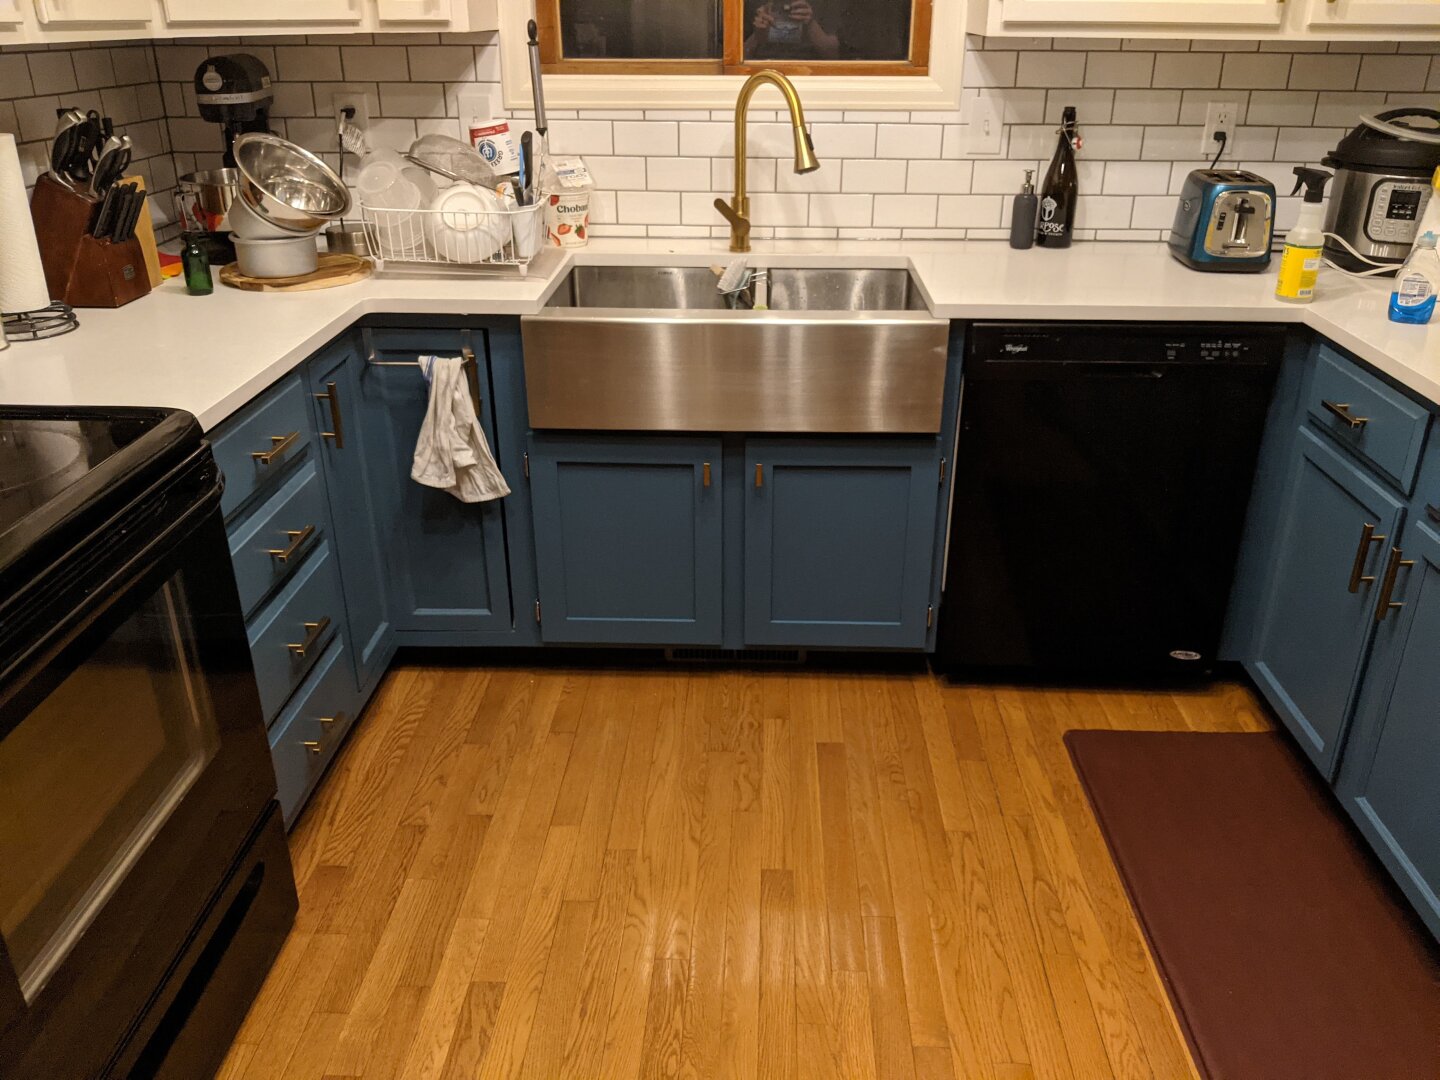
It was a long, arduous process, but it was significantly cheaper than paying for a contractor to install new cabinets. Plus, we refurbished something rather than replacing it and had a functional kitchen for most of the time during the project.
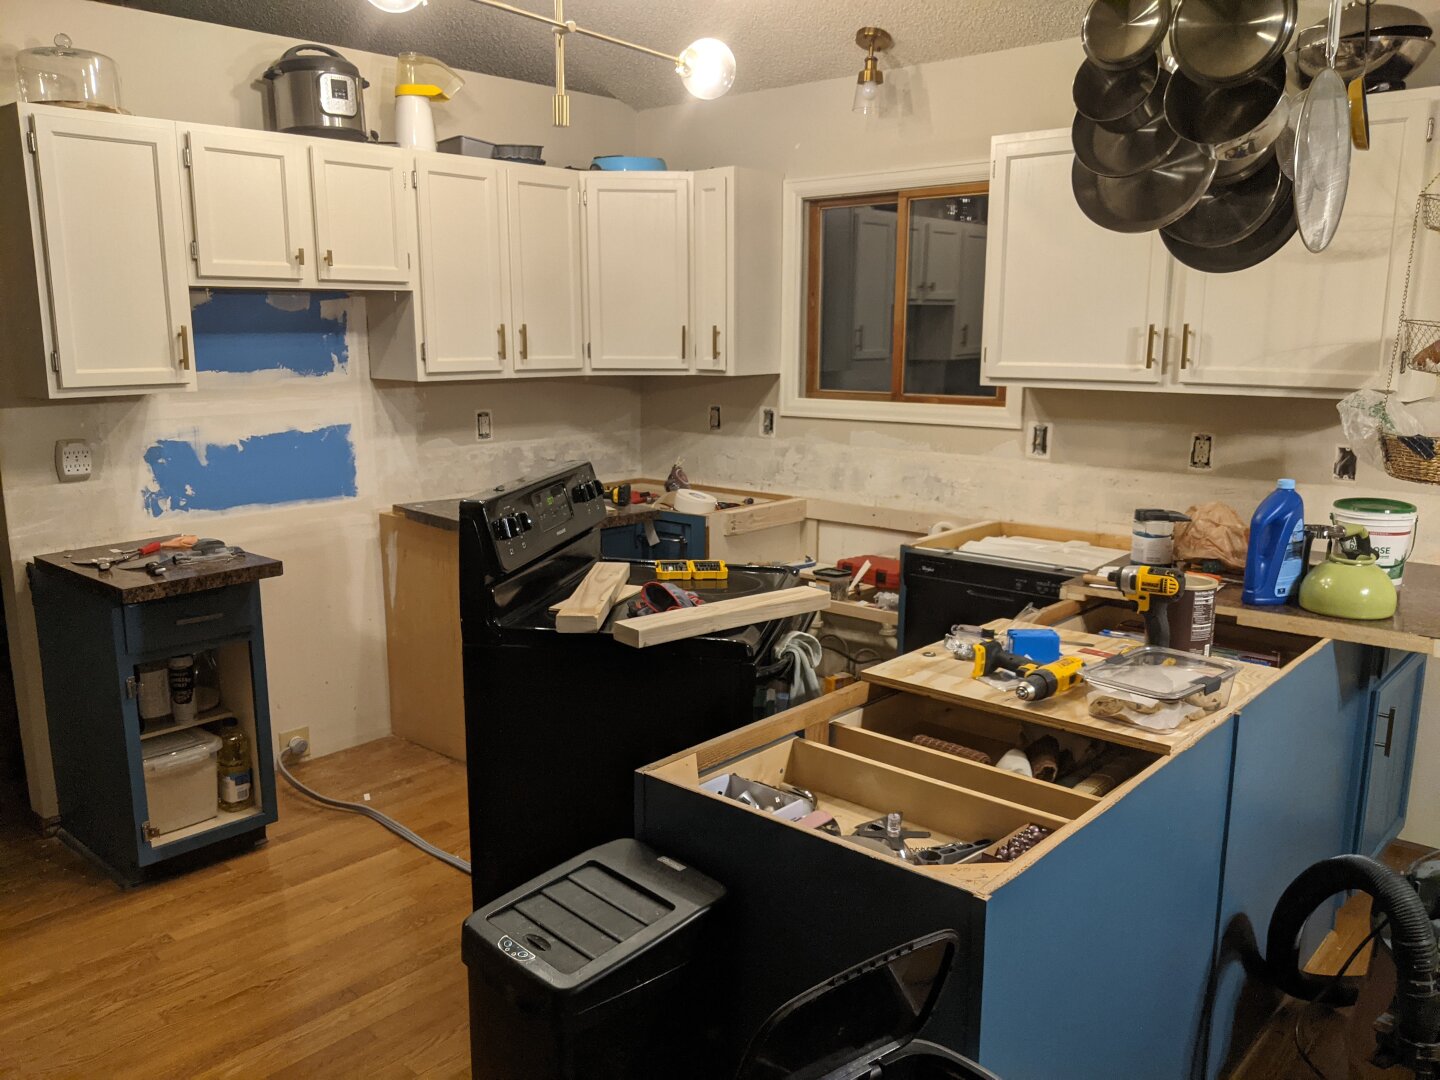
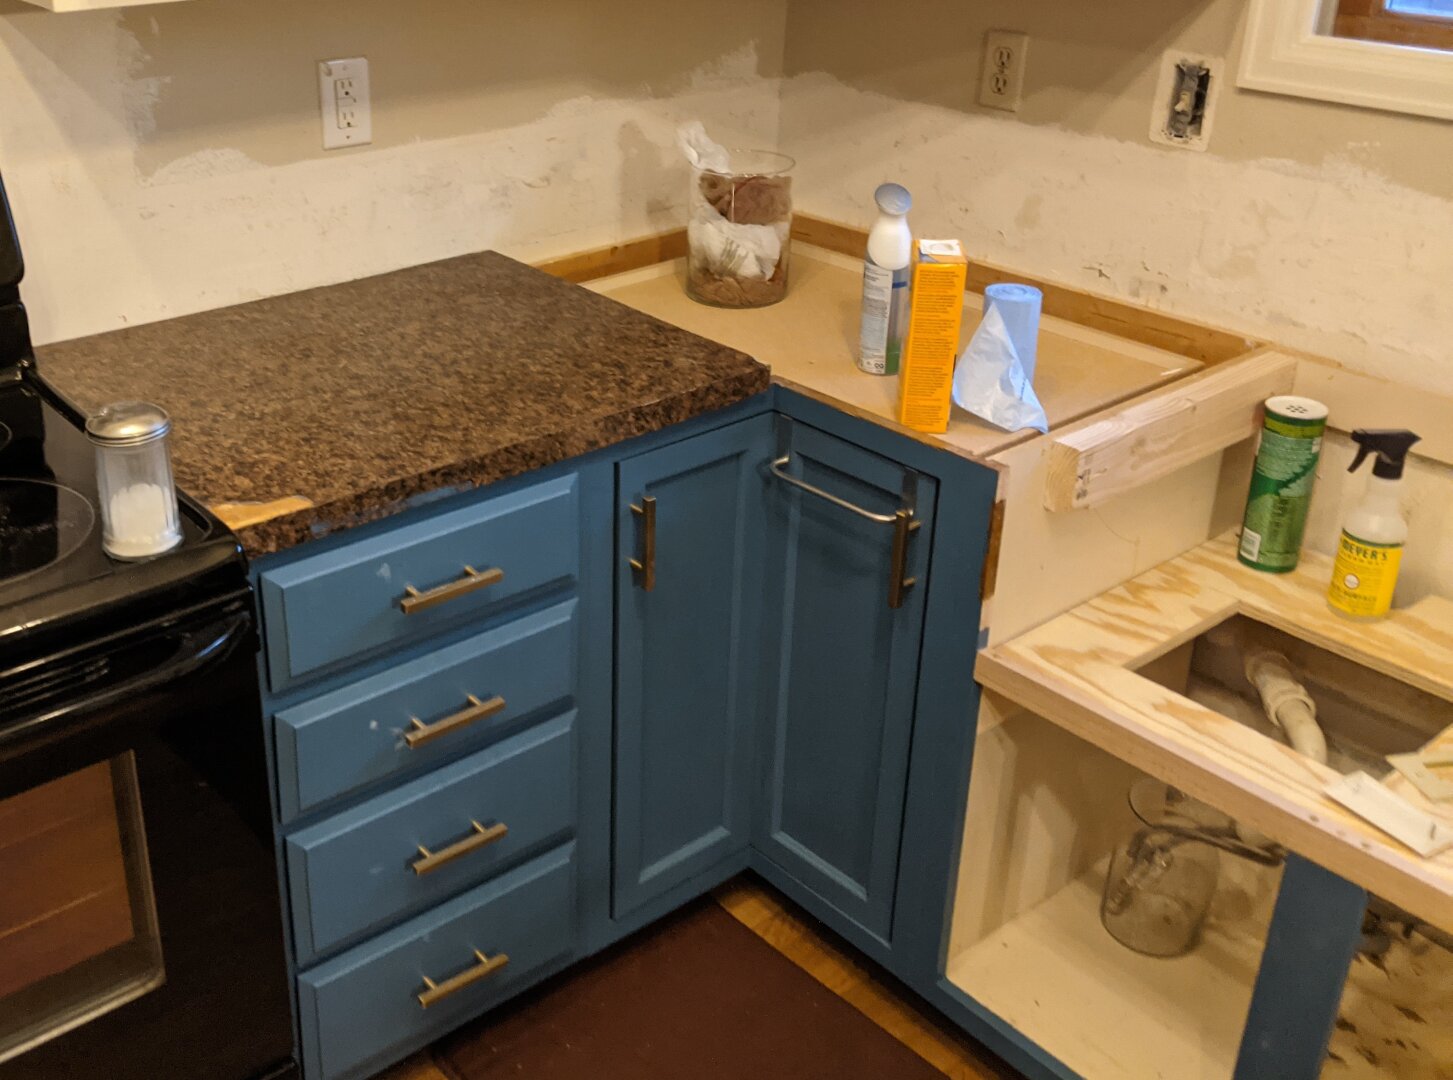
Here are some pictures throughout the project: