This project started with 10 second-hand office cabinets purchased from Ben’s Repurposed Cabinetry in Loveland, Colorado.The set of 10 frameless base cabinets ran $295 and was delivered right into the garage.
I flipped them over, removed their feet, and installed shorter ones. The cabinets were a bit tall for a workbench, so reducing the height by 1″ was worth it. Unfortunately, the feet I purchased on Amazon did not have a sufficient adjustment range to handle the elevation variation in my garage floor without using shims.
Each cabinet is connected to the cabinet to its left with 3 screws. The countertop is attached to each cabinet with 2 screws. It may have been overkill to use so many fasteners, but I have no qualms about standing on top of this workbench to install things on the wall.
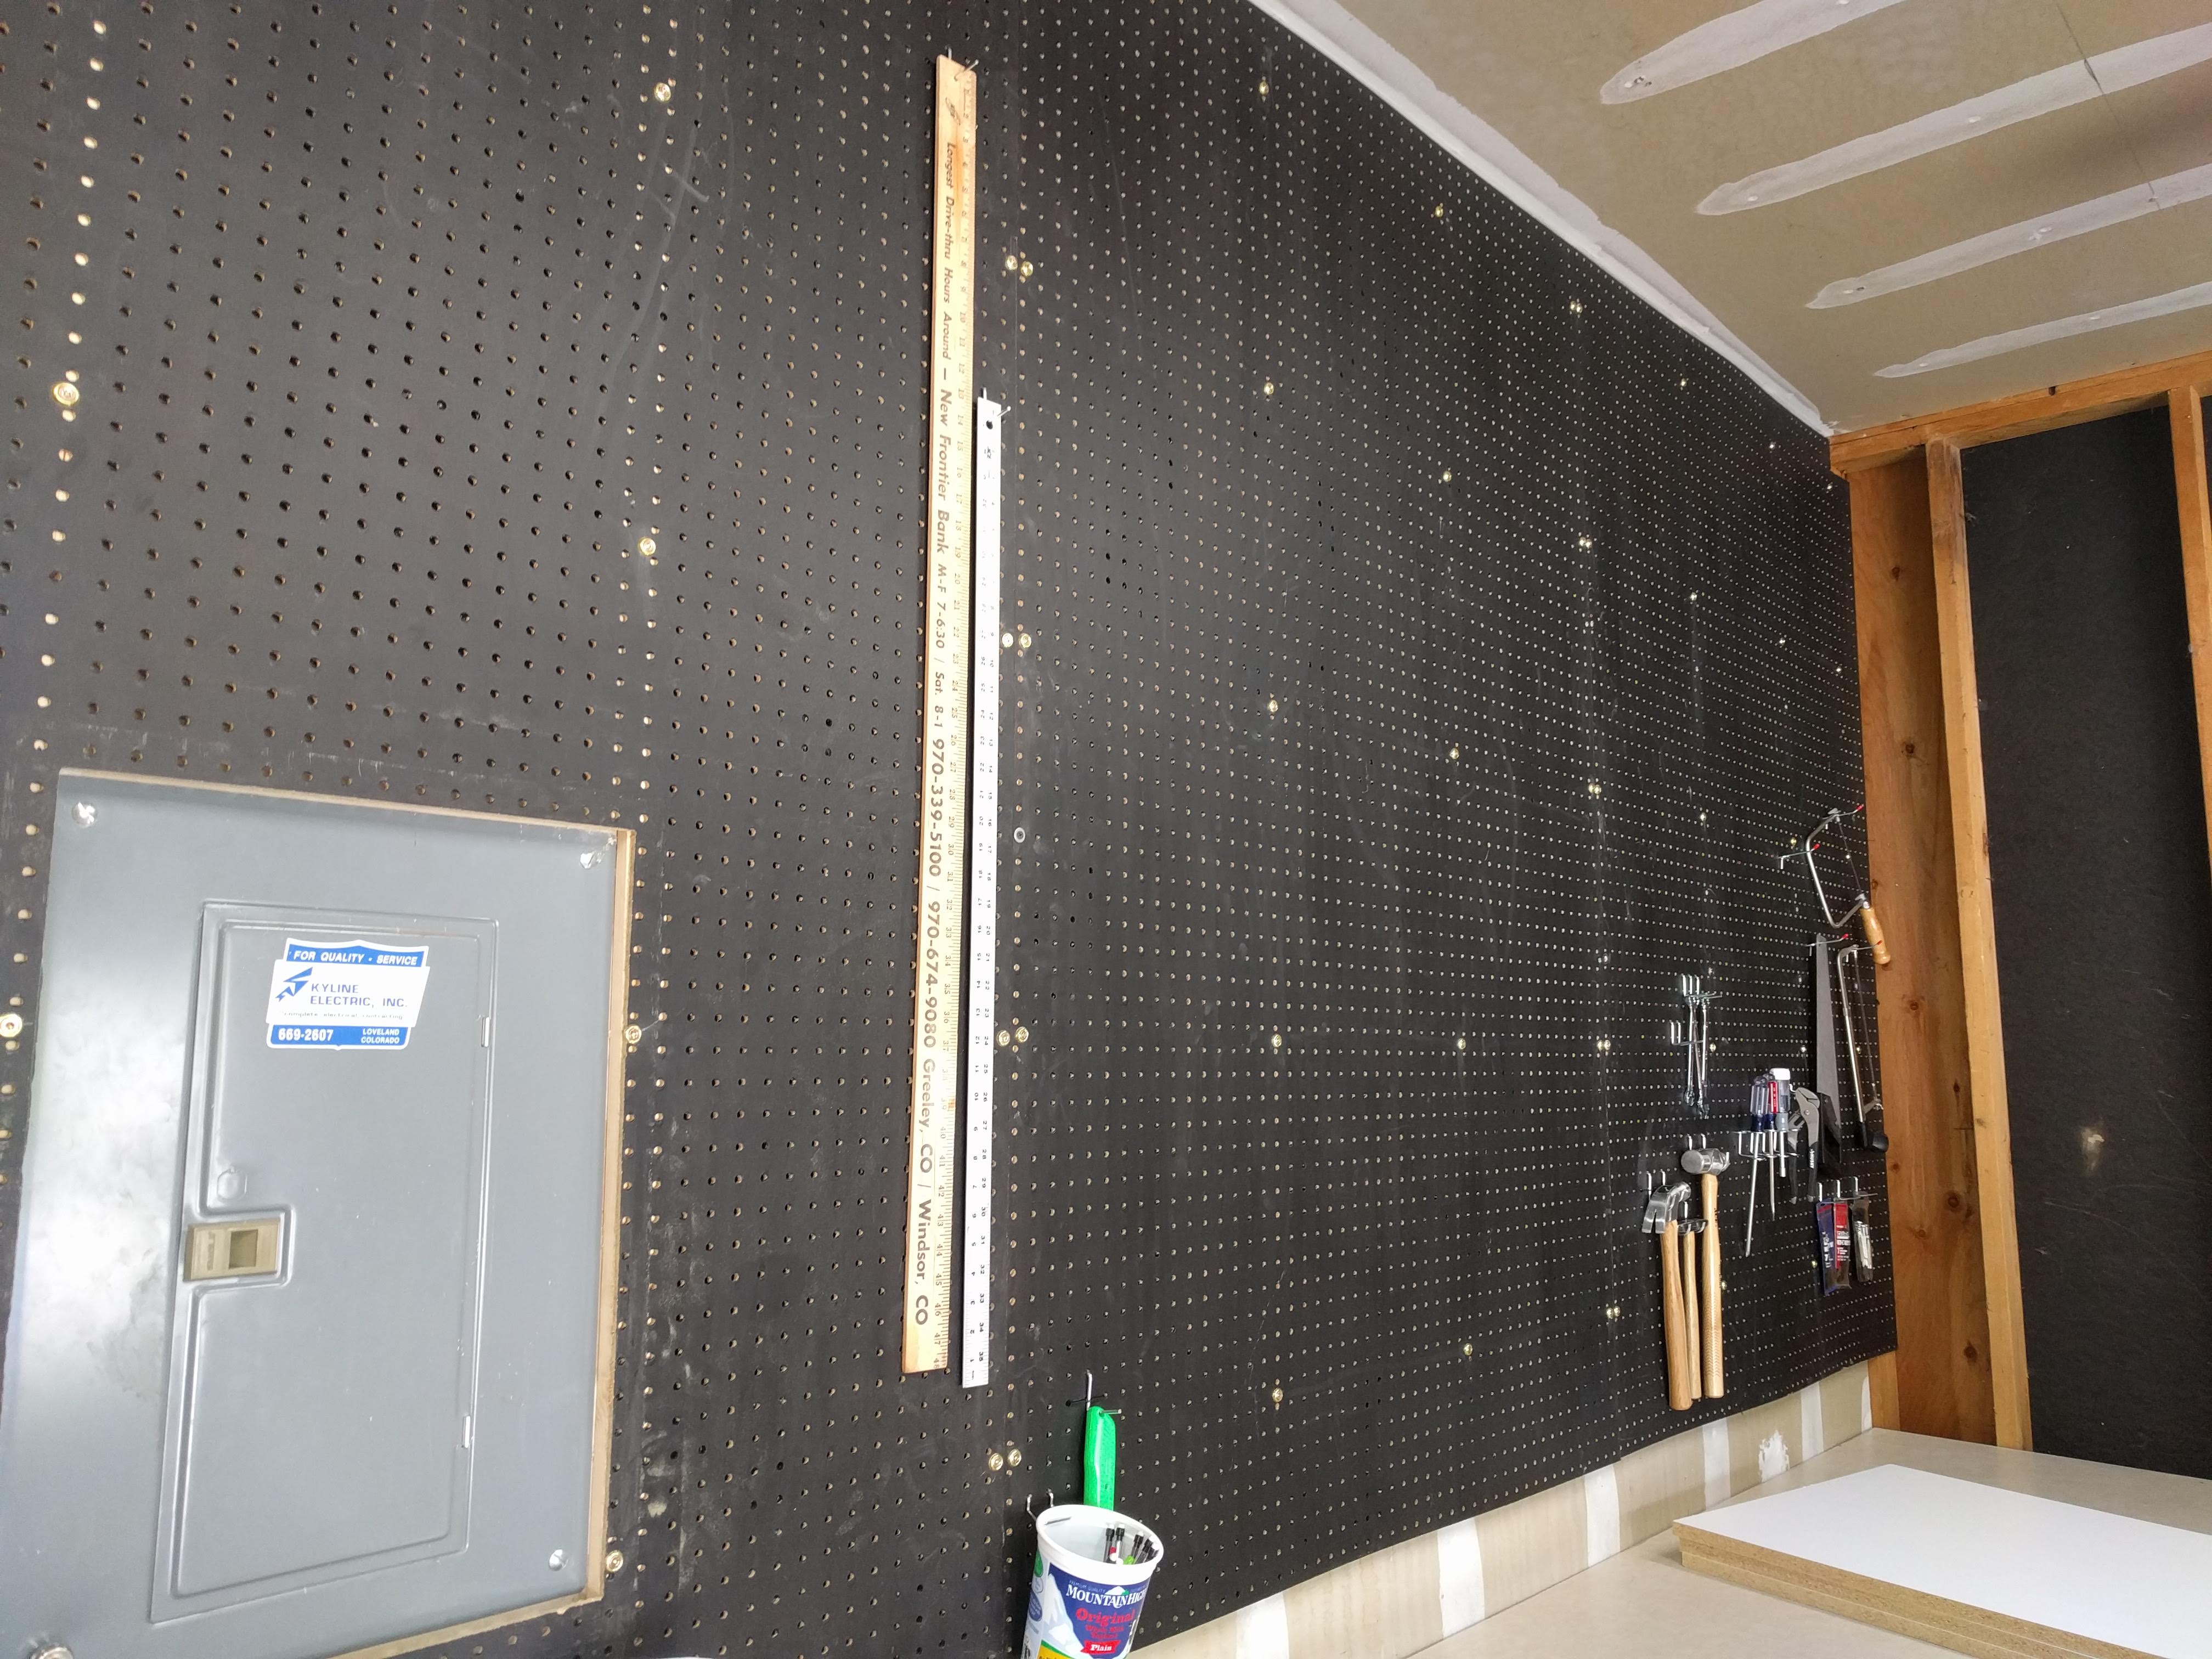
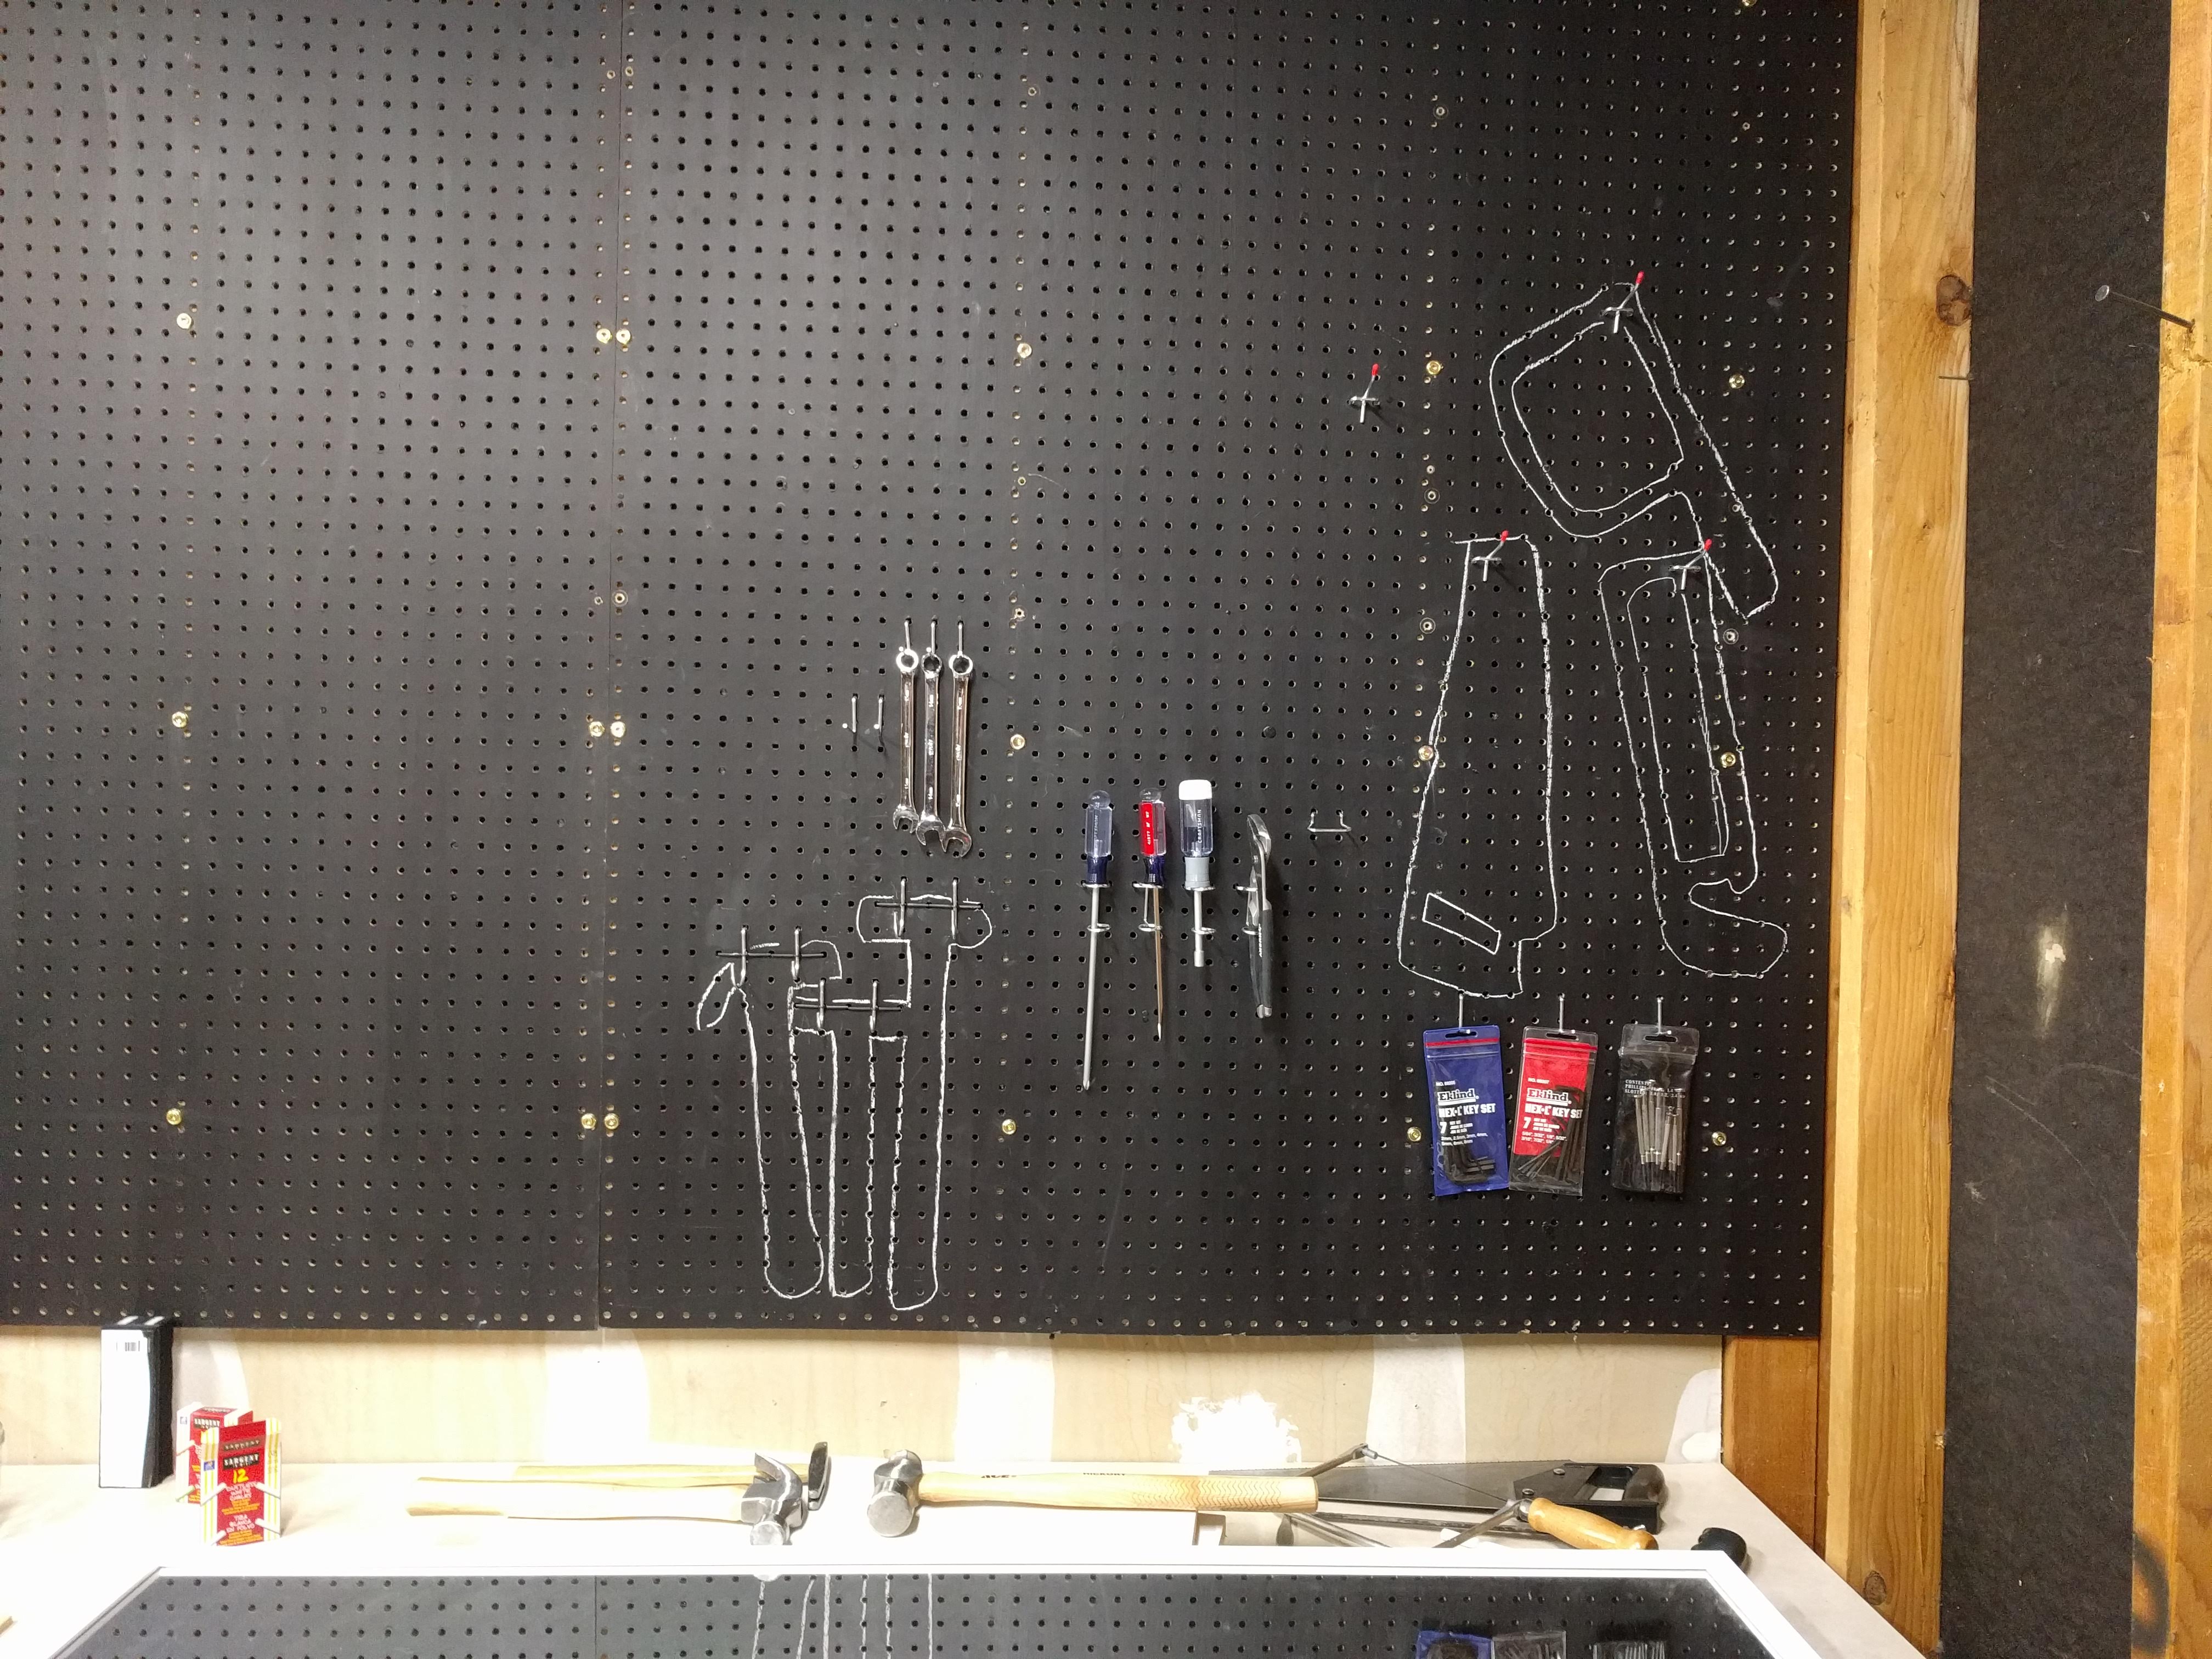
Pegboard is really nice. You can hang your tools from it in whatever locations you want, and if you get nice and thick pegboard (1/4″ instead of 1/8″), it is strong enough to hold almost anything.
Some people like to spray-paint their pegboard over their tools once they have decided on the positions so that the silhouette of their tools helps them stay organized. I am way too indecisive for that, so I decided to paint the pegboard as a chalkboard so I could outline my tools.
I laid the pegboard sheets out on a large plastic tarp and painted them with a brush. I did not use a roller to minimize the paint that would be wasted through the holes.
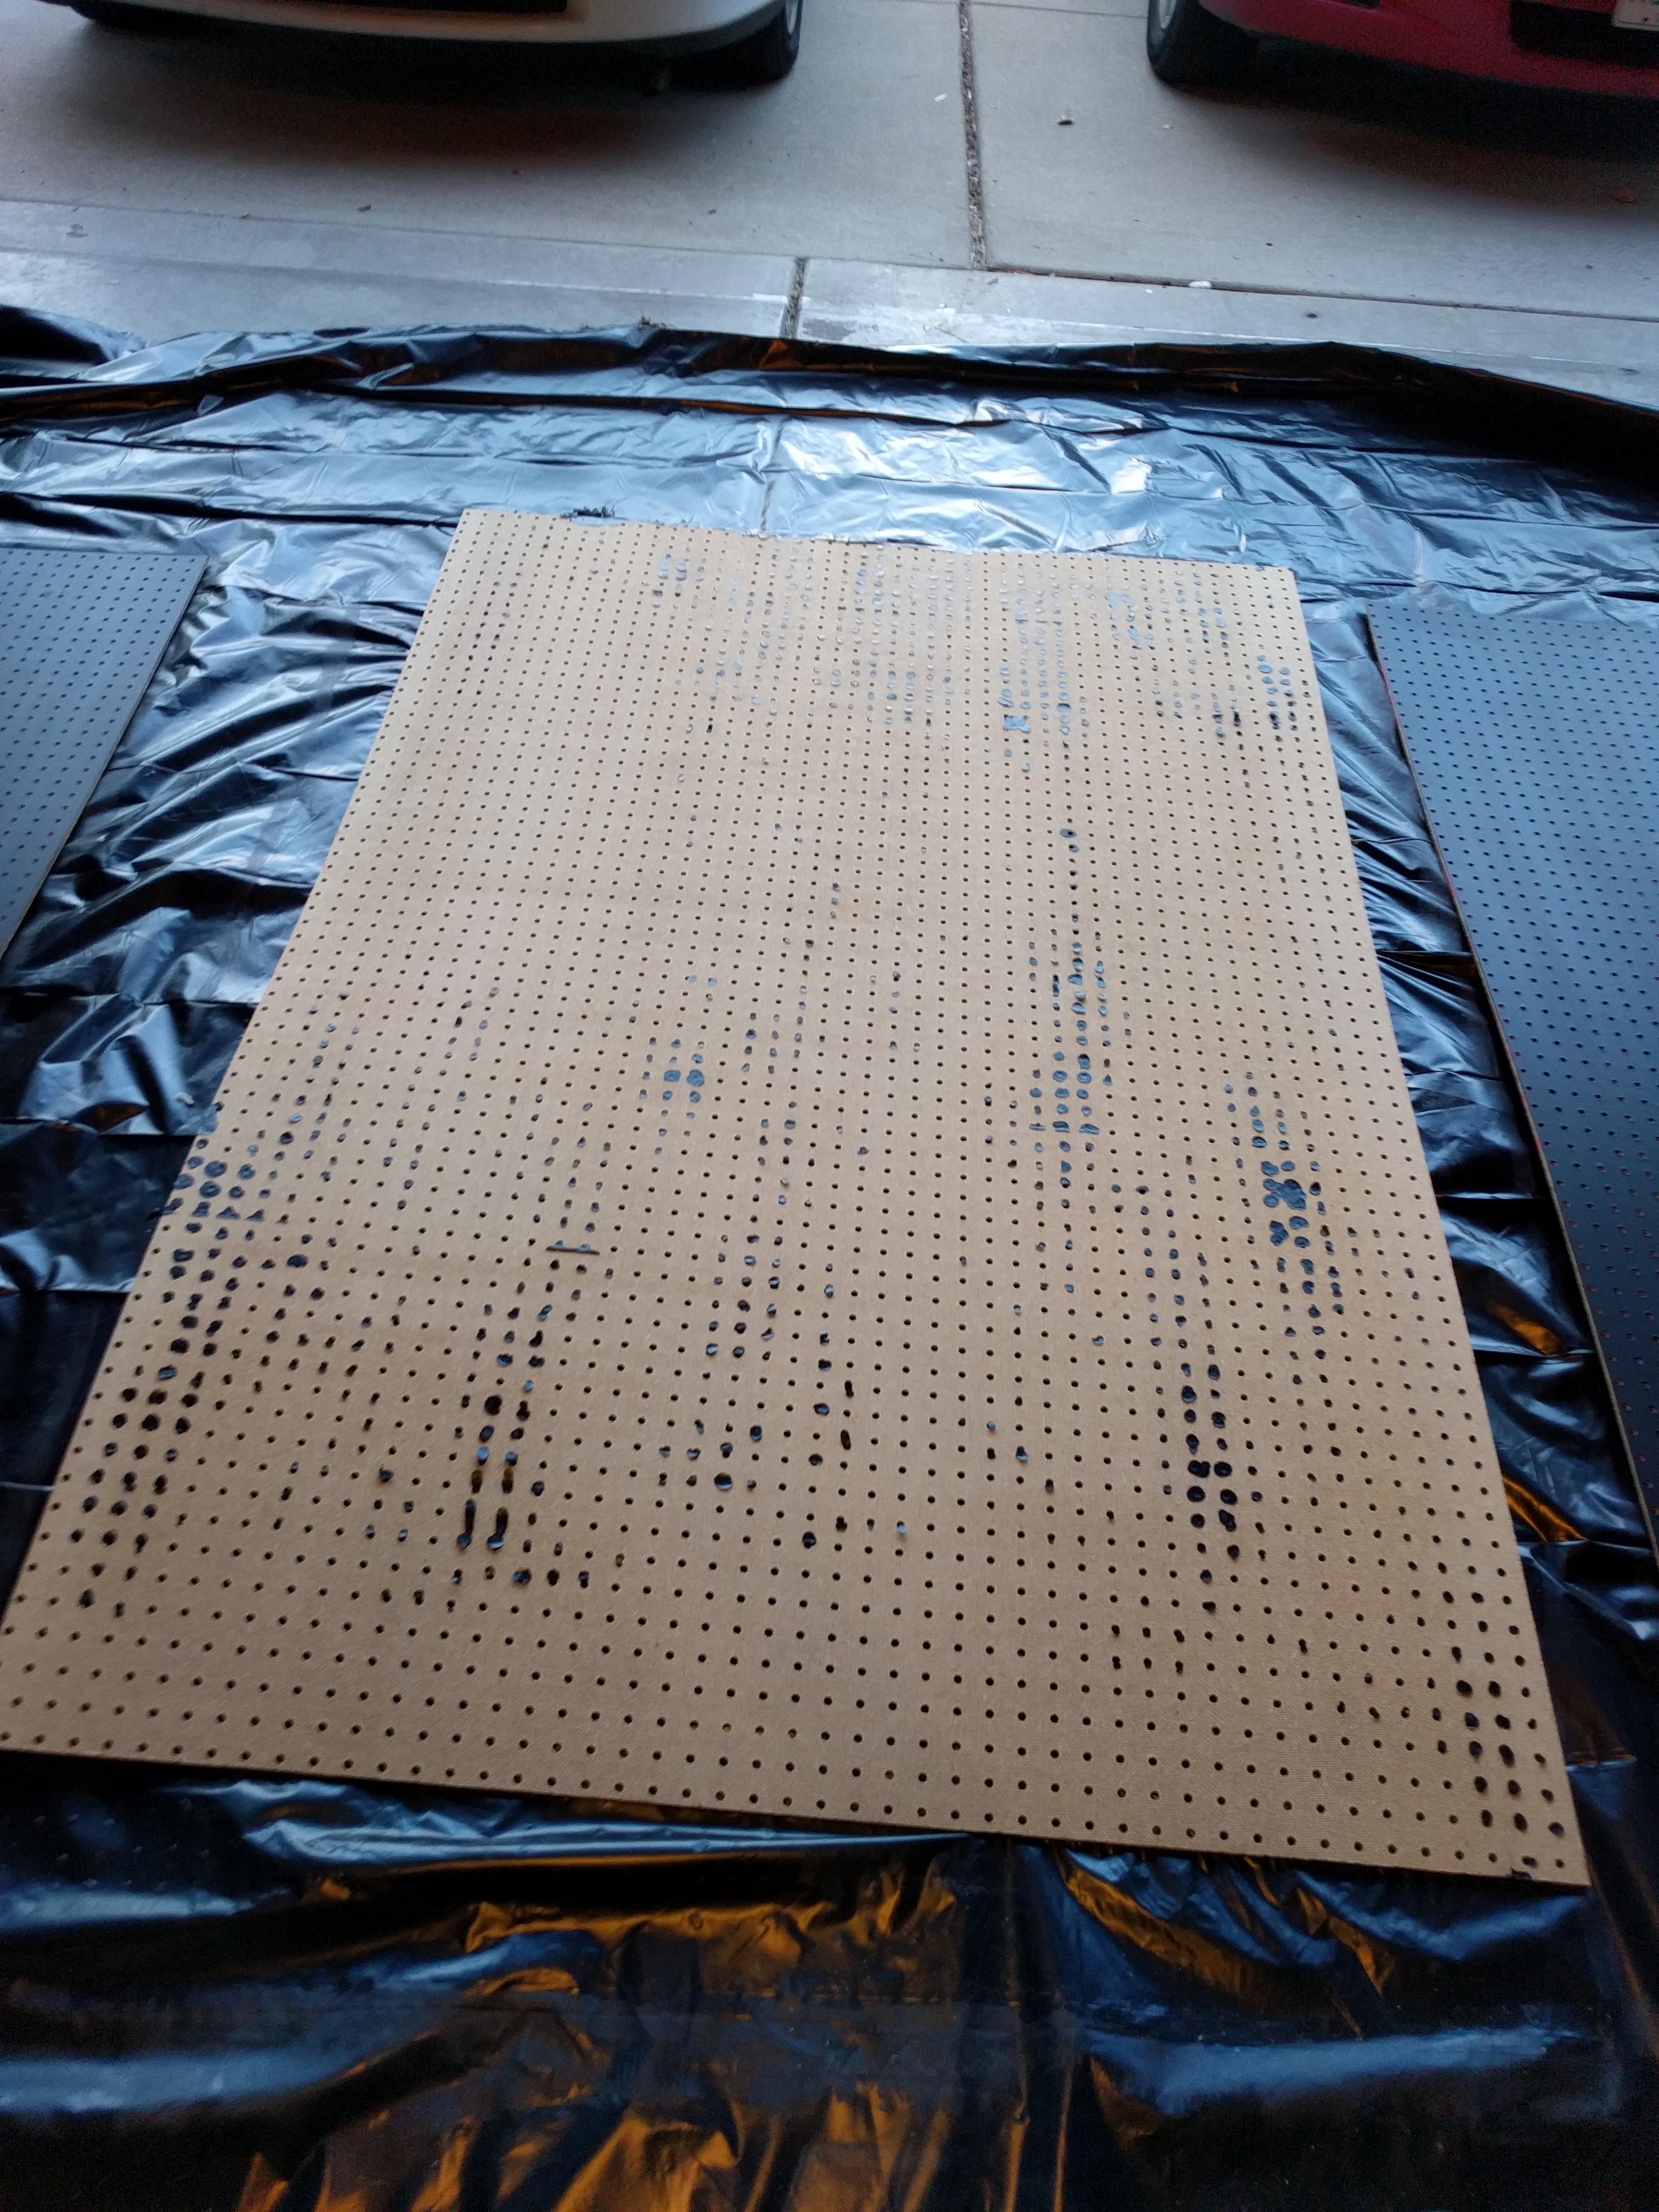
Once the paint dried (including the paint that dripped through and puddled on the floor), I flipped the pegboard can be flipped over to show the wasted paint.
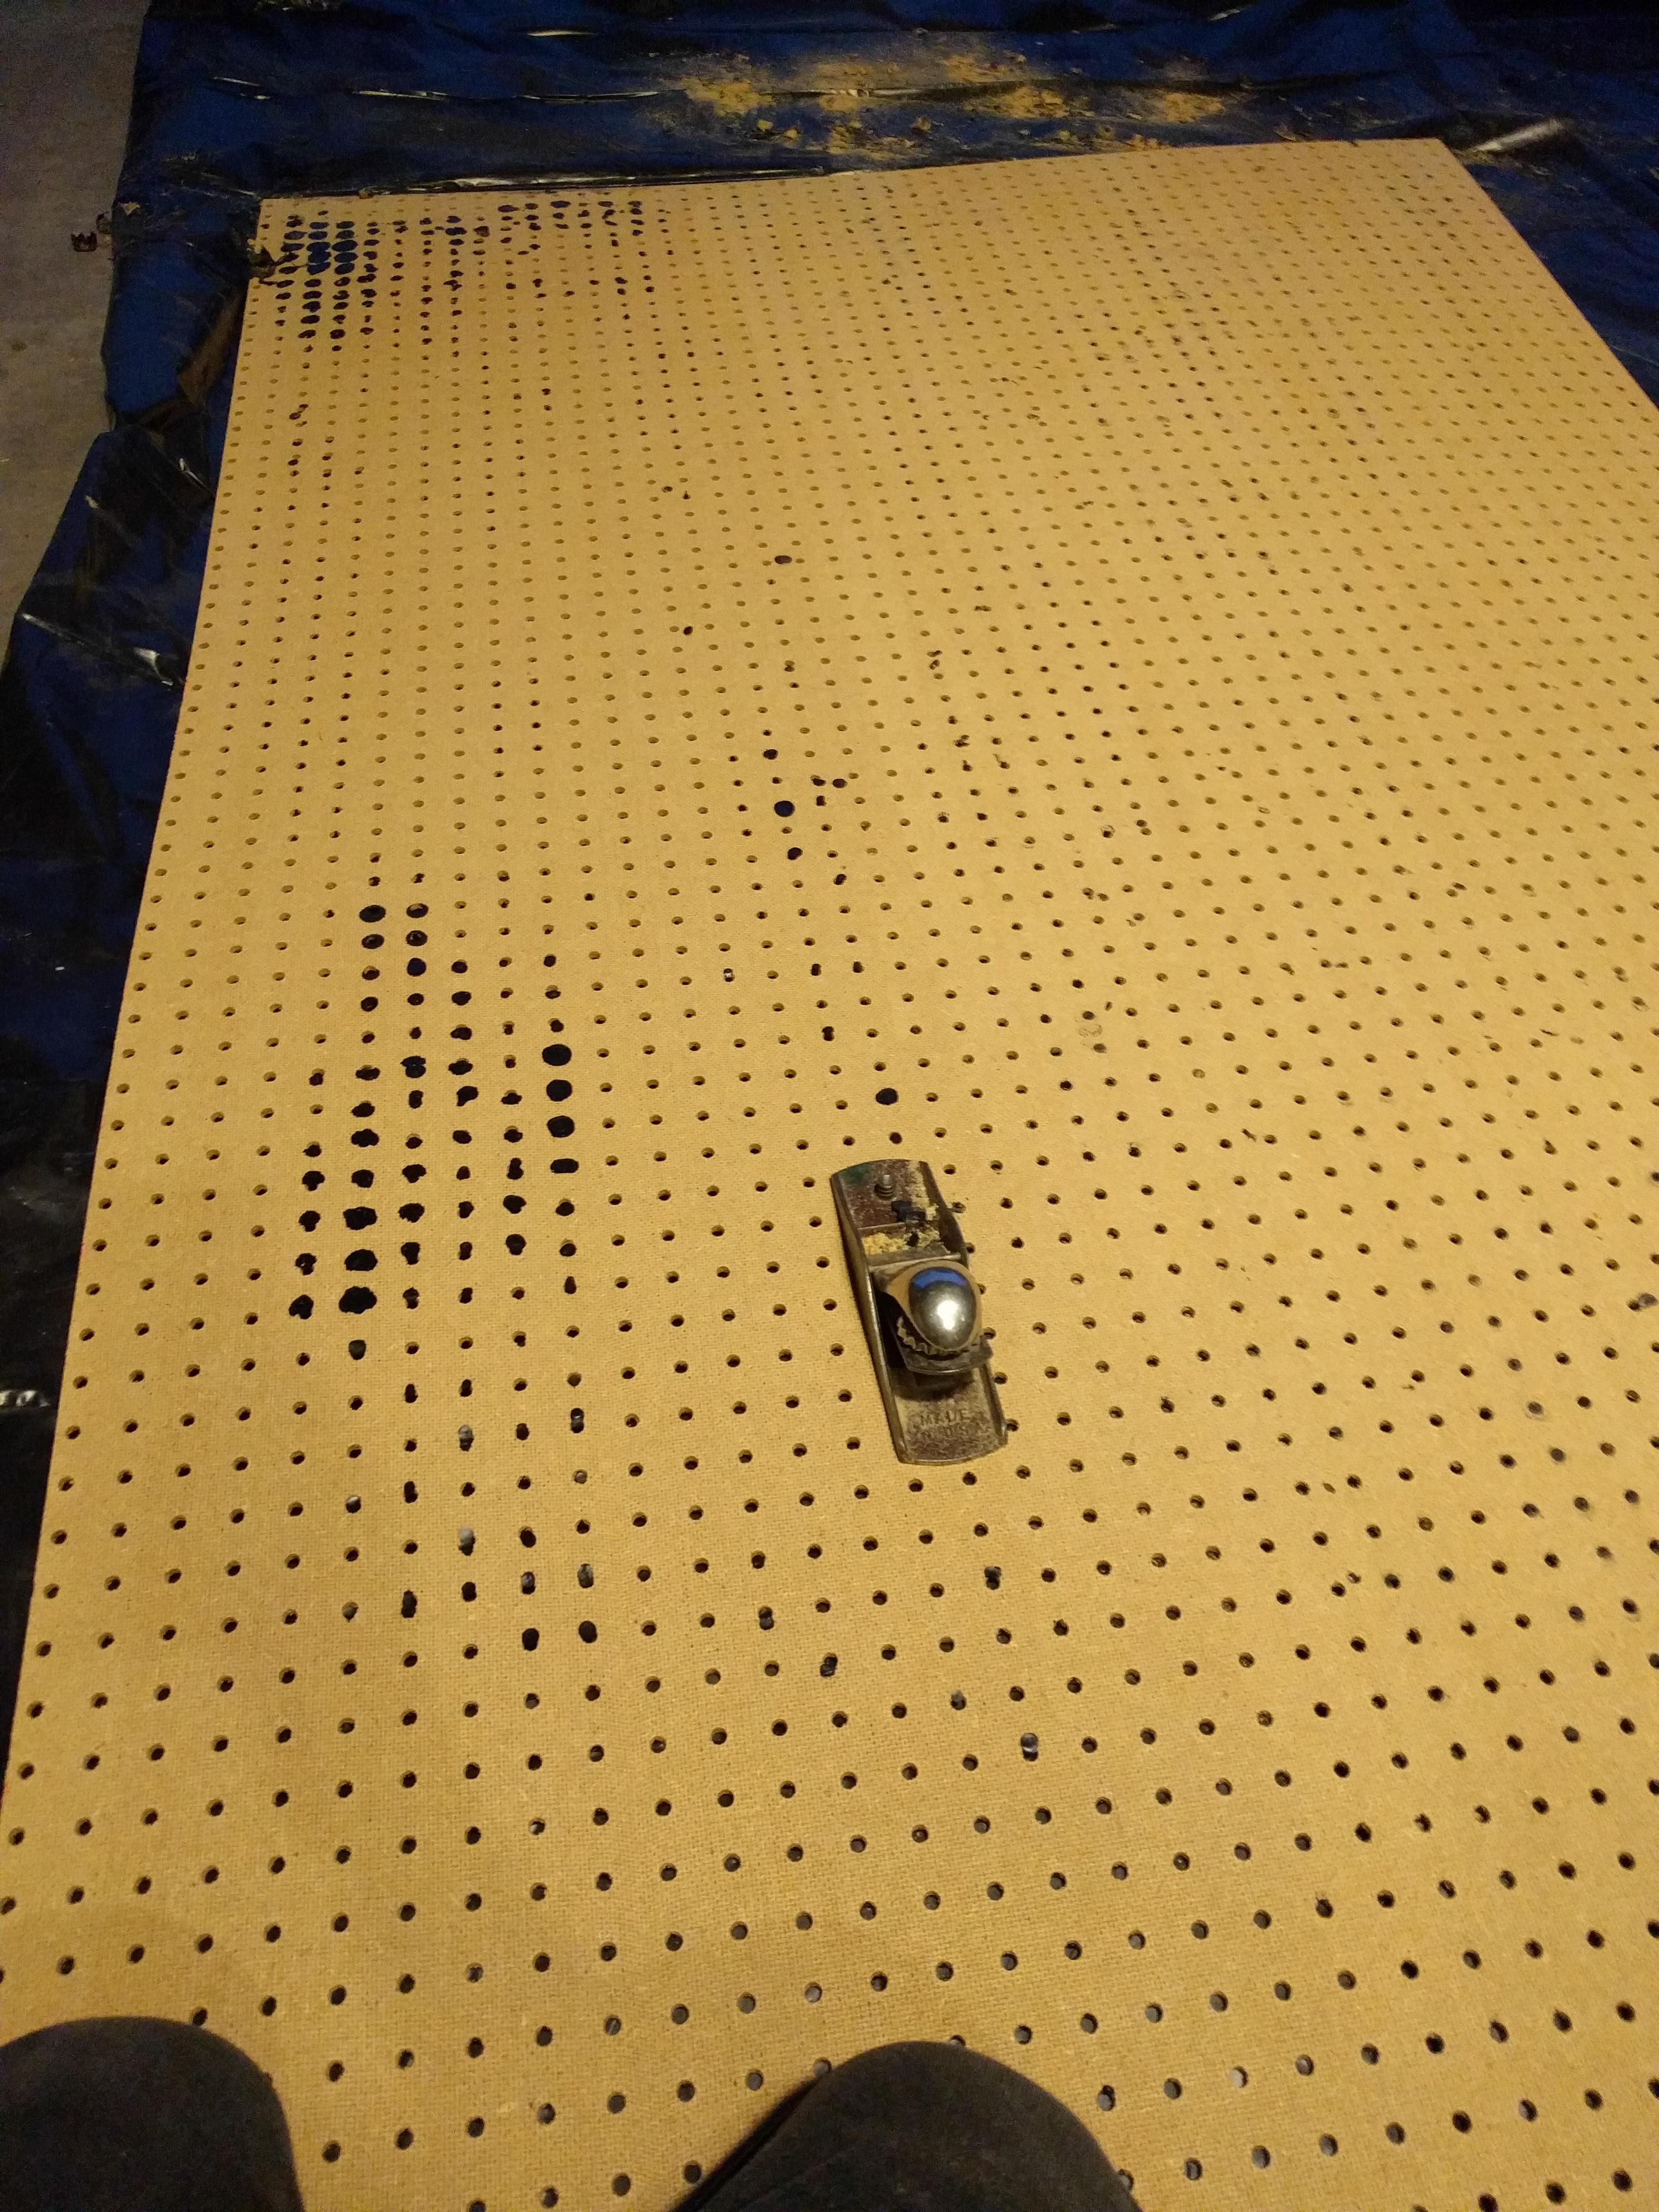
Even using a brush, the chalkboard paint easily drips through and clogs the holes. There doesn’t seem to be any way around this. I used a hand-plane to easily remove the excess without cutting into the board very much. Keeping it on the tarp while I was planing made the clean-up easier.
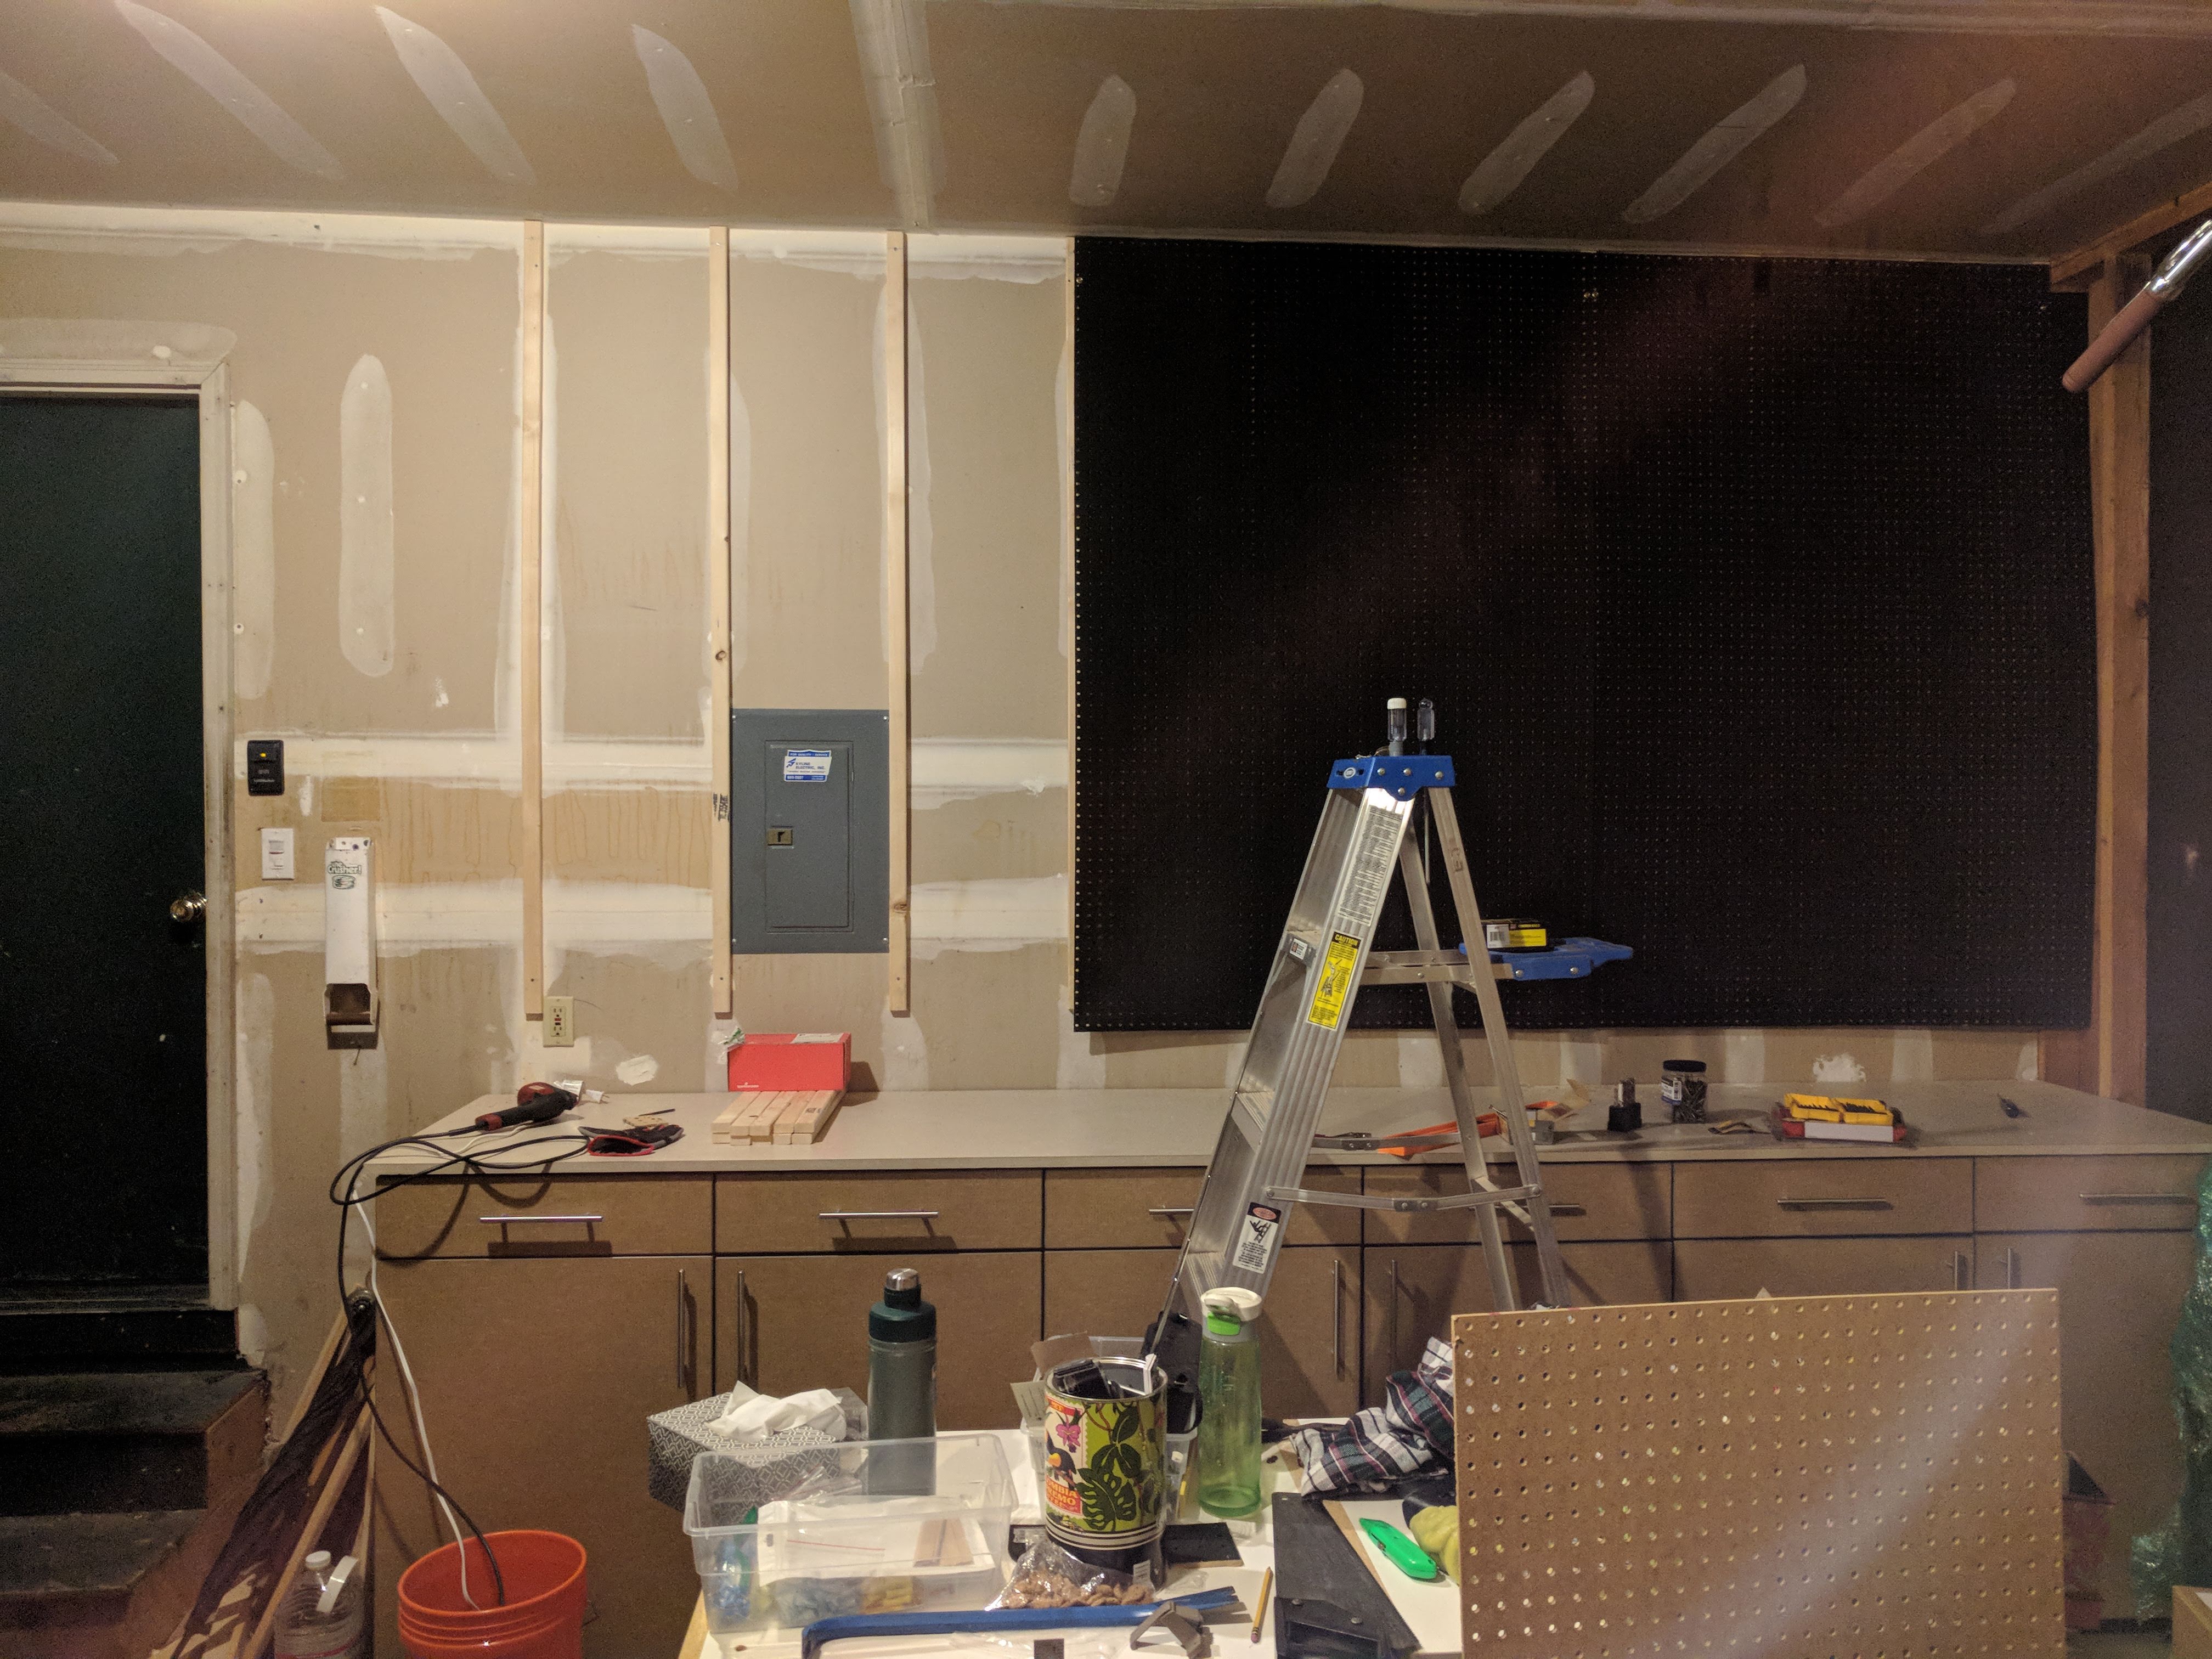
To mount the pegboard to the wall, I nailed a 1×2″ furring strip to each of the studs. The breaker box is installed in between studs, and I had to cut the furring strips that ran past it short and move the lower section to the side to run around the breaker box.
After some trial and error on the first panel, I decided to use 20 screws per board, evenly spaced. 60 screws seems like a lot, but pegboard is very flexible. It tends to warp very easily, and the more fasteners you use, the more flat the final surface will be.
The trick to installing pegboard without too many warps in it is to screw it down from one of the upper corners to the opposite lower corner. I started with the one against the wall, the upper-right. I put in the top 2 screws and then worked from right to left, top to bottom drilling holes and putting in screws. You really don’t want to drill all the holes at once. The board is going to slightly relocate with each screw you put in, so you want to drill and fill each hole as you go.
I would suggest cutting the holes in the pegboard with a hand saw, jig saw, or a router. I used a Dremel with a router bit to cut out the large hole in the middle so that I could salvage the painted pegboard rectangle for something else.
I installed cheap plug-in hanging lights from Amazon on the ceiling. Out of laziness, I spent $5 on an adapter from a light bulb socket to a NEMA 1-15 receptacle from Ace Hardware and just plugged the lights in on the ceiling. The main benefit of this is that the switch on the wall didn’t have to be rewired. The motion-sensor switch still had to be replaced because it was not compatible with LEDs.
Finally, after months of planning, waiting, and work, I was able to hang up some tools and chalk the places of the ones I liked. There is a lot of real estate on this wall, but I have plans to hang more than just tools.