
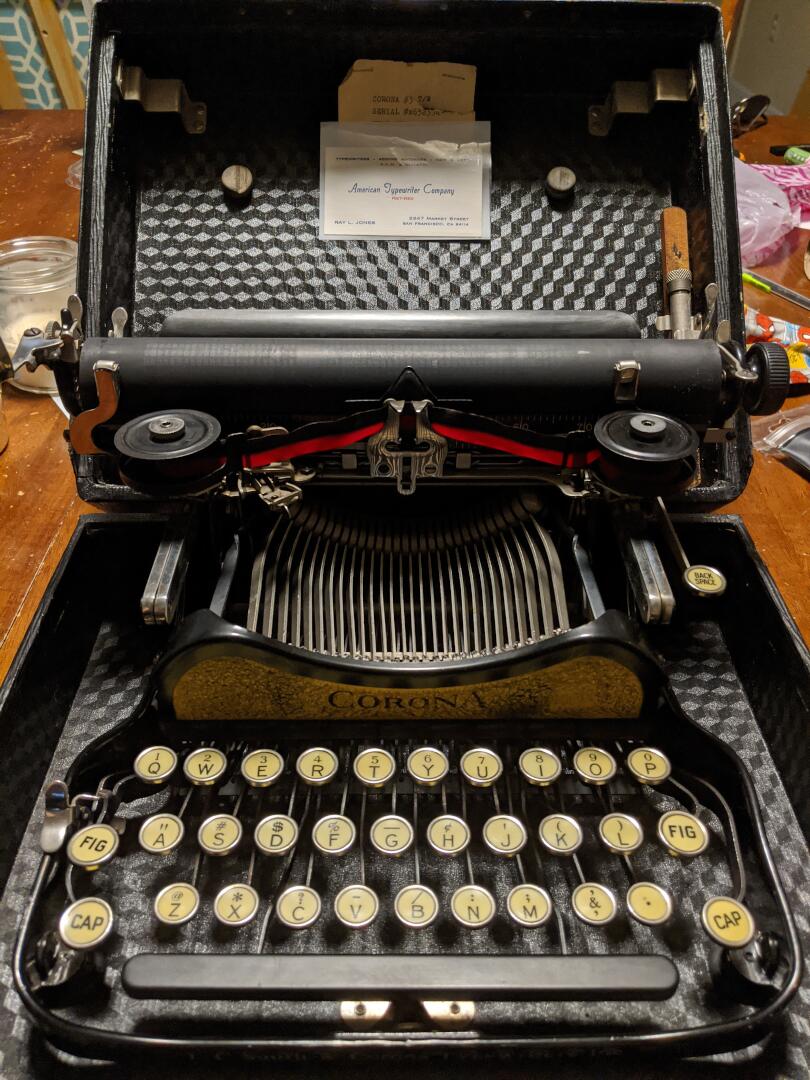
This is one of Smith’s “Corona” portable typewriters, manufactured in 1926. At some point, it entered my grandparents’ typewriter store in San Francisco and, after they retired, it entered my grandfather’s basement collection of over 150 typewriters. After he passed away, my dad dug it out of the basement and gave it to me. Over the years, someone has clearly fixed it a few times, and I recently did a repair myself.
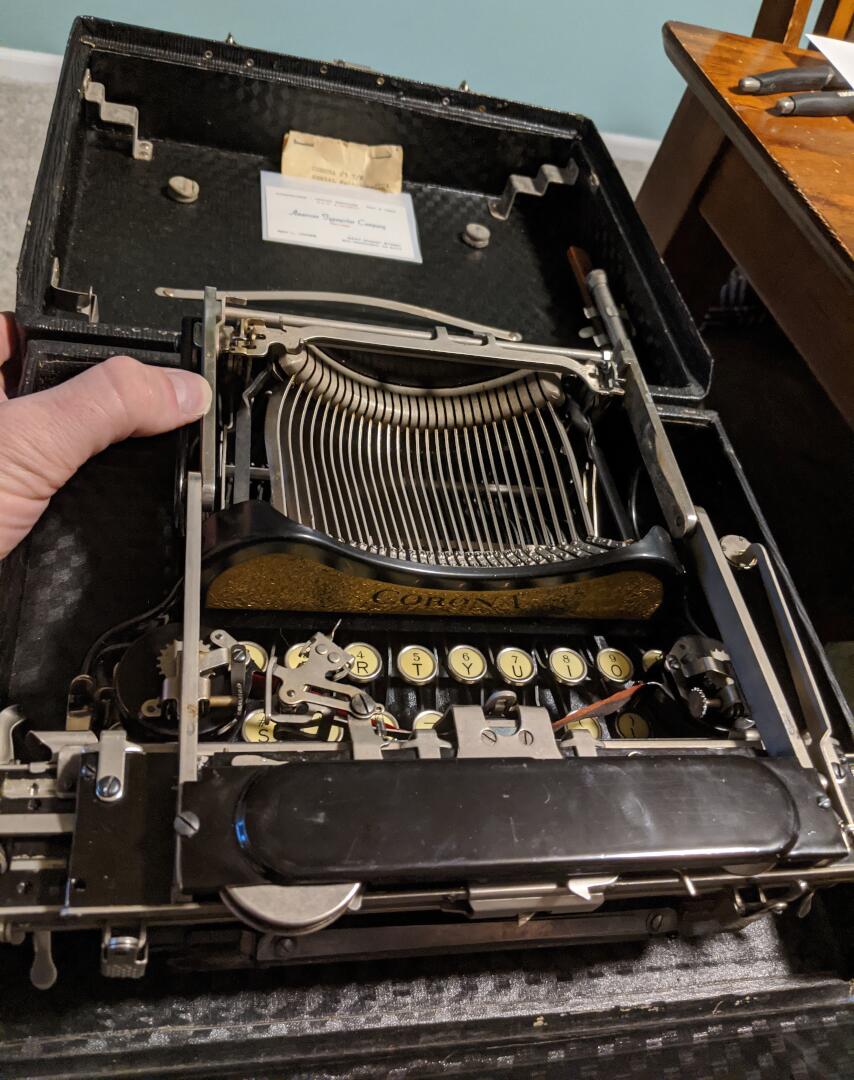
This Corona series is particularly cool because the carriage assembly folds forward over the keyboard so that it fits in a slightly smaller suitcase. The case even has little tabs to hold all the parts in place when it is collapsed.
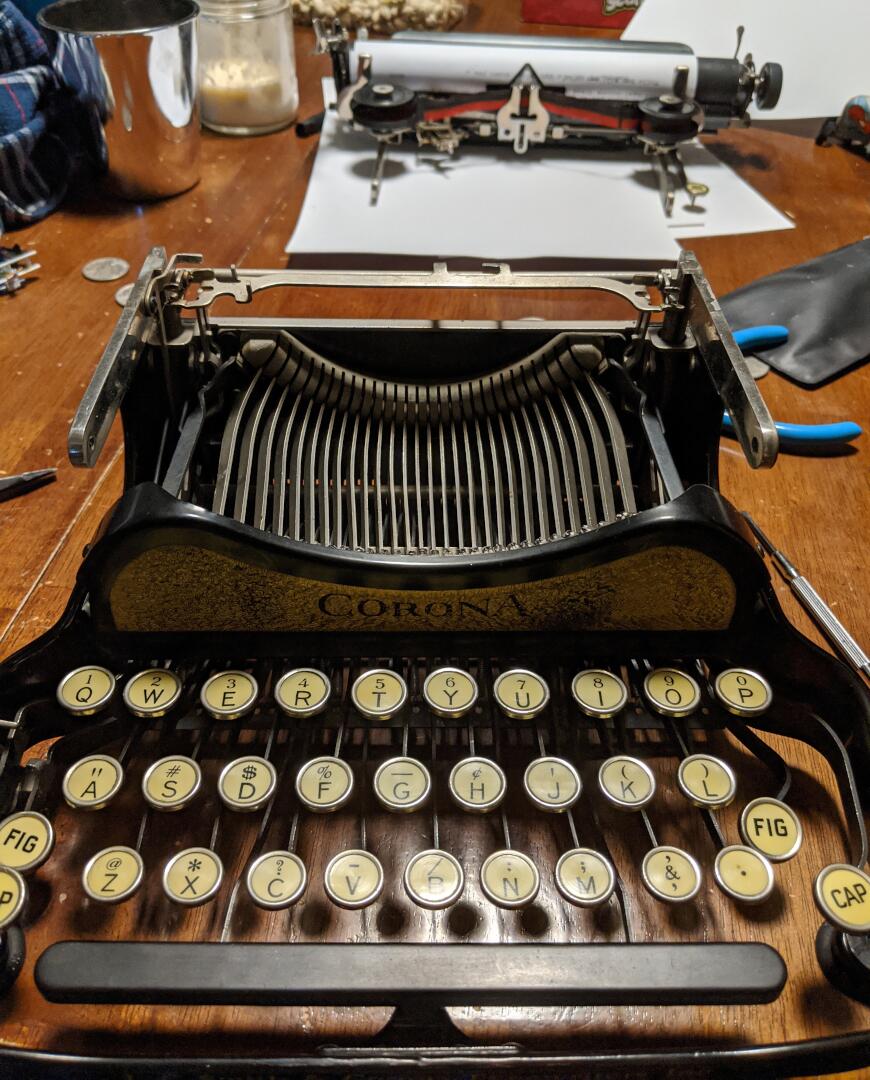
This is a 3-bank typewriter, meaning it has 3 characters on each hammer. One character for lower-case, one for when the caps (shift) key is pressed, and one for when the figure key is pressed. When the caps key is pressed (by strong pinkies) the entire carriage assembly is lifted about 5mm to line up with the caps bank. When the figure key is pressed, the assembly is lifted farther to line up with the figure bank. Sometimes.
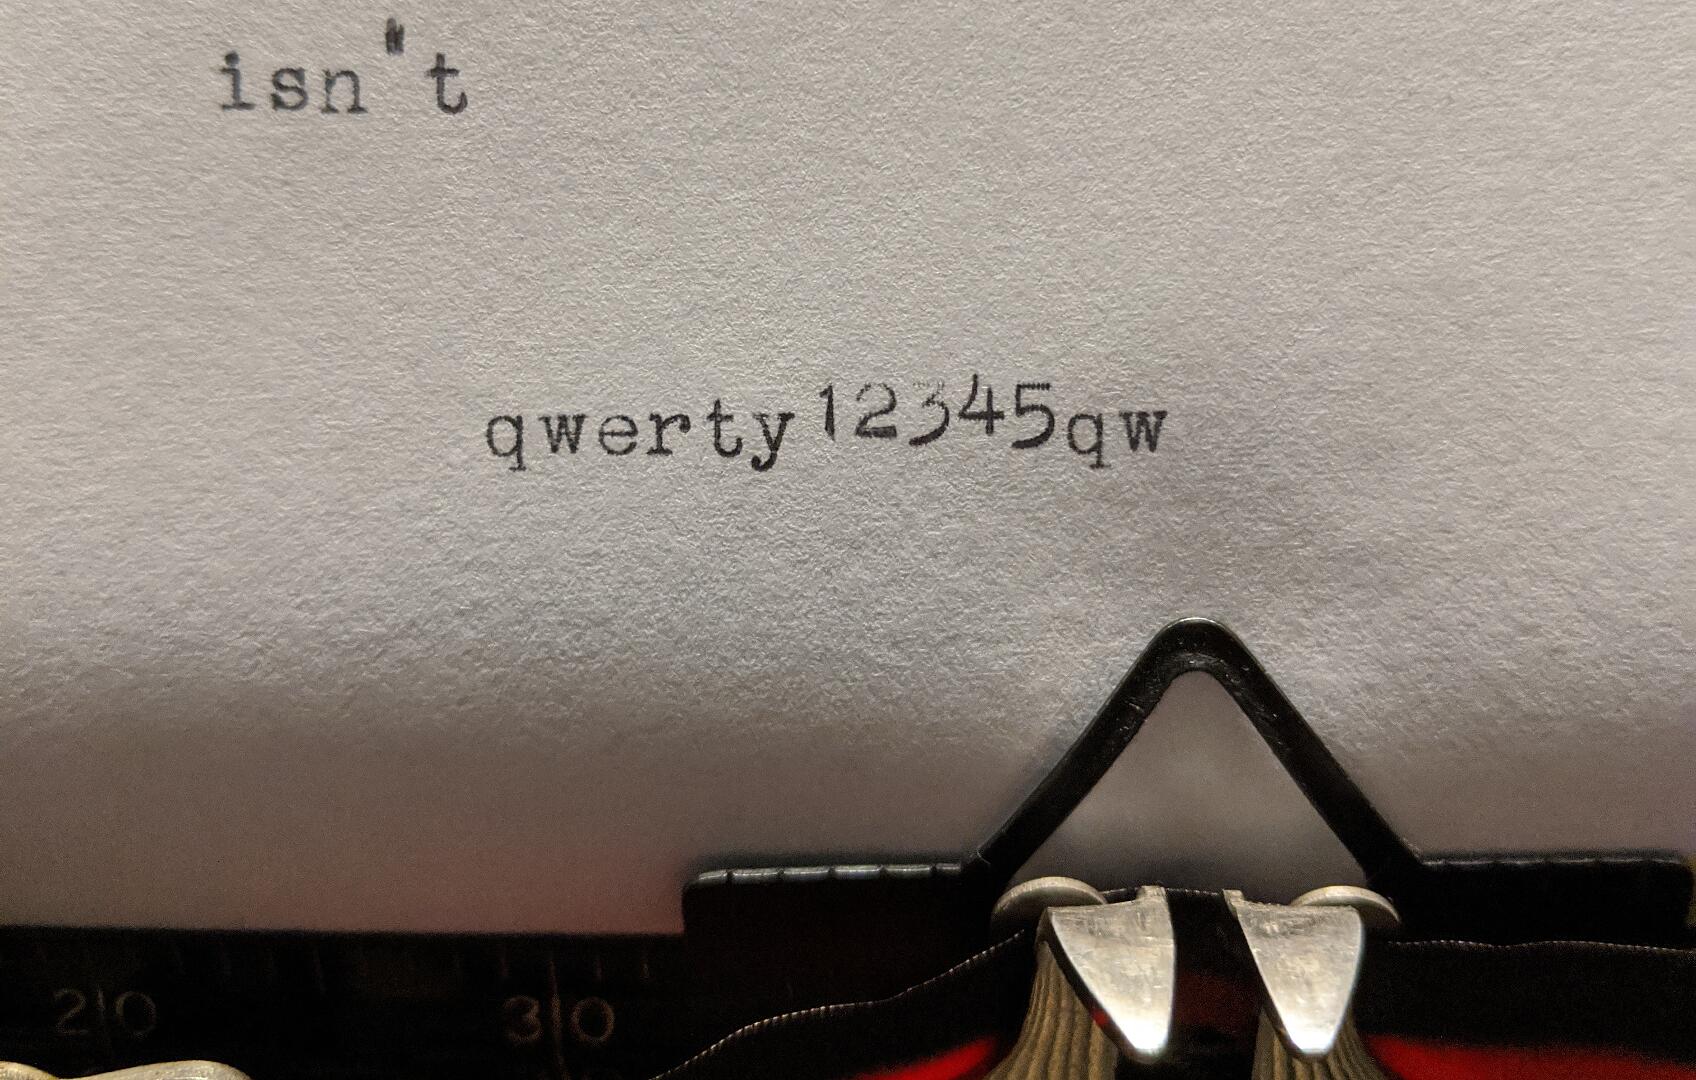
When I used it, all the figure characters appeared about half a return line above the other text, which is not ideal, but also results in the stamp barely contacting the ink ribbon, which makes the numerical characters very faint.
After some inspection, the error clearly has two causes:
- The carriage assembly has been adjusted so that it doesn’t rise far enough to meet the figure bank.
- The locking tab of the figure key, which is used to “figure lock” the keyboard, hits the table under the typewriter before the end of its stroke due to the deformation of its arm and probably some environmental damage to the machine’s rubber feet.
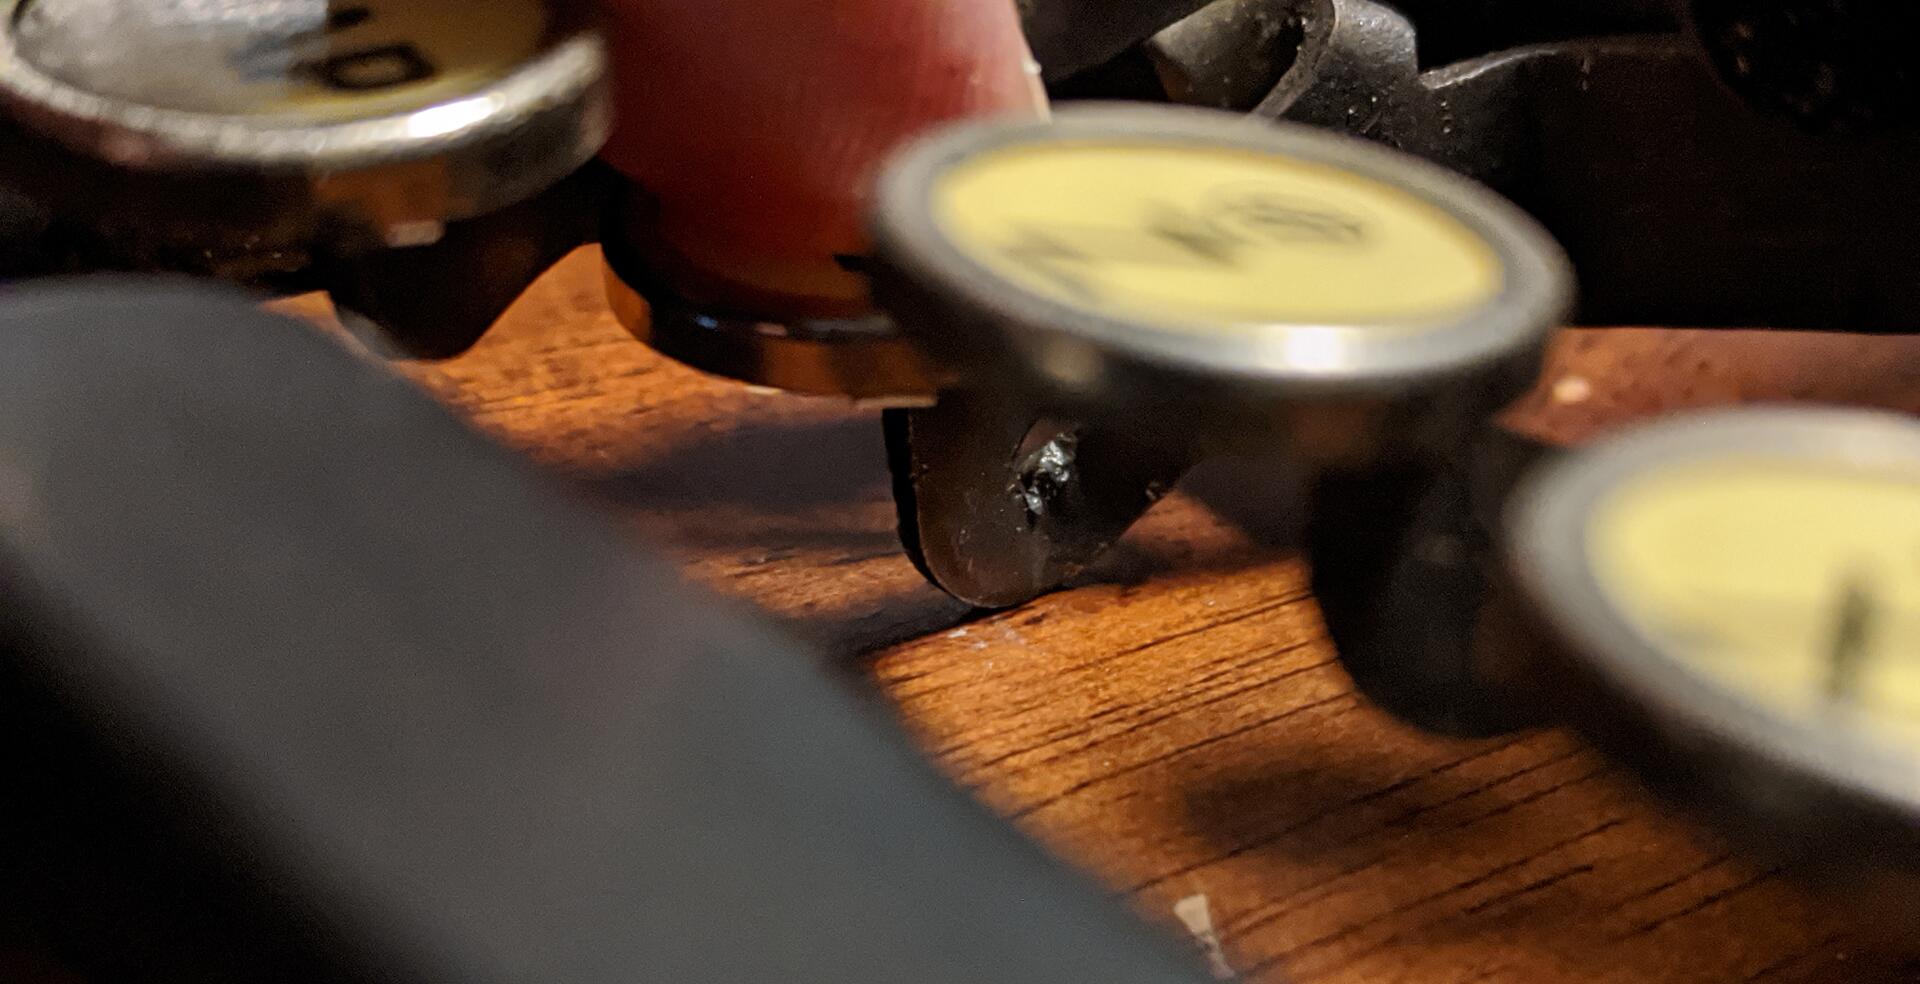
My hypothesis is that, over the years of use between 1926 and 2020 (coming up on 100, woo!) the left-side “Fig.” key arm saw some abuse by someone with either insanely strong pinky fingers or a habit of hitting the very stiff key with their arm muscles, like stepping on a stiff clutch with both feet.
Further speculation, after the figure arm was damaged, the user noticed that there was a new dent in their table. They then decided this was because the carriage was being allowed to lift to high and lowered the limit. Then, the figure lock tab barely made contact, so someone pinched the figure locking hook to be much tighter in order to make contact at the correct height. No one cared that the figures were appearing slightly high, and it didn’t start to degrade the ink mark until the ribbon had sat around drying out for another 20 years.
All that conjecture brings us to last night, when I finally got fed up enough to fix it.
First up, removing the carriage assembly. I looked at the pins in the hinge and thought, “I wish I had a screwdriver that size.” Then I realized that I did have a screwdriver from Papa’s basement workshop that was exactly the right size, and may have actually been filed down for this purpose.
In the picture, you can see the carriage in the back with a piece of paper coiled up around the roller. This is good to do while you work on typewriters because it keeps the keys from marking up the roller by accident.
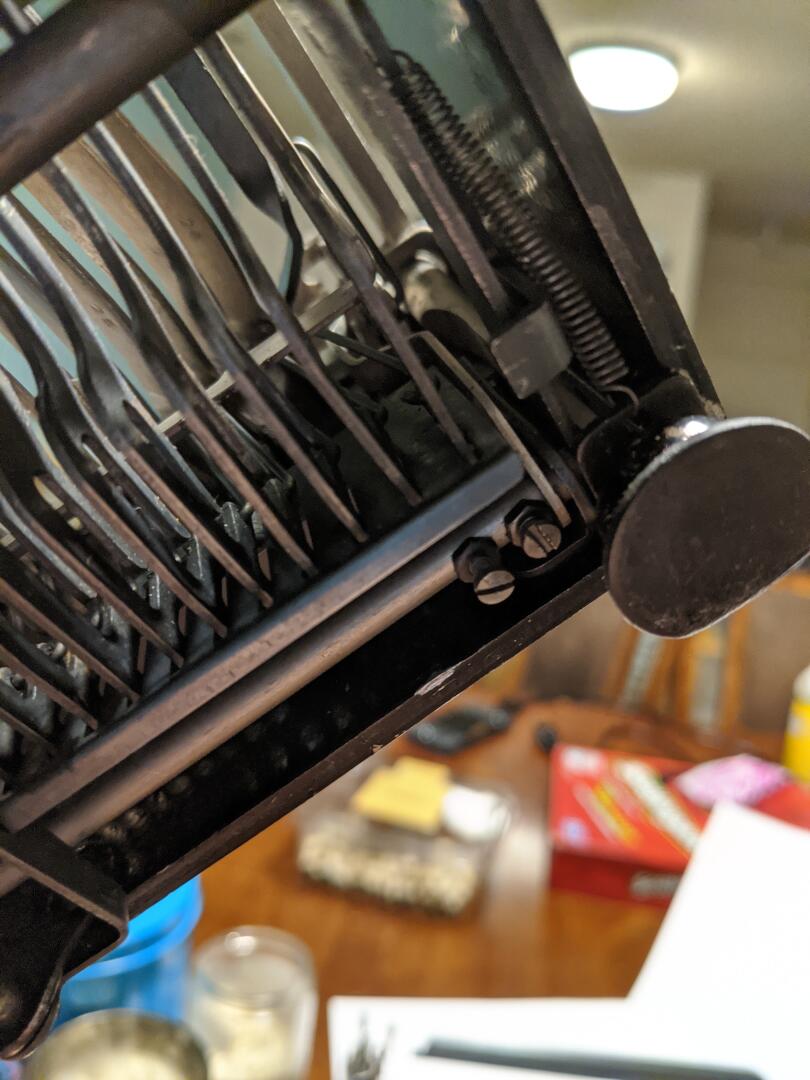
On the back side of the typewriter there are two pairs of set screws that are used to set the height limit of the carriage assembly. One pair is for the capitals key and one is for the figures key.
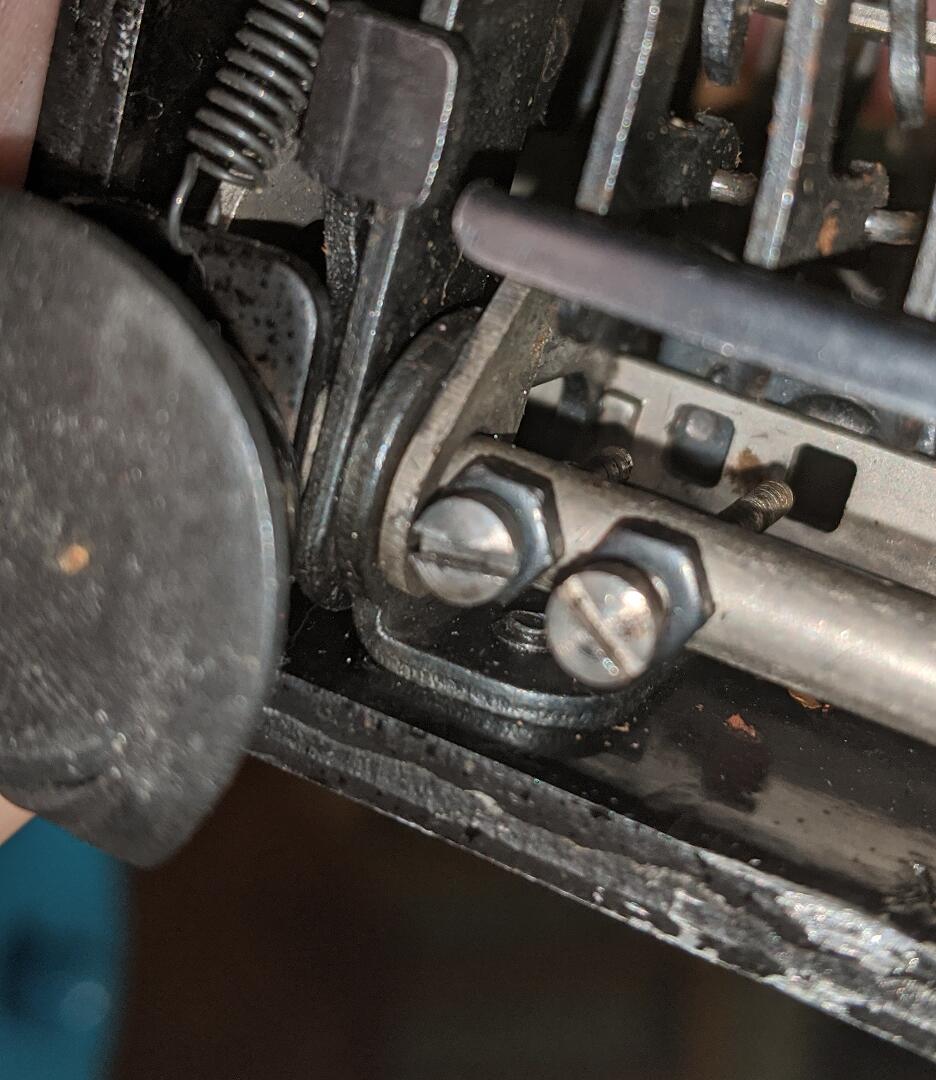
If you look very closely at these set screws, you can see the points where they bang against the stops. In the picture above, the screw on the left leaves a dent on the black surface through the left window in the shift bar. I’m just making up terminology, since I have no idea what these things are called, but I am calling it a “shift bar” because it shifts left and right and is moved by the caps key. The screw on the right would travel clear through the other window in the shift bar, except that, when the caps key is pressed, the shift bar is pushed over so that the set screw hits it instead. There is a little rust mark on the shift bar from the impact.
My grandmother tells me that my grandfather had a funny-looking tool for these screws, essentially calipers with a screwdriver in the middle, that could be used to loosen the jam nut, move the screw, and then tighten the jam nut again. I do not have a specialty tool, but the same effect can be had with needle-nose pliers in one hand and a screwdriver in the other.
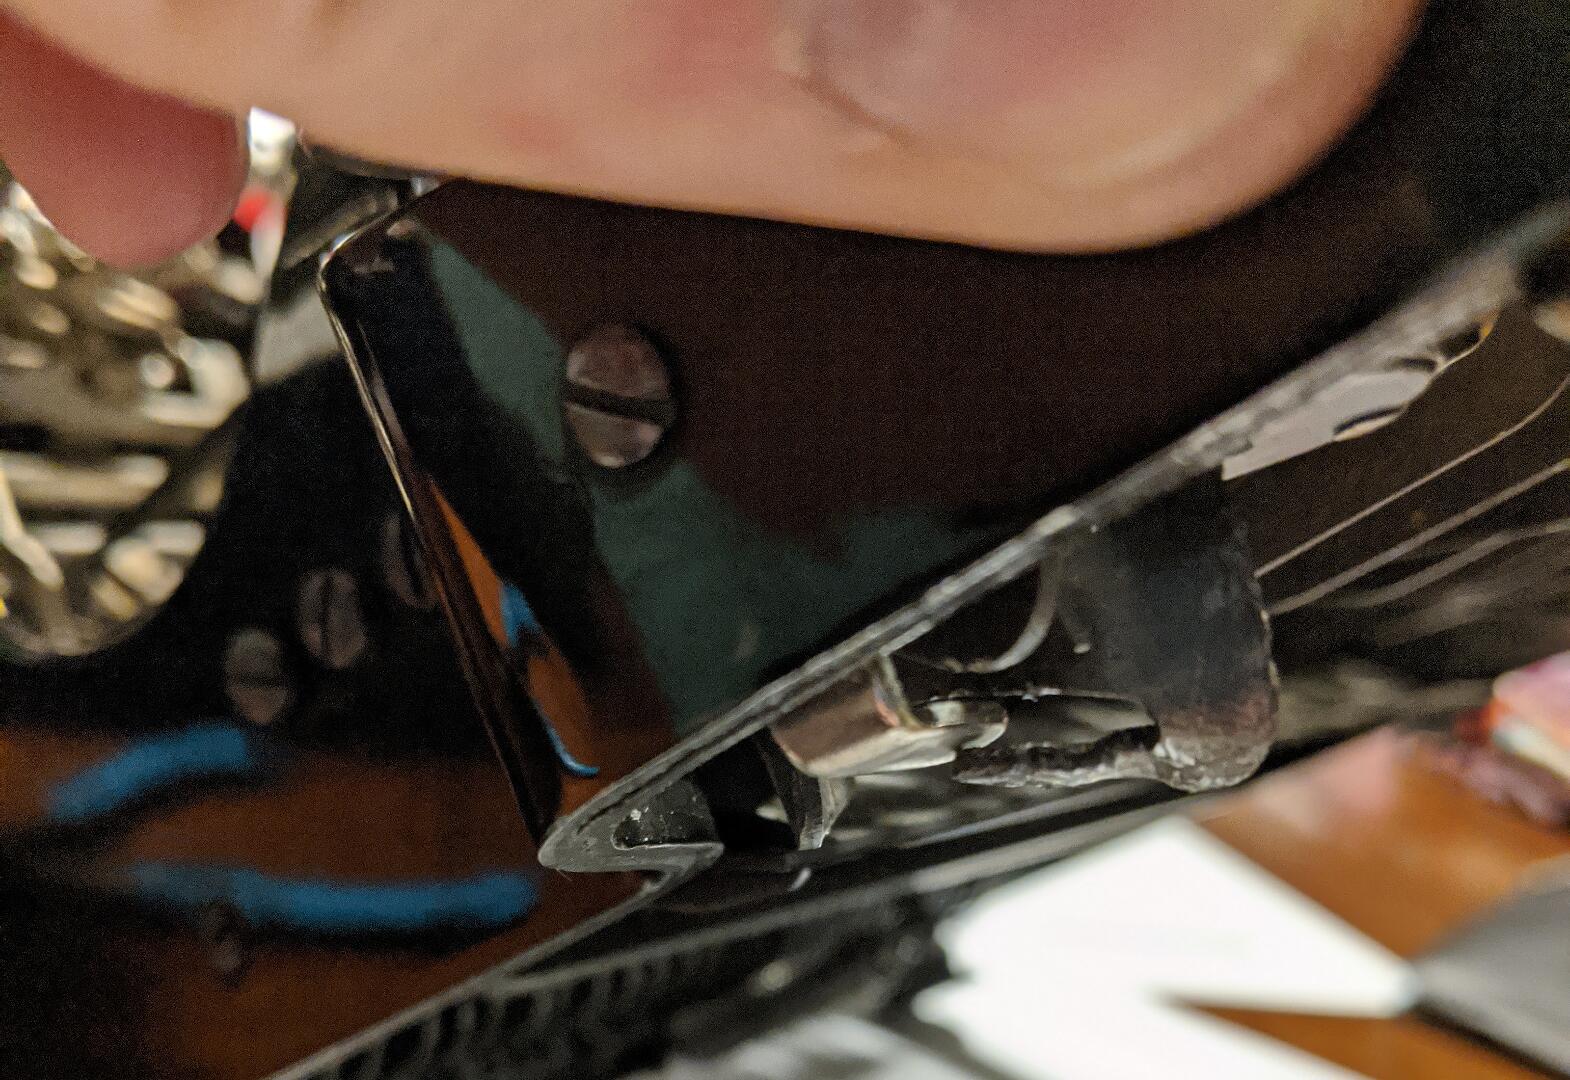
After loosening the screws and testing the new height, the figure key definitely smacked the table quite a bit. Given that someone had already deformed the arm a bit and someone else had already marred up the metal, I didn’t feel too bad about man-handling the locking tab into a new orientation that both wouldn’t hit the table and would hold the carriage at the right height.
Maybe someday I will remove the figure arm and rework it to engage the figure lock a little more elegantly, but, to be honest, caps/figure lock isn’t really a feature I use much.
This is always a lot of fun to work on. It conjures up memories from my childhood playing with typewriters and adding machines at my grandparents’ house.
Now I just need to figure out where to buy ribbon.