
Last year I helped some friends move out of their apartment. They were going to throw out this dining table because it was badly damaged, with some burn marks and a broken leg. It’s a typical Ikea-or-something dining table. I needed a coffee table for our game room, and I didn’t want to drive it to the dump, so I took it home and stored it in the garage until I got a power saw.
While we have been stuck indoors, it has become apparent that I need a coffee table to hold beverages while playing video games, so I went ahead with this project. This might be useful as a tutorial if you find that you want to salvage a table in a similar way.
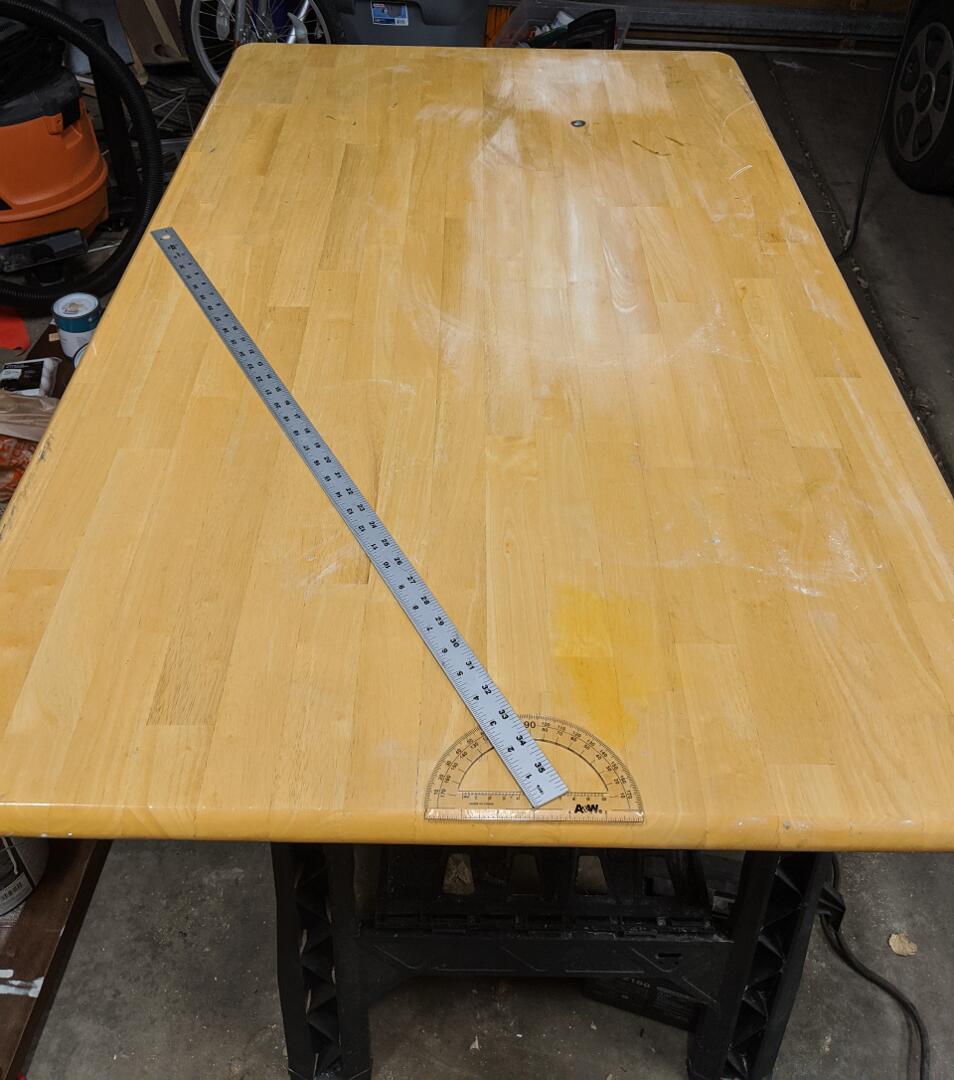
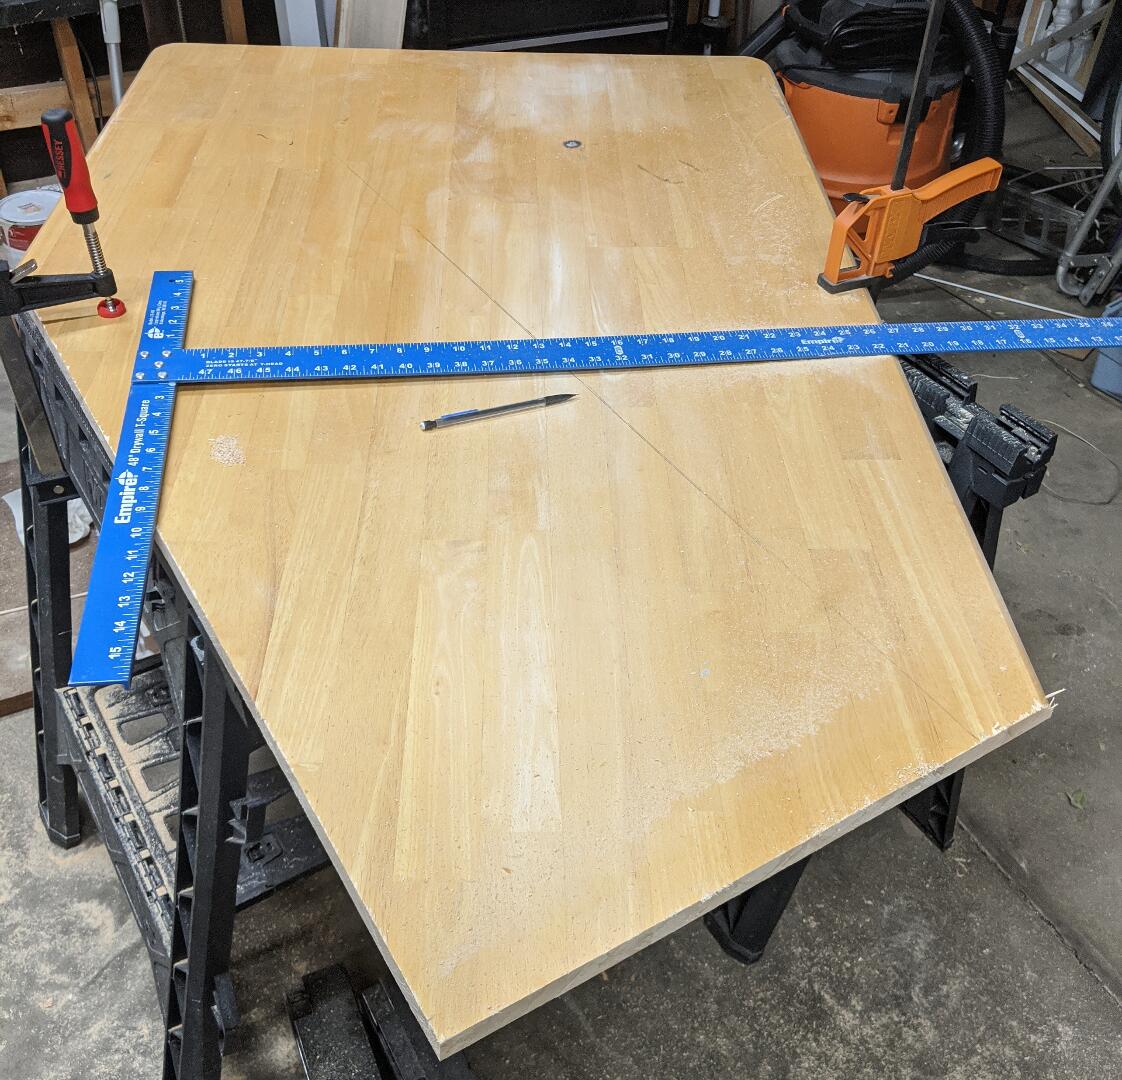
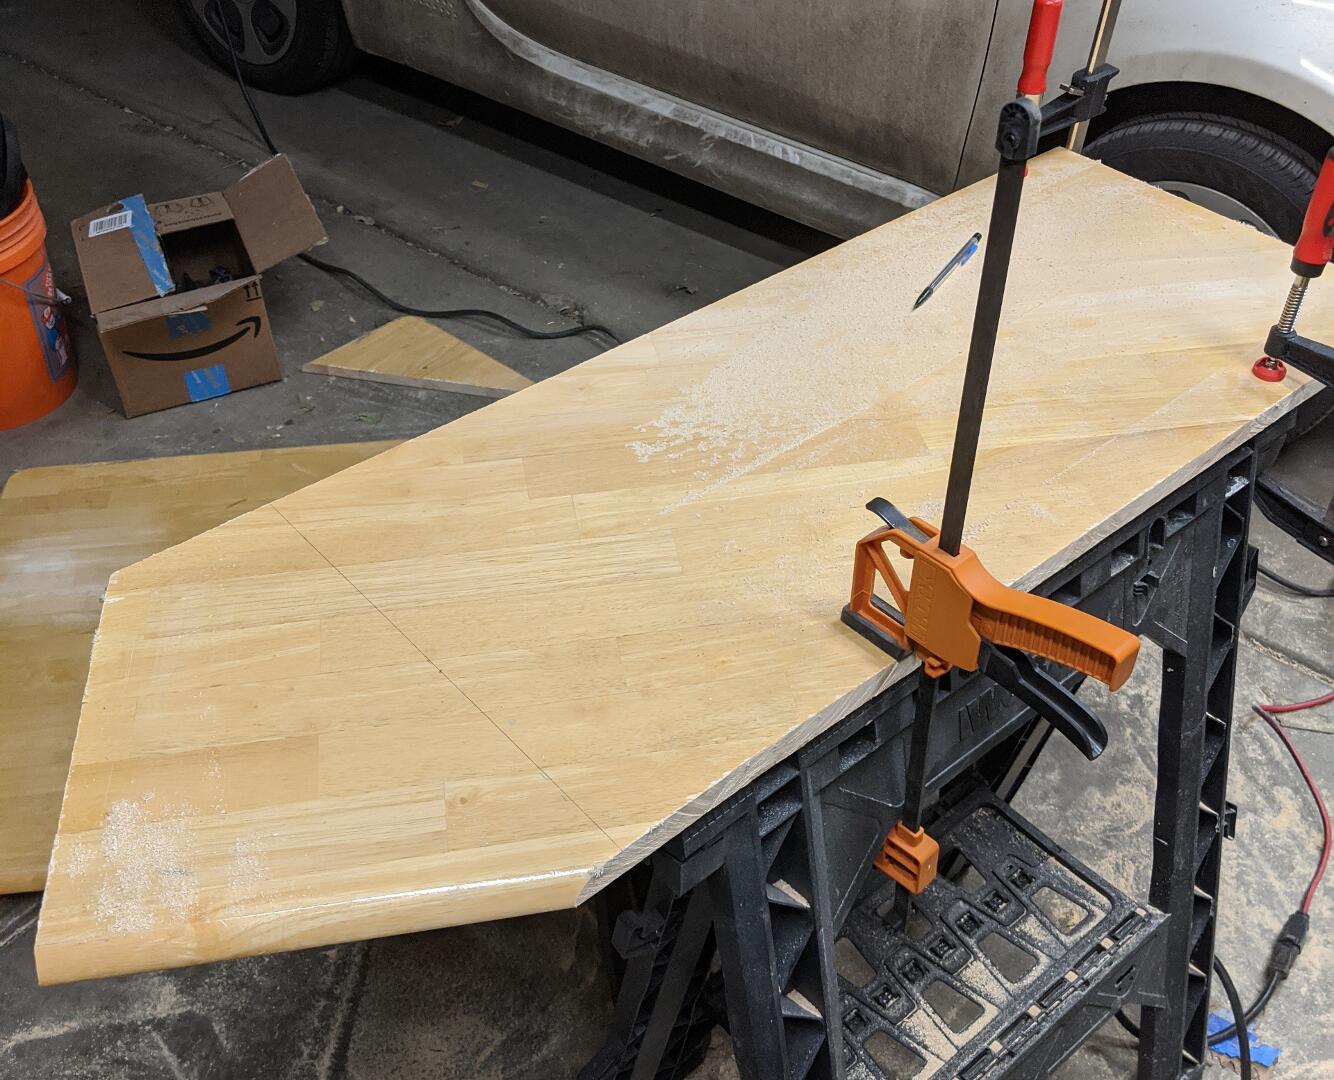
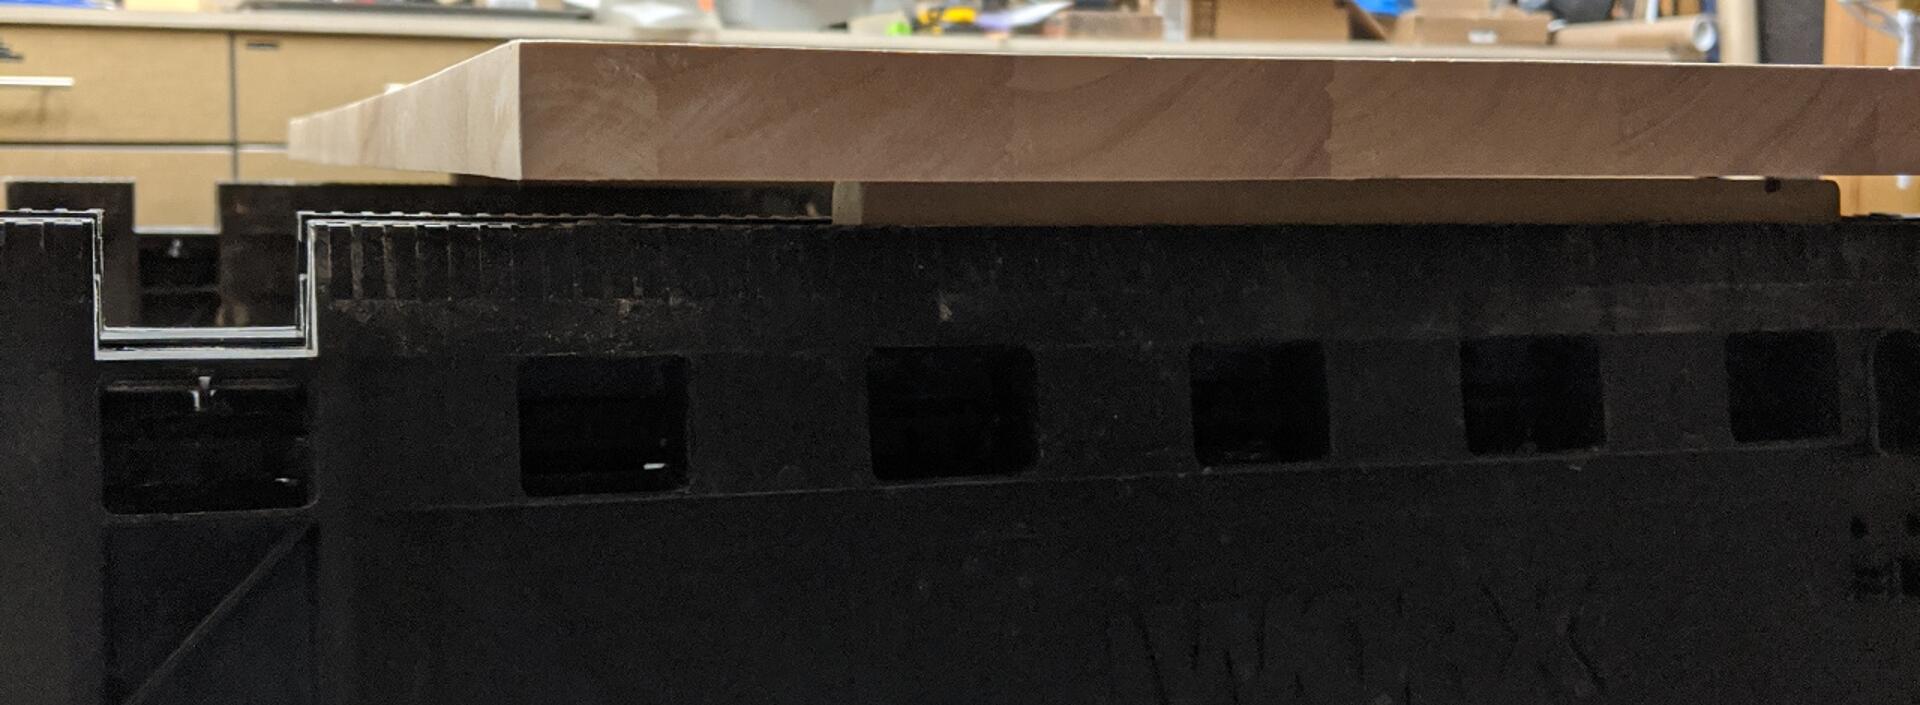
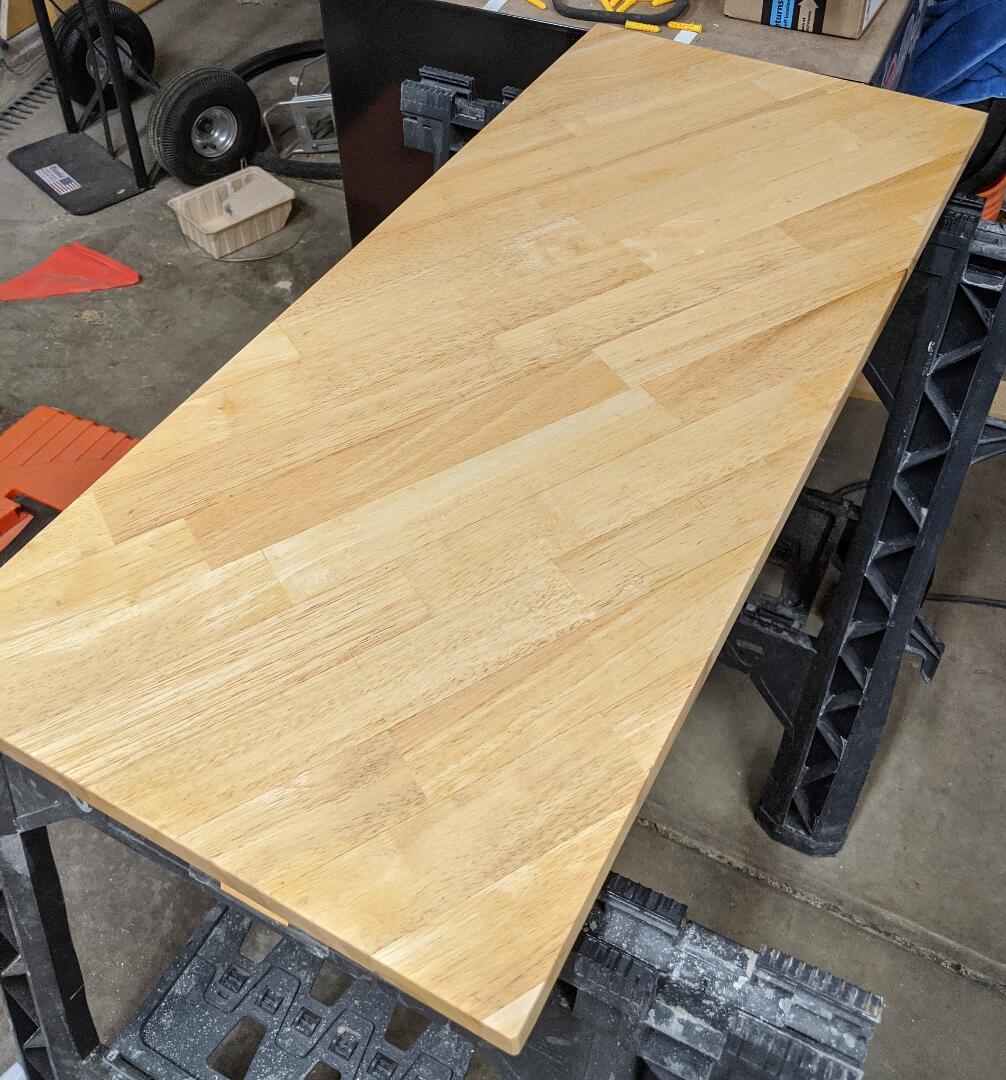
The coffee table needed to be fairly small, and I wanted to avoid that burn mark on the surface of the table, so I decided to cut the new tabletop at a 60-degree angle, which makes the grain look a bit more interesting. This would normally be a waste of materials, but, since I salvaged the wood in the first place, I wasn’t too beat up about it. I used a circular saw to cut the diagonal section out. Mounting the piece for safe cutting on sawhorses was difficult. I had to adjust the sawhorses for each cut, and several of the cuts had to be finished from the side because I couldn’t reach all the way across.
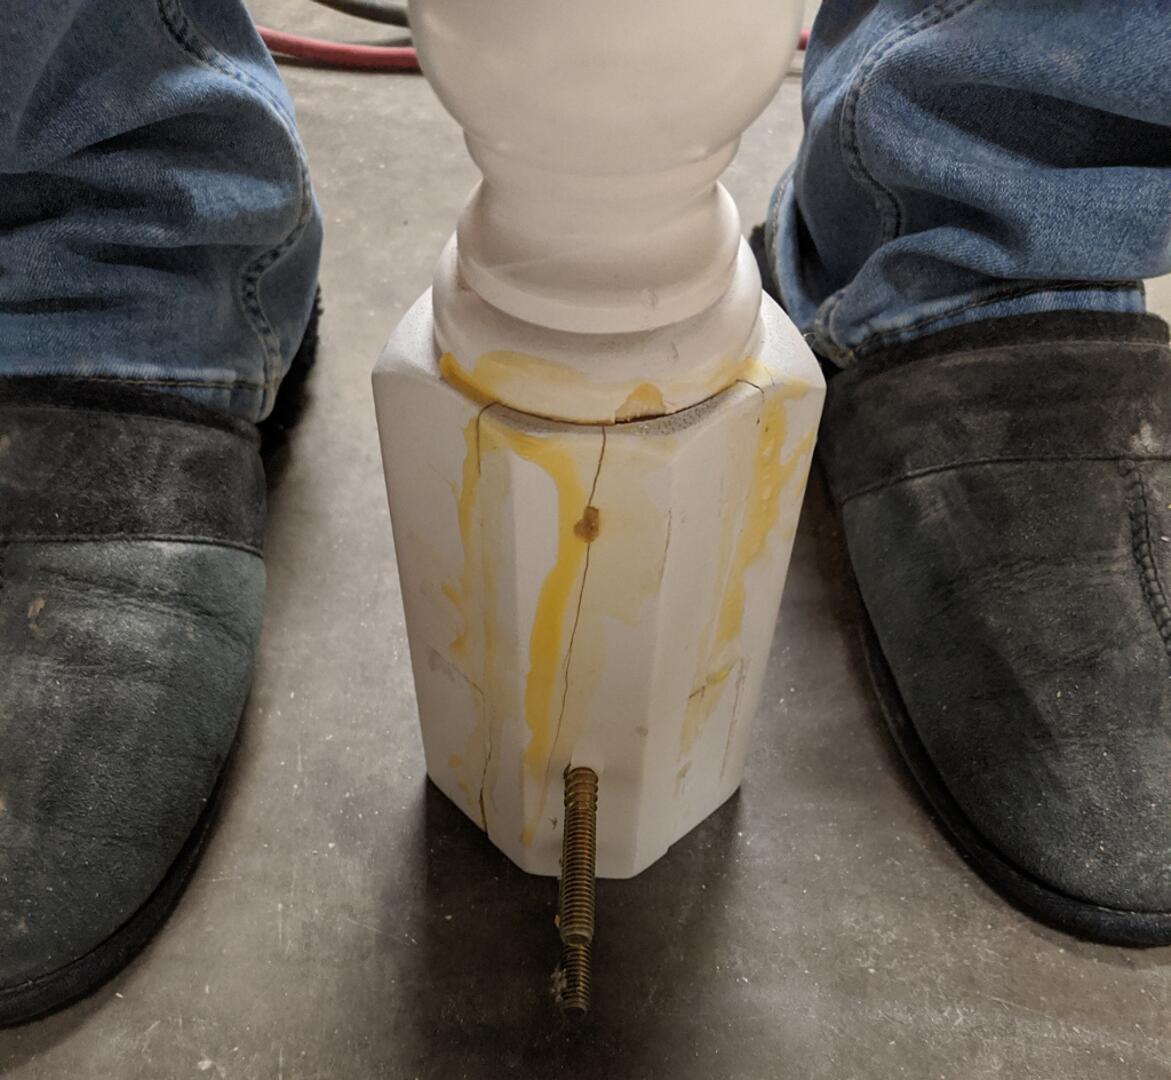
To get an idea of how tall the table needed to be, I moved it around until my wife told me it looked good. She has much a much better eye for design than me. I had intended to reuse the legs from the old table as well, but I couldn’t figure out how to adequately salvage or replace the damaged pieces, so I ordered some modern-looking legs online.
This is a coffee table, so it needs to be at least partially water resistant. I opted for Danish oil, since I wanted to keep the color and feel of the wood and had plenty of time to apply the oil while I waited for the legs. Danish oil is a mixture of some kind of oil and varnish that forms a water-resistant layer on the surface of the wood.
After sanding, I set the wood on a spacer above the work surface in order to oil the bottom edge of the sides without leaving a puddle.
Before applying oil 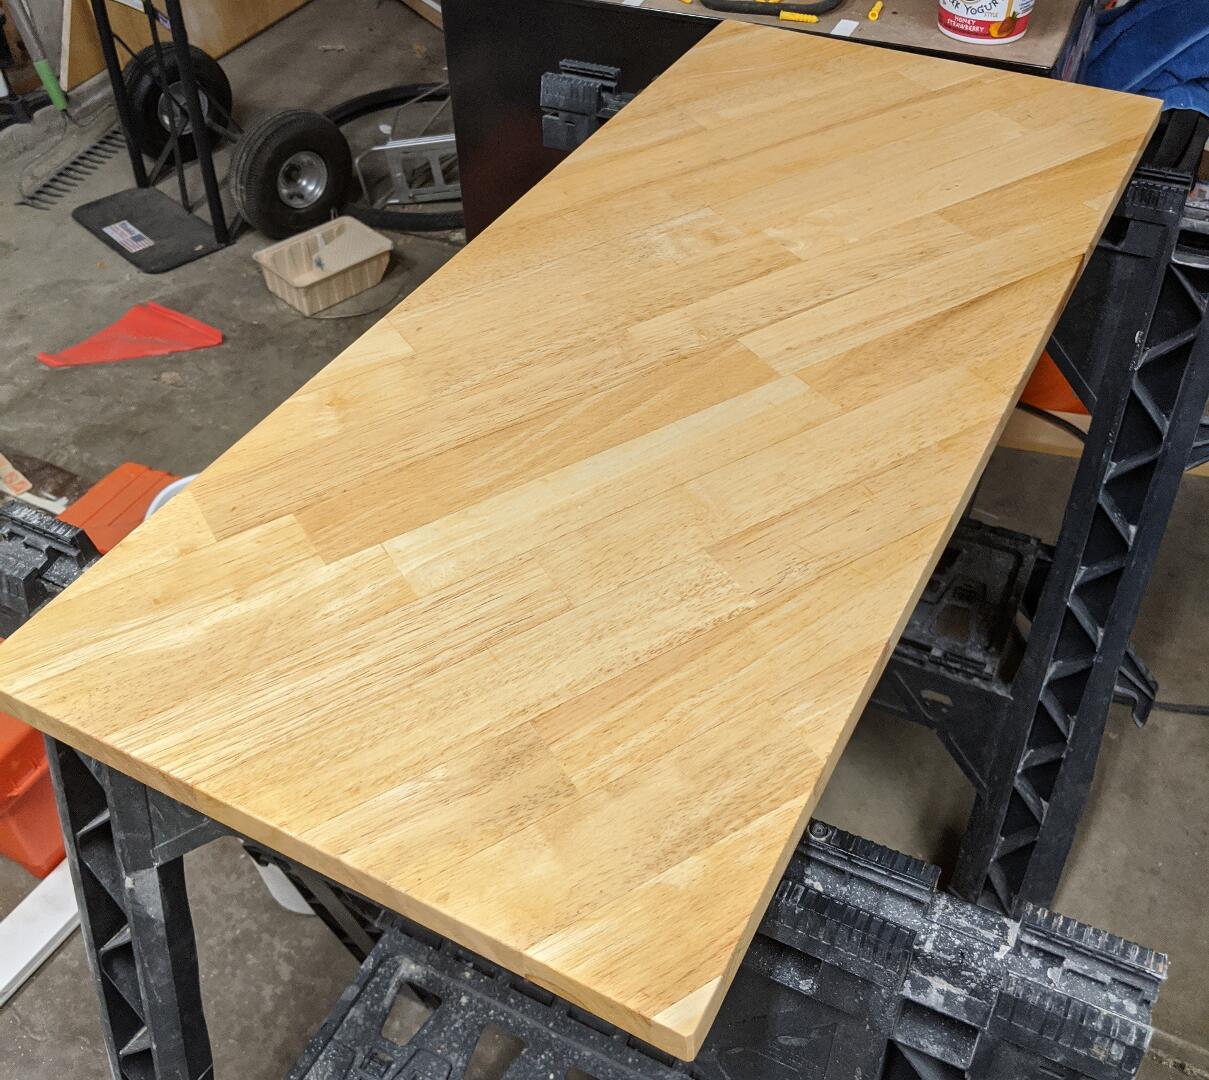
After one coat
I eventually did 6 coats of oil on the top surface. Many tutorials on Danish oil suggest smoothing the surface with 600-grit sandpaper between coats. I did not have any sandpaper with grit between 300 and 1500 on-hand, so I did not smooth it after the second coat. The surface looks and feels pretty good, so I guess it doesn’t matter too much.
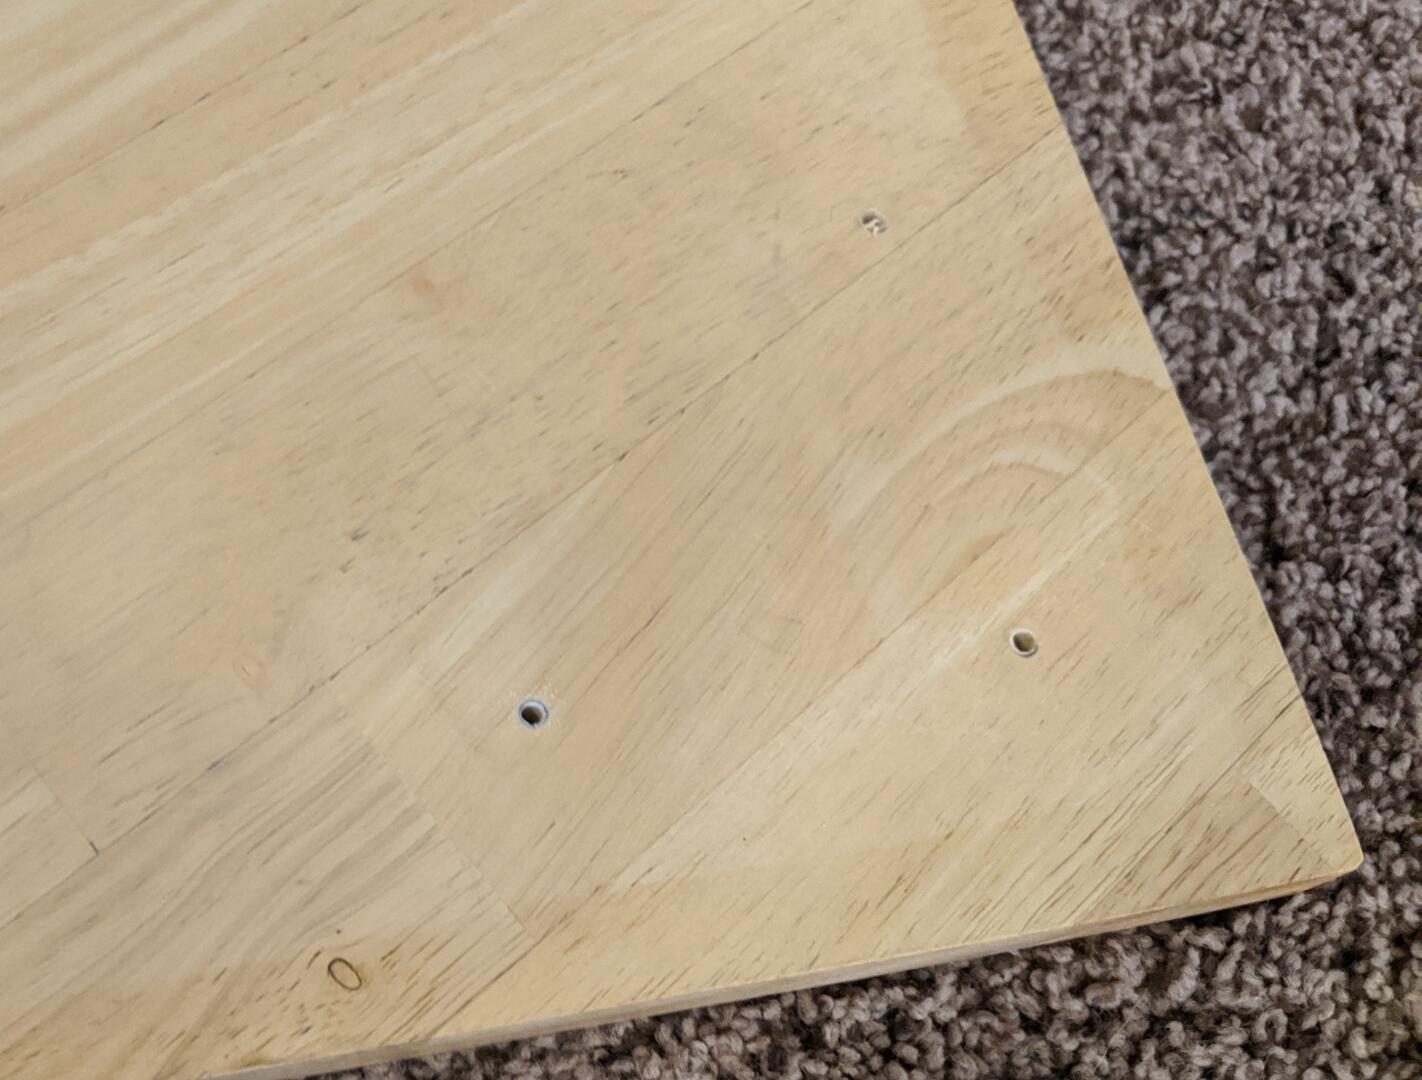
I drilled the holes for the legs with a drill press because the clearance between the bottom of the blind hole and the surface of the table was very small.
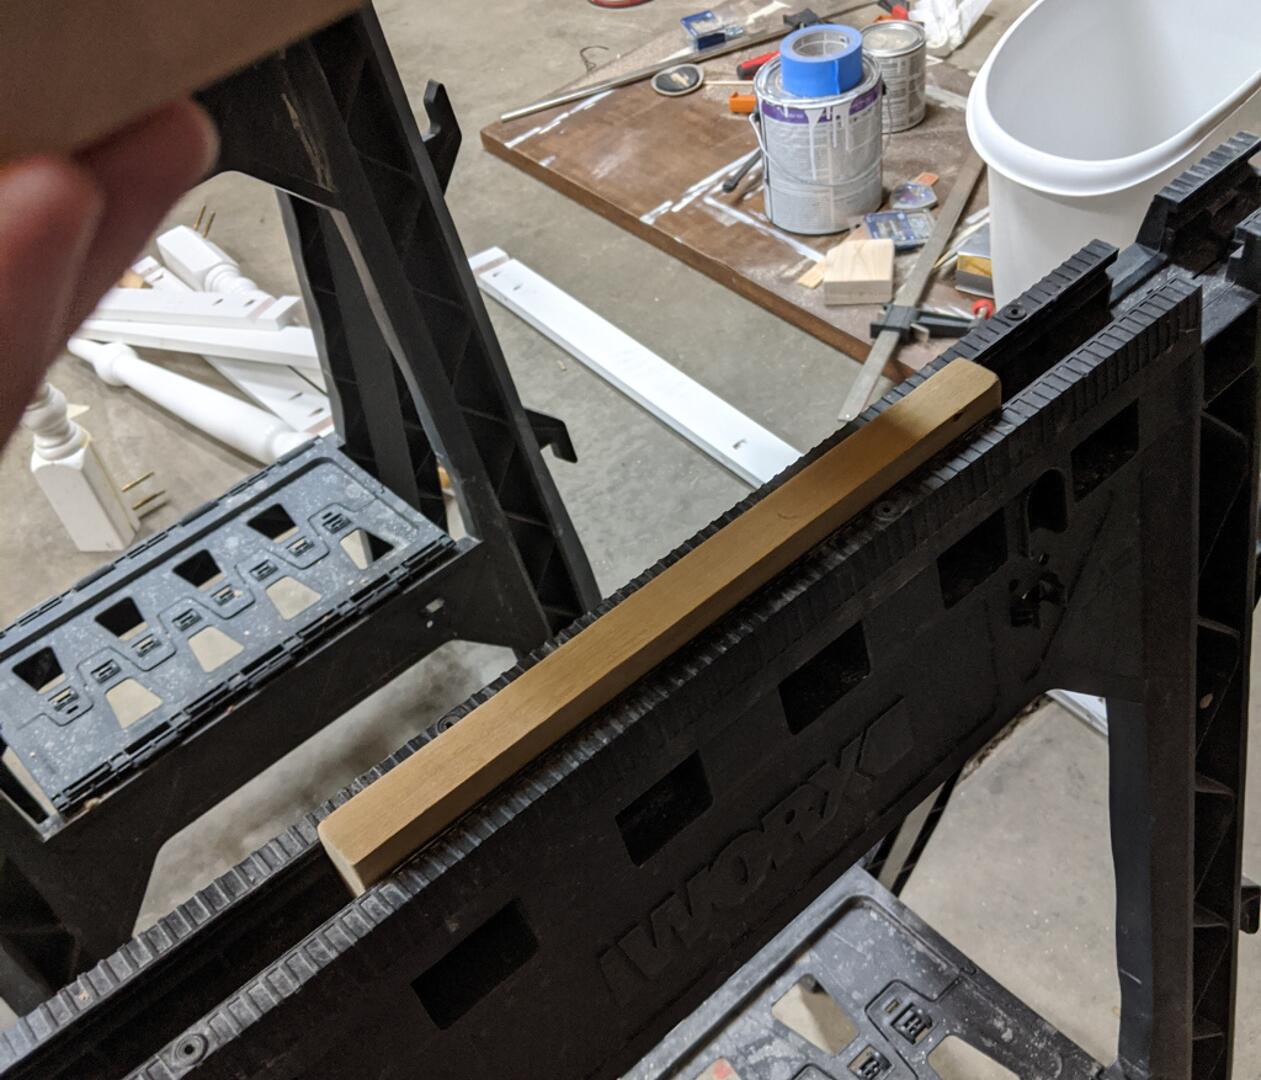
These legs I ordered are steel and have a thin coat of some sealant covering the surface to protect carpets from getting stained by the metal.
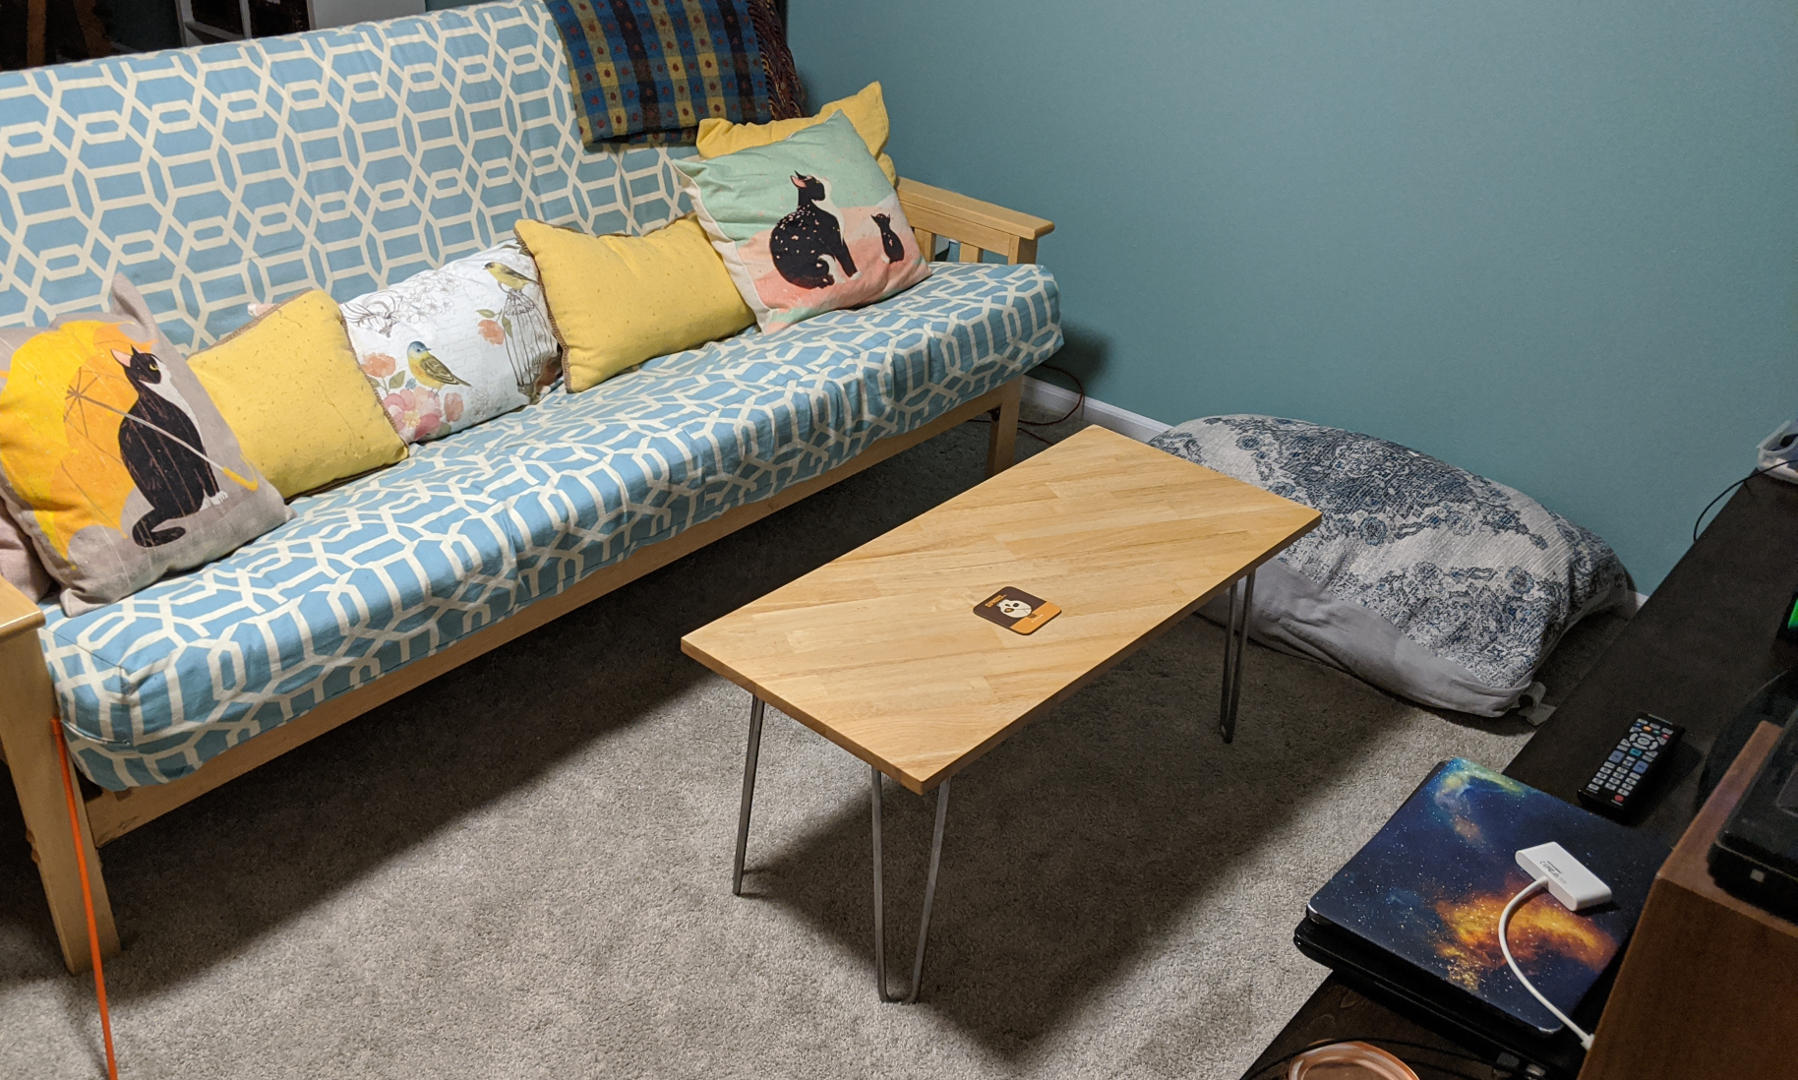
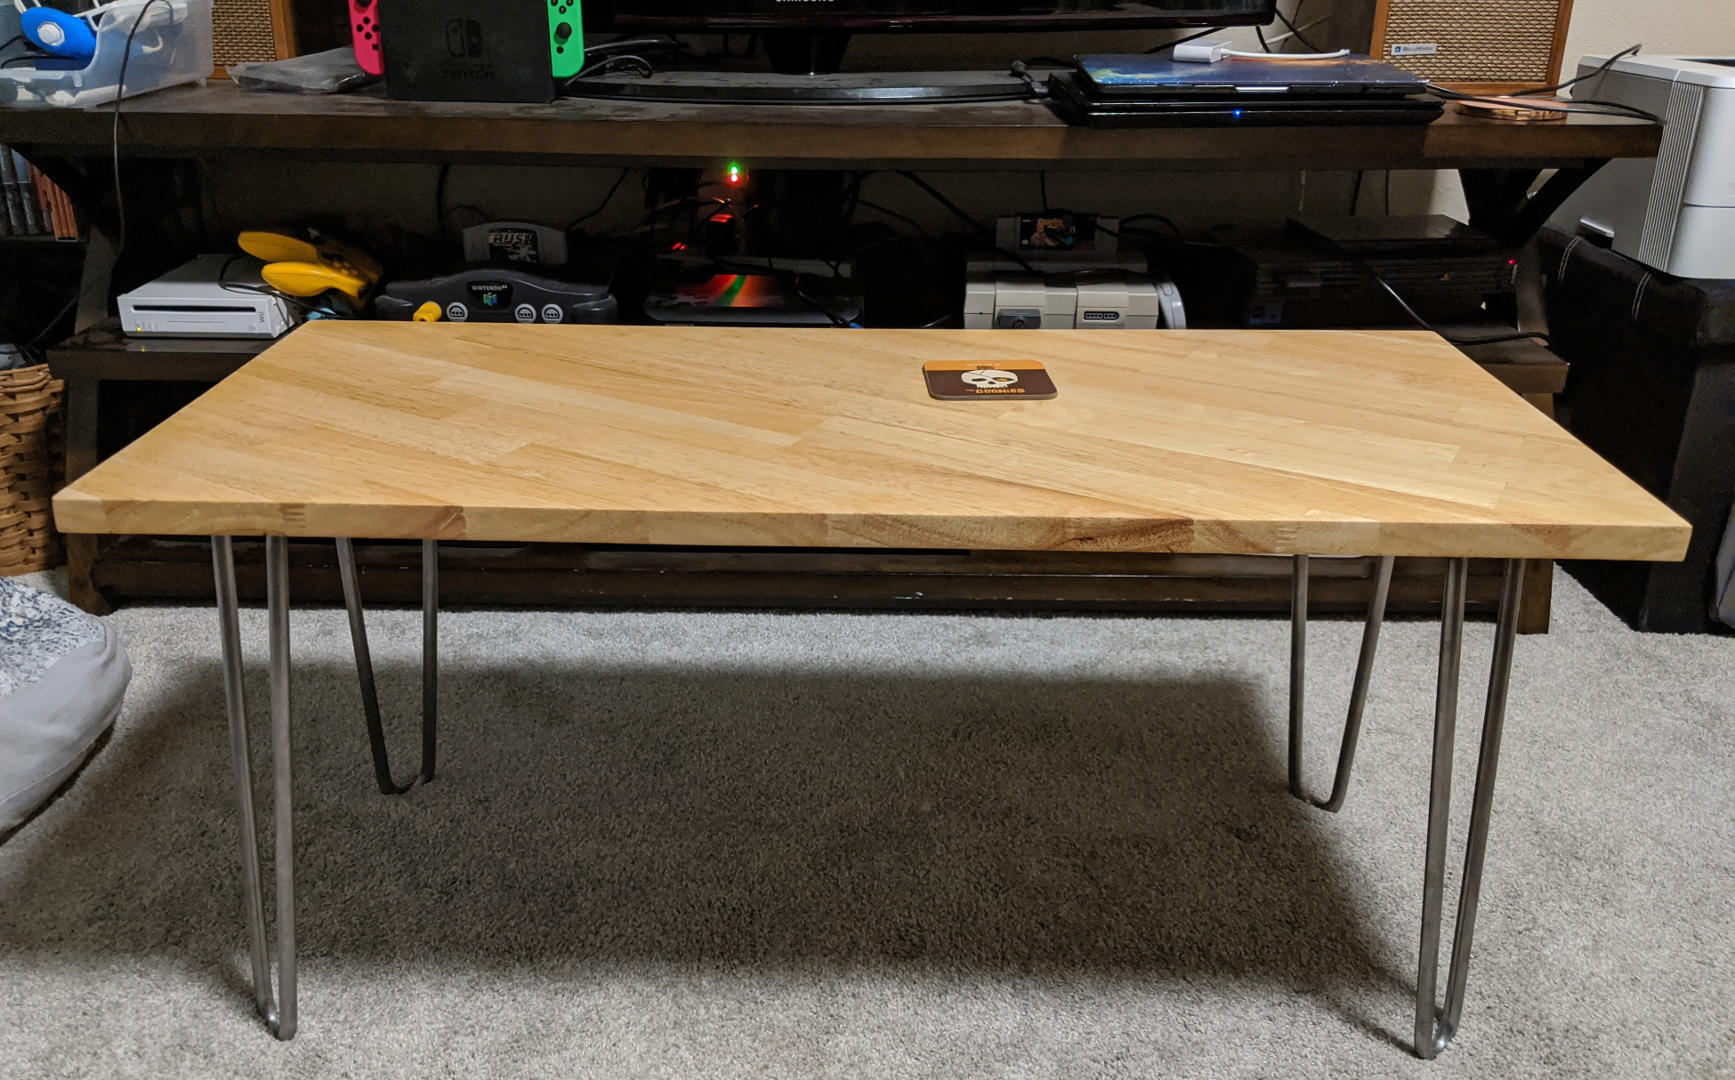
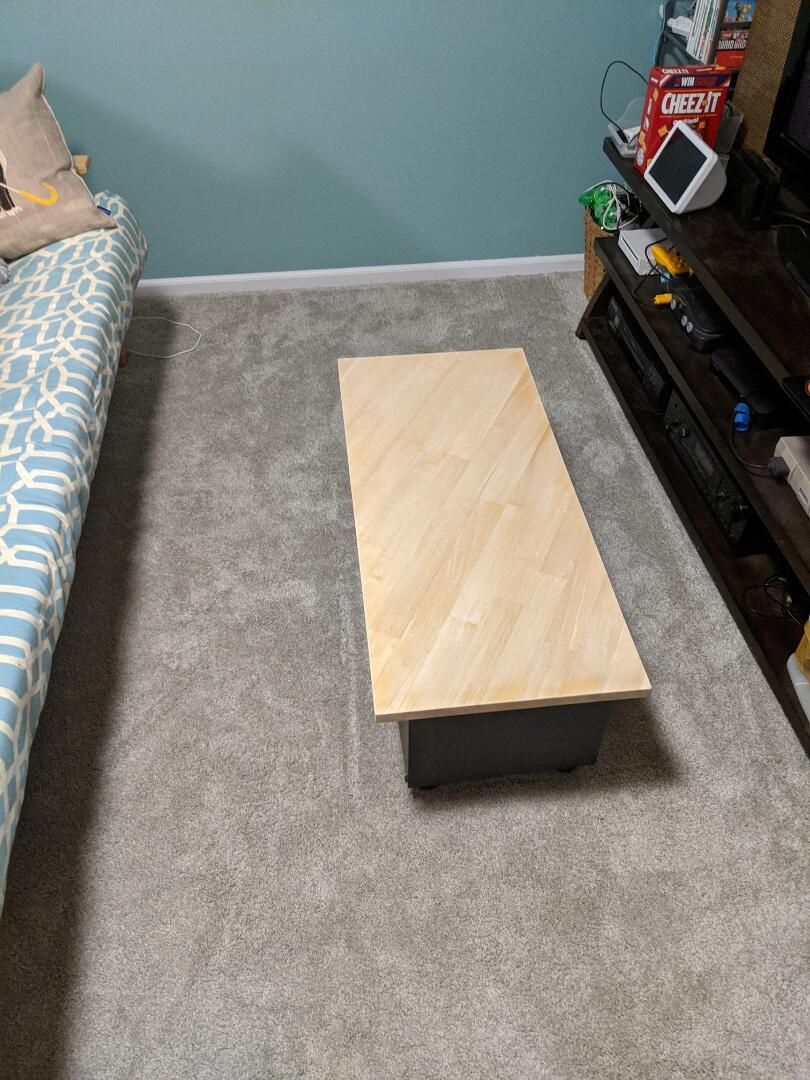
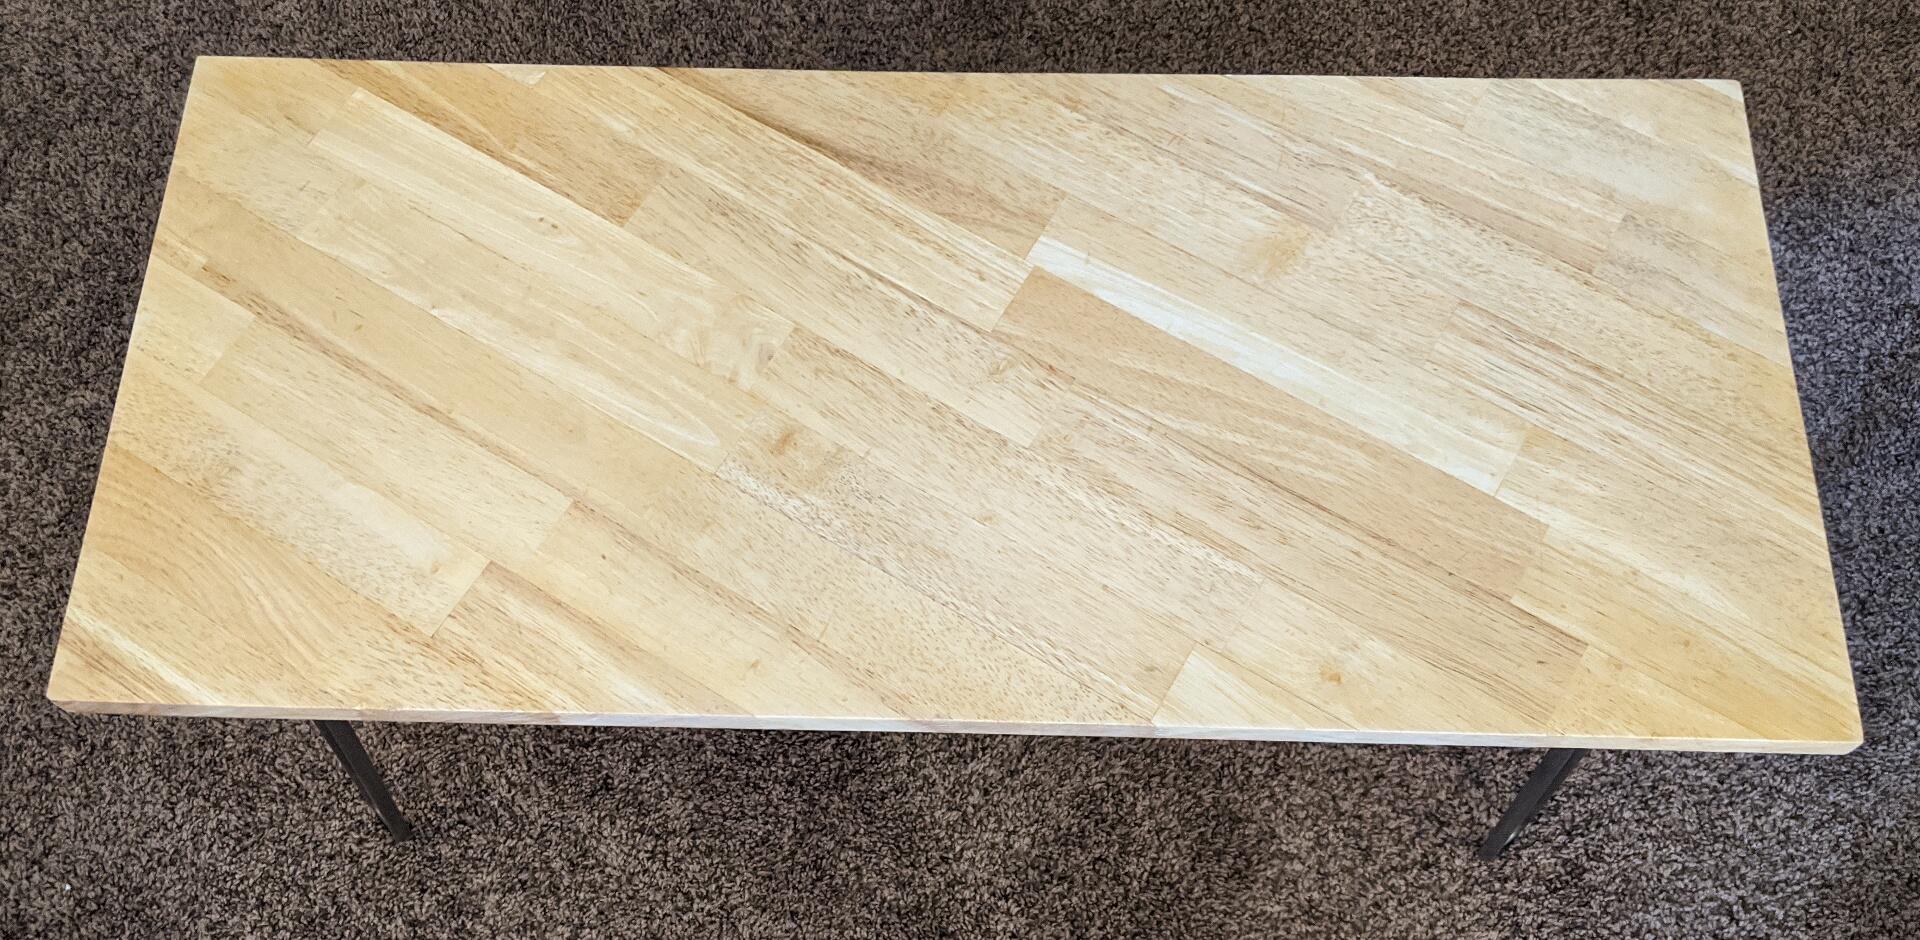
This table is big enough to hold several glasses, but small enough to move out of the way for people to sit on the floor in front of the futon. The metal legs are a bit out of character for the room, but they don’t weigh very much and the table is easy to move around.
This was a good use of a damaged piece of wood. Cutting it on a bias and using a natural finish brings out the texture of the wood that was previously covered in a layer of varnish.