Early this year we finished remodeling our upstairs bathroom. It was really important to get this done before having a baby, so we hired contractors to do the majority of the work.
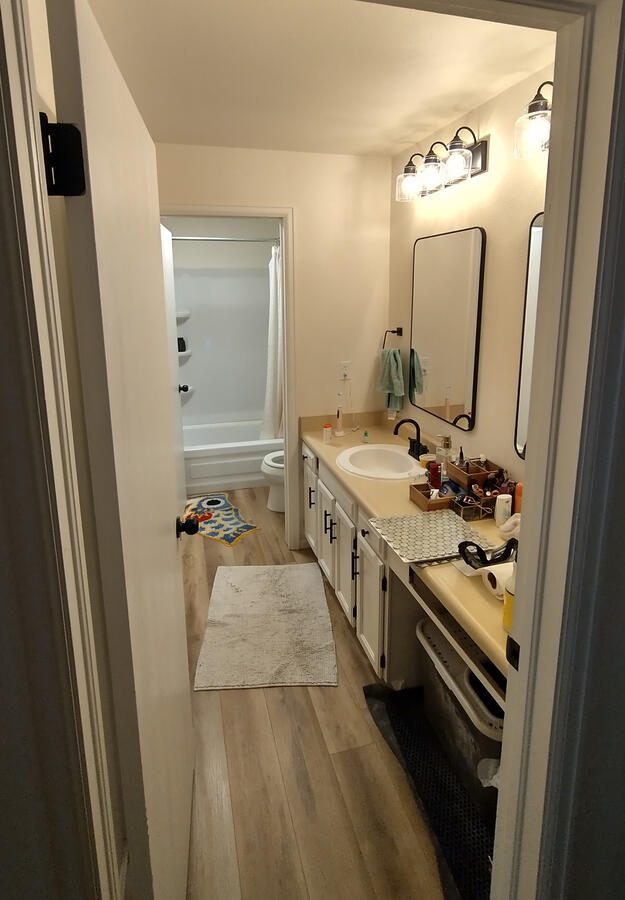
The old bathroom had a full-width built-in counter in the first room and a metal tub shower with a 3-piece plastic surround that was really poorly installed. It also had 3 swinging doors within arm’s reach of each other. We wanted to replace the tub with a walk-in shower, but make that walk-in shower wider than the existing tub. That meant we had to move the toilet to make more room for the shower, which meant we had to move the wall separating the bathroom from the sink room, which meant the cabinets had to be removed but also meant we were able to replace one swinging door with a lower-profile pocket door.
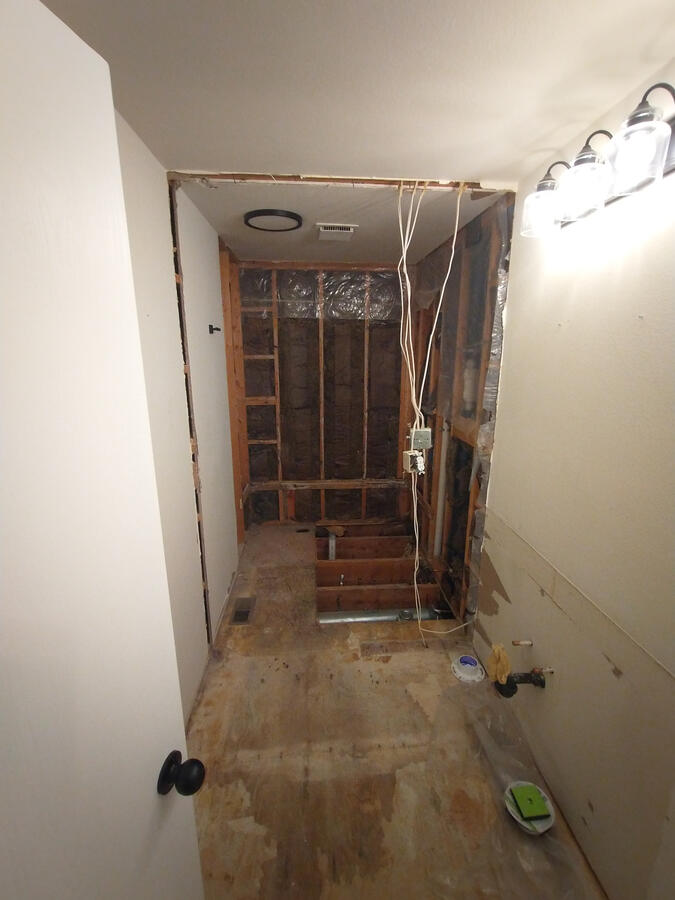
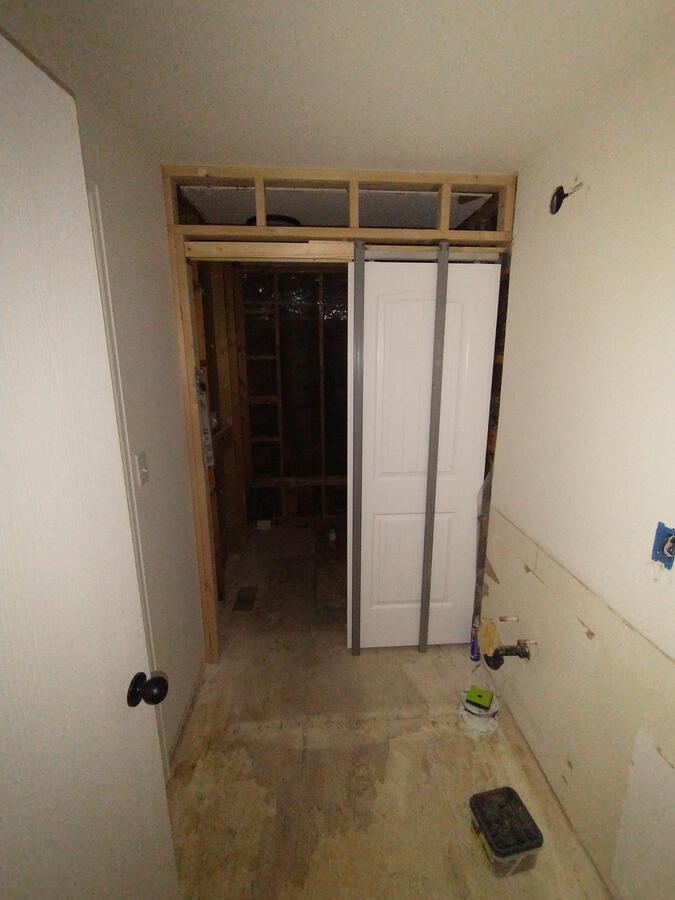
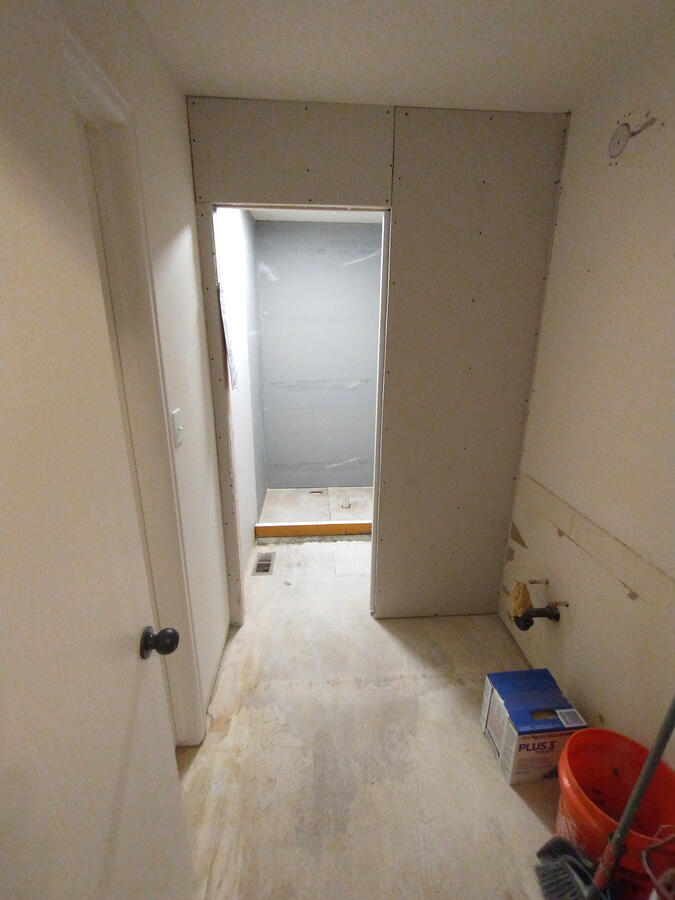
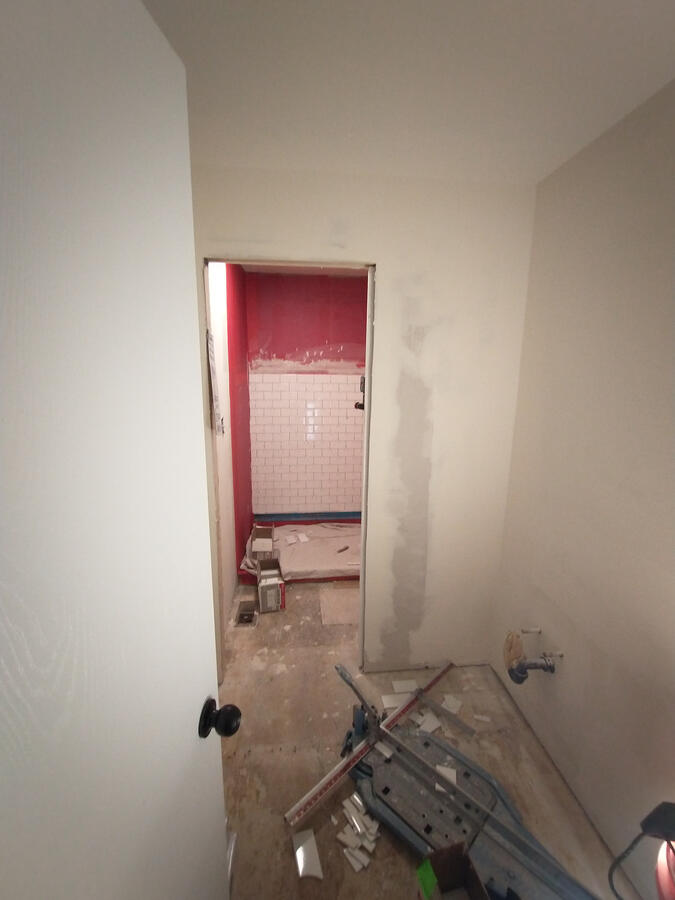
In order to get it done in time to have 2 functional bathrooms before having a baby, we hired some local contractors we have worked with in the past. They did an all-right job all around. Any complaints that I have about craftsmanship are made up for by the fact they got it done in time. They demolished the existing bathroom, moved the toilet line over to its new location, built a new tile shower in the place of the old tub, installed the pocket door, replaced the flooring, and textured the walls.
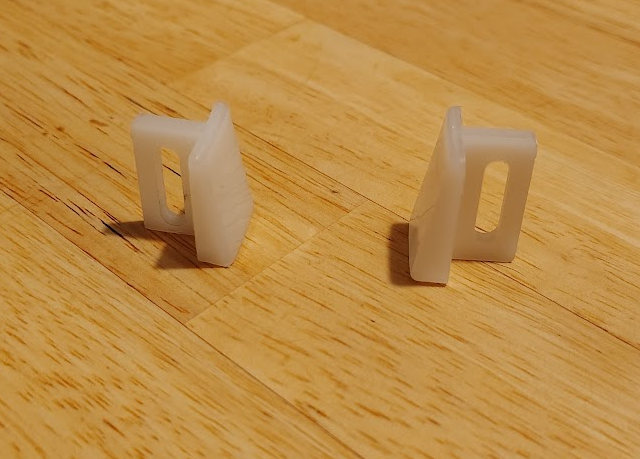
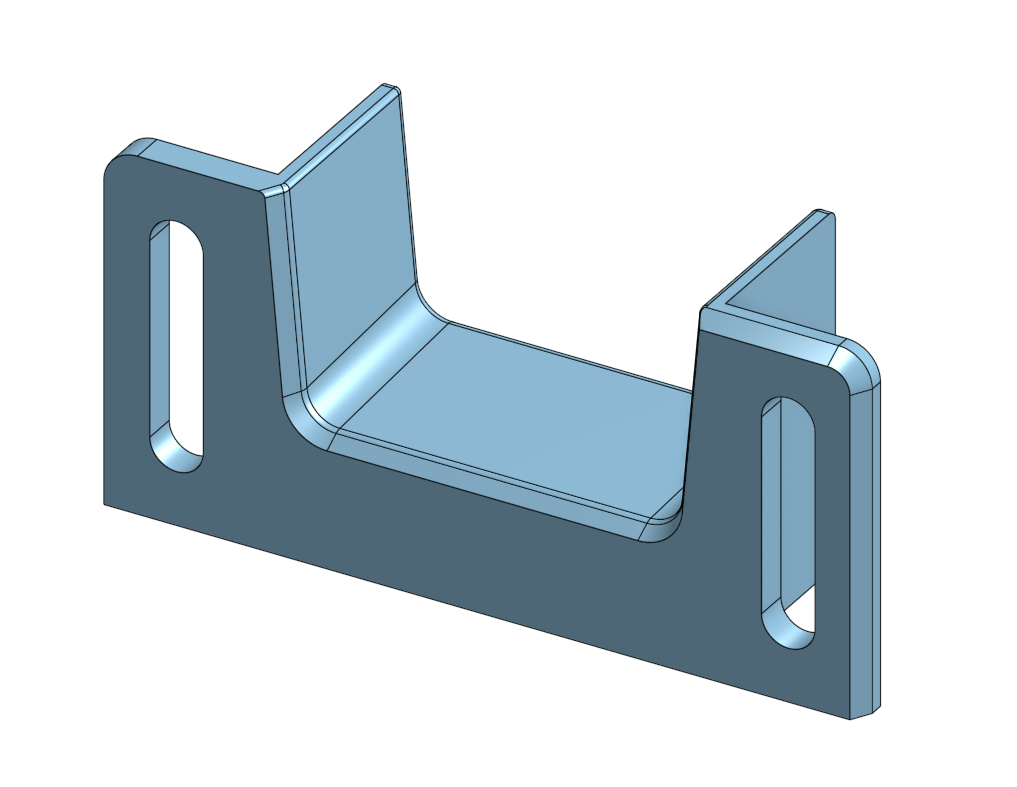
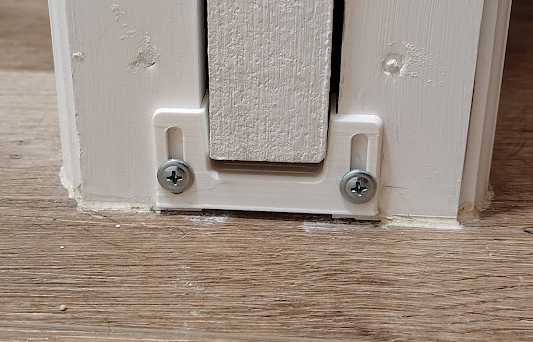
The pocket door came with little plastic guides for the bottom to keep it in place, but the contractors weren’t able to install them just right. I don’t blame them. You’re supposed to adjust the positioning of the door by moving these little wedges up and down, but the wedges have a fairly large angle, so you wind up jiggling them millimeters to adjust to the door. Meanwhile, the door is a fairly constant thickness, so there is no need to adjust the spacing between the wedges, just the vertical point of contact. I redesigned this guide and 3D-printed a better one. That 3D model can be found on Onshape here.
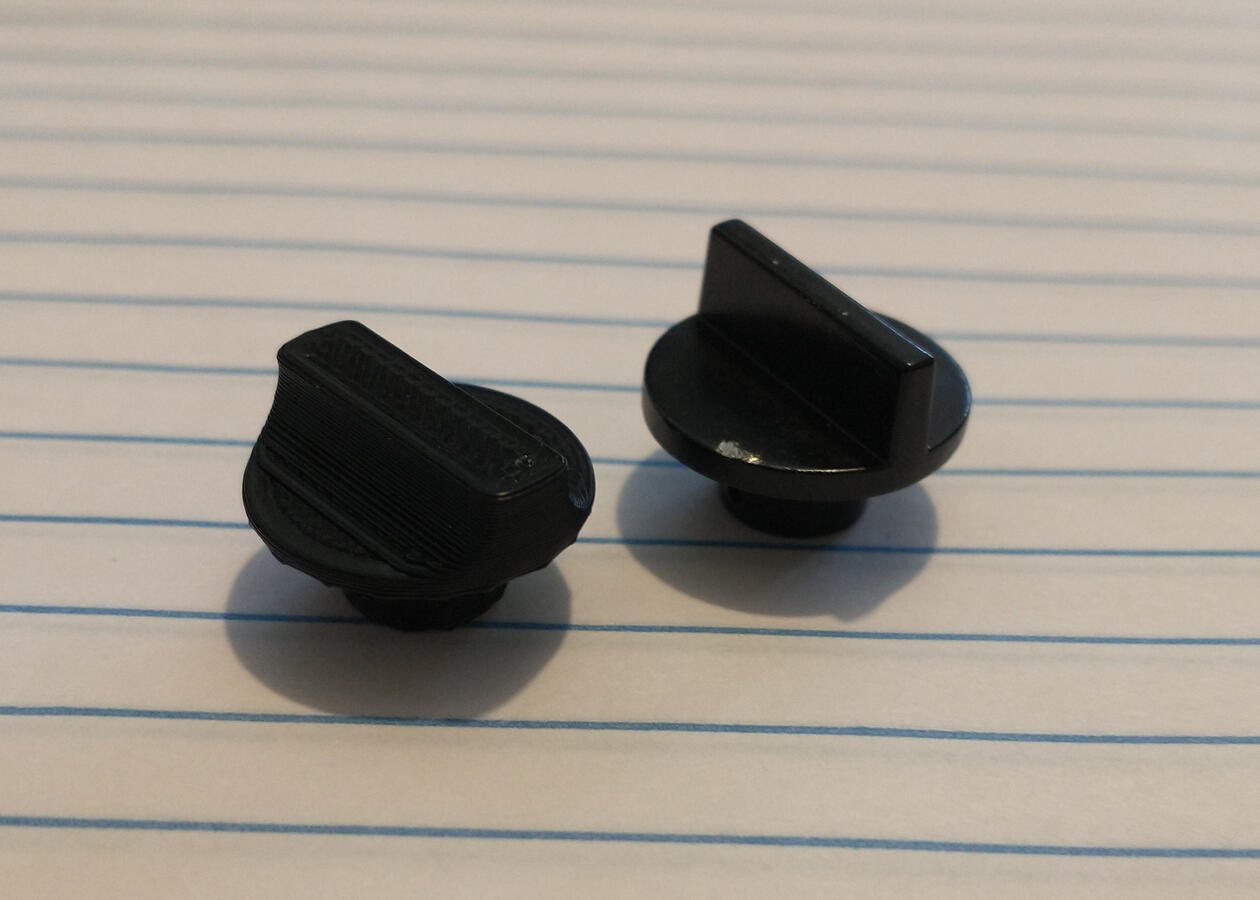
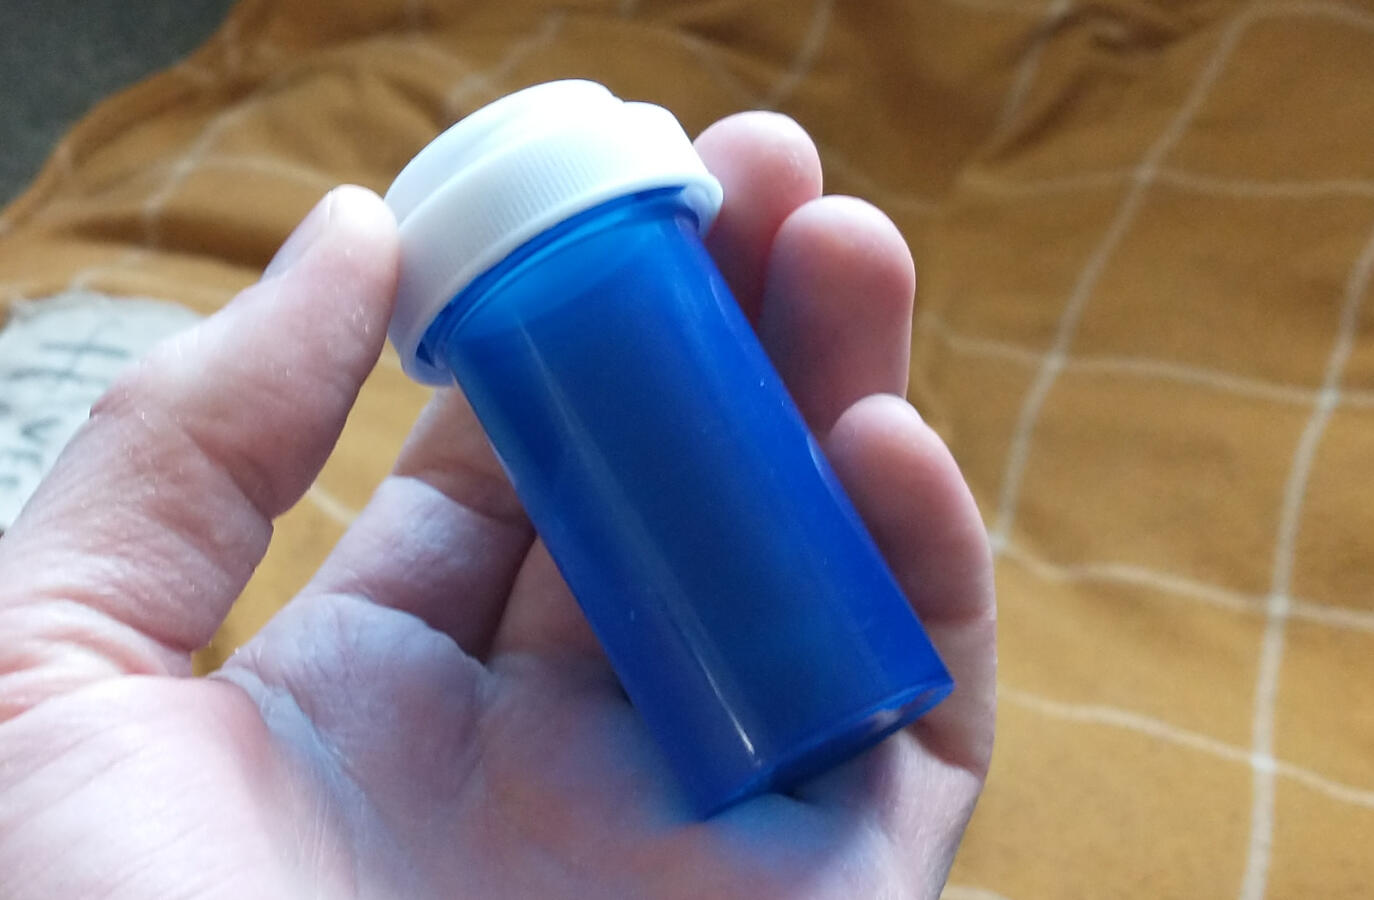
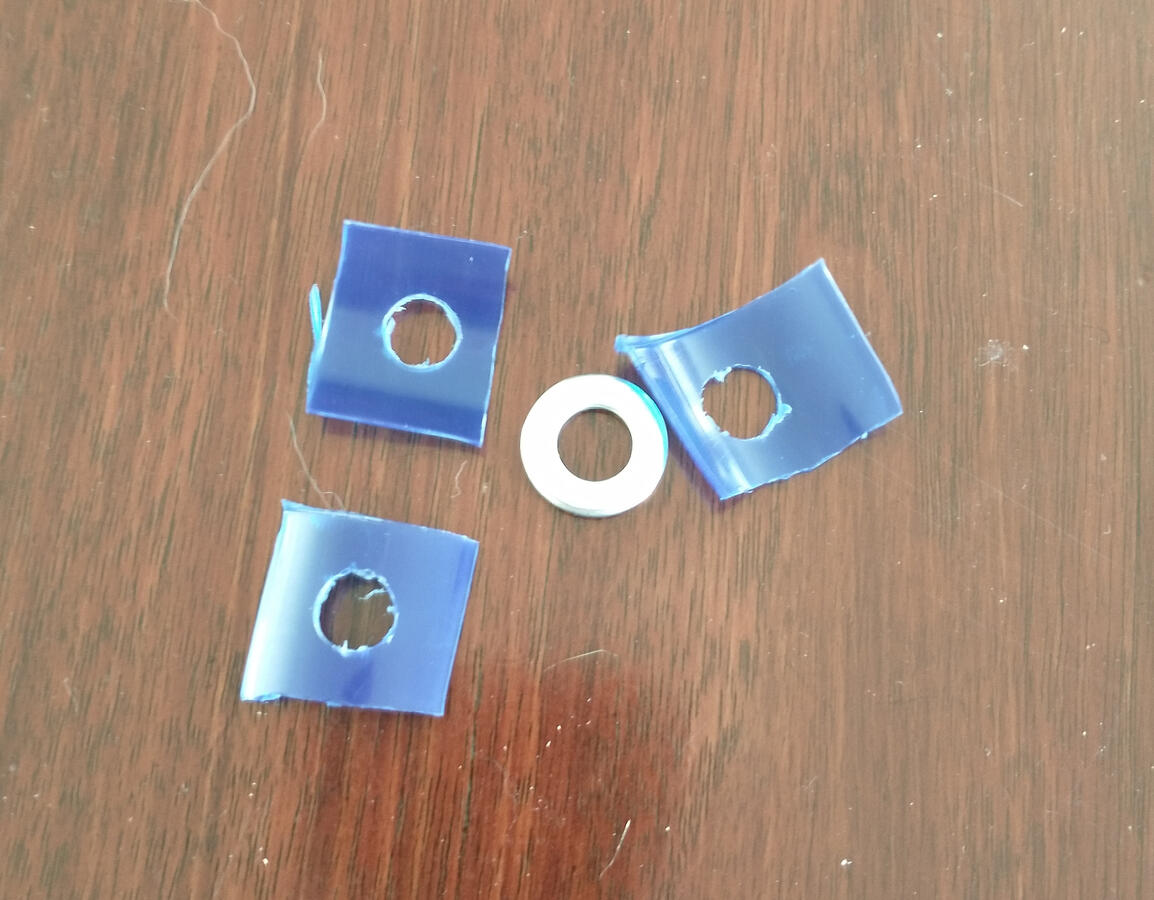
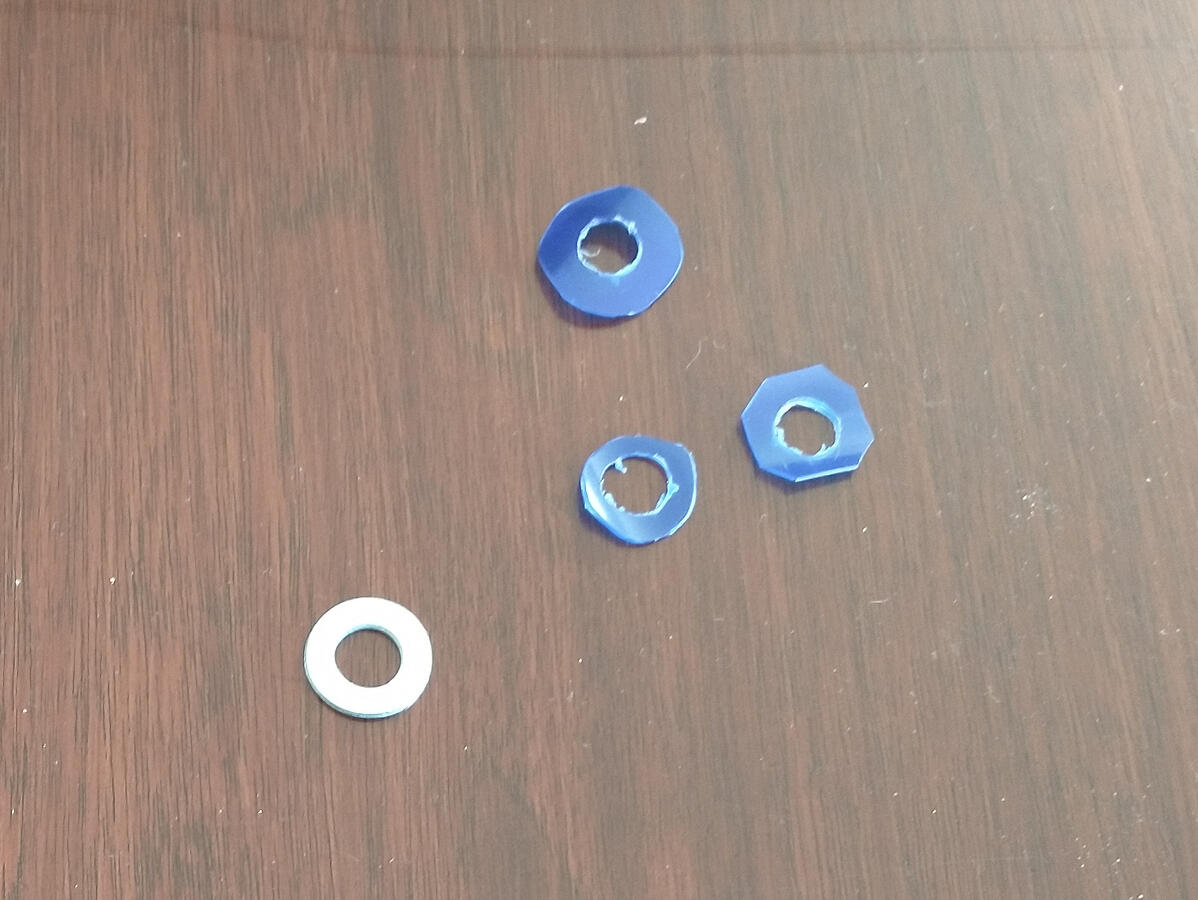
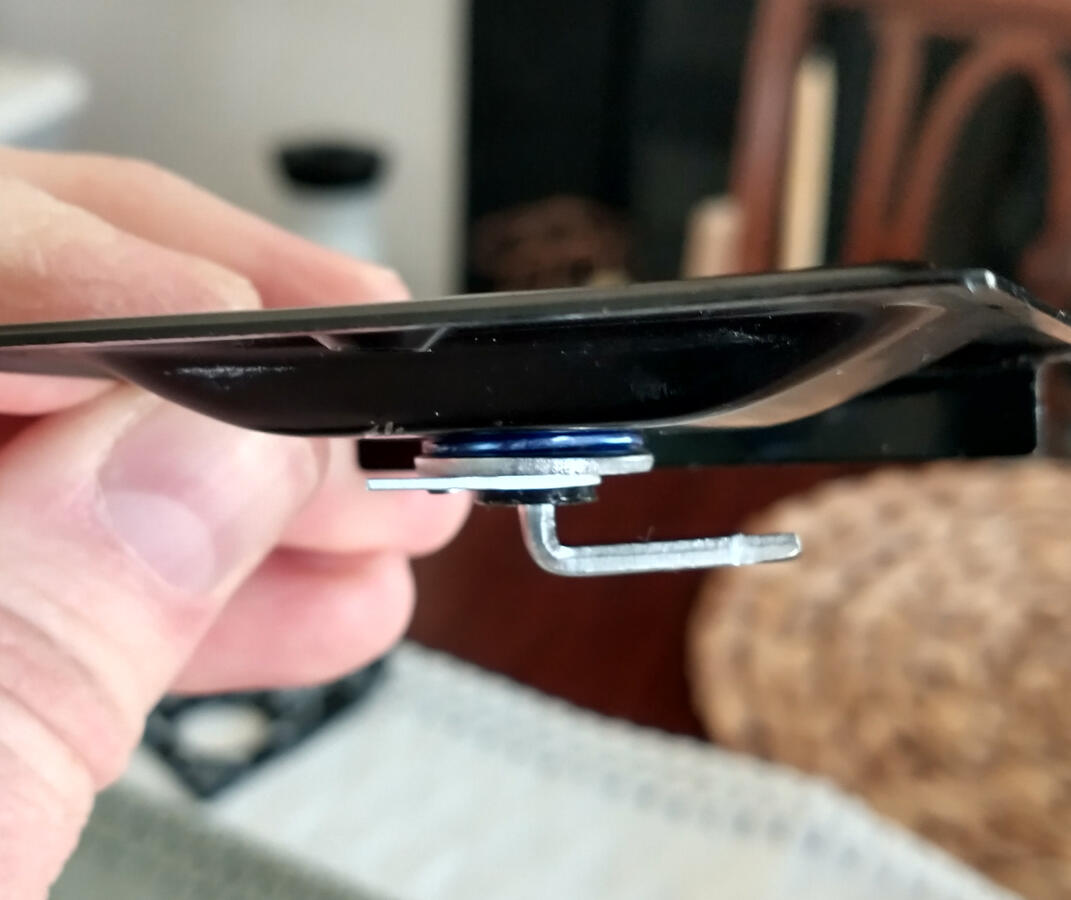
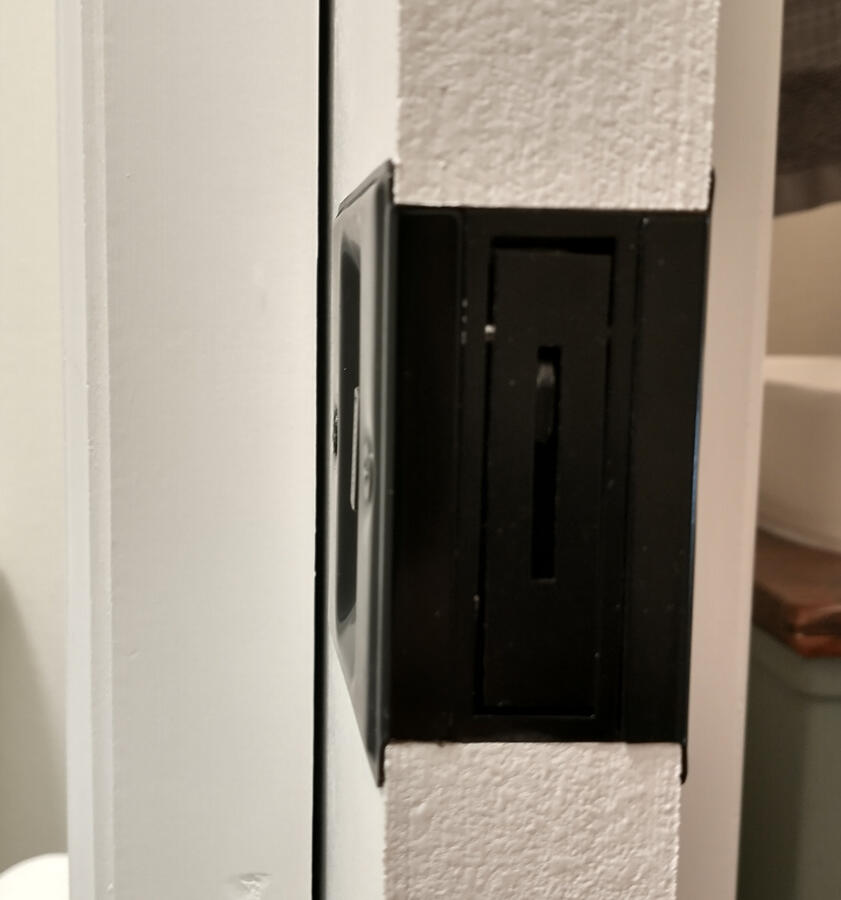
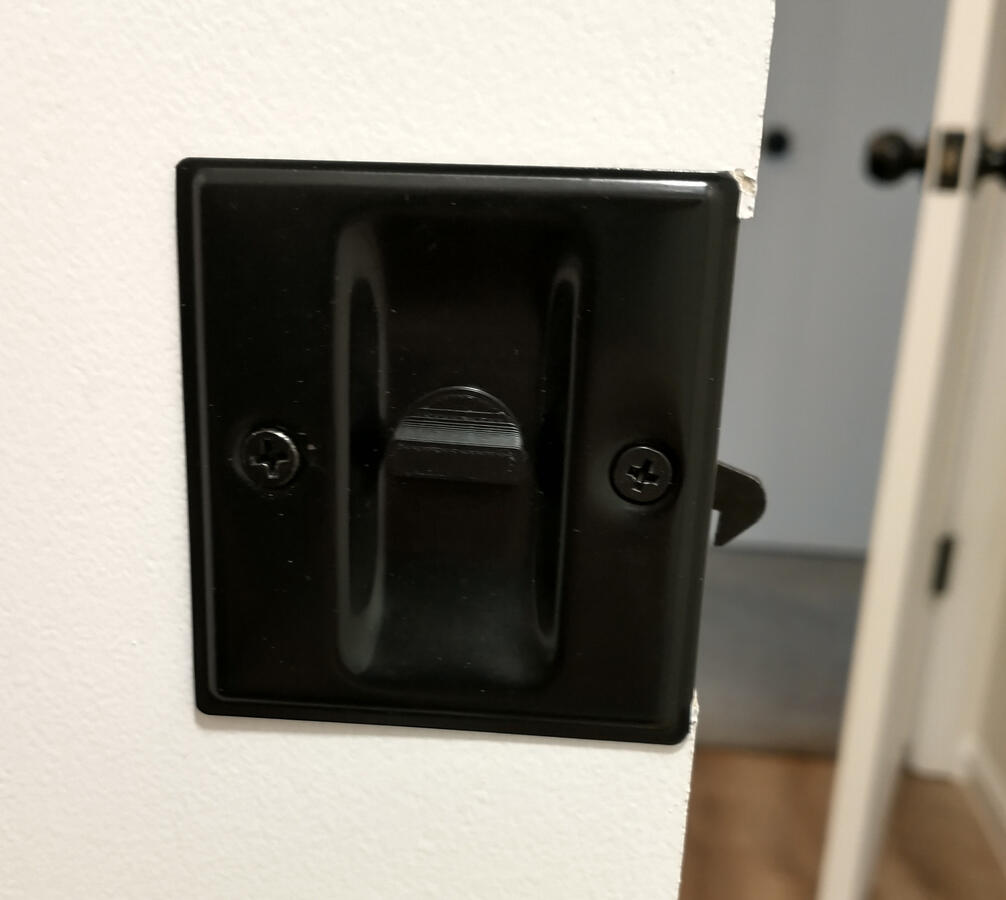
I also wasn’t happy with the pocket door hardware we bought. The gloss black assembly looks and works fine, but the knob that it came with was too tall and wobbly, and it would sometimes touch the wall as the door closed. I took it apart, designed a replacement knob, and 3D printed it. Then I made thin plastic spring washers out of a plastic bottle to hold the knob tight against the inside of the handle. This model is also on Onshape, but it’s highly specific to this pocket door hardware.

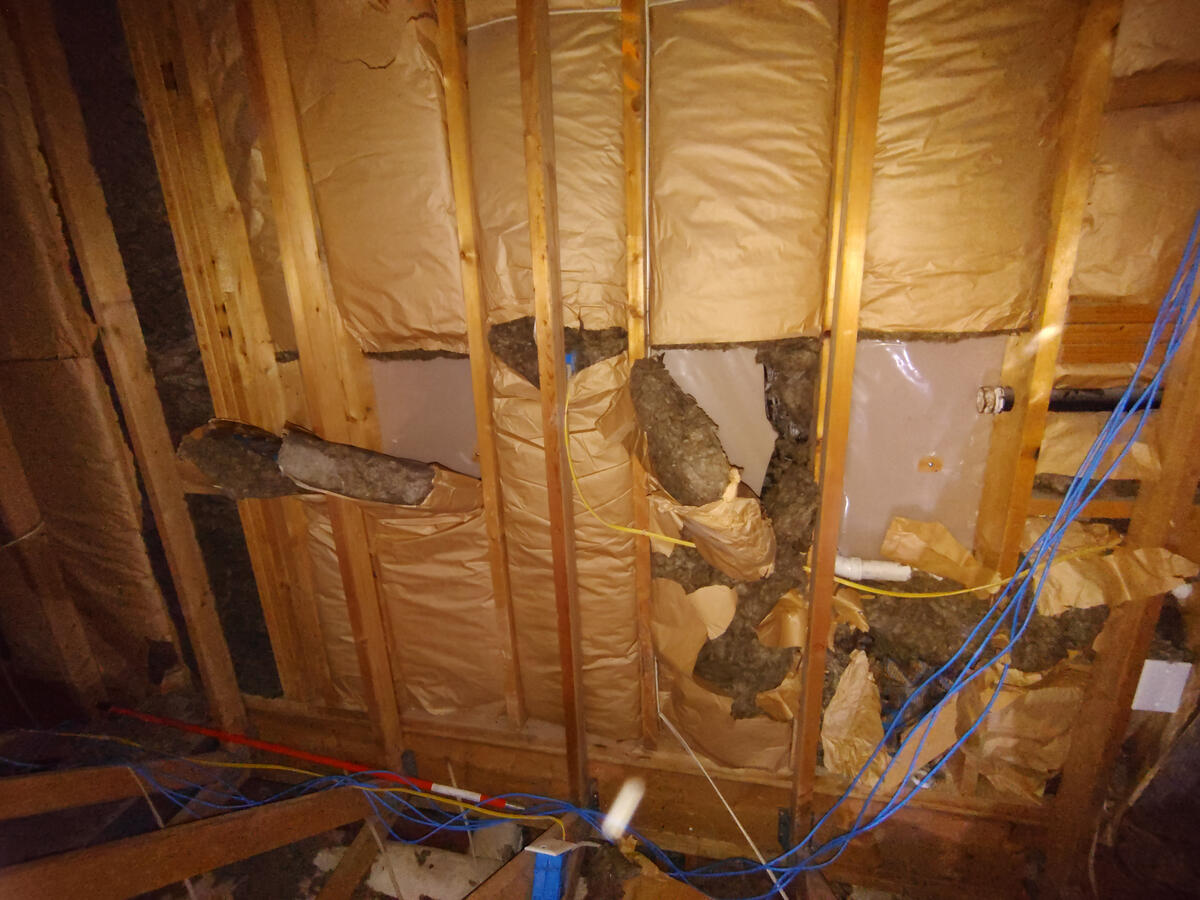
While we had the walls open, I ran cat 6 cable up through the channel I had made in the downstairs bathroom and the adjacent bedroom into the attic for a future project.
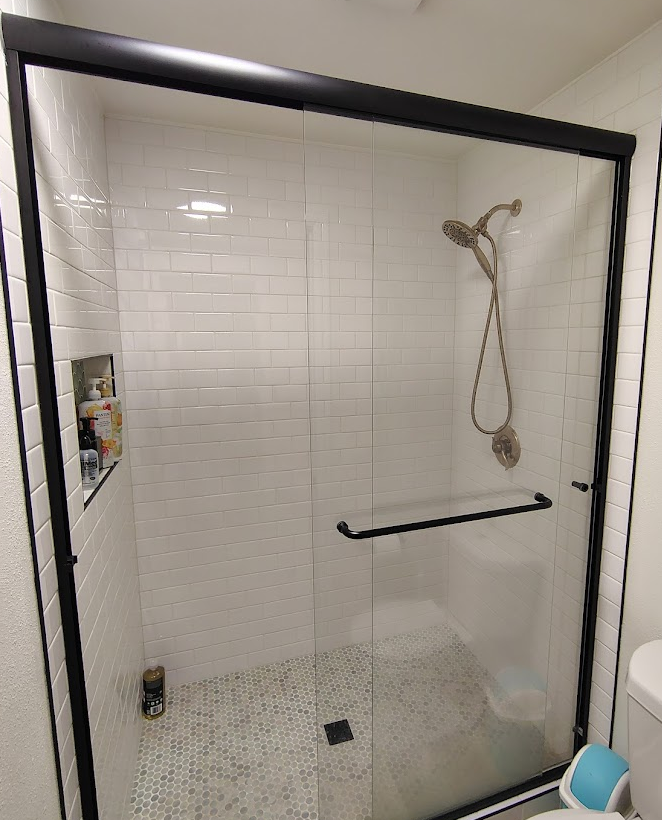
We hired a different local company, Black’s Glass, to supply and install the shower door, which is an extra-tall semi-frameless sliding door.
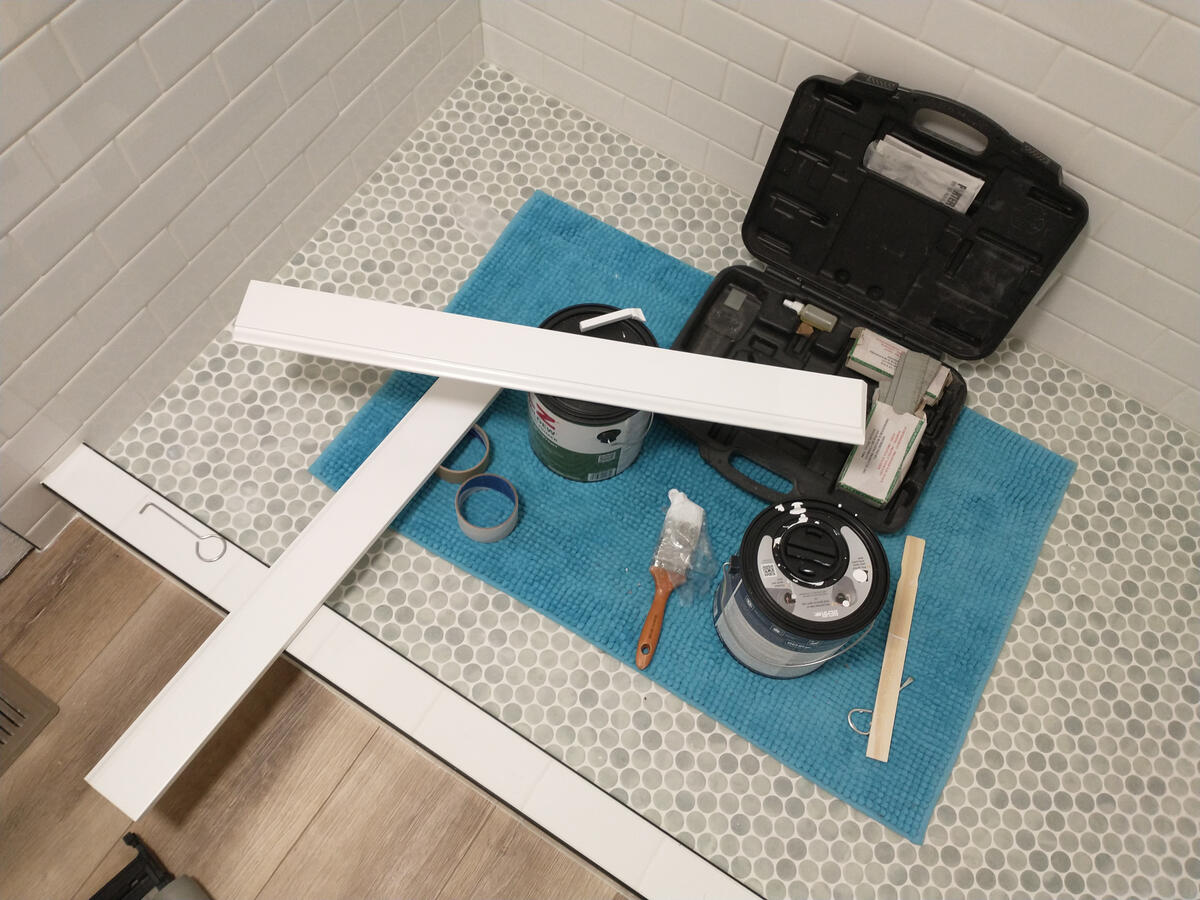
What that left for me to do was trim, paint, and the custom vanity.
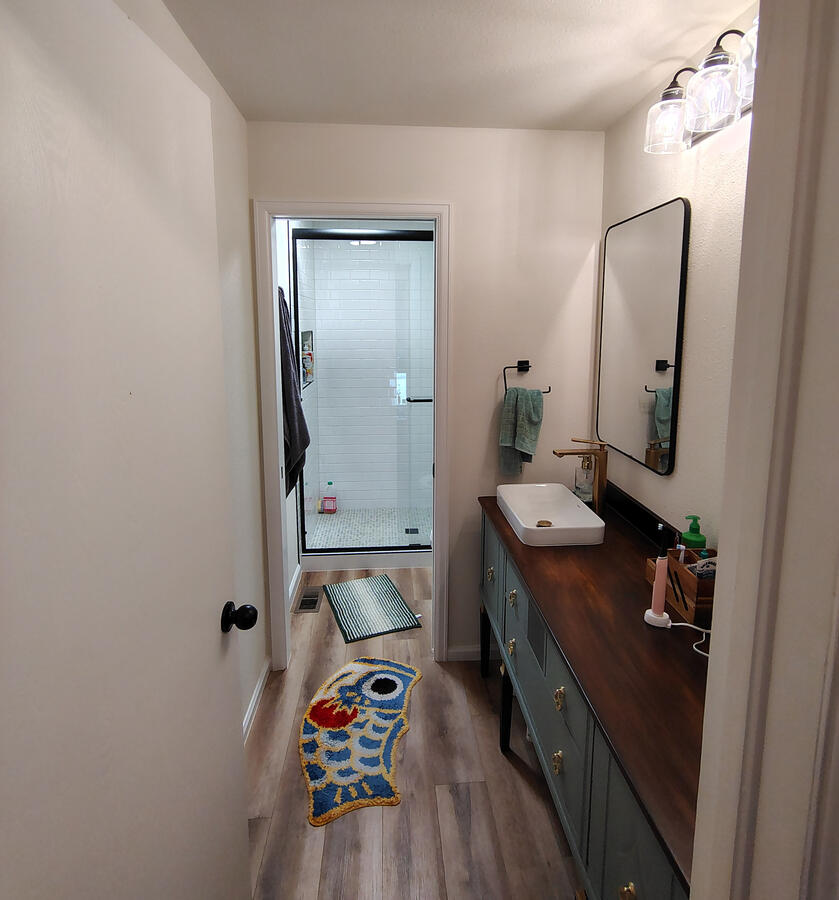
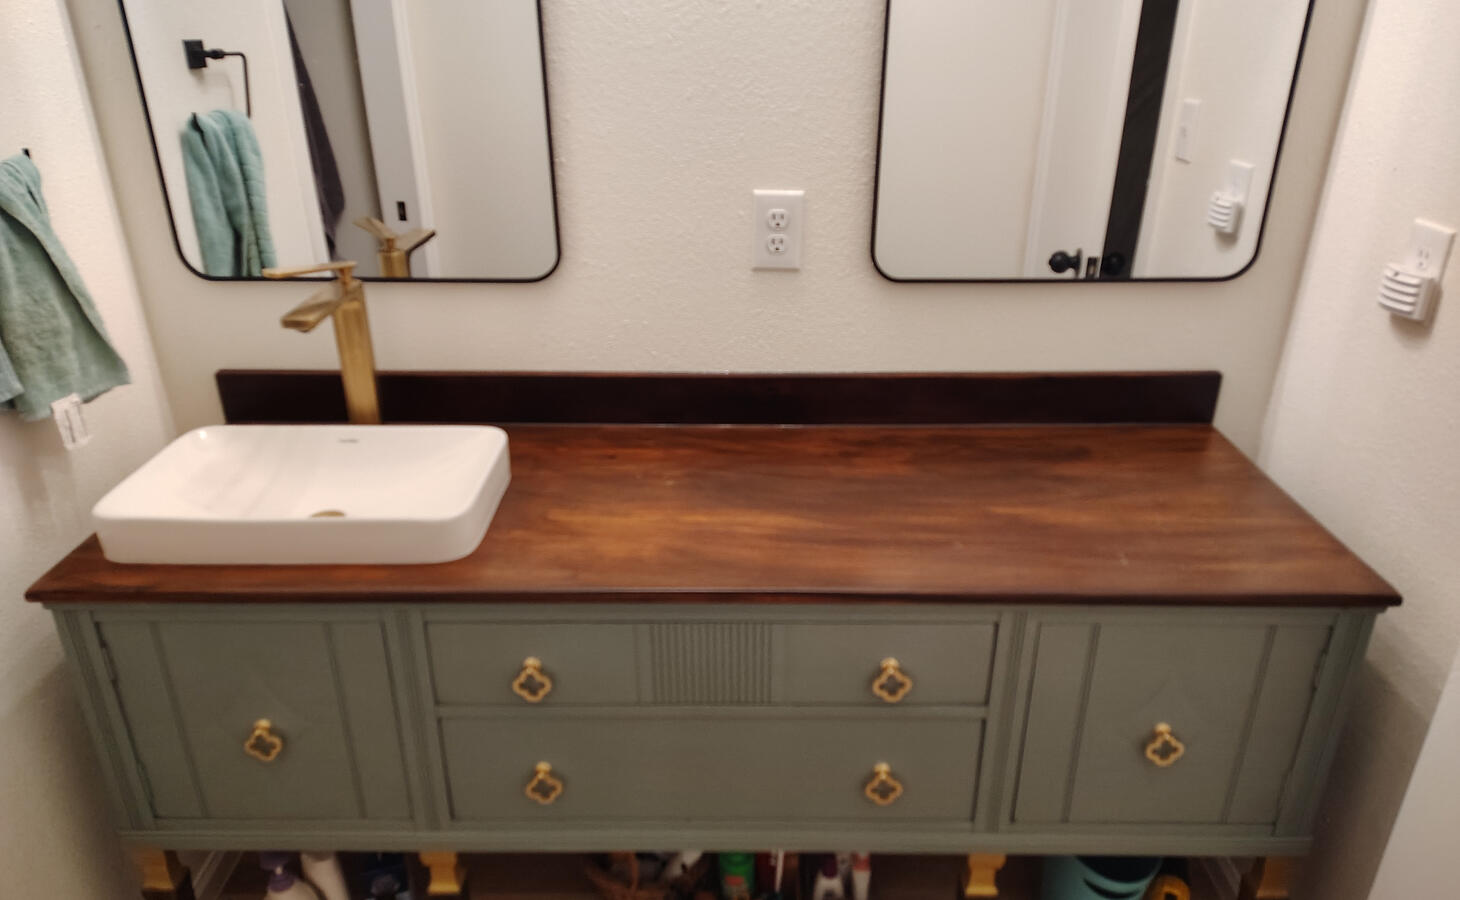
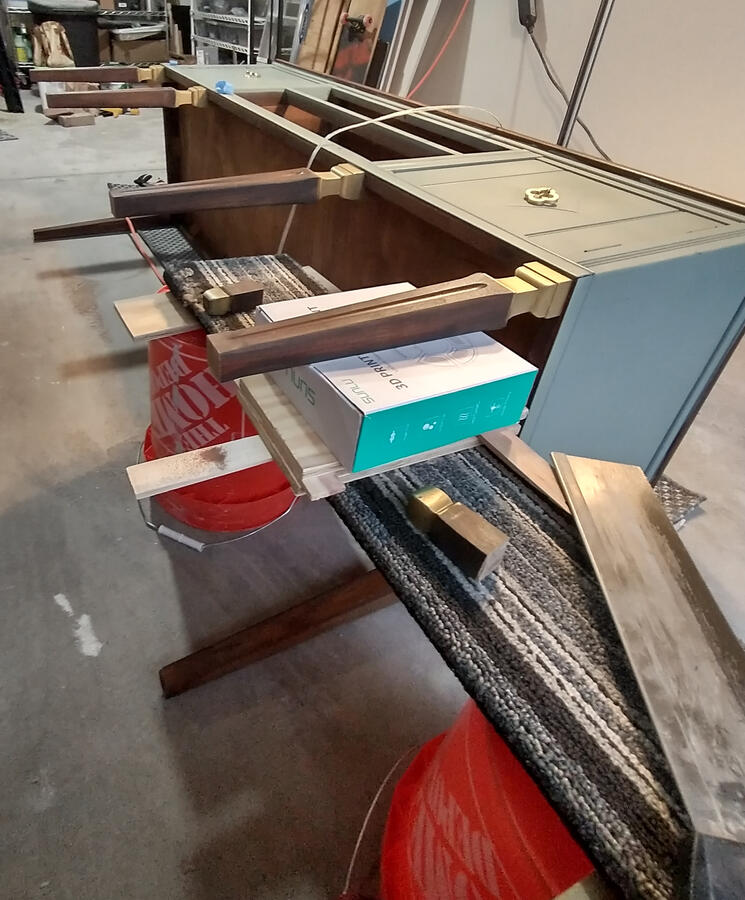
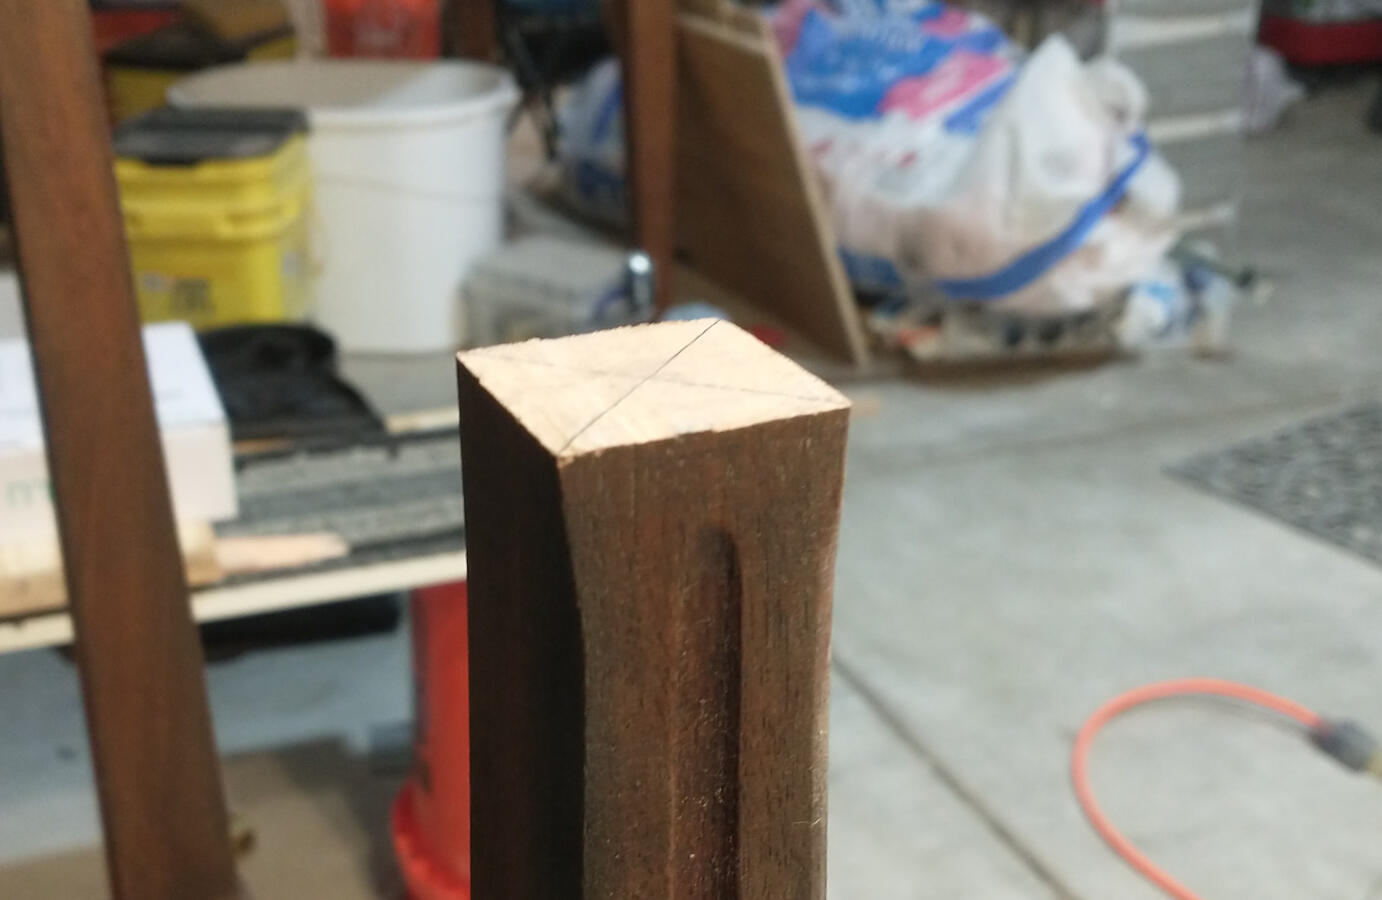
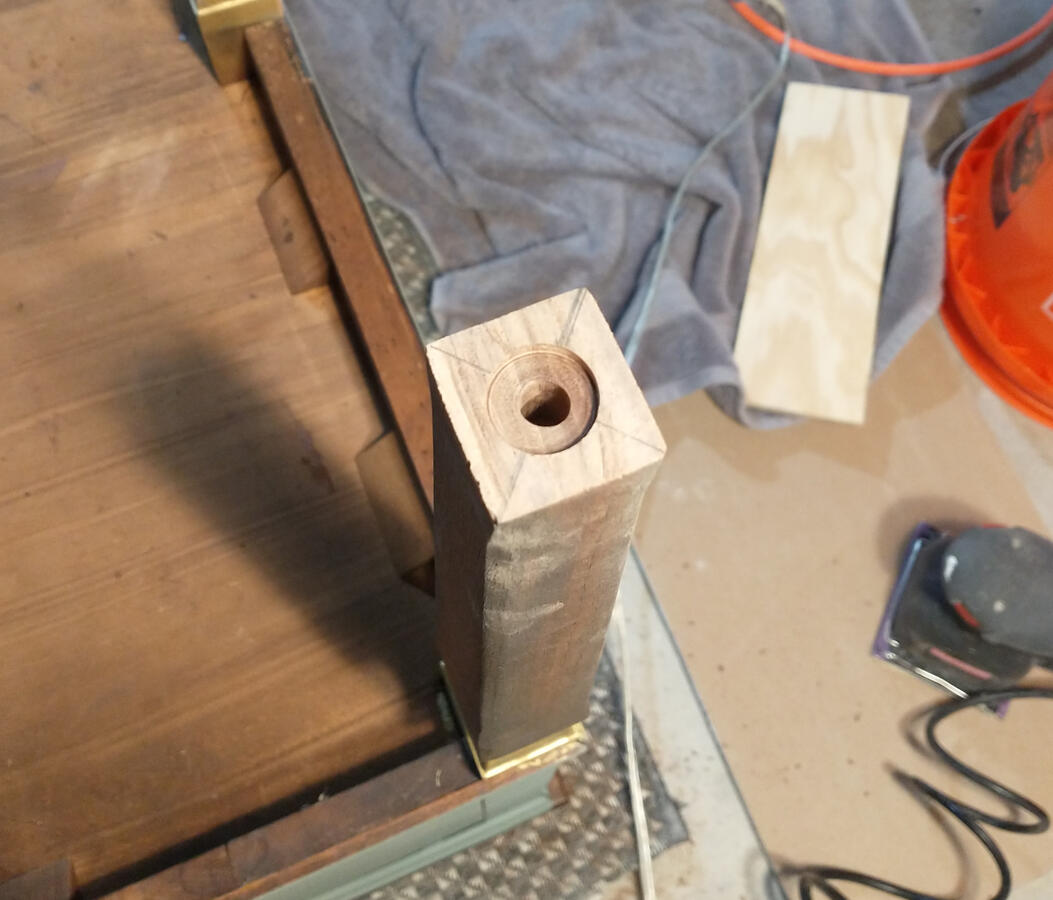
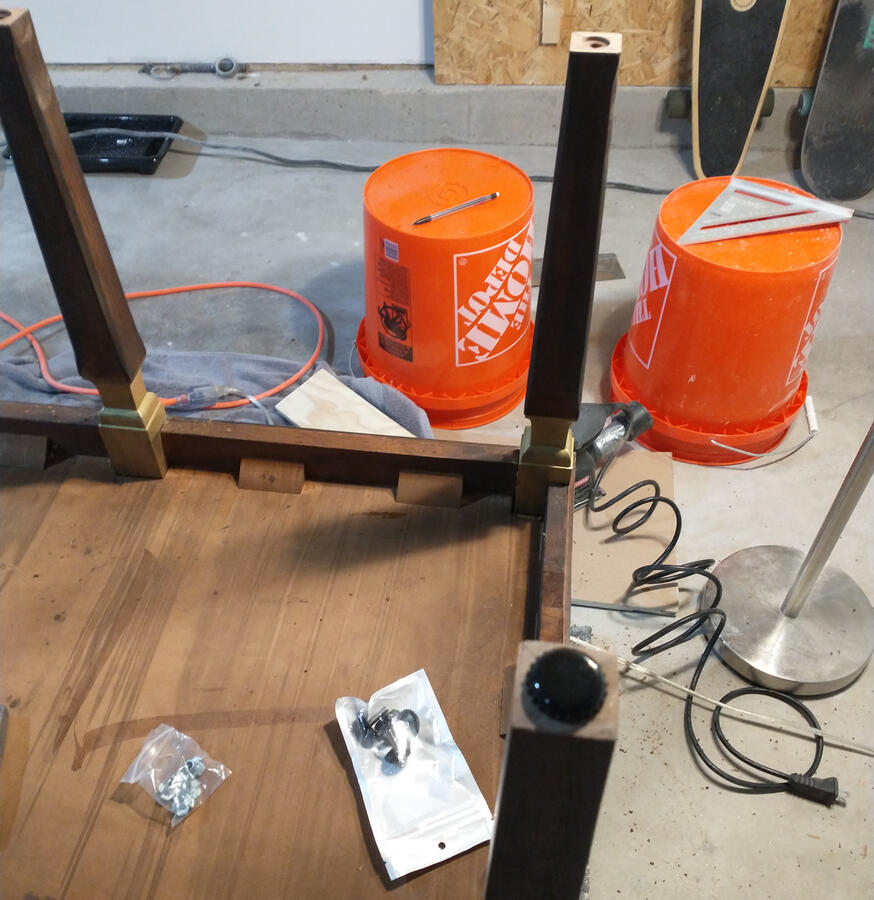
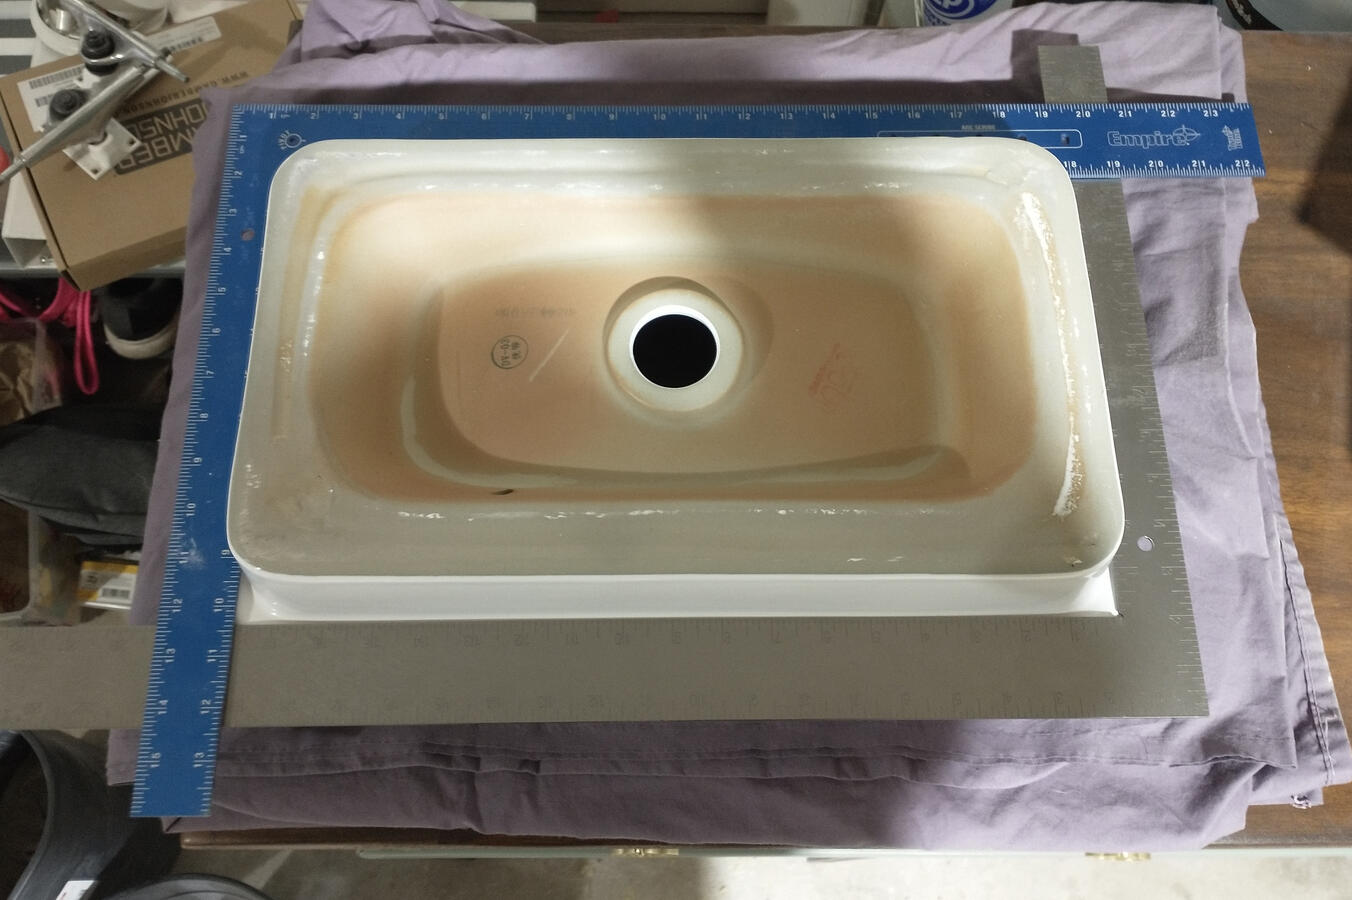
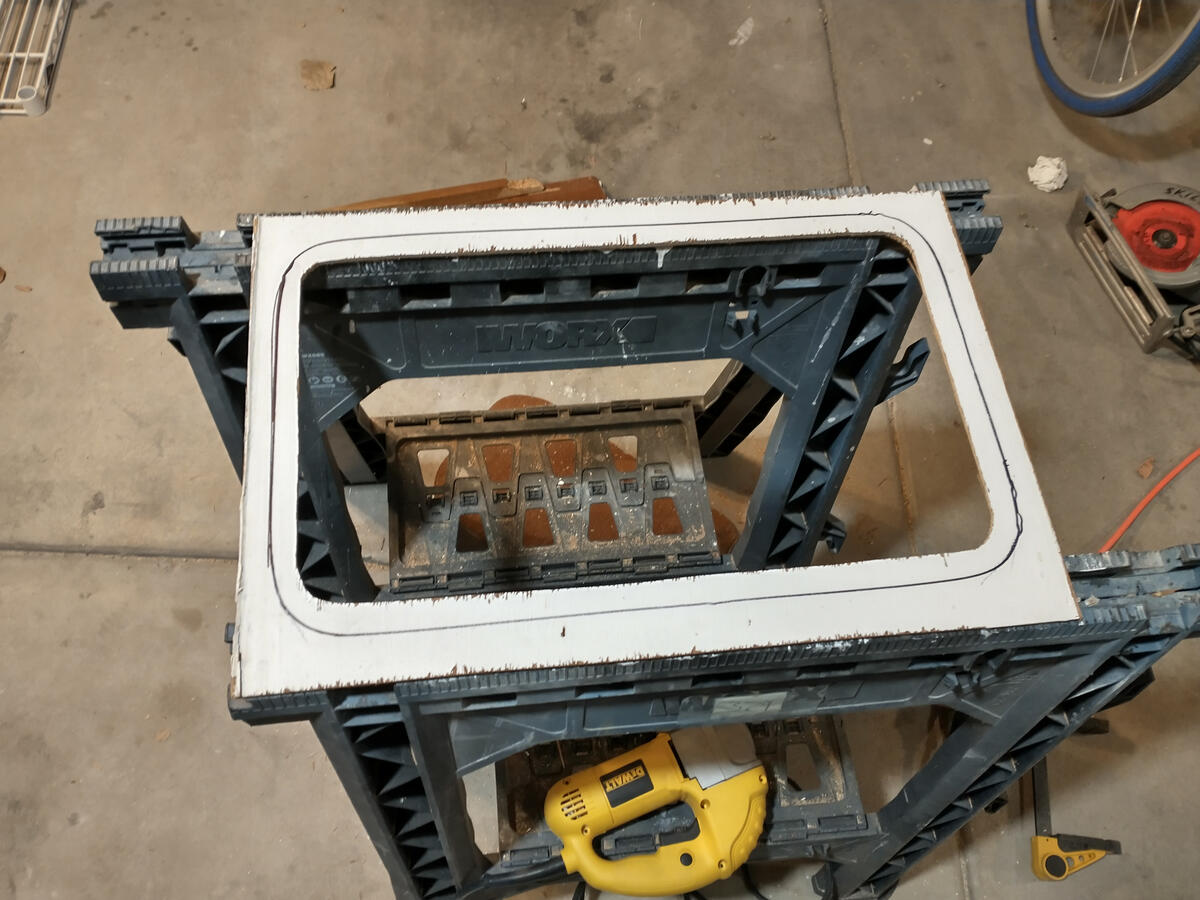
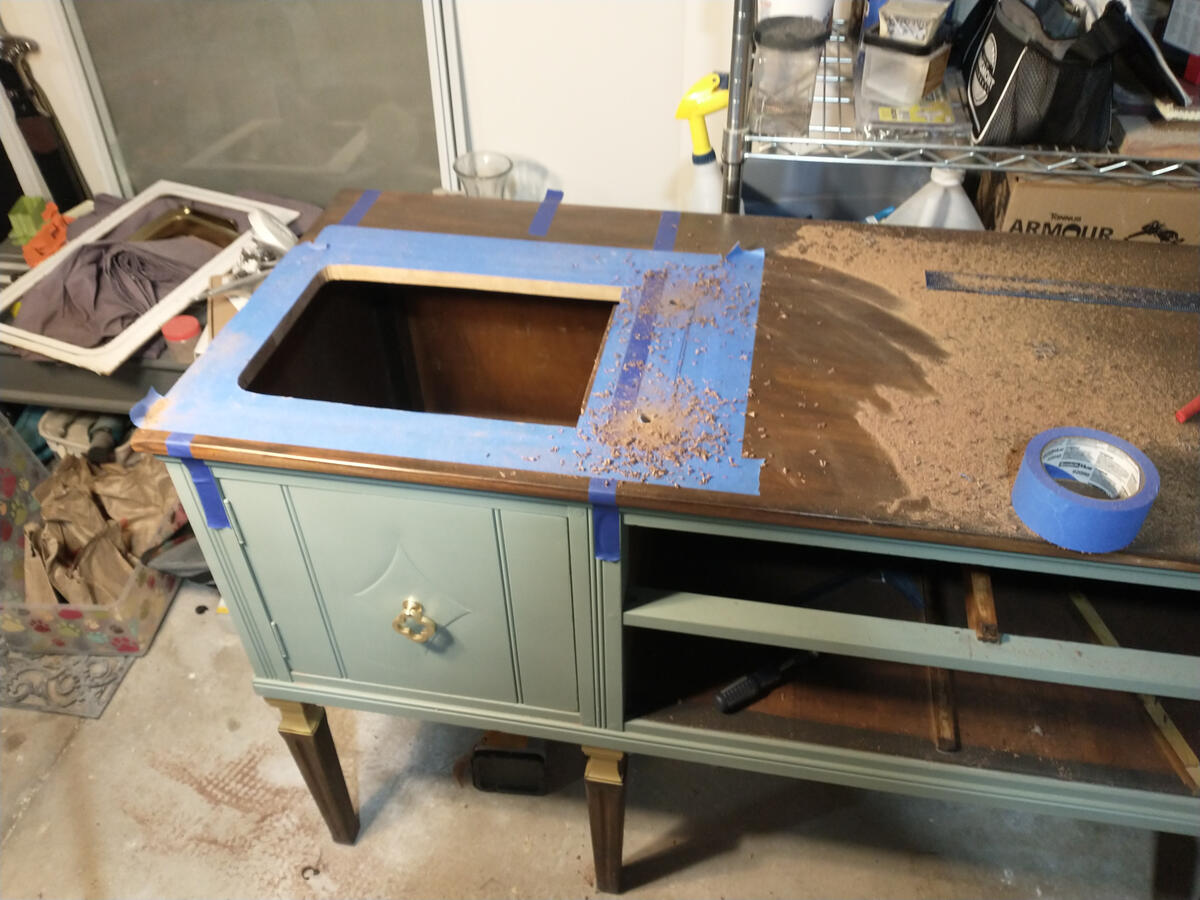
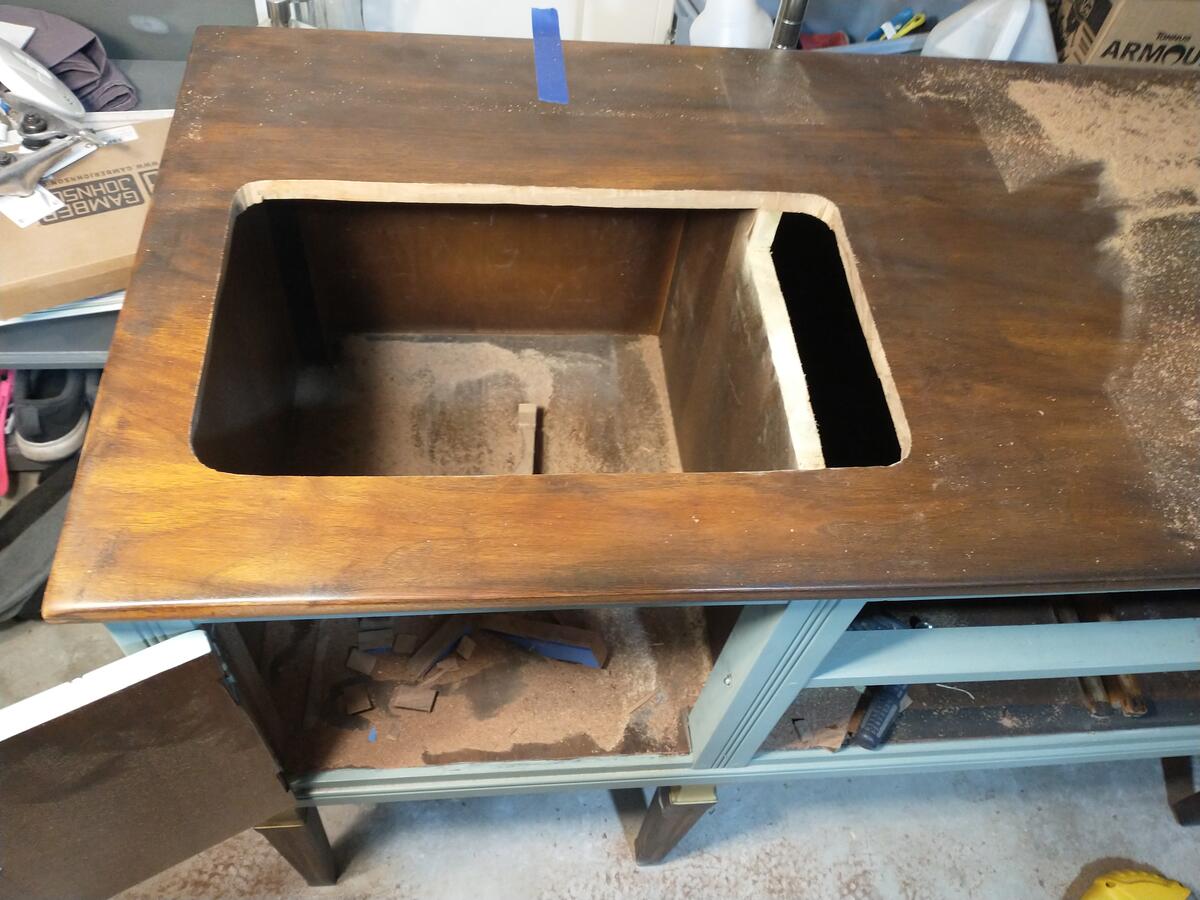
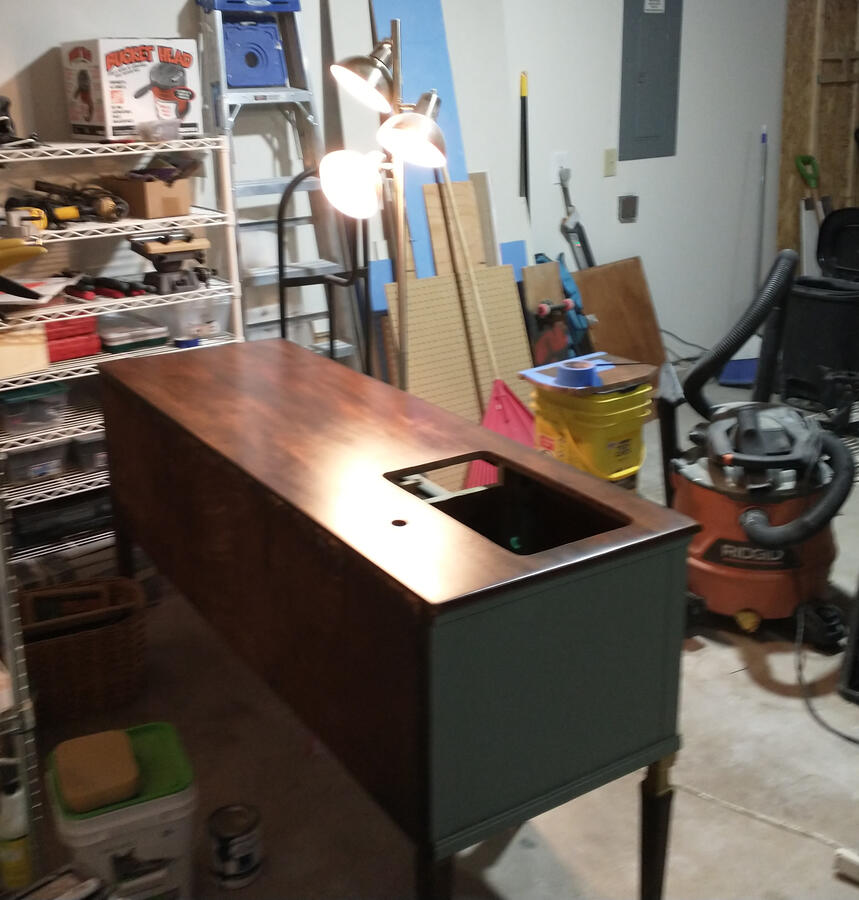
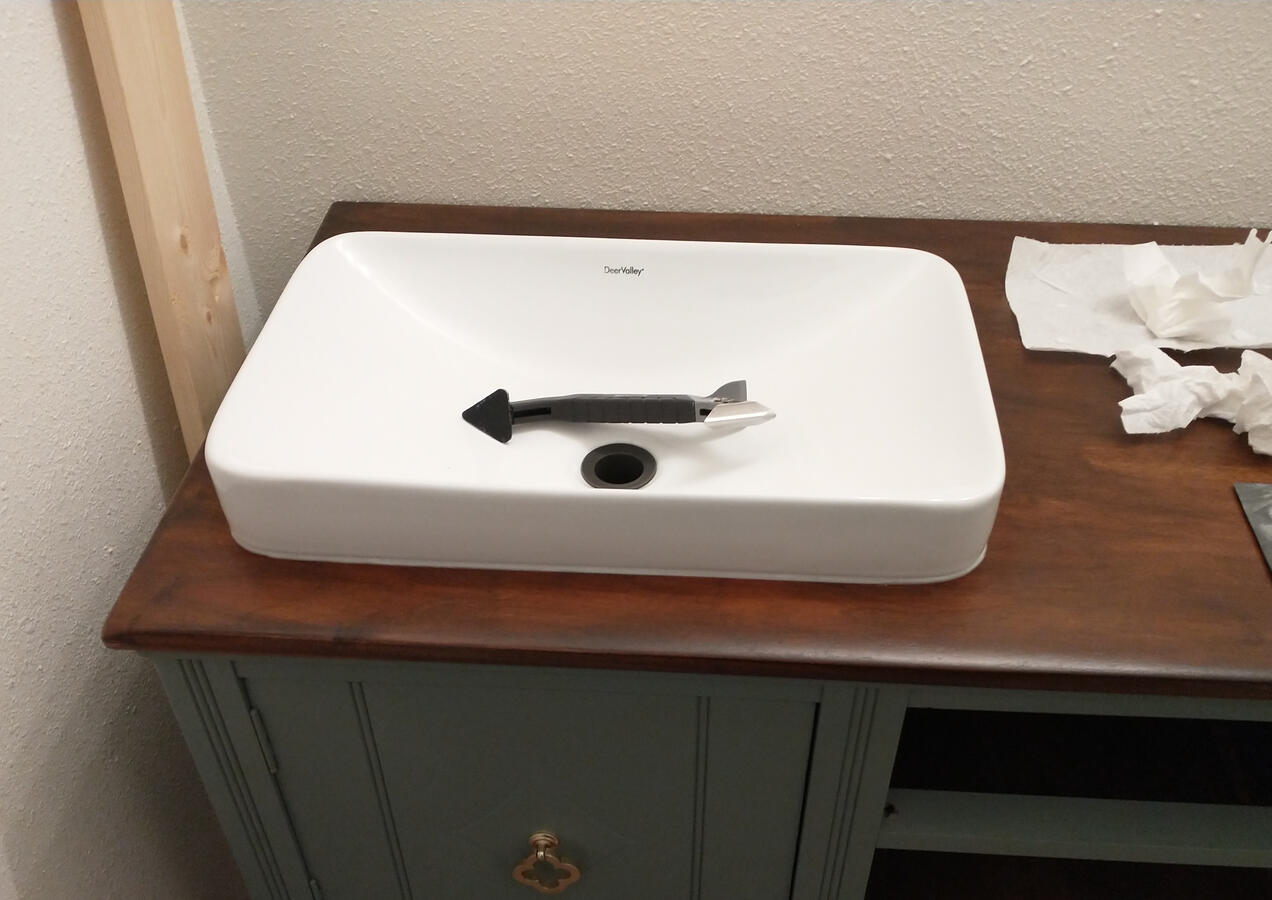
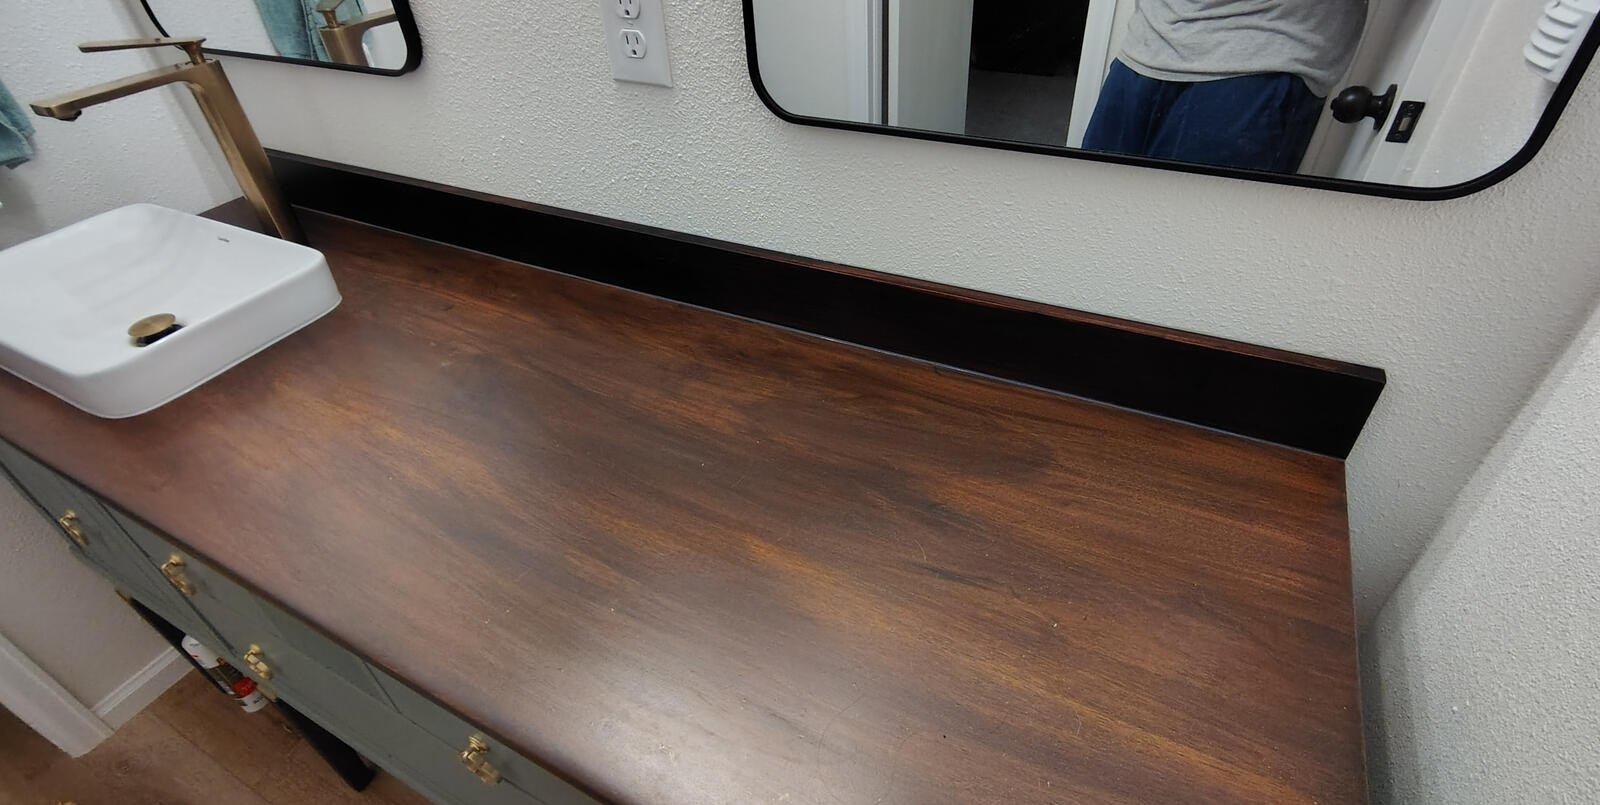
We bought a refurbished cabinet from someone on Facebook Marketplace that was the perfect color and size, then brought it home and modified it into a cute bathroom vanity. We got a semi-recessed vessel sink and cut the legs of the cabinet short so that the top edge of the sink is at a reasonable height above the ground. I cut the back legs slightly shorter than the front ones in case the floor sloped down from the wall and put adjustable screw feet into all the legs to deal with any unevenness in the floor.
After cutting a notch out for the sink, I put a couple layers of polyurethane over the waterproofing sealant that the refurbisher had already applied. We waited until the bathroom was done to install the vanity, sink, and faucet.
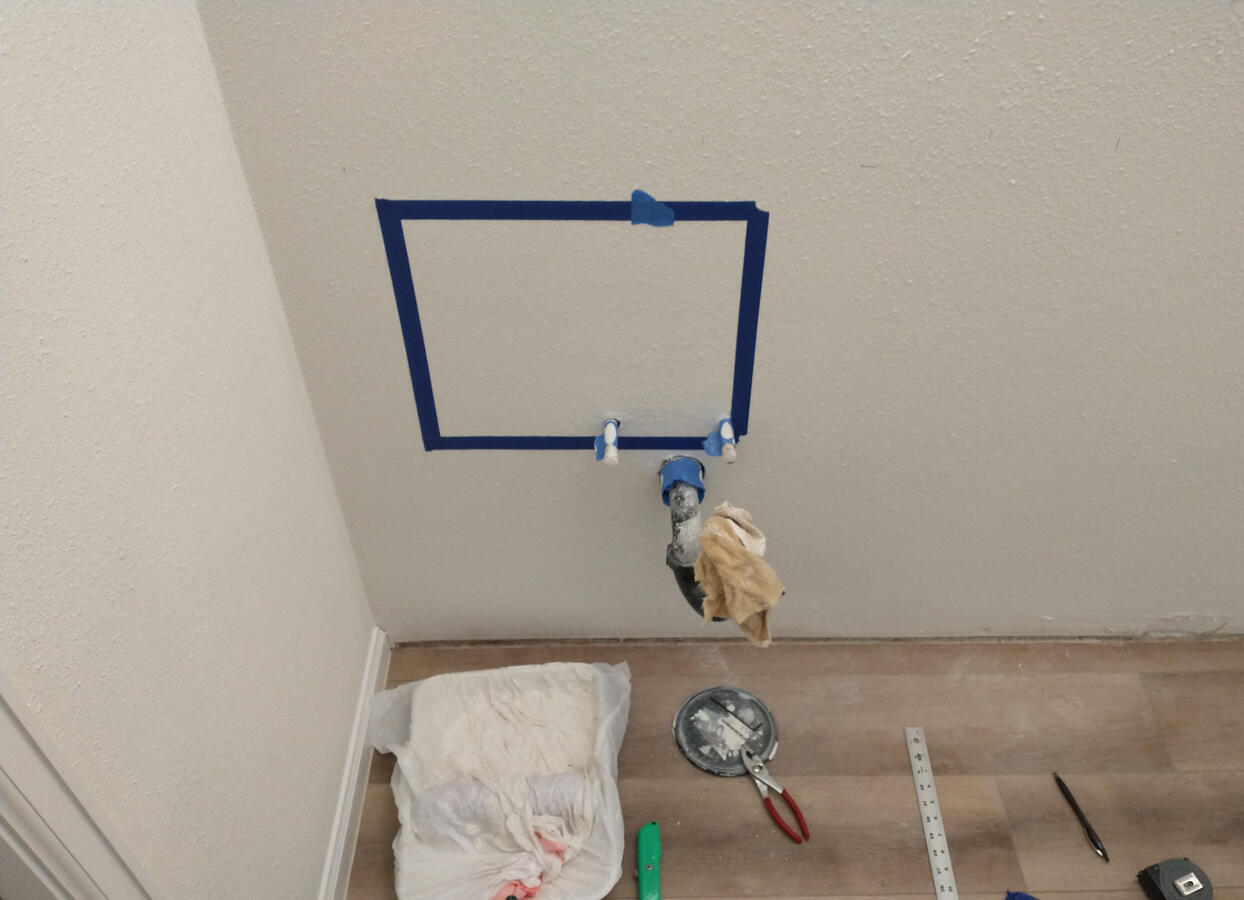
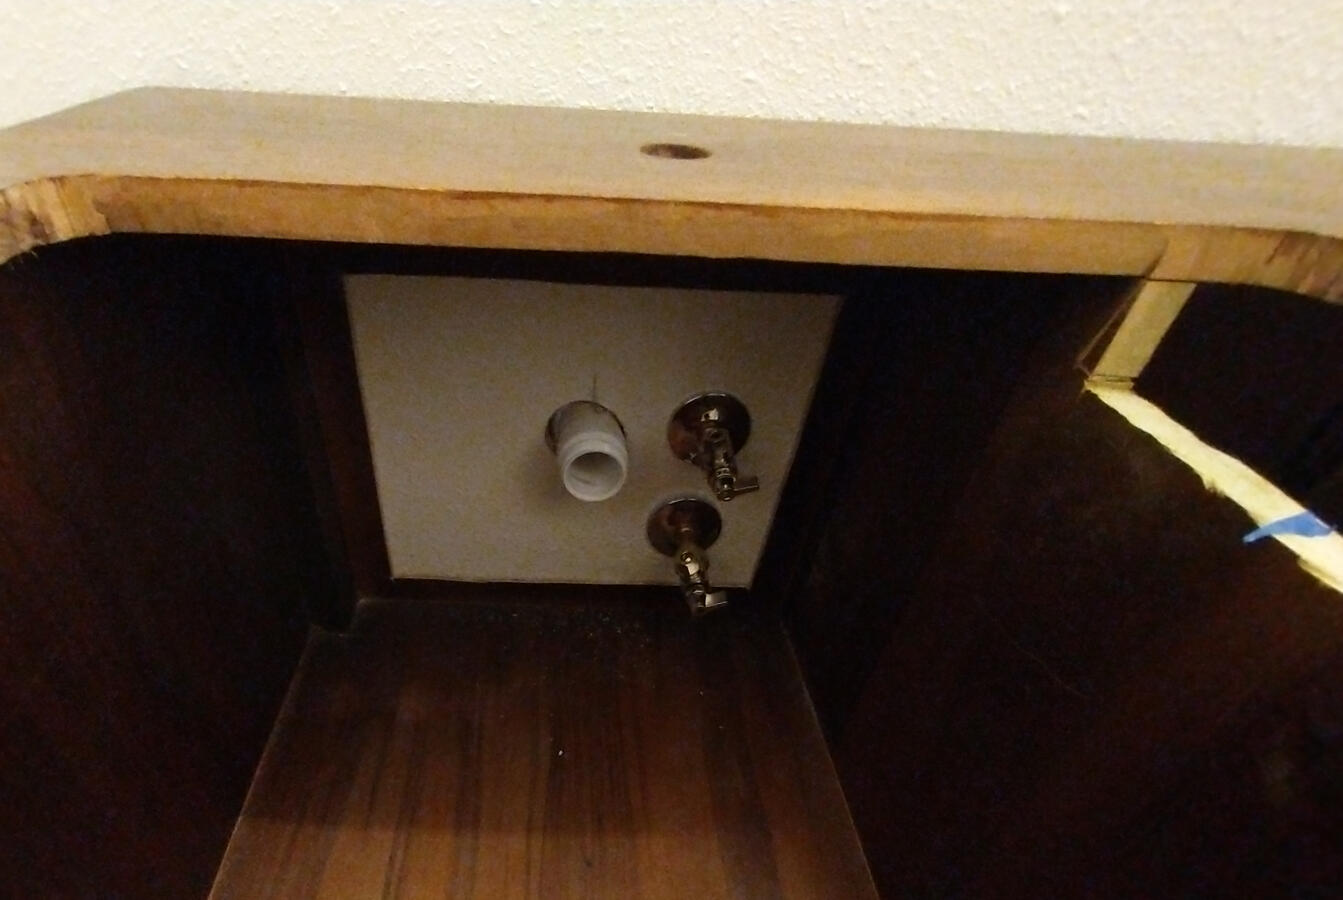
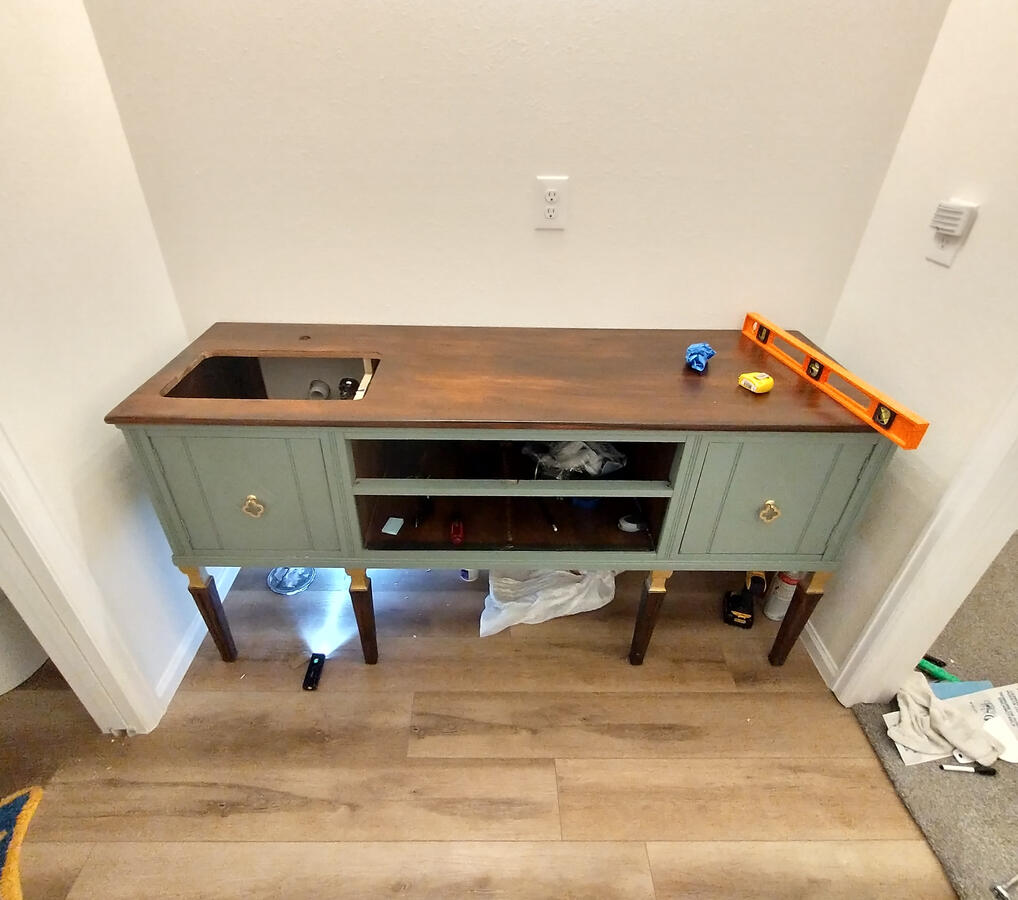
We hired a plumber to move the sink supply and drain to fit inside the cabinet, and then installed the vanity against the wall like a normal cabinet.I like freestanding vanities for a lot of reasons. The flooring goes all the way underneath them, which means there is open space under them for storage and you can replace them very easily in a remodel. Also, there are fewer joints against the flooring, so the flooring and baseboards can more easily form a water resistant container in the event of a spill.

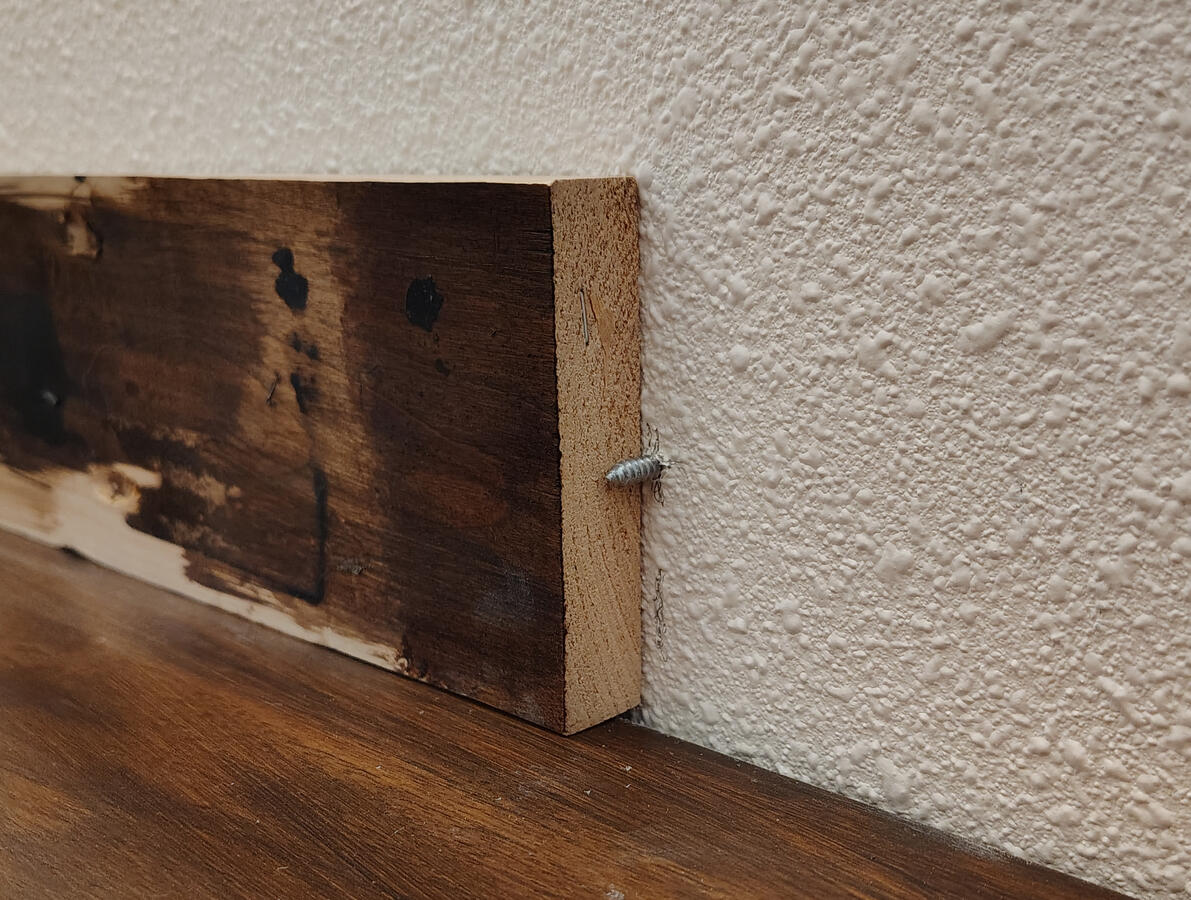
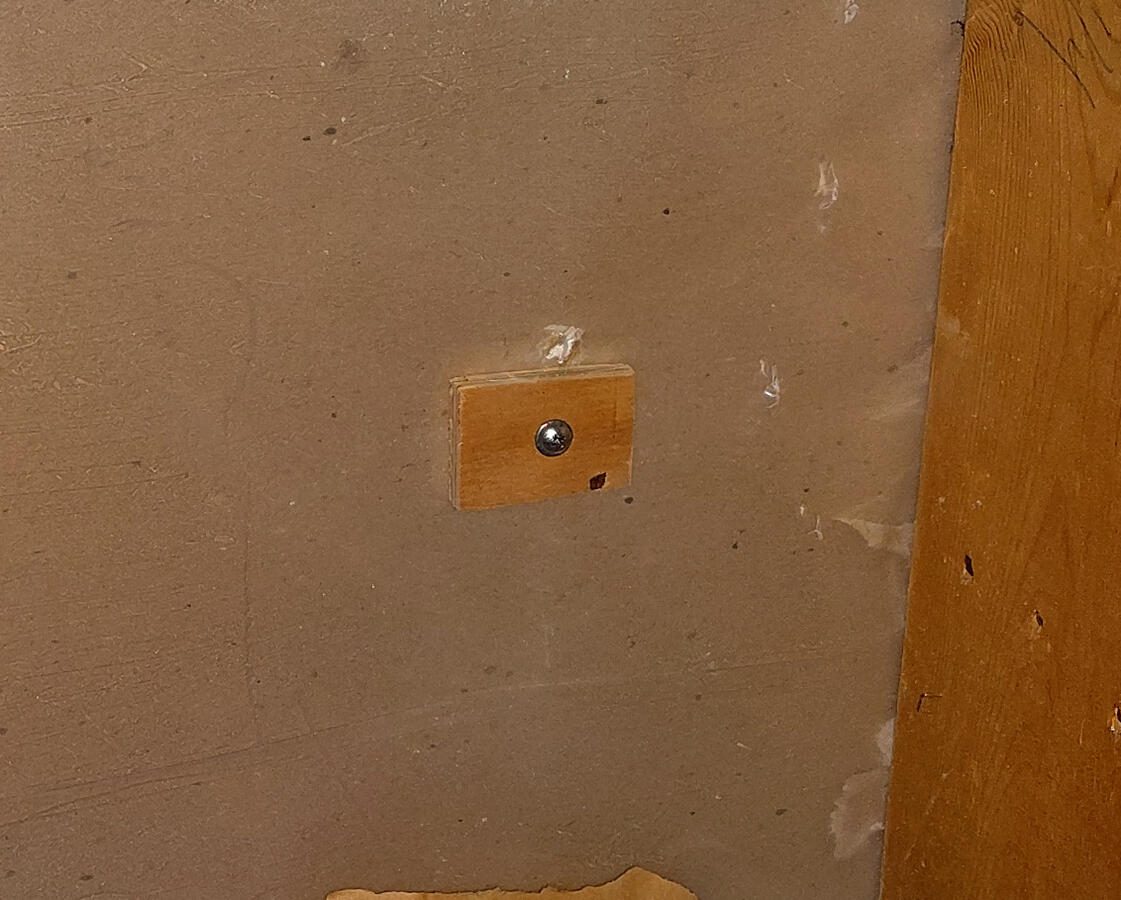
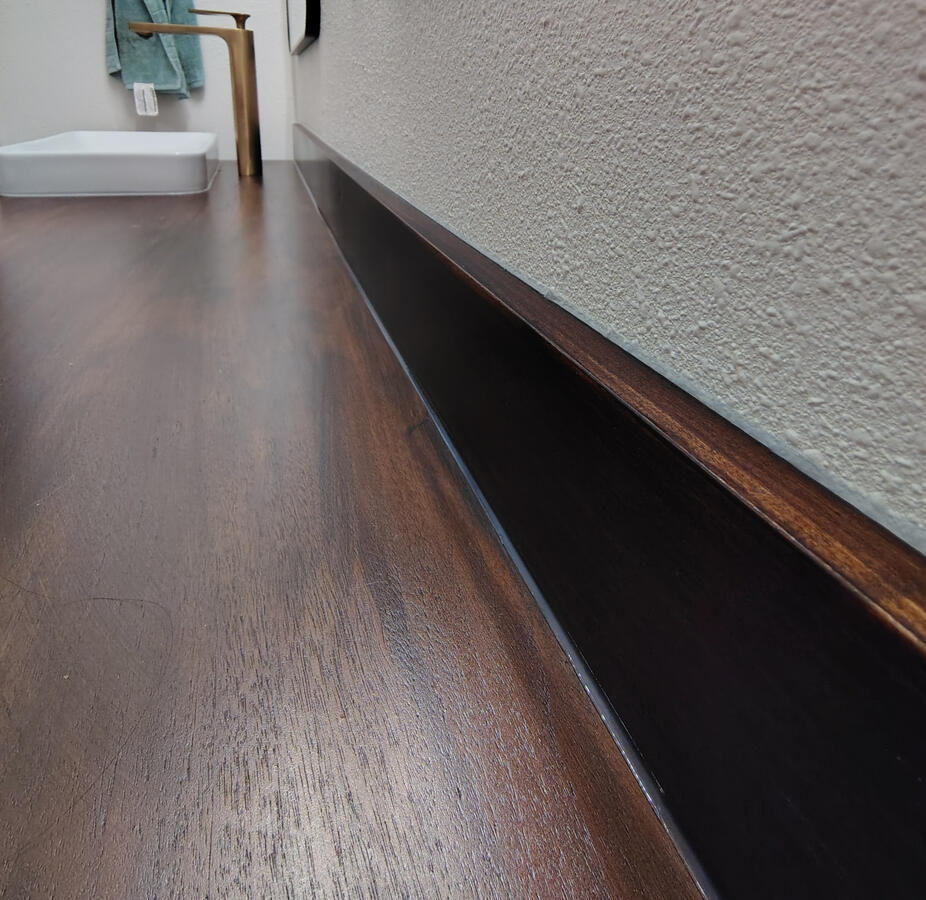
A few months later I came back to this project to make the backsplash. I bought a 1×6 board from the hardware store and cut it to the size of the backsplash. I stained/sealed it to match the appearance of the countertop and let it sit for a while for the stain to cure. Once it was ready, I tried to figure out how to mount it and realized that the wall behind the vanity is too uneven to just glue the backsplash board to. We needed to use fasteners to pull the board against the wall, but I didn’t want fasteners to be visible from the front. Luckily, this wall backs onto the garage attic, so I was able to use other-side-of-the-drywall anchors to fasten it in place securely and discreetly from behind.
The vessel sink is very cute, but a little small. We might be replacing the faucet with a shorter one, or reducing the flow rate to prevent splashing. The pocket door is a huge improvement in such a tight space, and the large walk-in shower has made it very easy to wash the dogs. This project was a real sprint to get done, but everything came together in the end for a great bathroom.