I wish I had taken some more pictures of this process, since it turned out pretty well in the end.
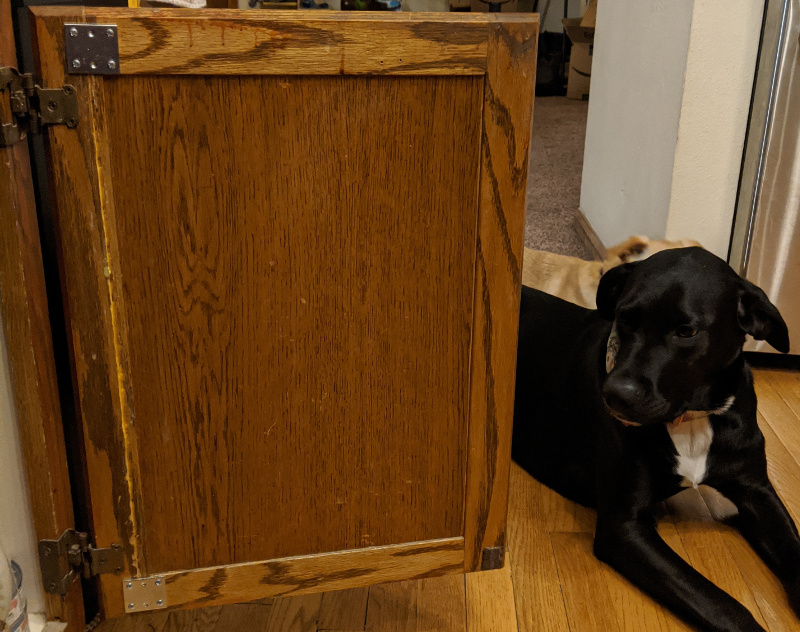
Someone who lived in our house before us had an anger-management problem. Doors all over the house have signs of being slammed open or closed, like the dents from knobs that appear in almost all the bedrooms or, in this case, the cabinet doors that have been split and “reassembled.”
“Reassembled” is in quotes because I can’t get behind the way the doors were “repaired.” It looks like the person before me slammed a cabinet open, fracturing the shaker door’s frame at the upper corners when the hinged side hit the other cabinets. Then, he tried to glue the sides back together, but without doing any surface preparation or properly clamping the wood. So, as with many things in life, step 1 was addressing the mistakes of our predecessors.
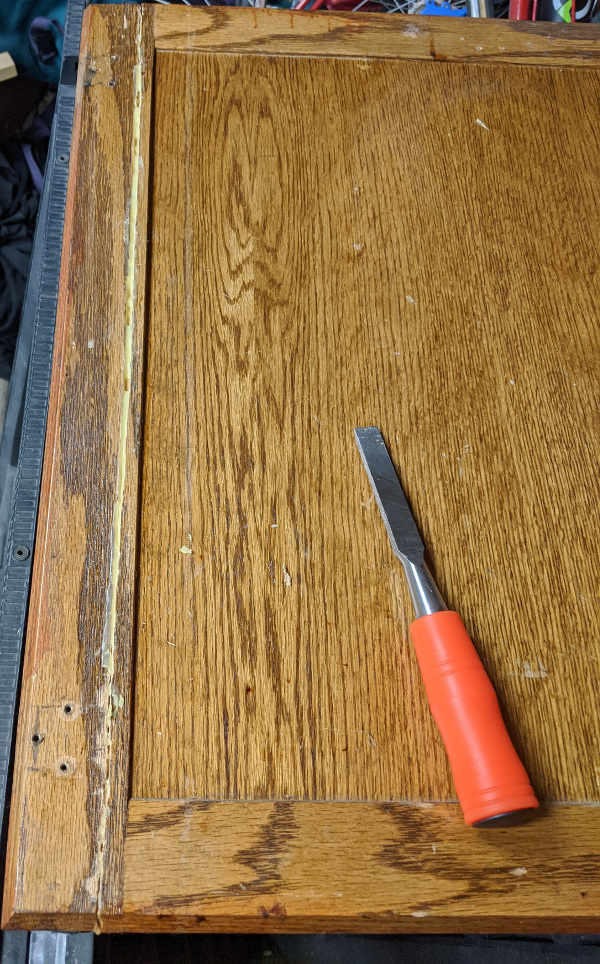
There was this big nasty glob of wood glue or something running the length of the door. Other than looking like garbage, this had a functional problem: it made the door bent, and the hinges would not hold the door closed. Instead, they held it almost closed, but open enough for a certain dog to get in. So I got a wood chisel and picked away at it. It turned out that the previous repair person didn’t apply the glue properly, because in many places it just popped out. Anywhere it didn’t just pop out, I used a heat gun to thermally stress the glue several times to make it a little more brittle. I don’t know whether the heating and cooling helped, or if taking breaks helped me to do a better job, but eventually I got almost all the glue off.
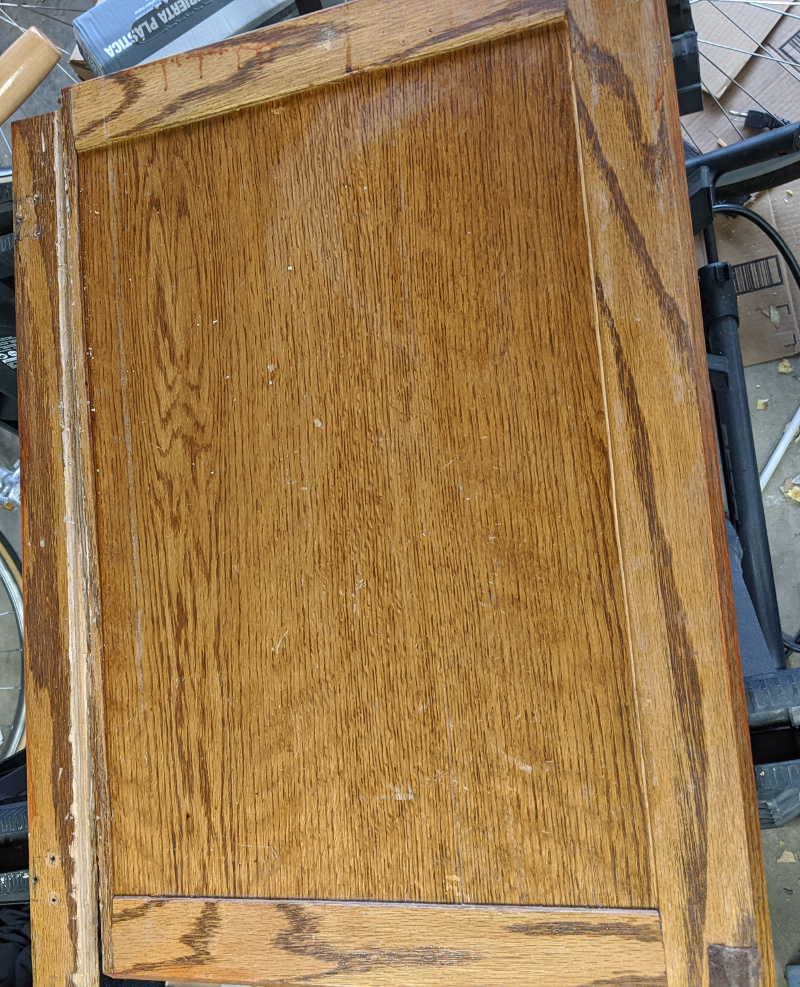
I roughed up the inner surface of the joint, being very careful not to carve away anything that would be exposed on the front (the other side) of the door. Then, I acquired some nice clamps and applied wood glue to the smaller piece of wood with a paper towel to spread it out. I carefully pushed the pieces together and then firmly clamped them in place using some clamps to hold the sides in line with each other and some clamps to push the joint closed.
After the glue dried, I ran over it again with a bit of wood glue to fill in some gaps to make the surface look a bit better. Then I used some mending braces to reinforce the corners that bear most of the door’s weight.
When you apply these mending braces, it is important is to think about the direction the tapered heads of the screws will push the wood when they are tightened. If the holes are drilled as shown in the picture below, the screws will pull both pieces of wood toward the center of the bracket when they are tightened. This does not matter as much if the screw heads are not tapered.