
This was a long time ago now, but we have been too busy on uninteresting repair projects for me to be able to keep up with blogging. I started writing this near the end of last year, when our kitchen was nearly done. We have been living with it at about 90% completion while we make a plan for the backsplash, which I should be able to do this weekend. This kitchen cabinet installation took me a while, and we had a whole saga with cabinet companies.
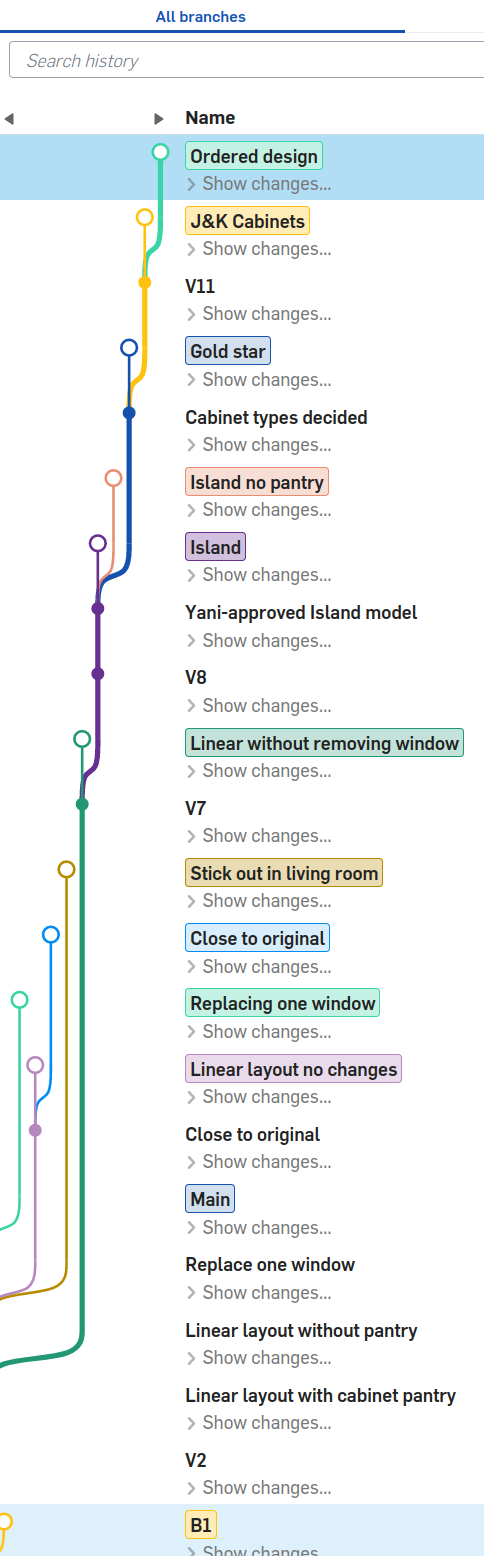
Let’s begin with the prequels: the very first thing we did was to model the kitchen in Onshape and mess about with the layout until we were happy. This meant deciding if we wanted to replace windows, the shape of the cabinets, the location of the appliances, etc. I used Onshape’s revision tracking tool to branch off design paths, which was super useful.
We eventually landed on a design we liked, and ordered the cabinets from TheRTAStore.com (1/10, would not recommend) to be delivered with a ~1 month lead time. We were not prepared for what they would actually deliver.
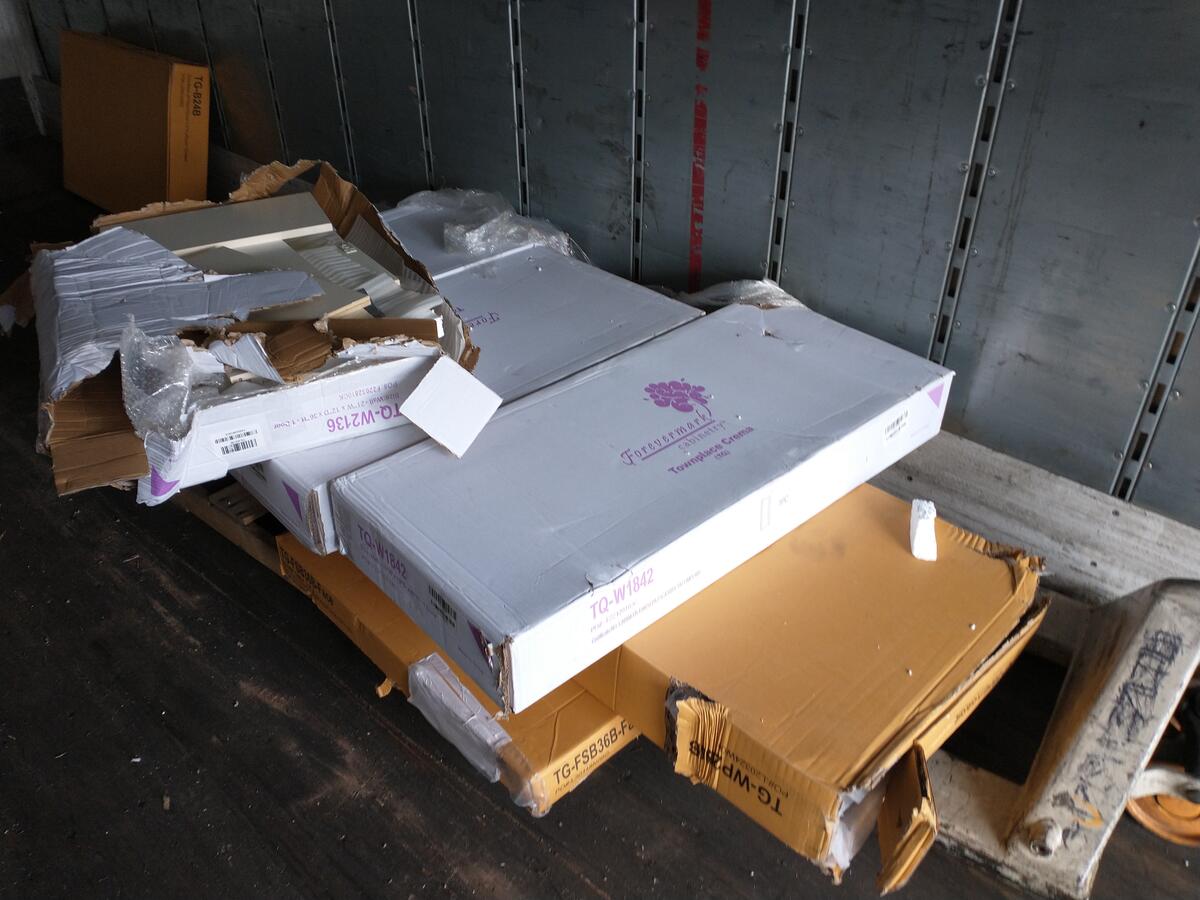
It’s obvious that, at some point between the picture they gave me of it sitting in their warehouse and the delivery by Saia Freight, the double-wide pallet was replaced with a single-wide pallet, 3 boxes were just lost, and the pallet fell over and broke apart in the vehicle. I would also note that Saia was told that they were delivering to a cul-de-sac and to bring a small truck, but they arrived with a semi anyway, so our awesome electrician and I helped the delivery driver carry all of the messed up boxes half a block through the rain.
It’s unclear who in their supply/delivery chain messed this up so badly from the image they sent me of it sitting on a pallet in their warehouse, but after seeing this ludicrous display I just wanted to get a refund. Which is a process that took multiple weeks, required me to inspect every piece of every cabinet and document all the damage. Of the 15 cabinets they shipped, there was 1 that was in a condition I would be comfortable using. The remaining 14 had levels of damage or manufacturing defects that would render them broken in my opinion, although TheRTAStore eventually took back 6 that they thought might be worth reselling. Aside from being broken in many ways, I also discovered that the little shadow lines that they draw around the inside of the cabinet faces to emphasize them are painted on after the cabinets are glazed, so the lines just wipe off with a wet towel. I eventually got a full refund, although not until after expending about half the value of the cabinets worth of my time doing the investigation. Part of the refund agreement was that I would retain the remaining “not good enough to resell” cabinets until after Saia finished their “investigation,” so I still had a big pile of broken cabinets in the garage well over a month after they were delivered. Strangely, several of the cabinets they decided were not good enough to resell were ones that I had discovered were acceptable. I was able to swap parts and reduce the remaining cabinets to some that could be donated and used by Habitat for Humanity. I only had to bring a few to the dump.
That concludes the Revenge of the Sith component of the saga. Now, A New Hope: buying RTA cabinets in Denver and delivering them myself.
We got quotes from 2 cabinet companies in Colorado and settled on buying from CabinetsToGo in North Denver. They had the cabinets delivered to their warehouse in a couple weeks at a price about $1k more than TheRTAStore. I rented a U-Haul in Denver, then picked up and drove the cabinets to Fort Collins myself. Yani and I unloaded everything without any issues, and I got started assembling them a bit later.
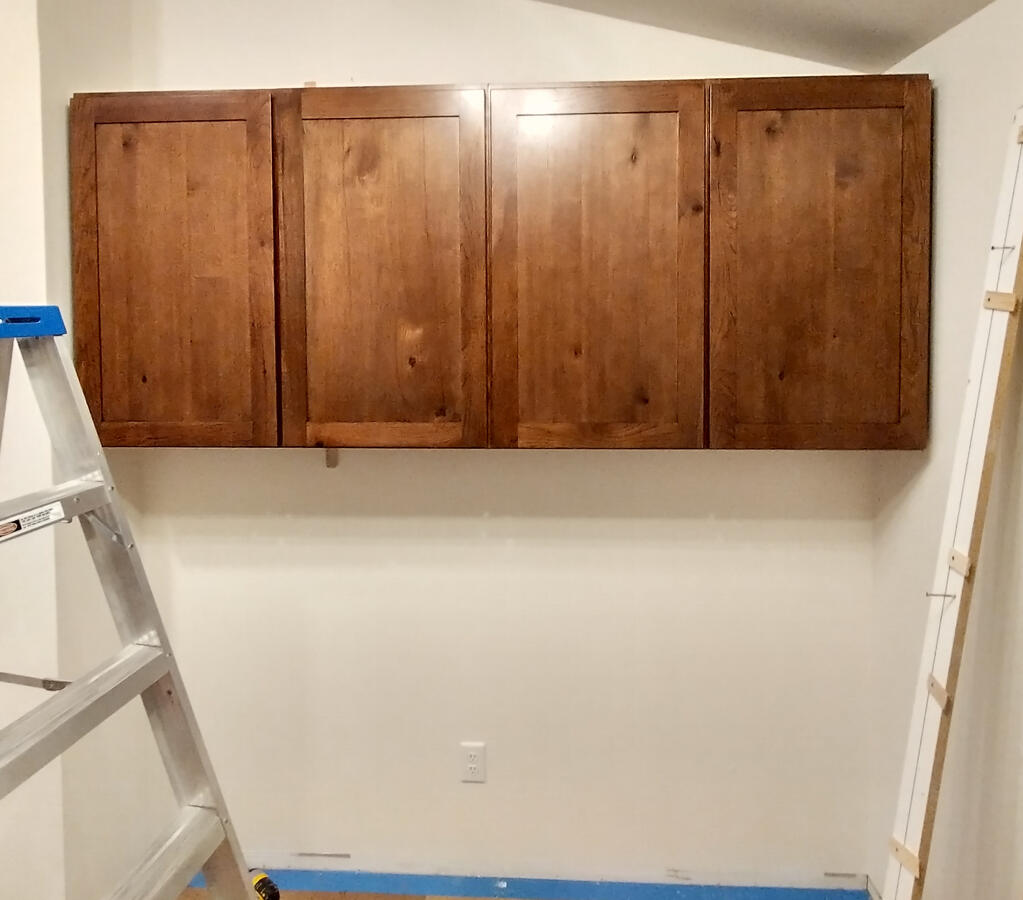
These cabinets are undoubtedly much better than the ones from TheRTAStore, but we also decided to get a dark natural wood finish so that any dents and scratches are easier to hide in the texture.
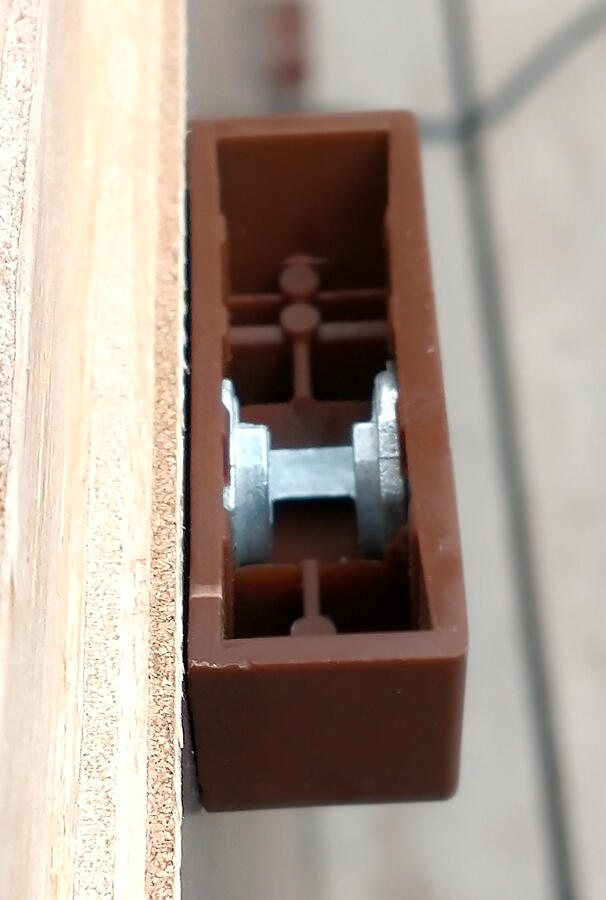
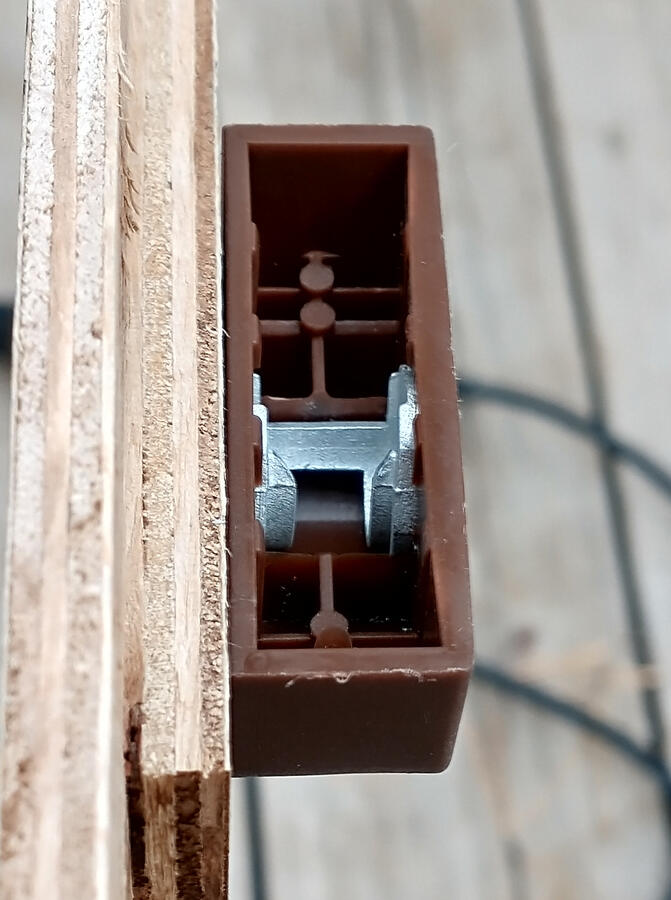
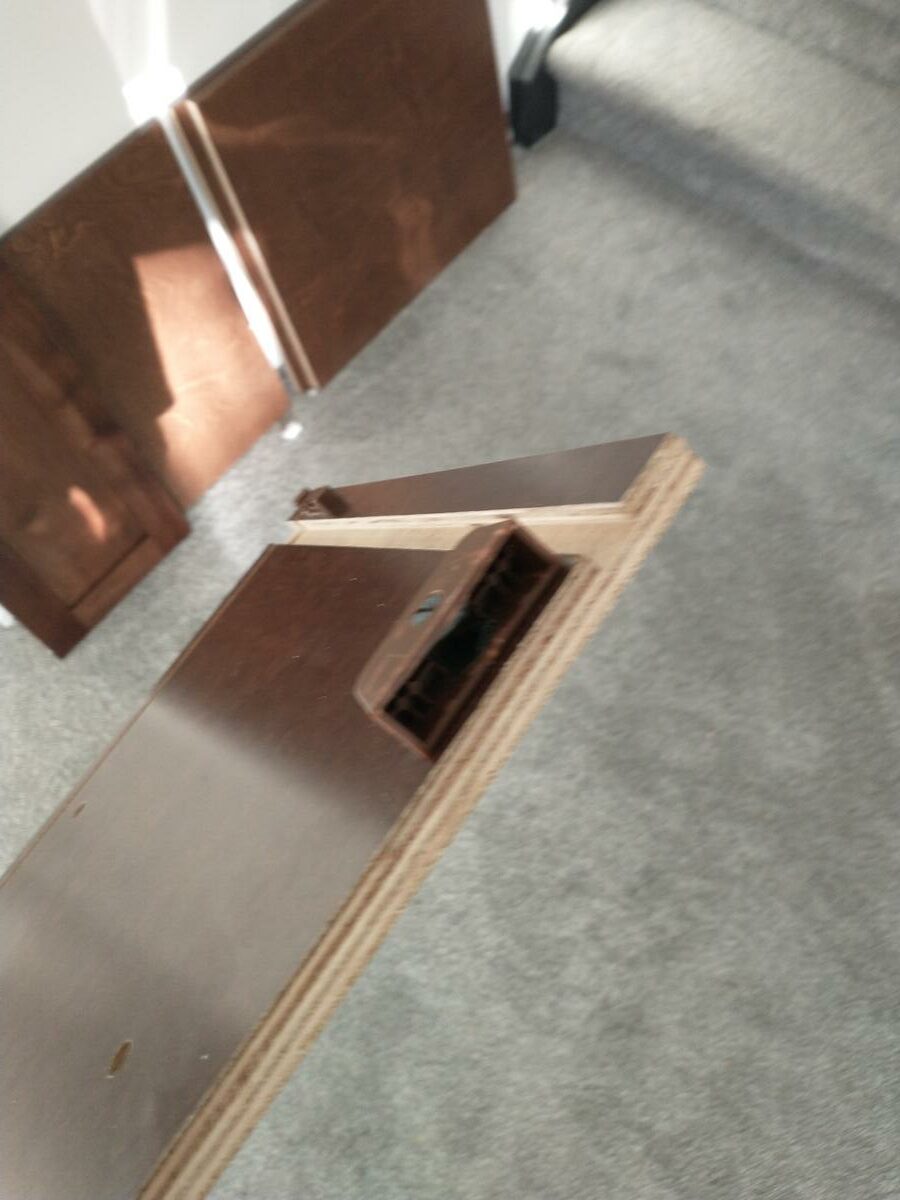
The one problem that I had was that this company uses furniture assembly cams in their design, and their locking cams suck. The very first two I tried snapped in half under minimal torque before I investigated deeper and found the issue.
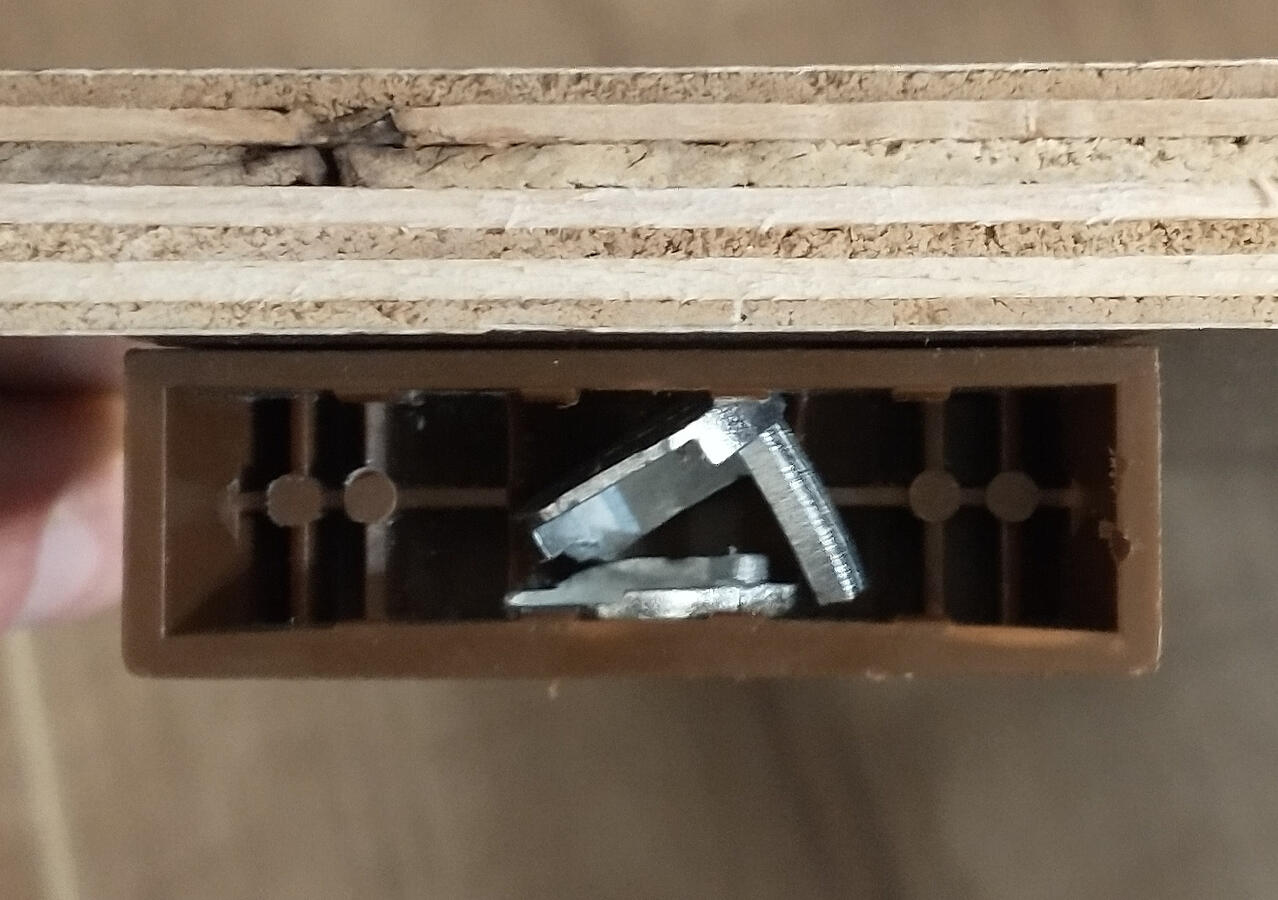
These cams do not have an angled engagement surface. When you rotate them to grab the inserted tab, the flat surface will hit the tab and prevent that side of the cam from rotating. These cams are made of a very weak and commonly pitted metal. I’m not sure what alloy it is, but this design is just bad. It doesn’t have fillets on exterior or interior edges, so variations in the shape will cause it to catch on the plastic housing while stress concentrations on the bridge between the two sides will cause it to snap reliably under almost no load. I called CabinetsToGo, and they assured me (falsely) that this almost never happens, and that I could go to Home Depot to buy additional brackets to reinforce the cabinets. I commonly came across cams that were so weak that they broke even if I just turned them in their sockets without anything connected to them, or so bent that the tab couldn’t even have fit between the teeth.
To get around these problems and get the failure rate down low enough that I could patch the issues with corner brackets, I used a rotary tool to grind chamfers on the engagement surfaces for every cam. Then, when I was turning the cams, I made sure to push the pieces together very hard, gently jiggle the joint back and forth, and to back off turning the cam a little bit every 1/8 turn to re-align the sides. You know, just normal cabinet assembly stuff.
By griding the cams and carefully tensioning my screwdriver, I got the failure rate down from around 1/2 to about 1/10. This was still a bit higher for some of the wall cabinets, but I was able to get around those issues with corner brackets from the hardware store. If you do this and you also use screws from the Home Depot, make sure you get the brackets with 2 holes on each side, because it seems Home Depot’s screws are about as reliable as CabinetsToGo’s cams.
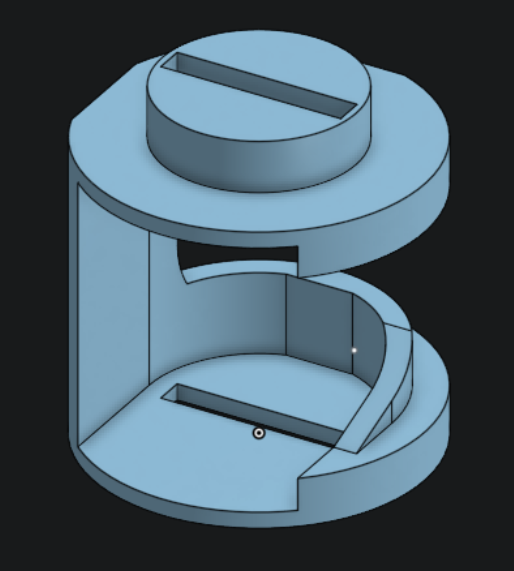
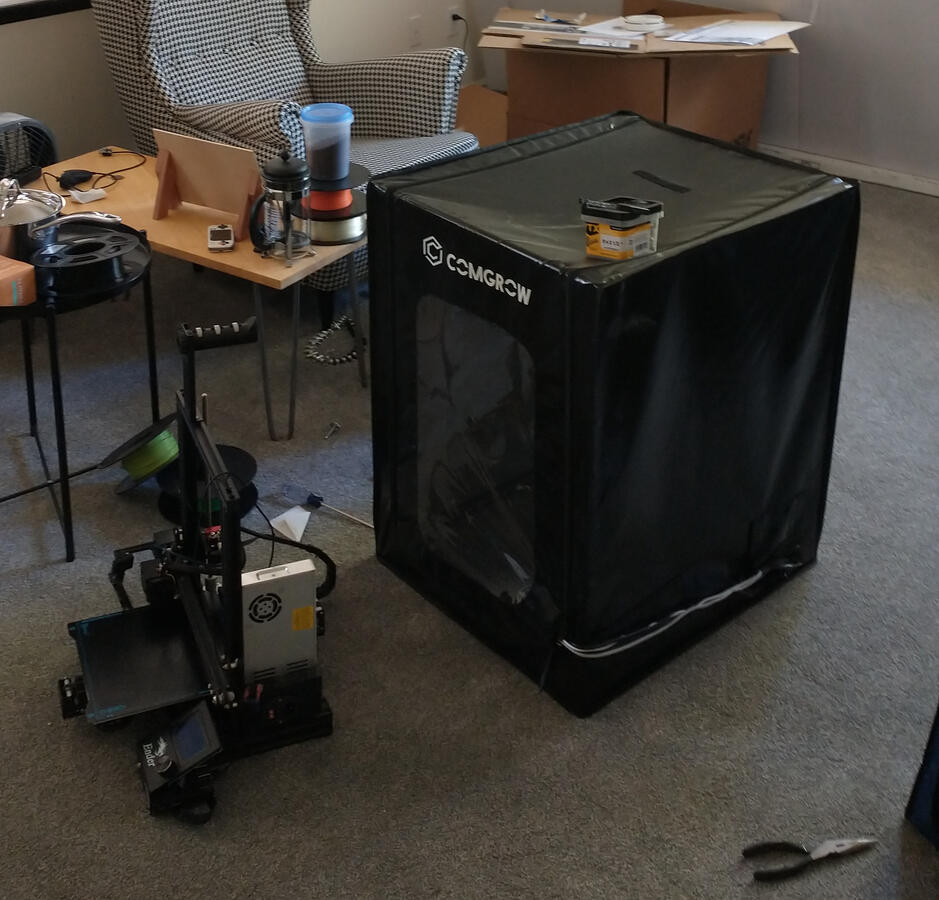
The first cabinet that I assembled had an unusable cam that I needed to replace. Instead of driving to Denver to get a replacement from the company, I designed and printed a replacement cam one afternoon. I included all the features that I wished were on the metal ones, and my plastic cam seemed to slot in and turn better than the original one.
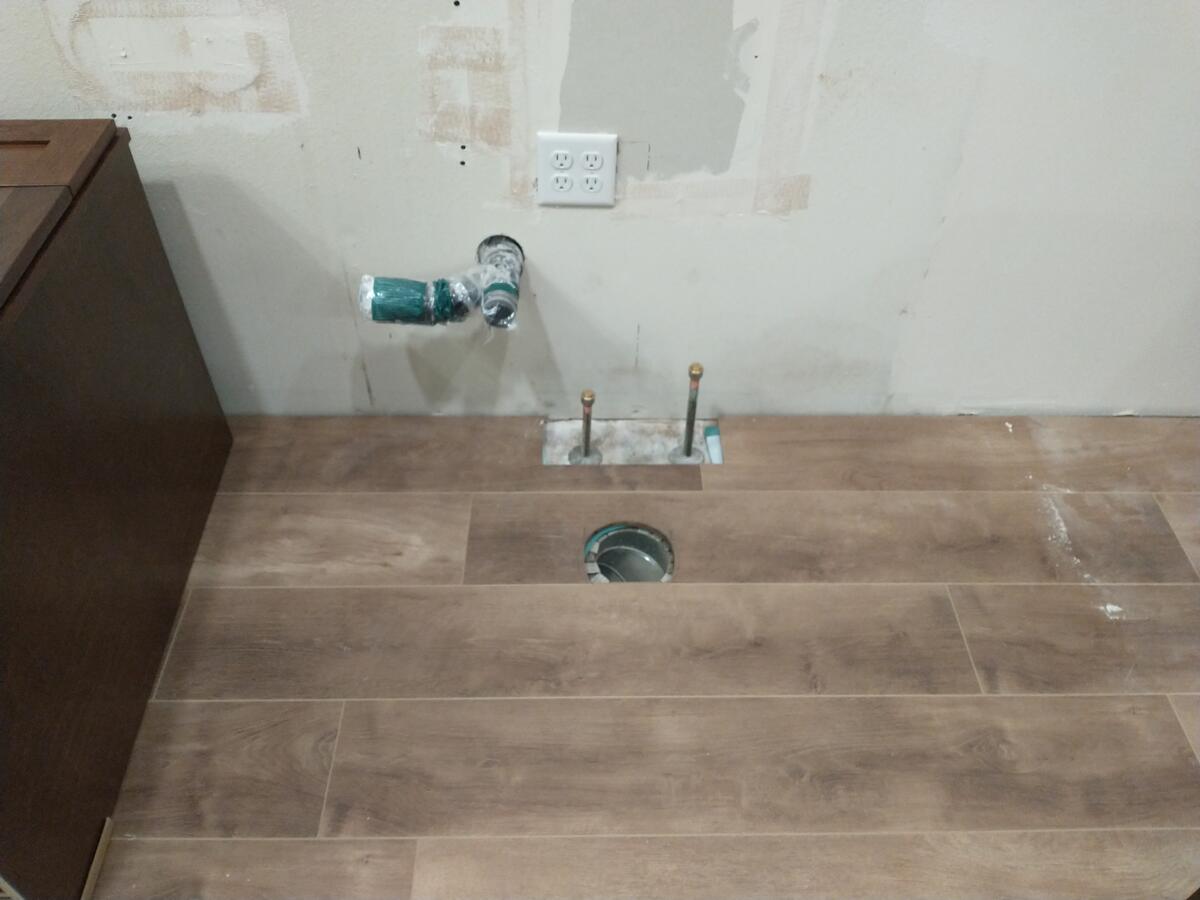
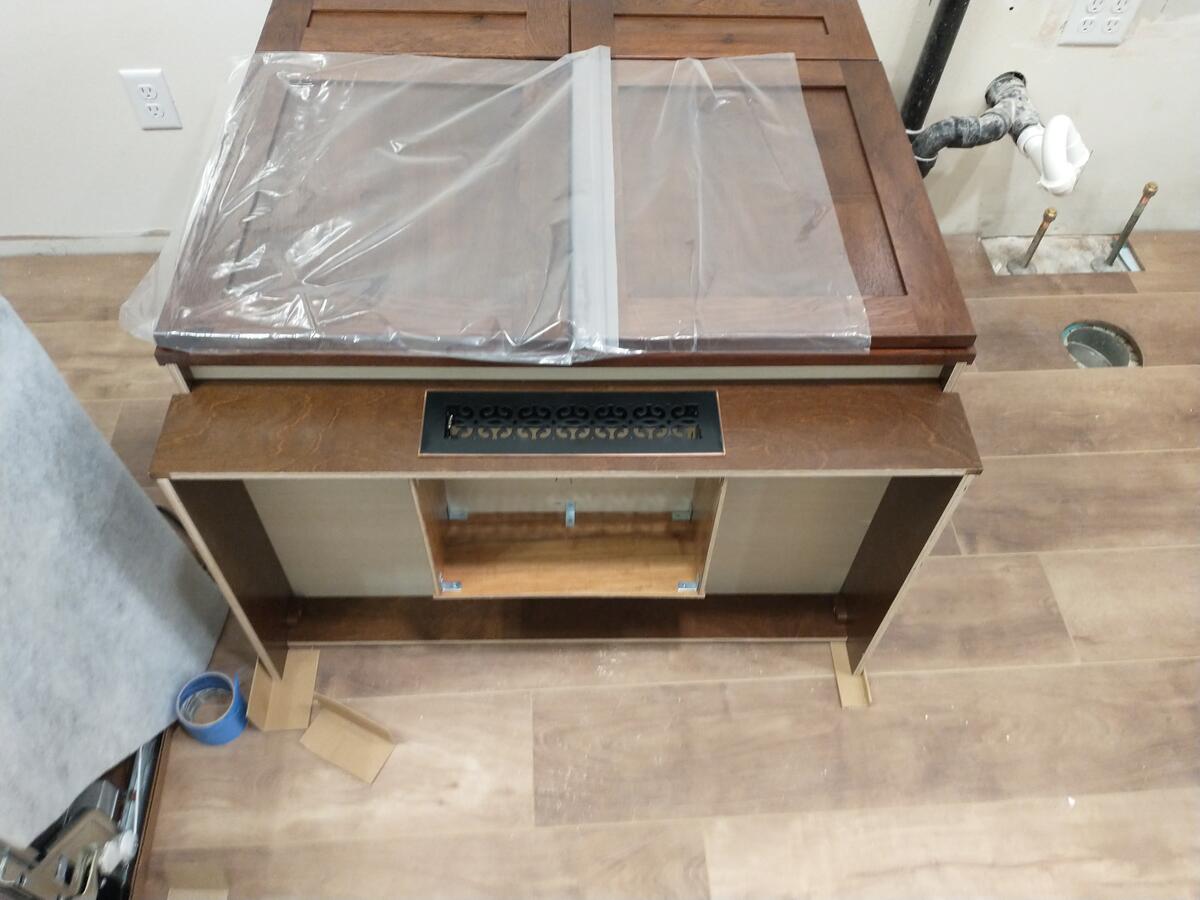
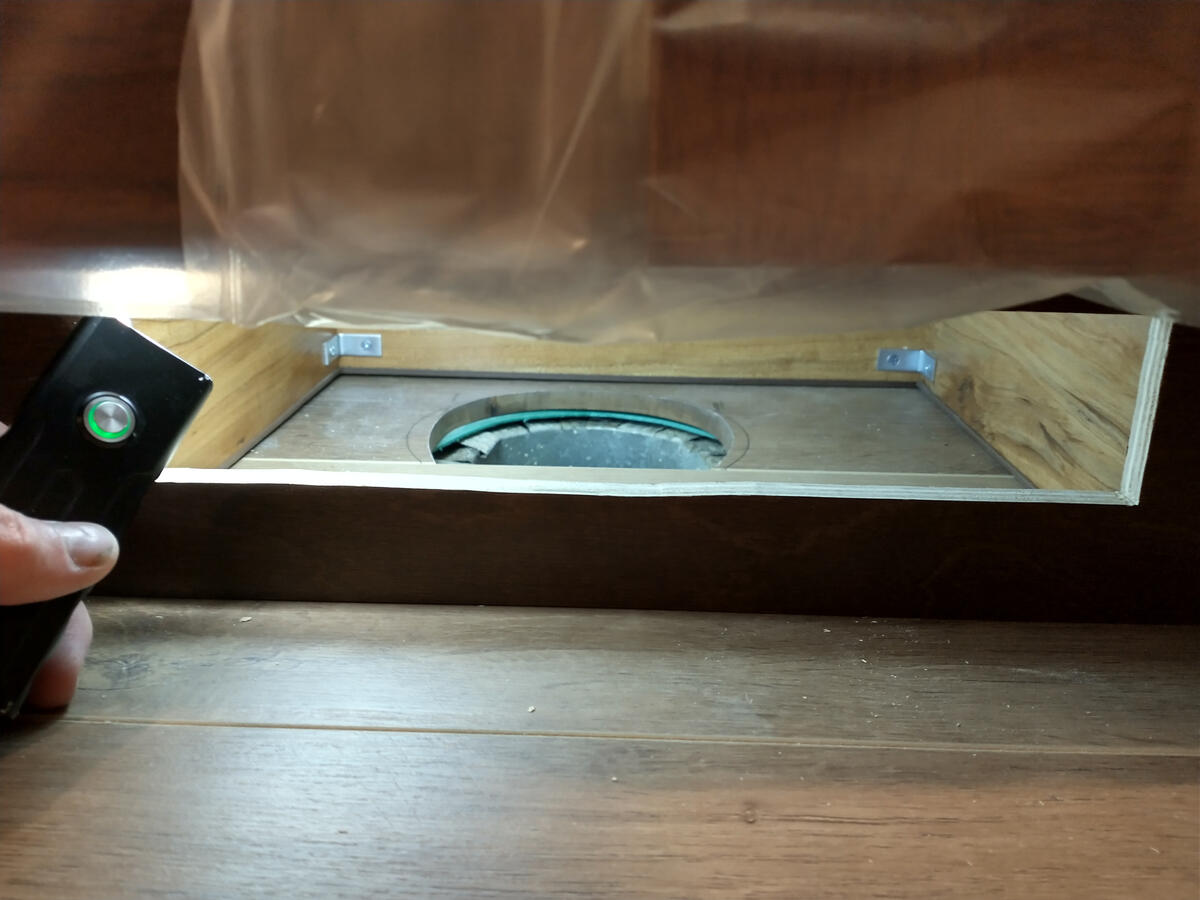
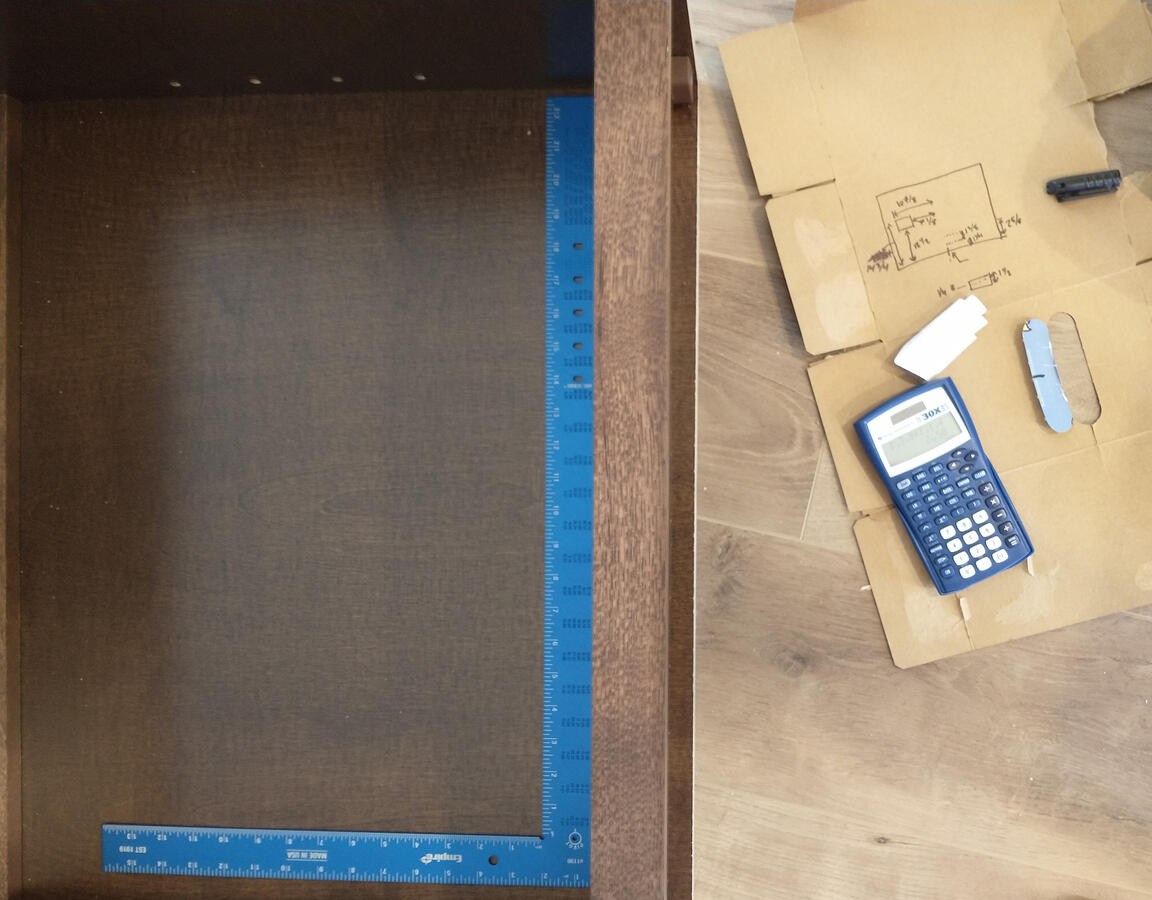
I also modified the kitchen sink cabinet to include a basic duct to redirect the in-floor air supply out to the front of the cabinet. People don’t usually do this and just put a hole in the cabinet’s toe kick, but having this duct makes the airflow more direct. The inside of the cabinet will not get as warm, and the air that hits your feet while you stand here will be warmer.
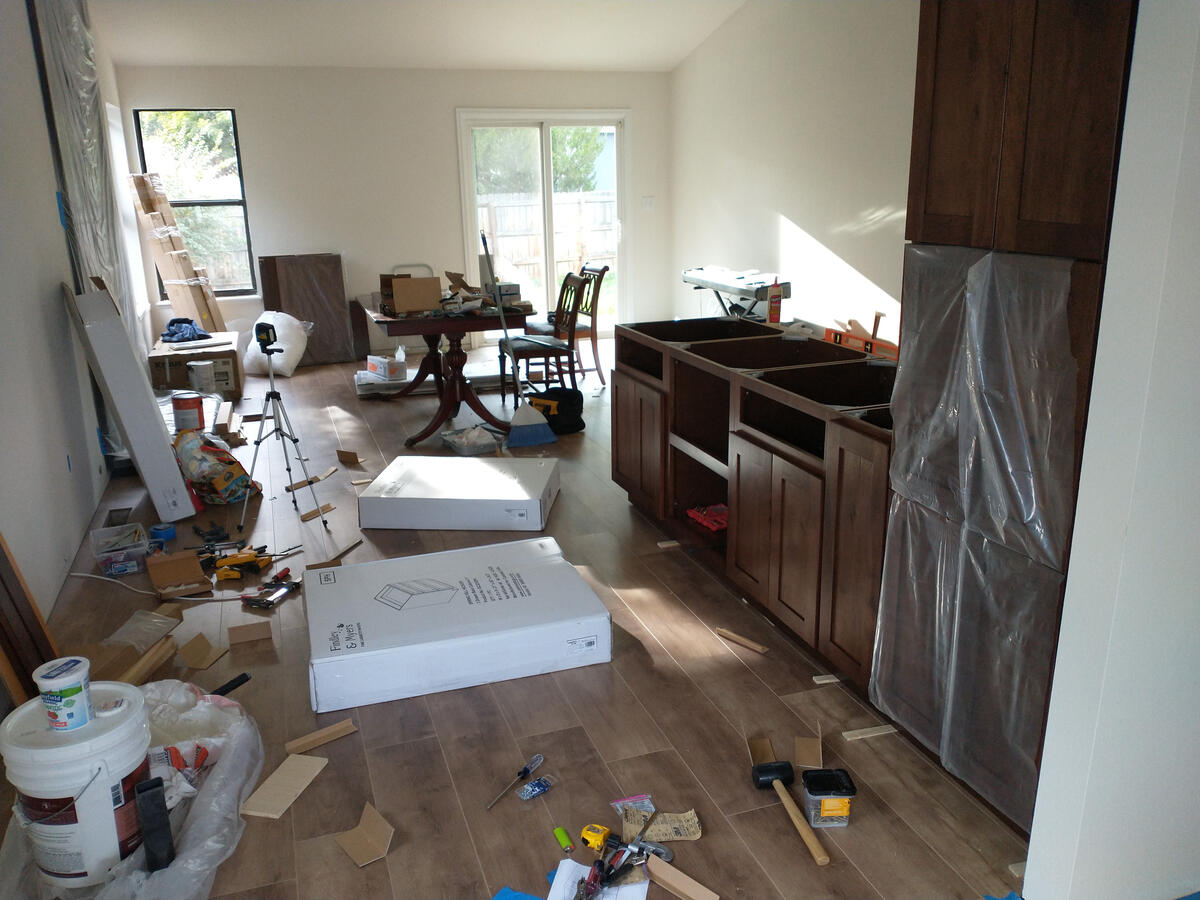
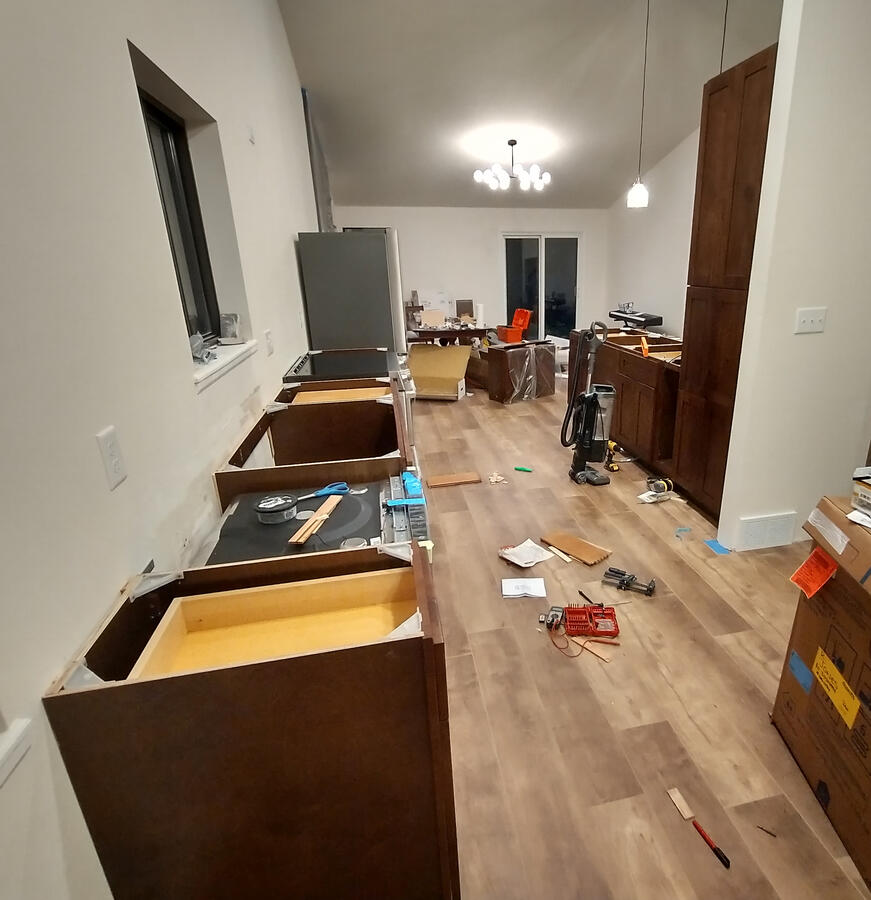
Cabinets assembled, I got to work putting in the lower cabinets. This was a pretty unremarkable procedure, but I have a few pieces of advice for anyone doing it. These are the kind of forehead-smacking things that are obvious to professionals who have done it once before, but that I stress out about because I try to follow instructions written for those professionals assuming a base level of experience:
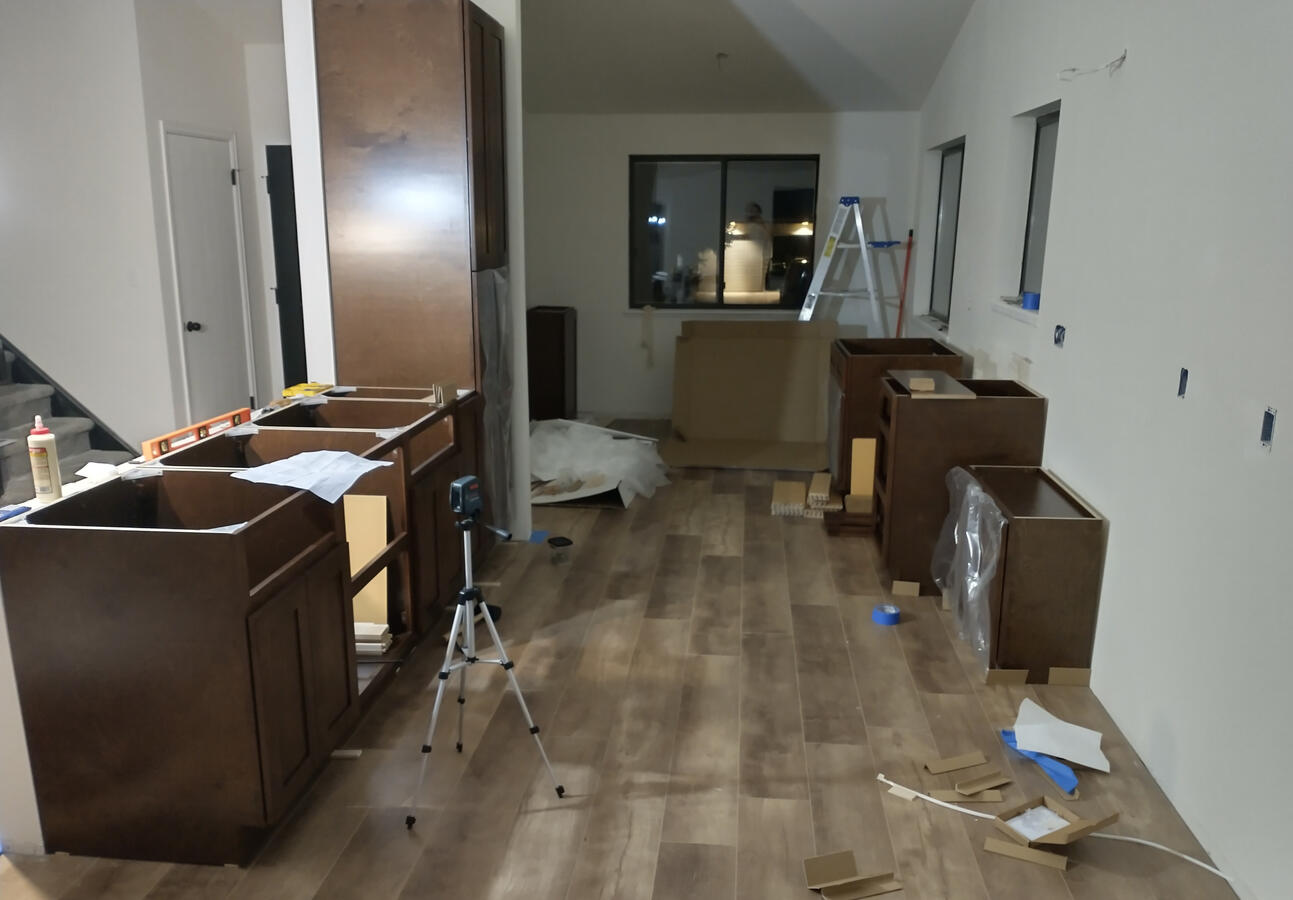
- Buy a laser level. Mine was about $80, and it is my favorite tool. I normally put it on a camera tripod across the room to get it tuned in. You just cannot do it as perfectly with a bubble level.
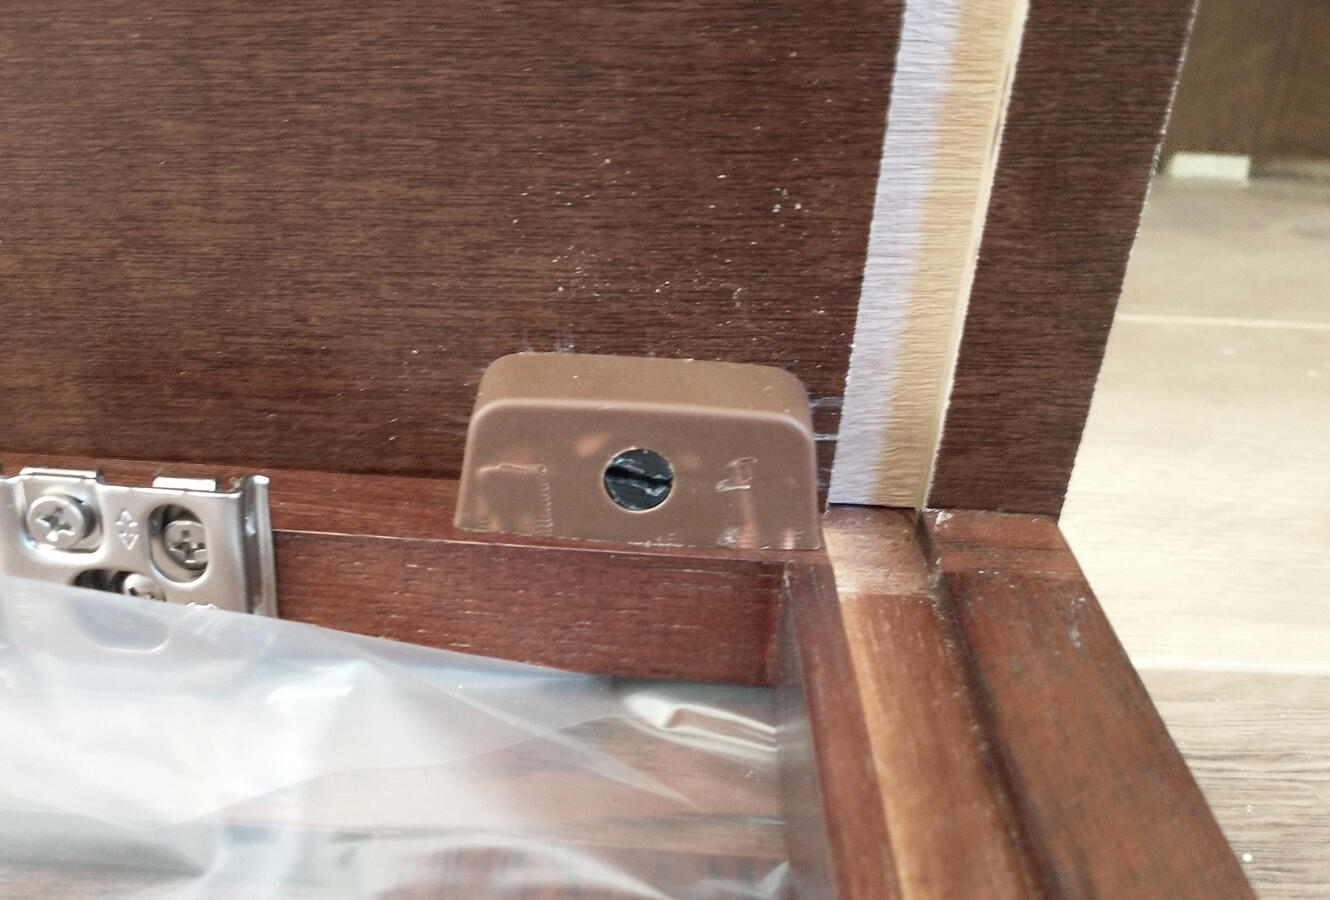
- RTA cabinets will often come with little plastic corner brackets that stick a little over the top. THIS IS FINE. The height the brackets stick over the tops of the cabinets is less than the normal thickness of the silicone the countertop installers will use. I lost a lot of sleep about this the night before the template meeting, but the guy who did the measuring assured me it was not a problem. There is a visible gap in some places, so I might put a bead of silicone around it later.
- Dishwashers can be side-mounted. I had only ever had wood countertops before, so I didn’t know that you can also install mounting brackets on the sides of a dishwasher. You don’t need to put an expensive brace over the top.
- If you buy countertop from Ikea, like we did, they will tell you you must have all the doors, drawers, and handle hardware installed before the countertop templating. The doors and drawers should be installed, if possible, because they will apply a force that moves the cabinet. The handles really shouldn’t weigh that much, and the people measuring for the template usually don’t care about them. If you have them, you might want to install them just to get a feel for the overhang amount, but they should not be required.
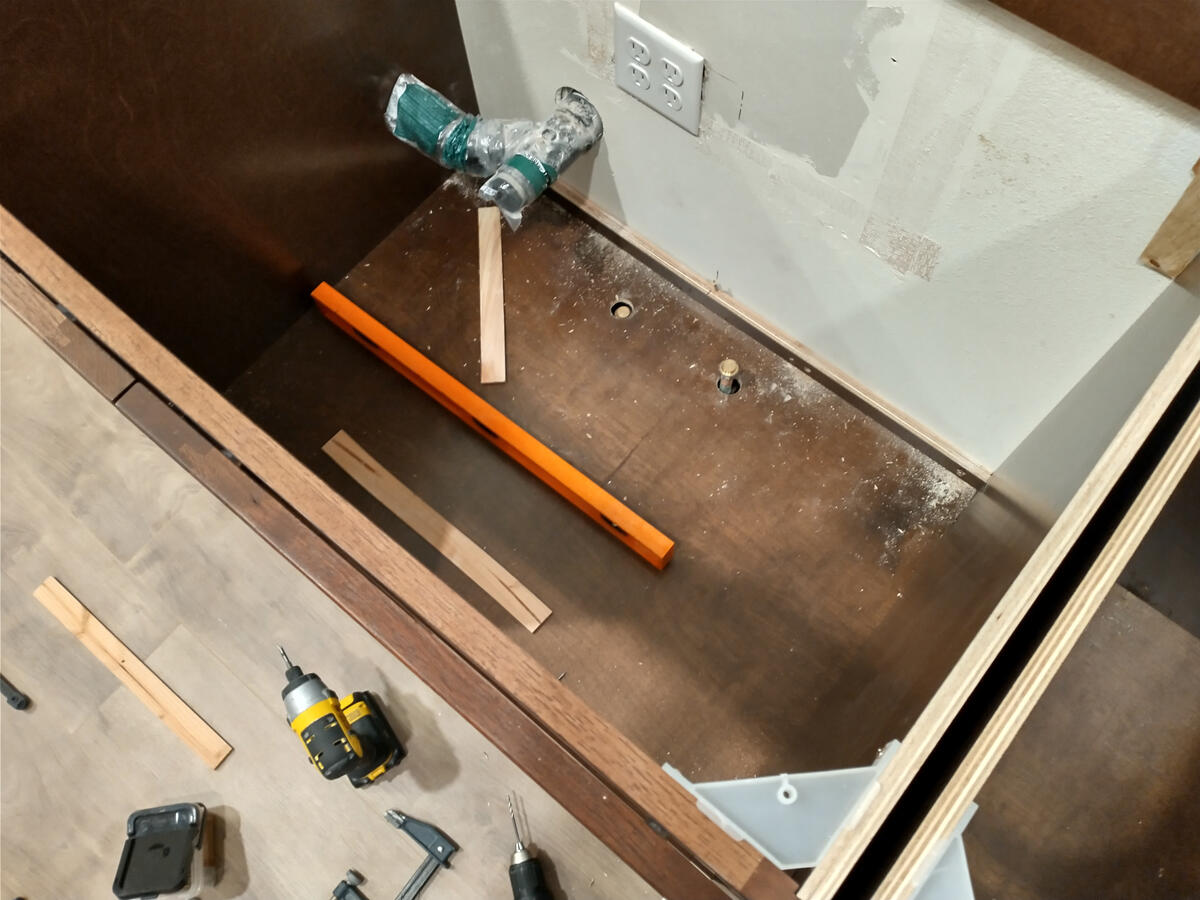
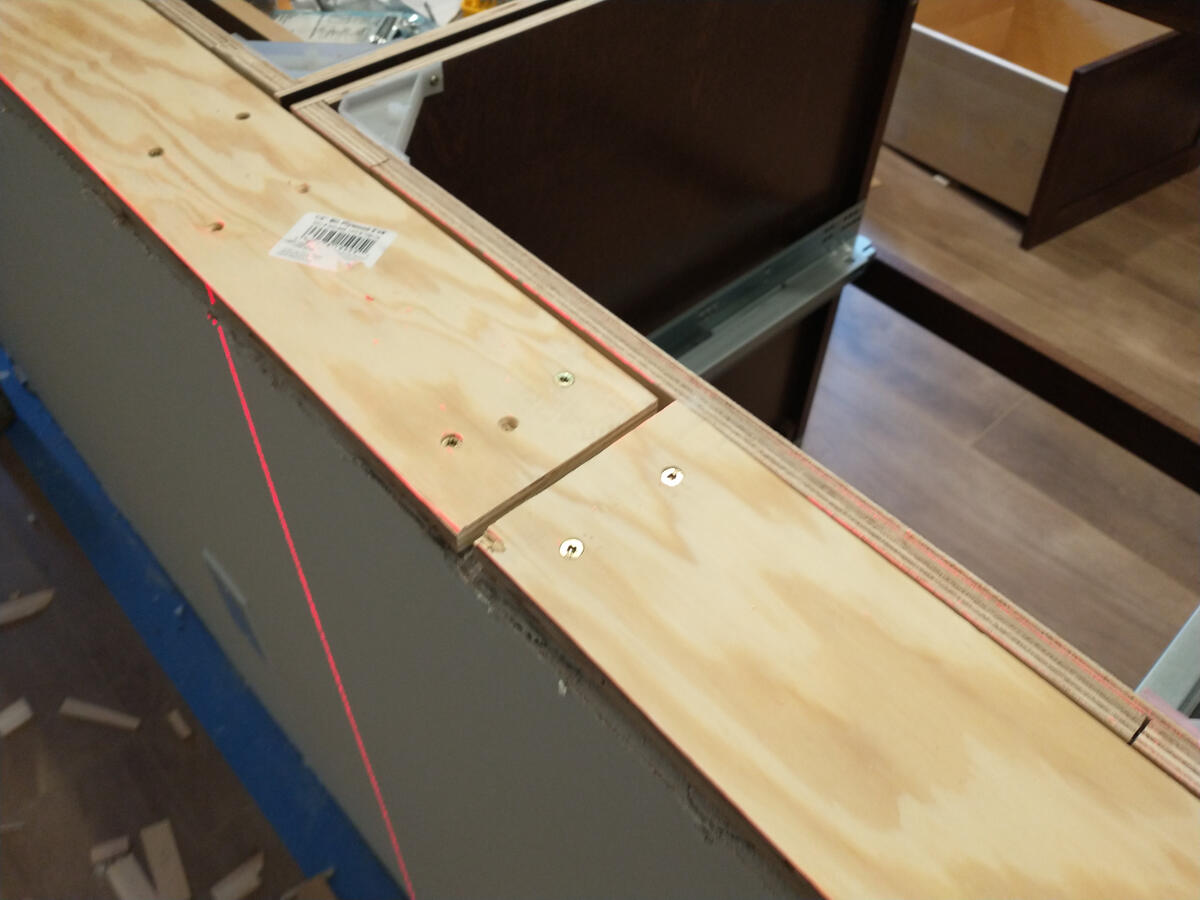
Before the template, I took a few hours to level the pony wall along the backs of the cabinets. This took a long time and a lot of shims, but it wasn’t very hard. I went and bought plywood for this because the plywood will provide a better hold for the countertop adhesive than the MDF and drywall I had on-hand.

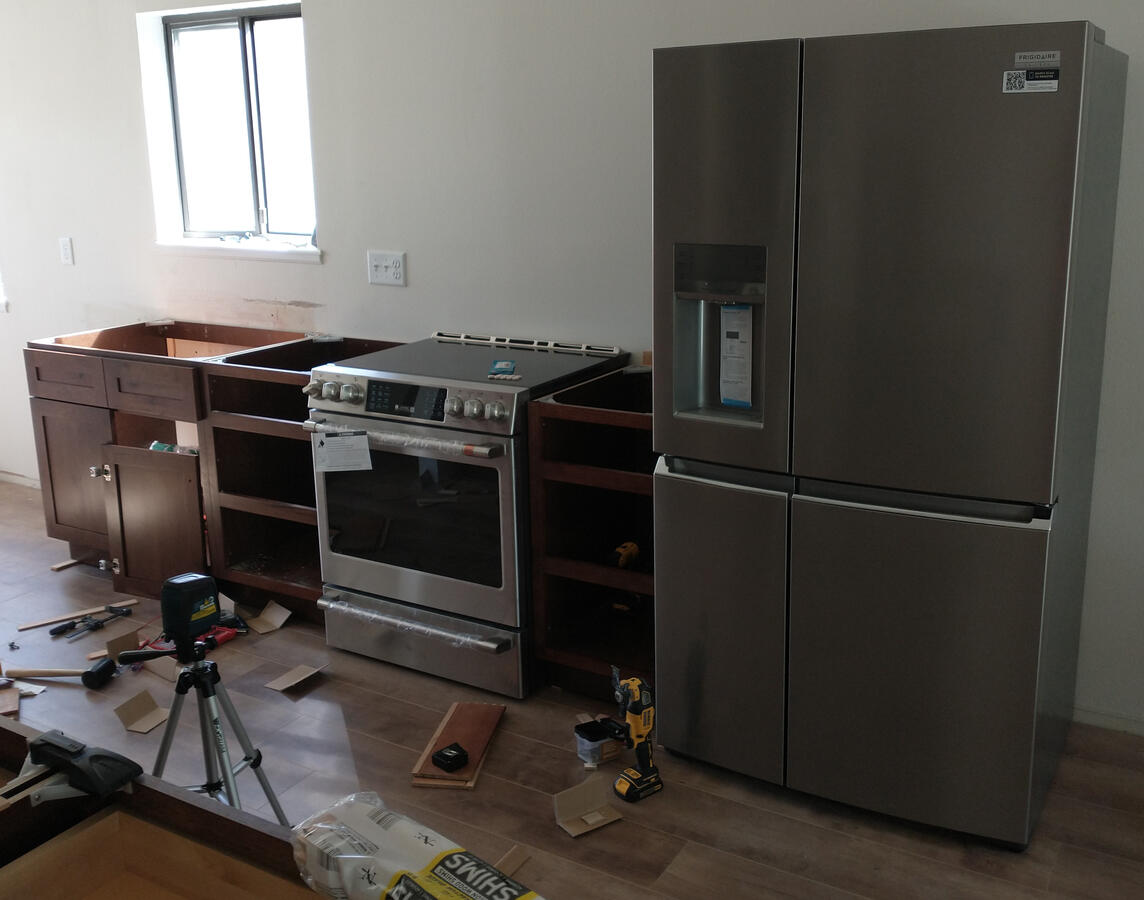
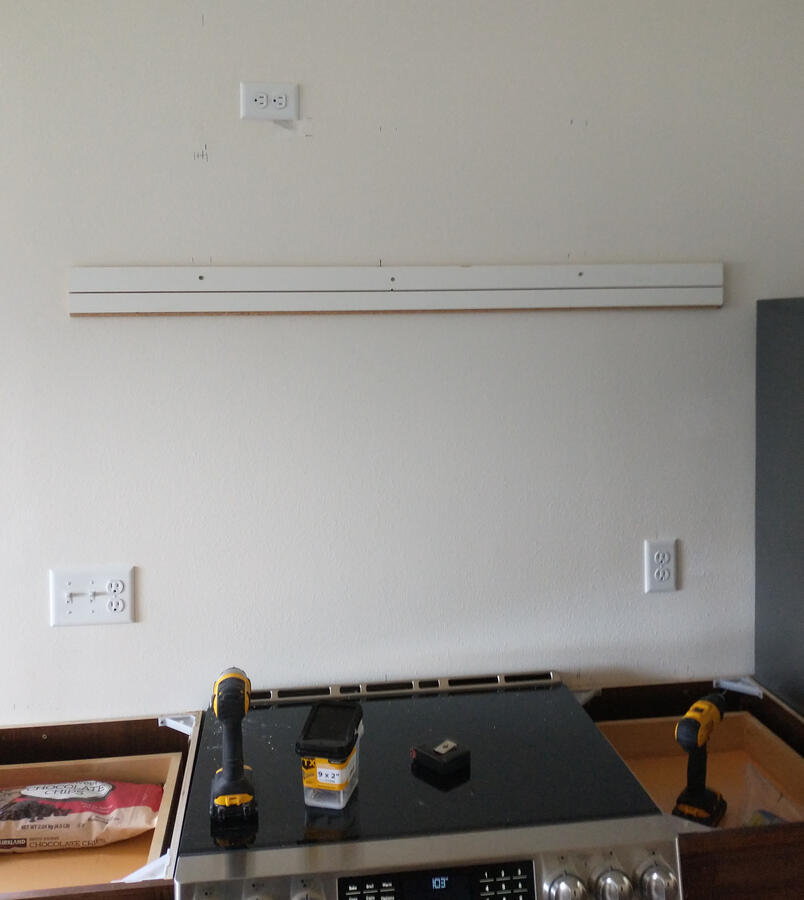
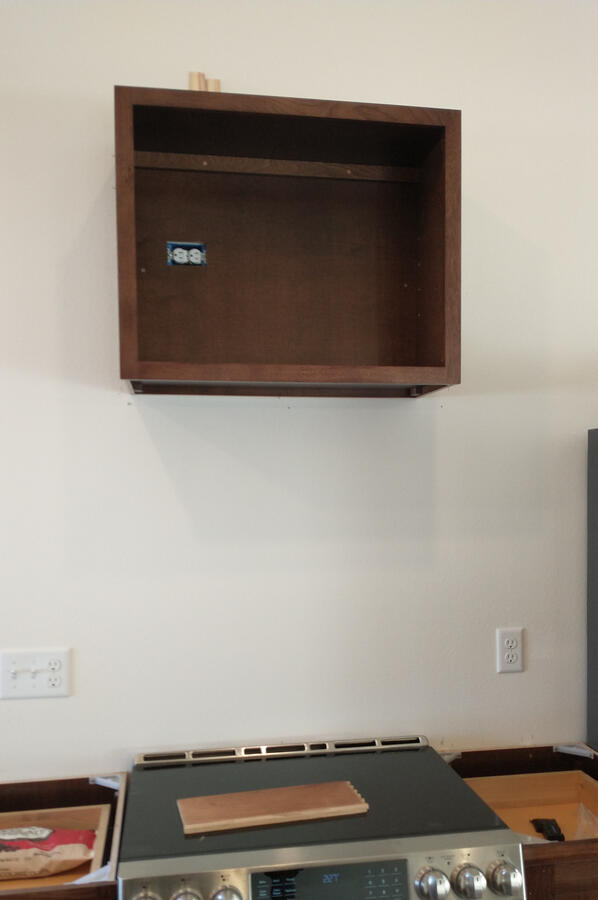
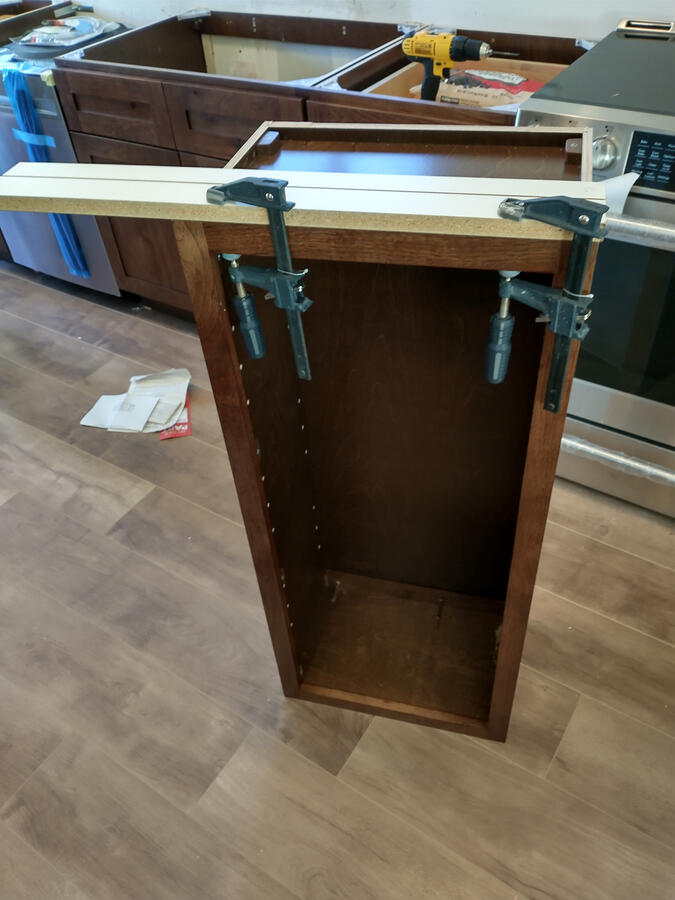
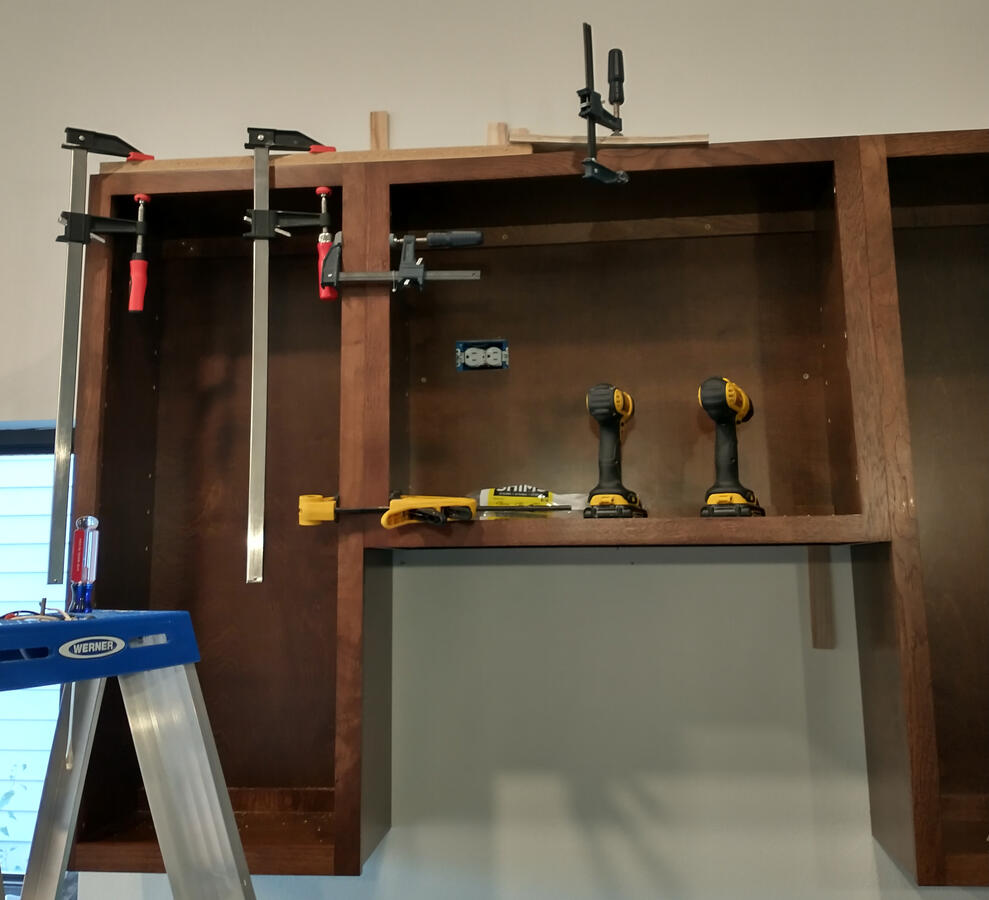
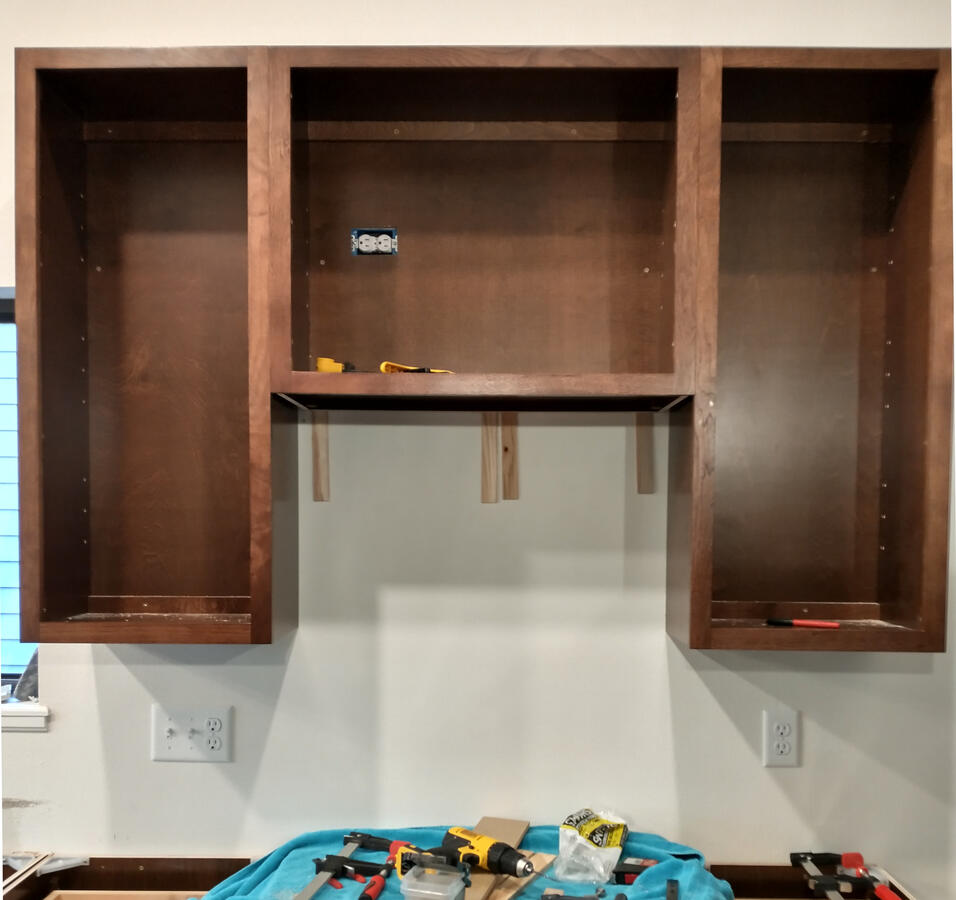
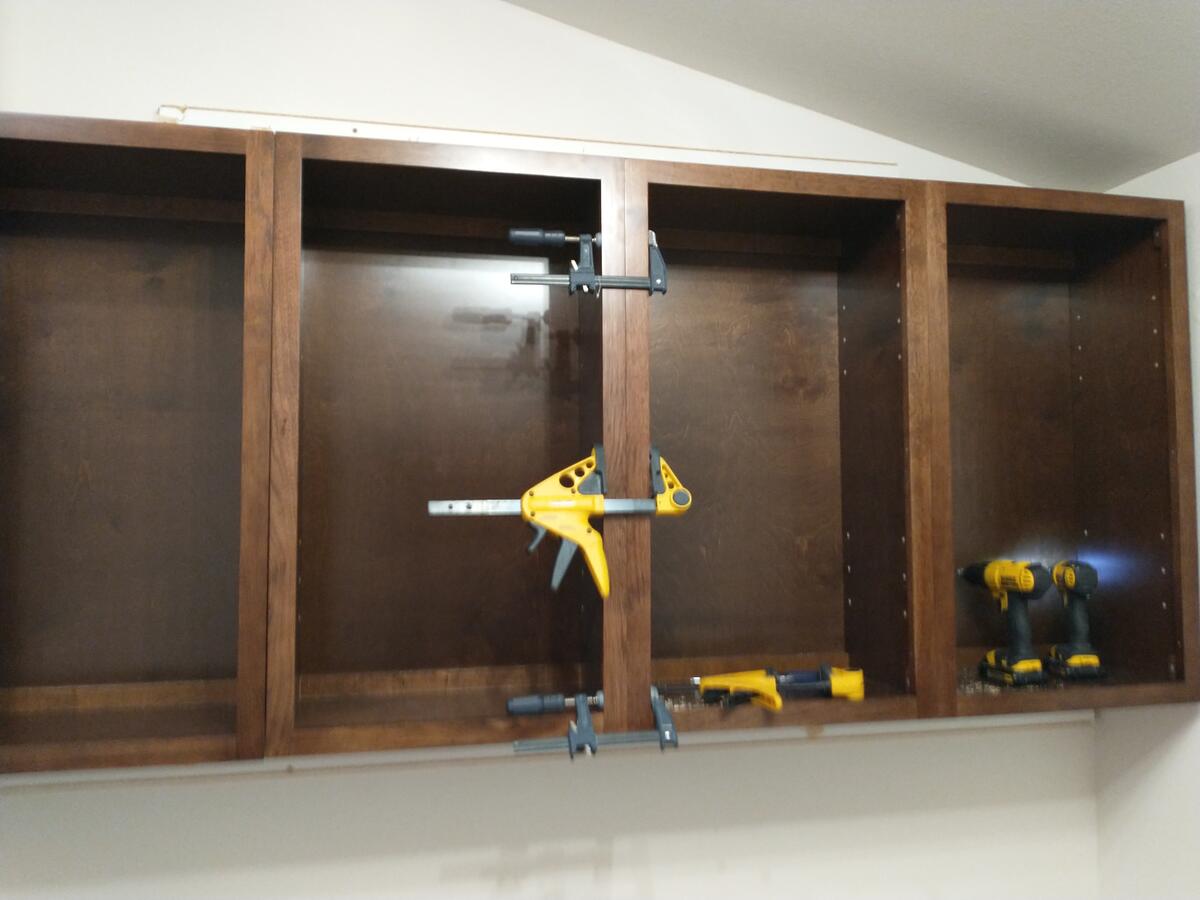
The last thing I did before the template was to install the cabinets over the range. I didn’t want to work on or near the cabinets between the template measurements and the countertop installation, so it’s good to have those cabinets installed already. Installing those cabinets, the easiest way was to hang the center cabinet, which had an outlet on one side, and then use beams and clamps to hold the outside cabinets off the center cabinet to get the alignment right.
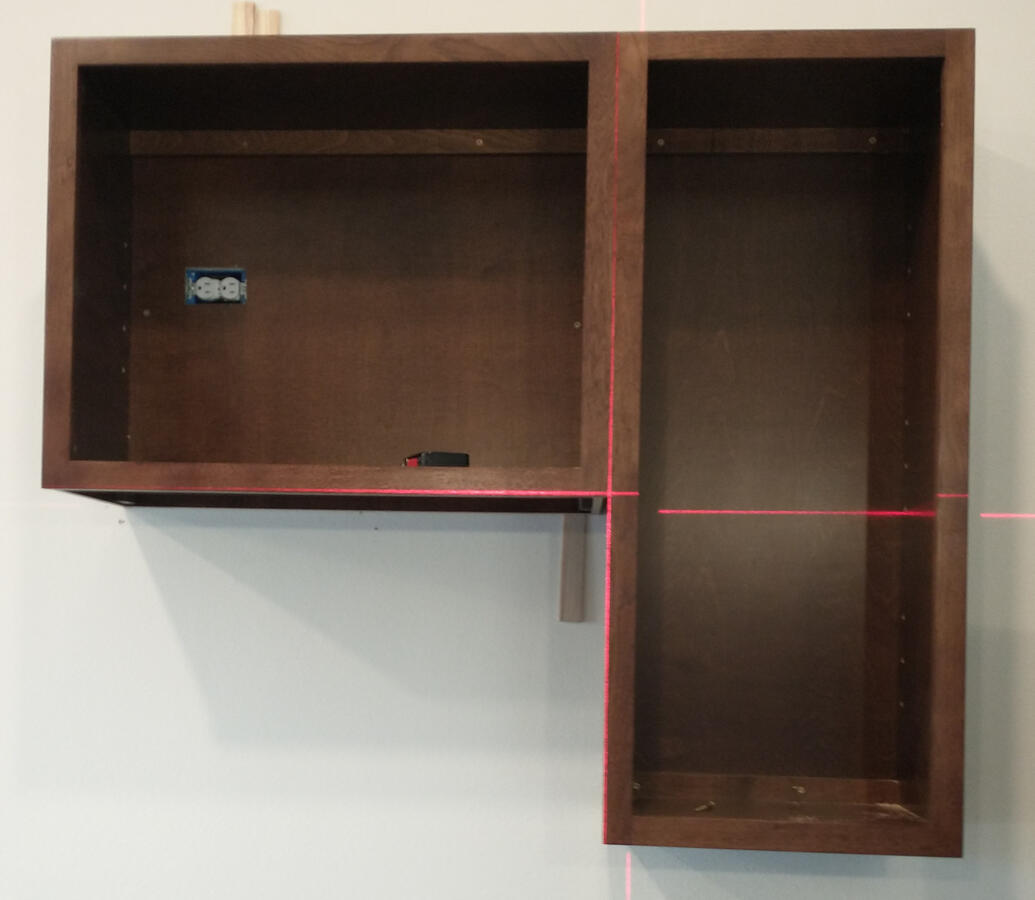
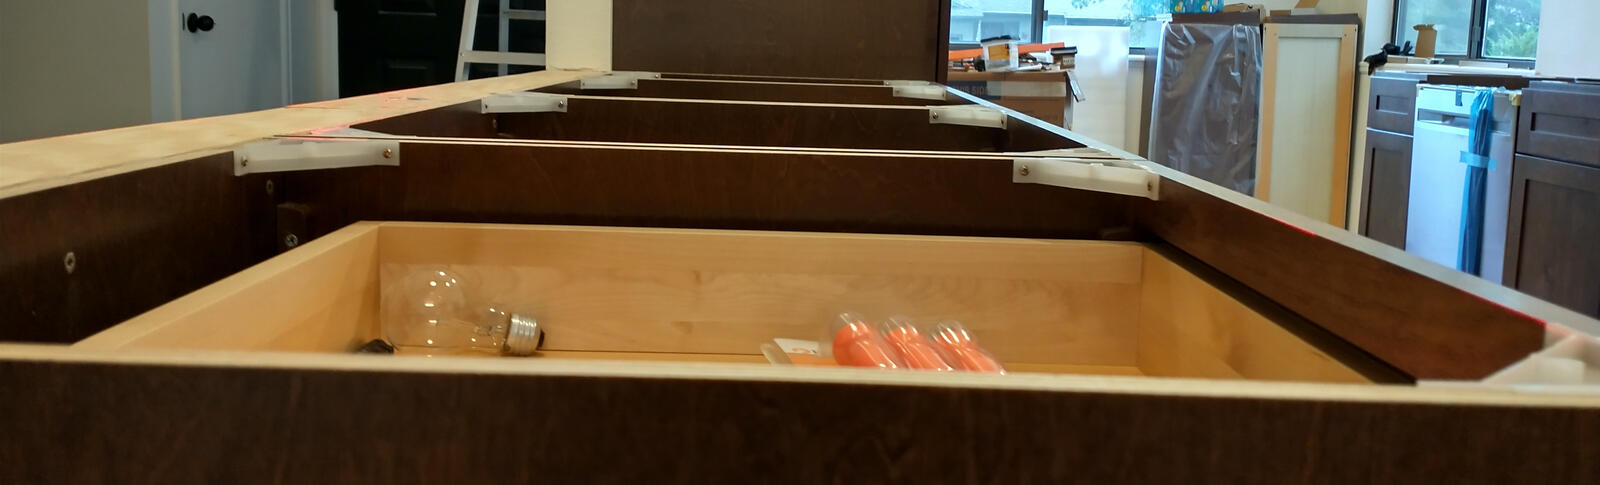
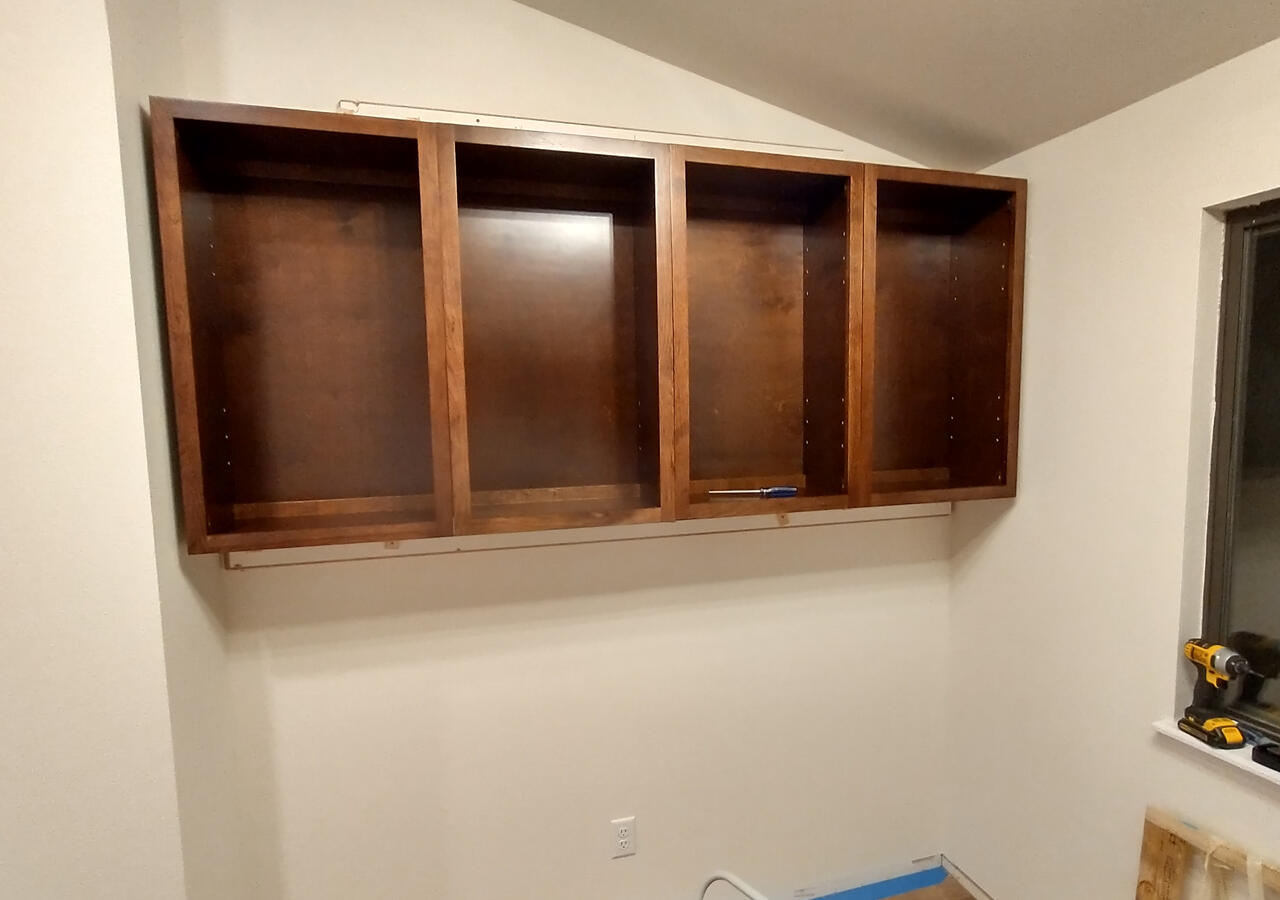
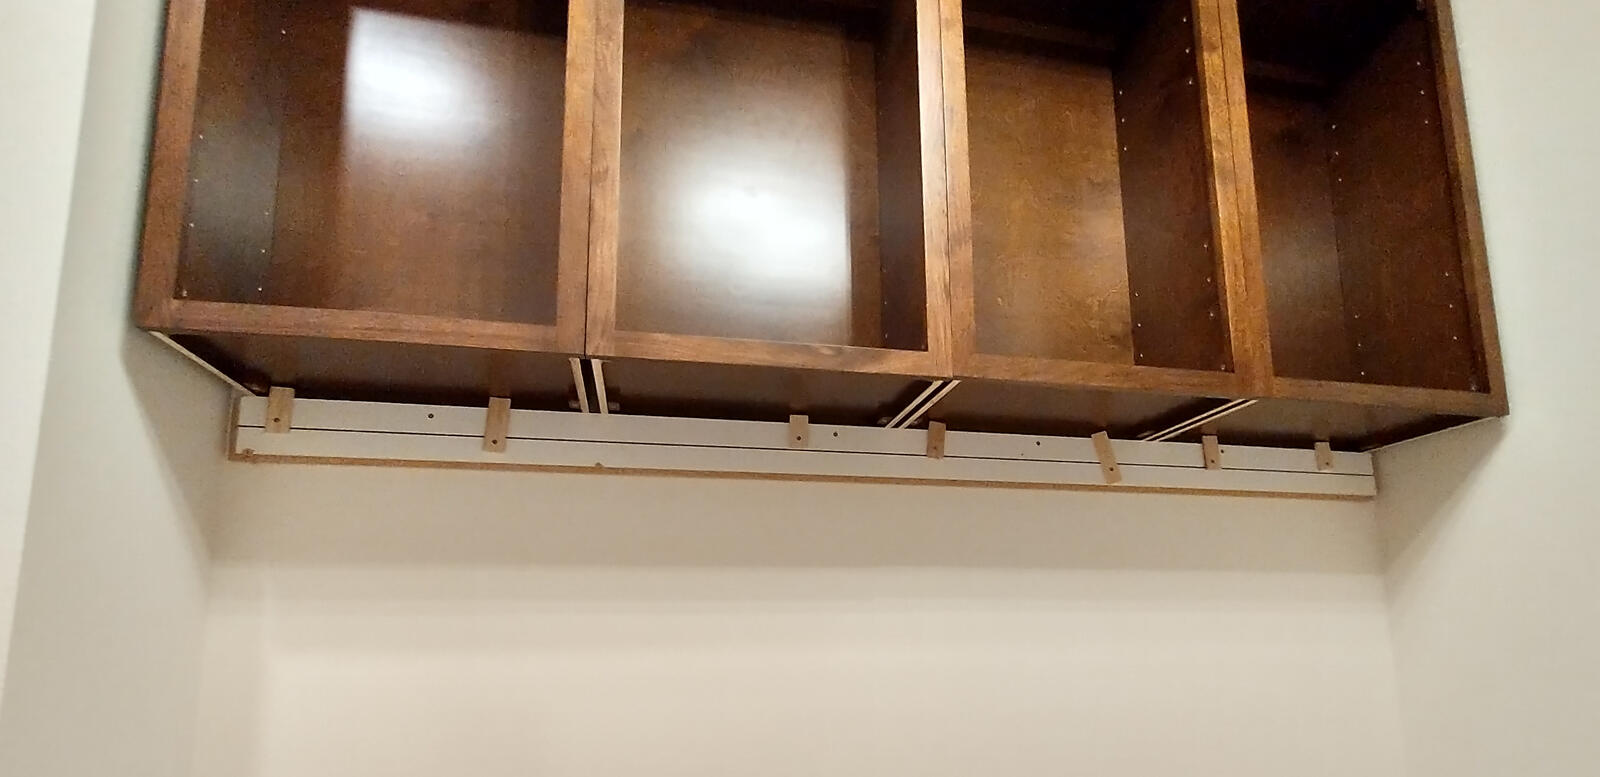
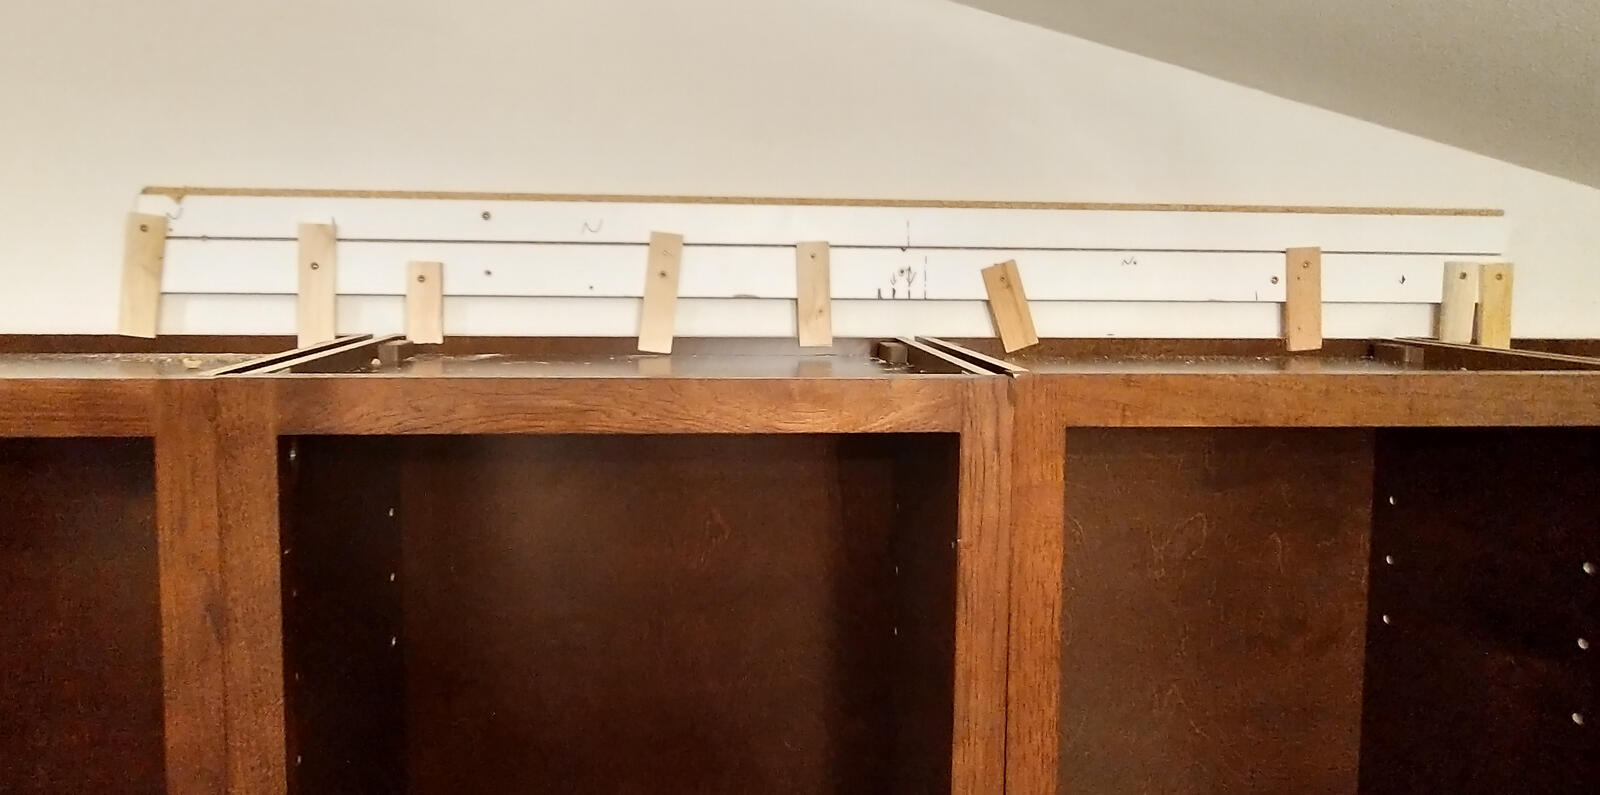
After the template was measured, I had time to hang the remaining wall cabinets. I started by mounting supporting beams on the wall above and below the cabinets. On the supporting beams I screwed in small pieces of wood that I could rotate into place to hold the cabinets on the wall. This was super helpful, because I could put all 4 cabinets up on the wall and still allow them to be loosely moved left and right. Then I joined all 4 cabinets together before centering the group on the wall and screwing the back to the studs.
We are still finishing the kitchen, but at some point I will finish the gaps between the cabinets and walls with spacers. With everything else we are working on, it isn’t my highest priority. This post kind of fell behind, but I will continue catching up on these projects.