Over the last month or so I have been working on routing data cables through our house so that every room is connected to a switch, router, and modem in our basement utilities room. It was a lot of work, but the result is that we now have 2 RJ45 ports in each bedroom and living room with gigabit transfer rates. This will be really nice when the Loveland Pulse network construction reaches our house and we can purchase gigabit fiber internet from the city.
In 2019, when my wife and I both needed to work from home, I ran one data drop to each of our offices in an afternoon. It definitely wasn’t the best way to do it, and I have wanted to improve on it since then.
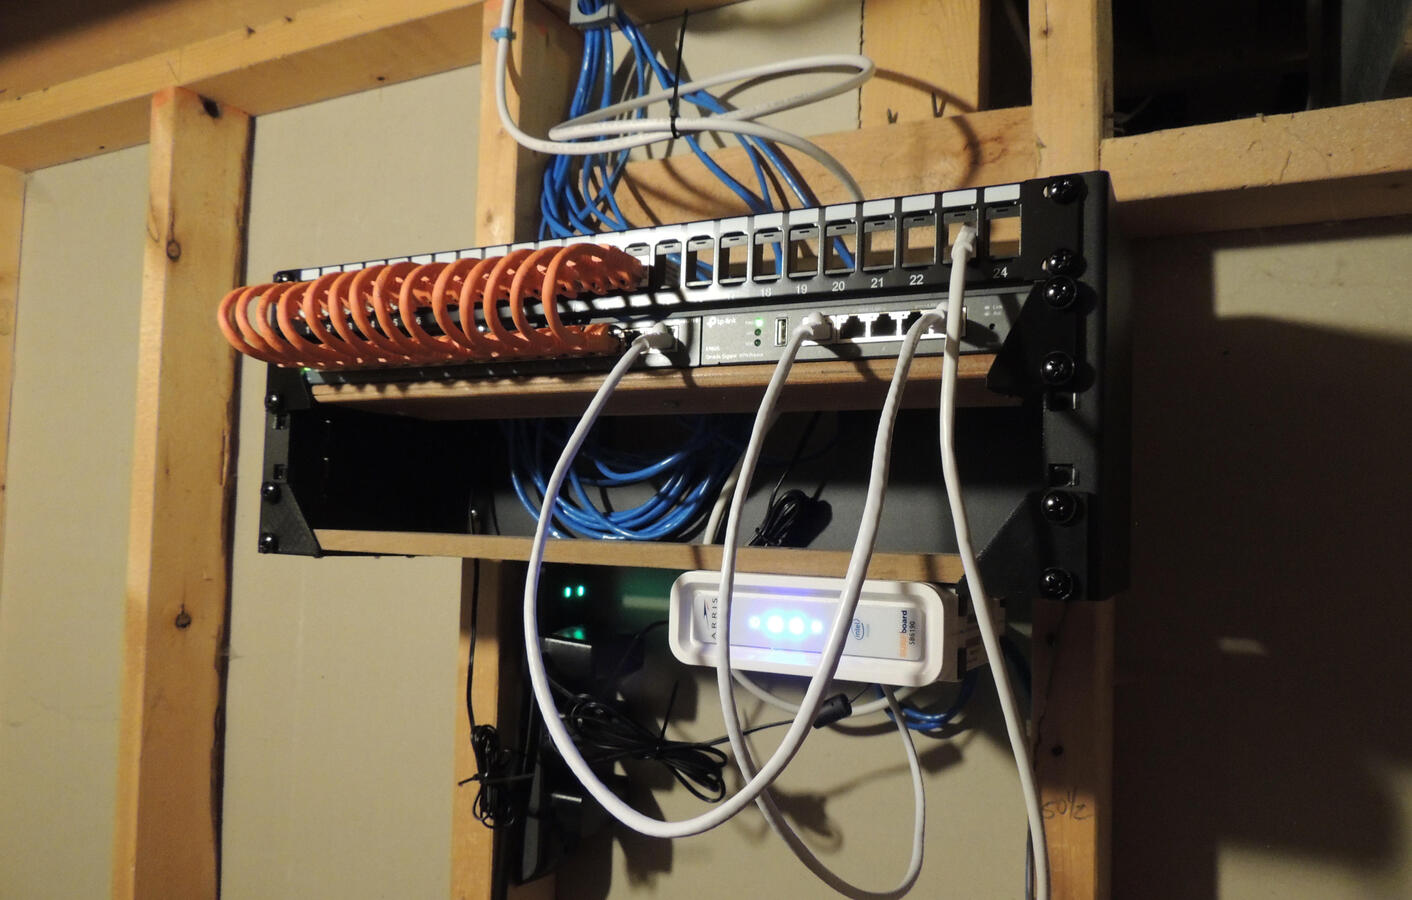
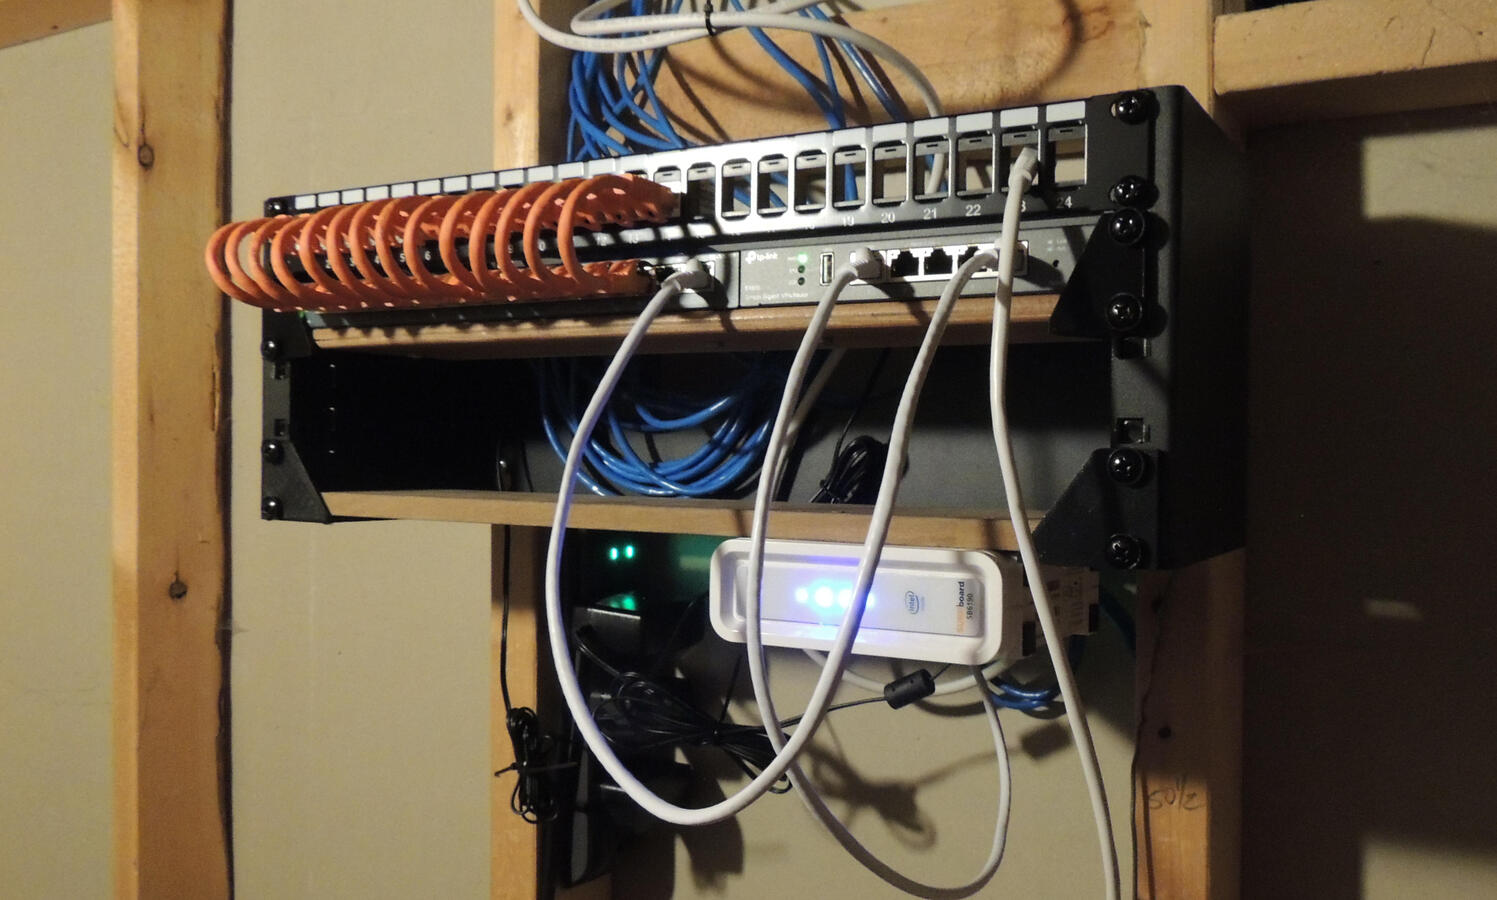
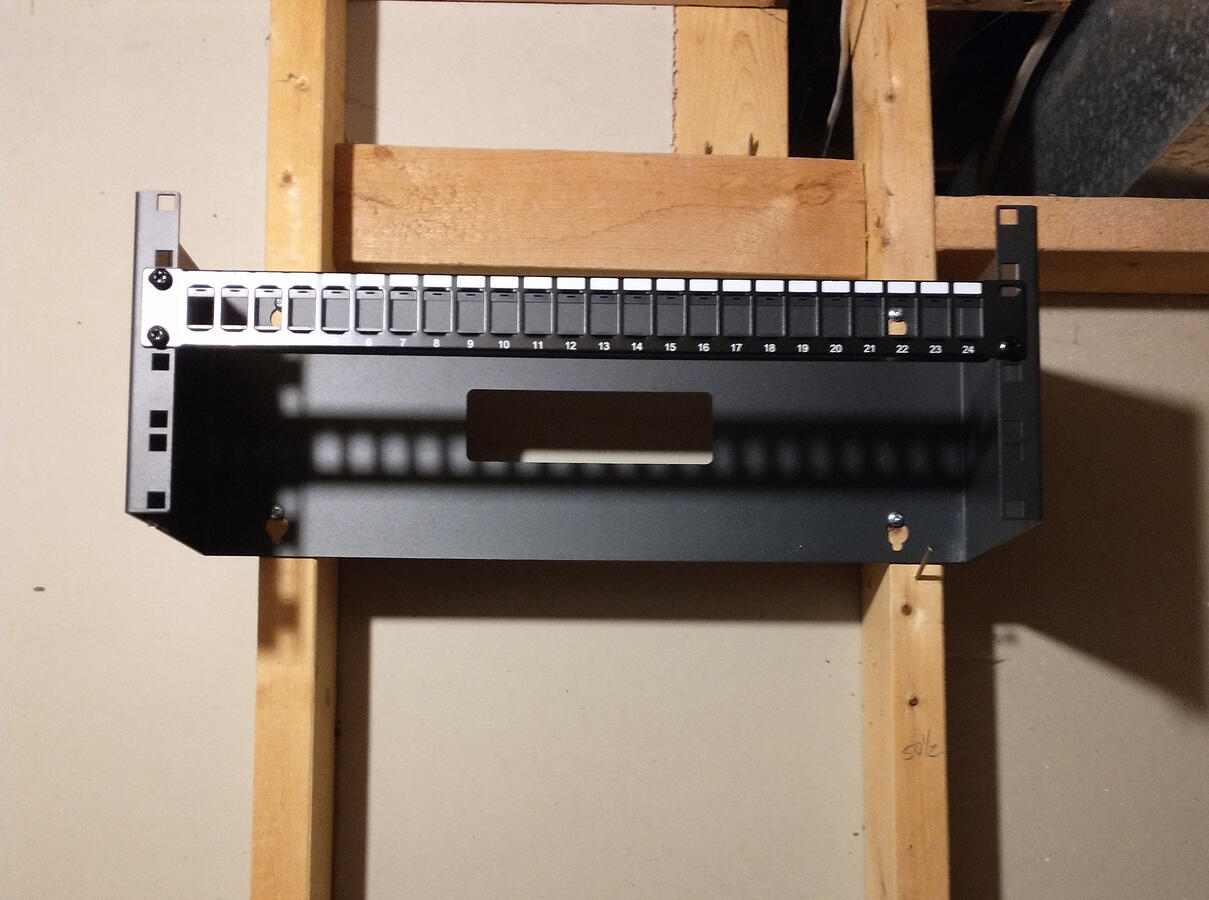
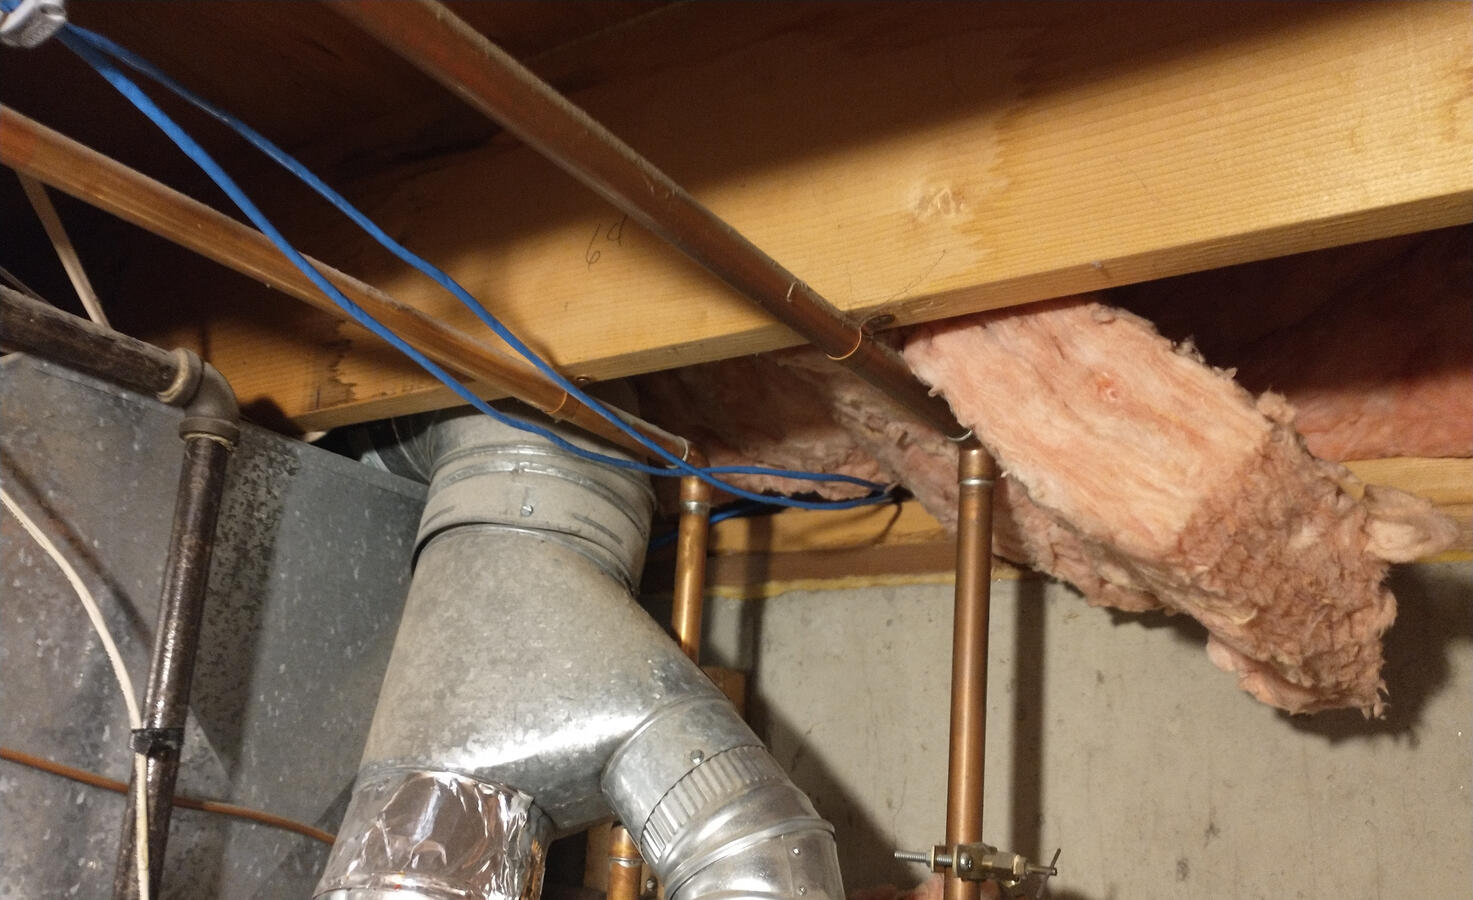
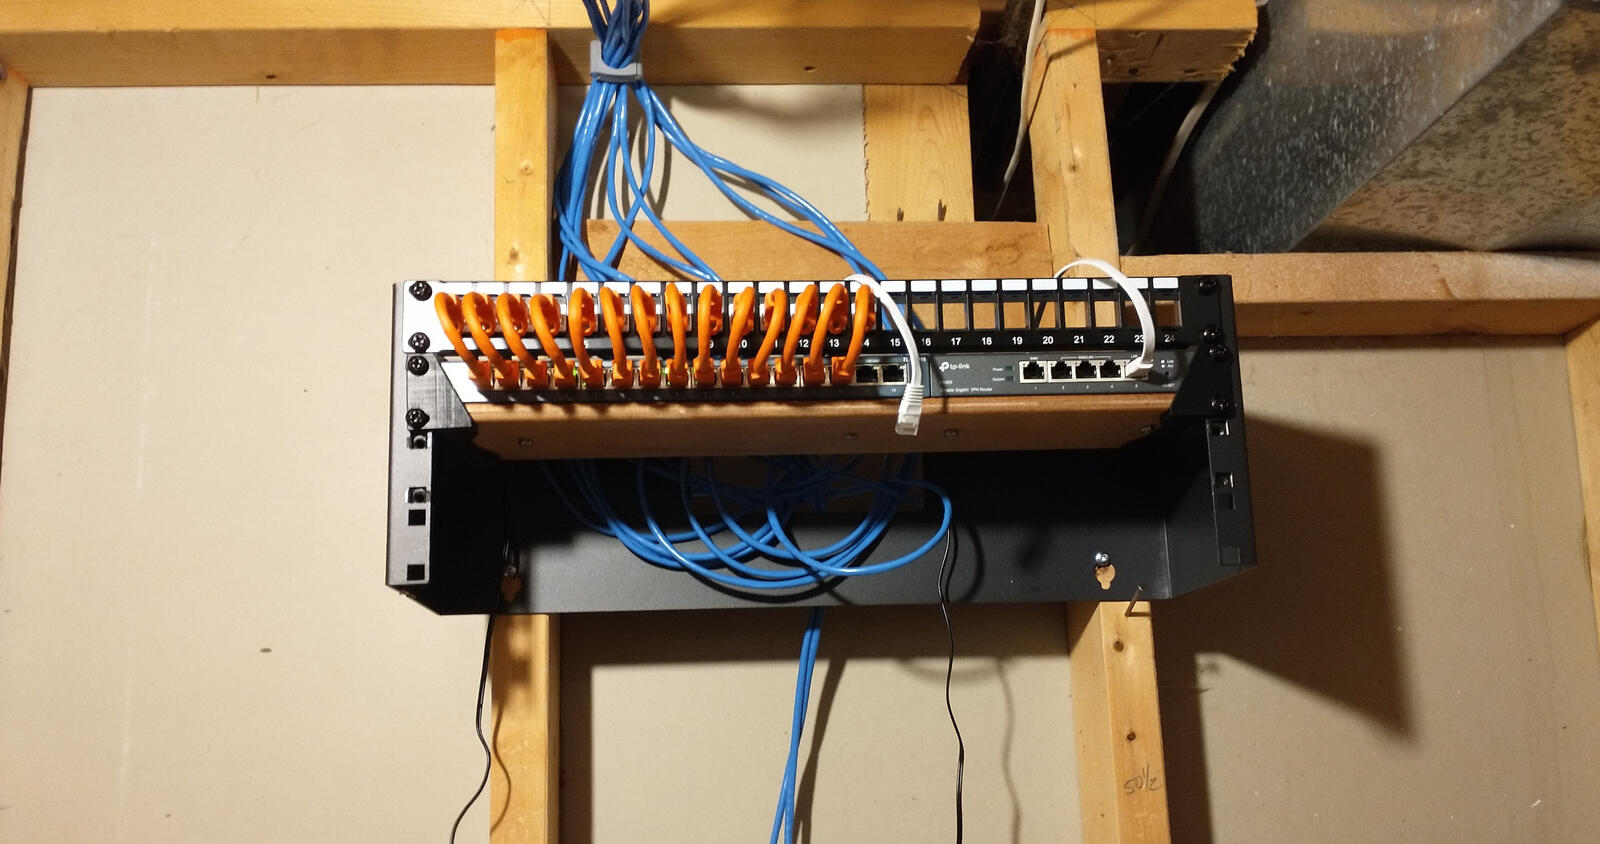
To improve on the setup, I started by buying a 4u wall-mount server rack and a patch panel, as well as the slim keystone jacks required for such a tight-fitting patch panel. I mounted that server rack in our utility room where it was under some pipes and cables that already followed the path I wanted the data cables to take.
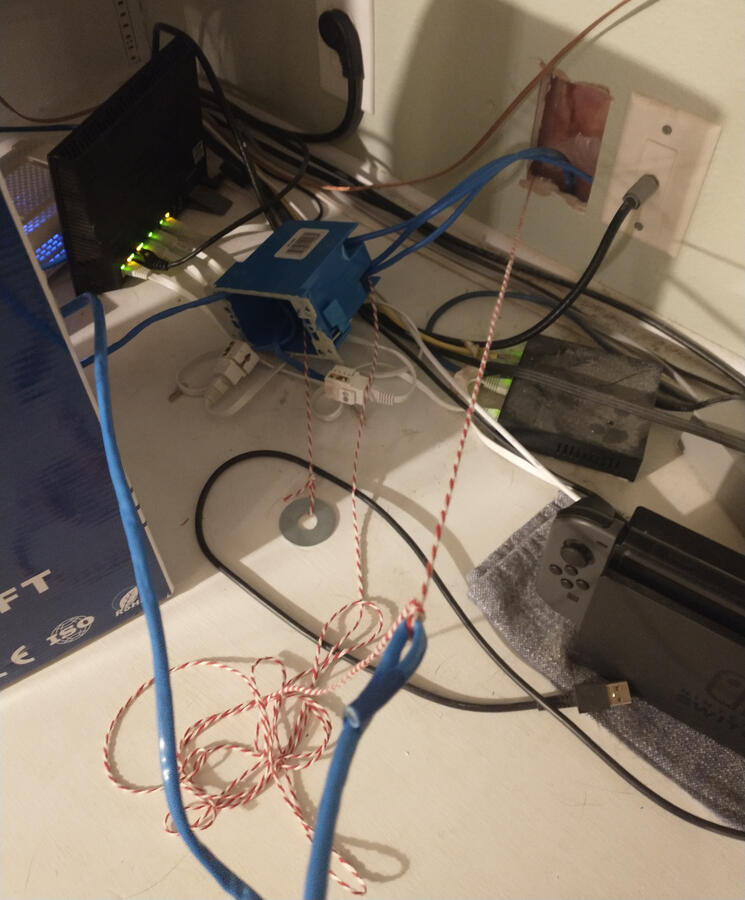
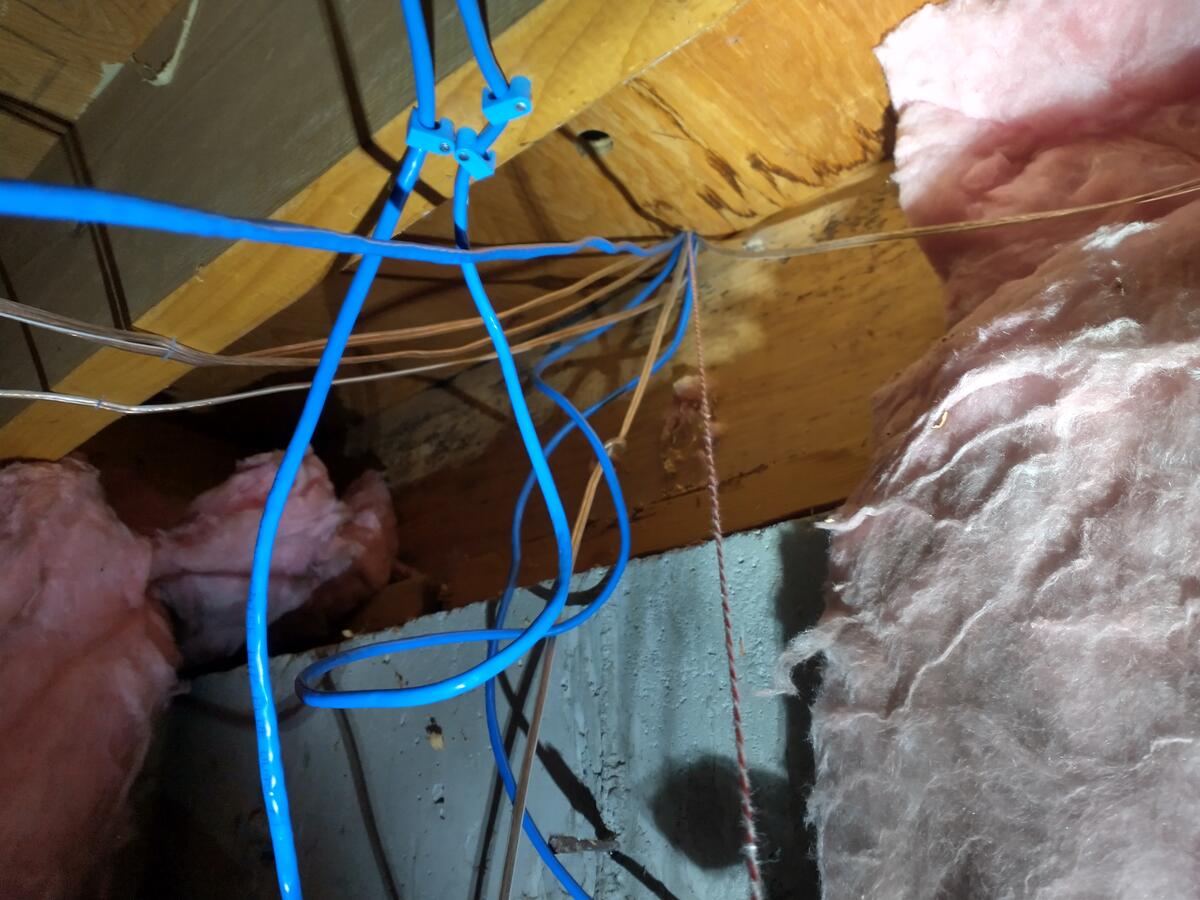
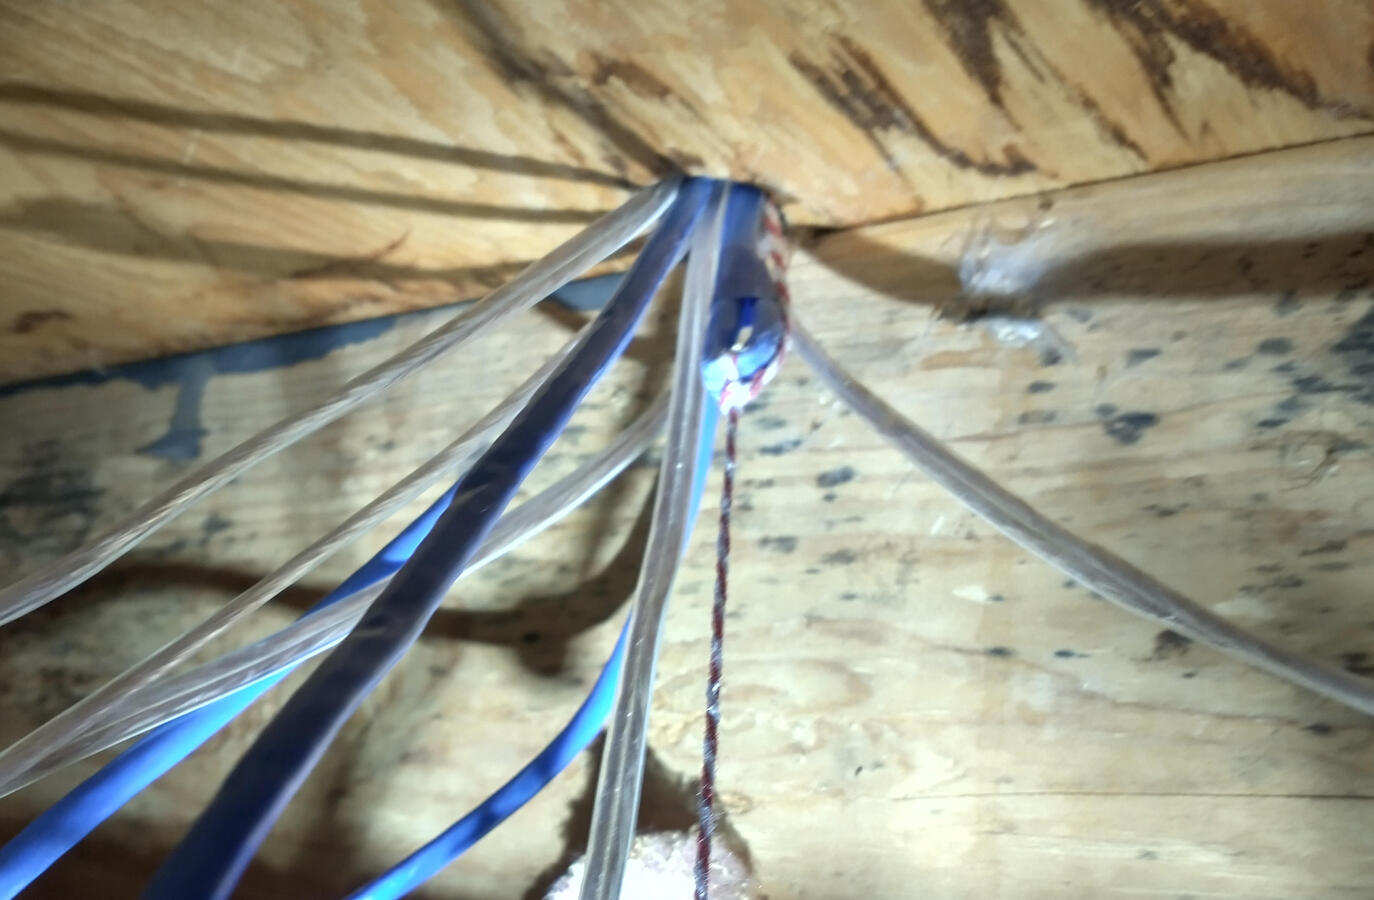
The technique I prefer for running individual cables vertically through existing walls is time consuming, but it is easy to do without causing additional damage. I start by using something that will fit all the way from one level to the next, like a coat hanger wire or a cable already run through the wall, and use it to fish a thin string between the two floors. This time, I used a speaker wire going to an adjacent electrical box to pull the string up from the crawlspace. Then I cut the string so that it is about 3 times as long as the distance between the starting point and anchor it at each end somehow, like by feeding the string into the electrical box and tying it to a washer so it can’t fall out.
Then I pull 2/3 of the string into the starting area and tie a slip knot in the middle so that pulling from the end going into the wall will tighten the knot. I bend over the end of the cable to form a hook and cinch the slip knot down on the hook, then tape the hook closed with a little piece of masking tape.
Finally, I go back to the other end of the string, like in the crawlspace, and carefully pull the string through. I pay extra attention to the tension on the string, and listen to hear if it is dragging on rough wood. This is sometimes a 2-person job, but it can easily be done by 1 person if they can walk back and forth whenever a cable gets stuck.
I used that technique to run 4 cables from our living room through the outer wall where the previous owner had already run speaker wires. I put a box in one of the basement rooms that actually stuck into the boiler room right under the server rack, so it was easy to connect. The other basement room is my office, so I followed the path of my old data drop to run new cables.

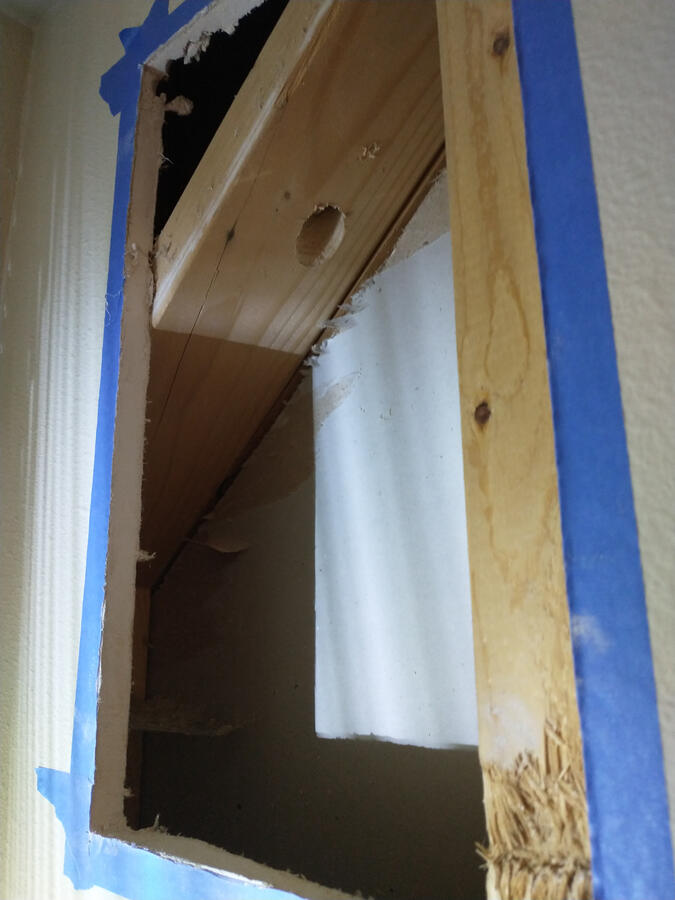
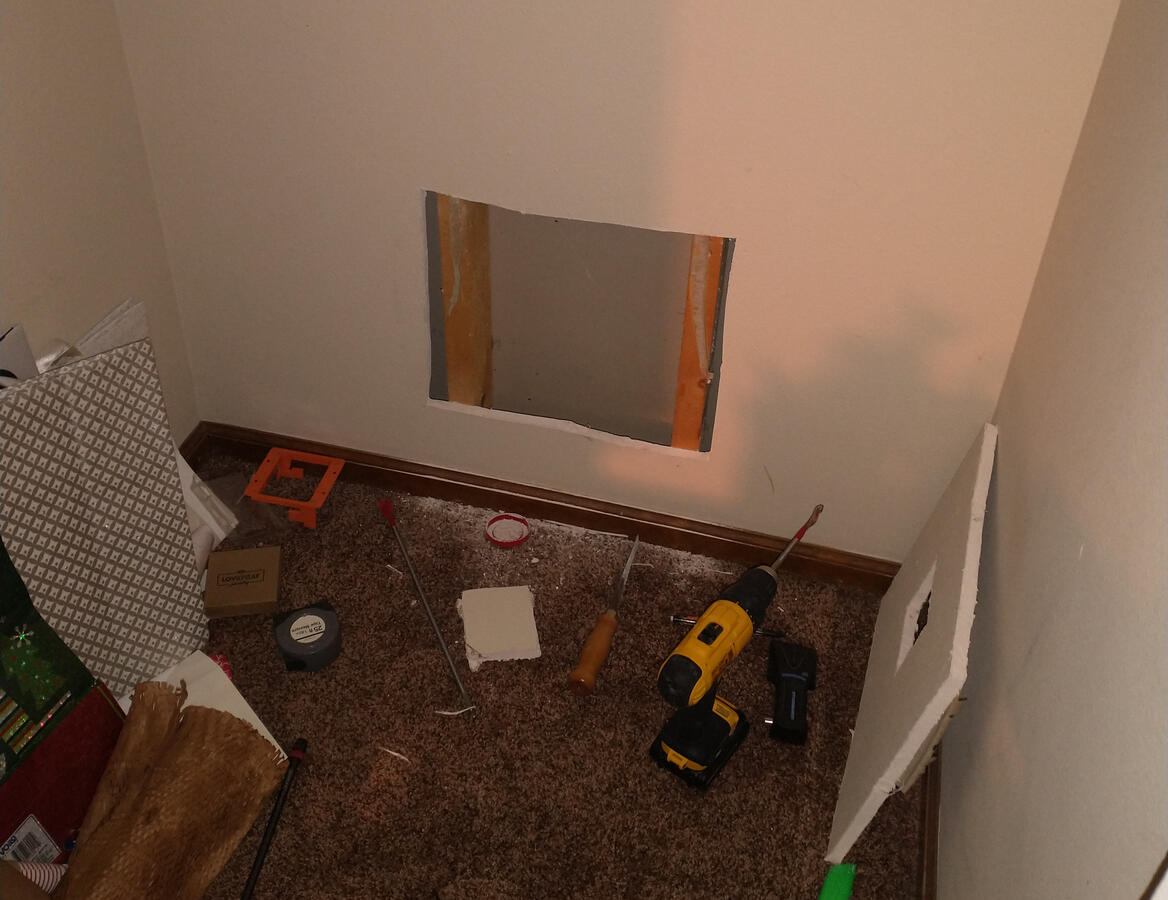
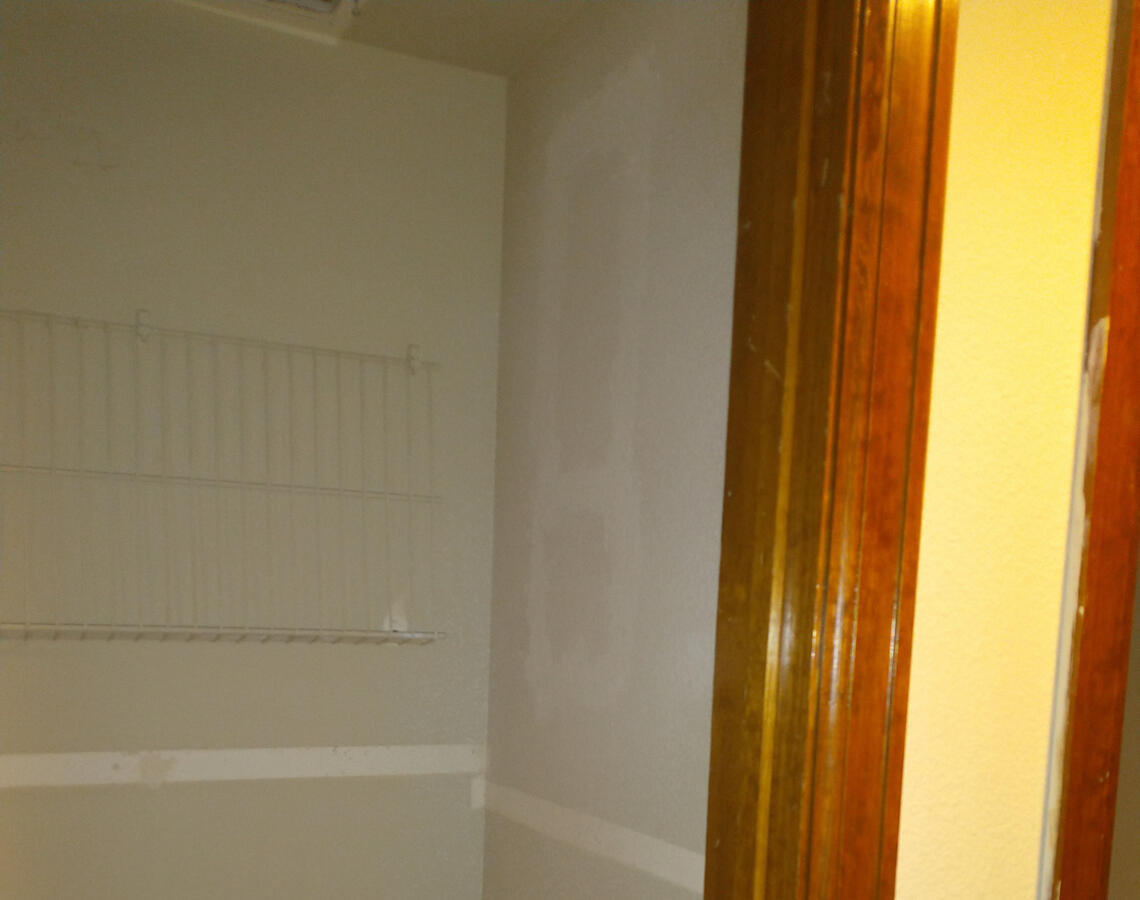
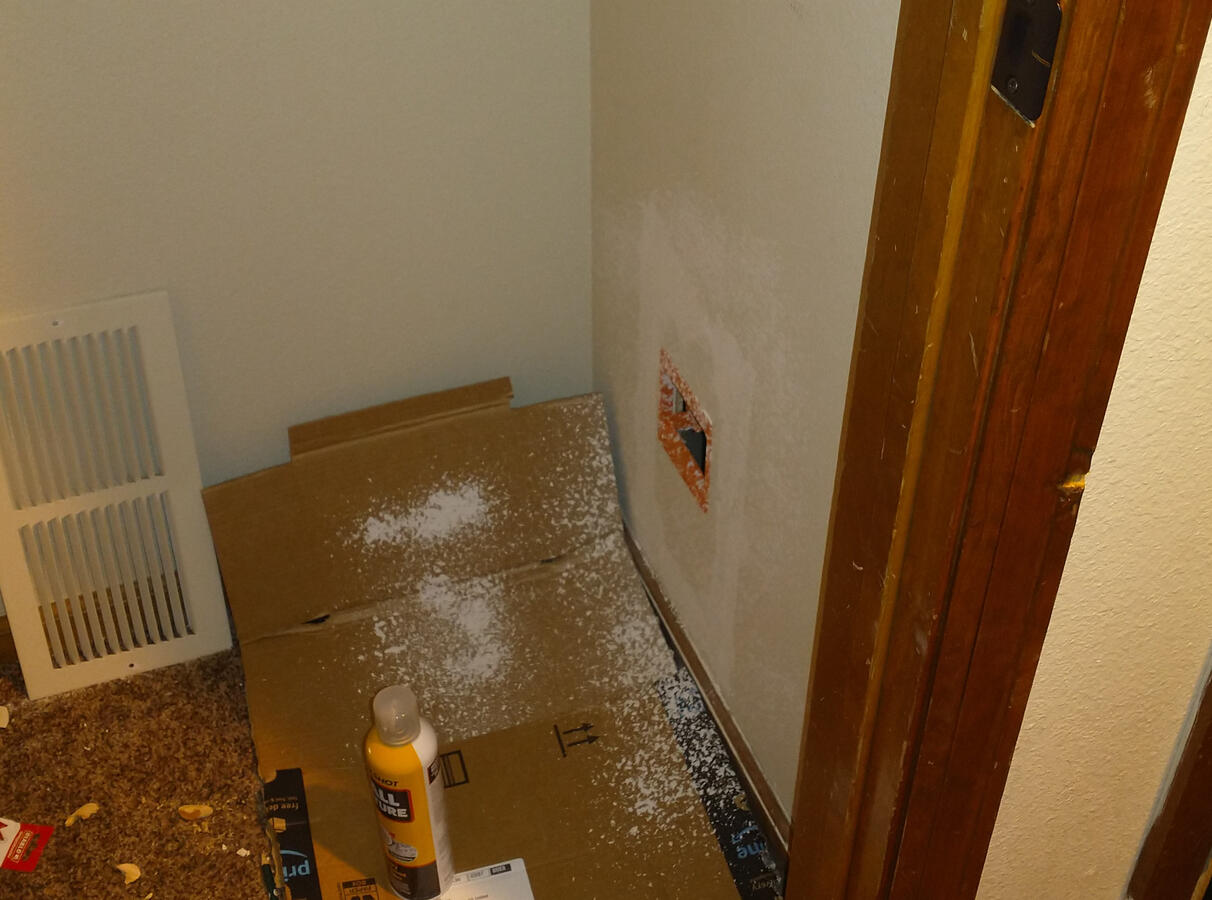
Going up to the second floor was much more annoying. I thought about this for a long time, and learned that one of the closets on the first floor is directly under a closet on the second floor. I knew I would have to put at least 3 holes in the drywall to drill between the levels, so doing all the work in closets was a good way to hide my less-than-stellar drywall skills. This was probably the best location to run the cables, but it was extremely annoying because this wall is also against the stairs on two floors. In addition to drilling through the floor, I also had to drill through extra reinforcing and the angled stair beam.
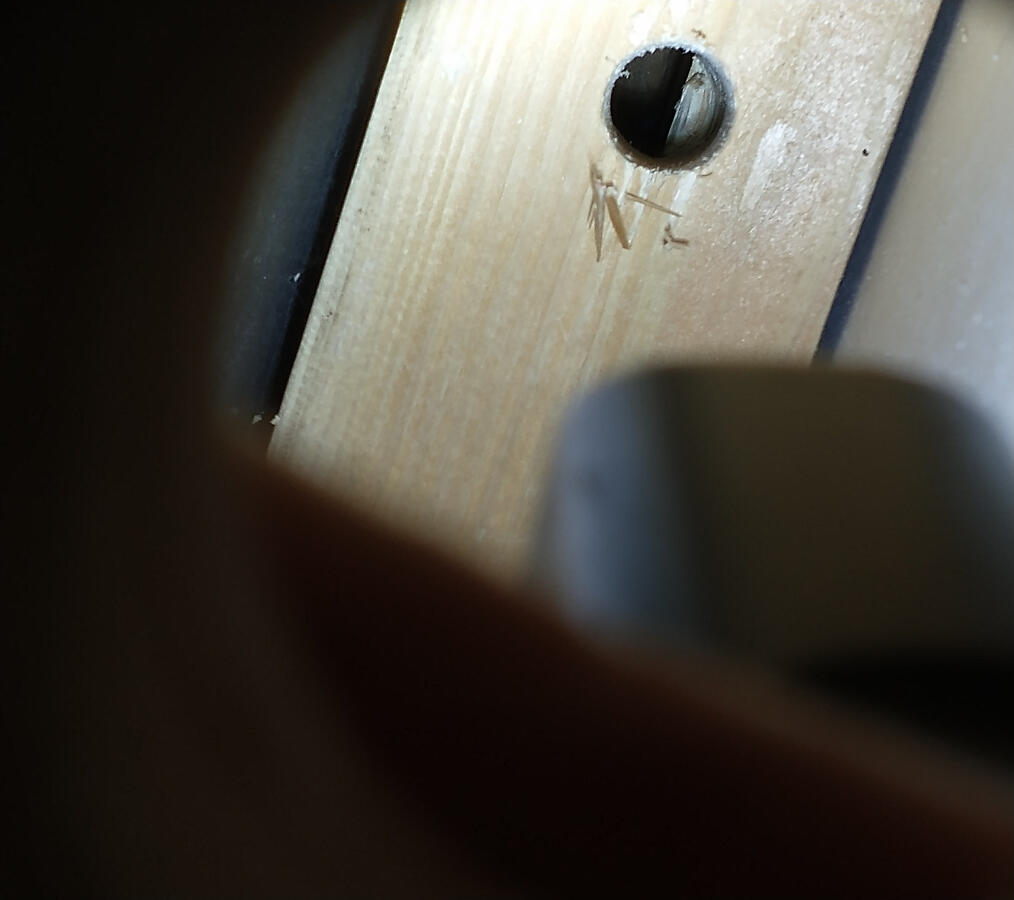
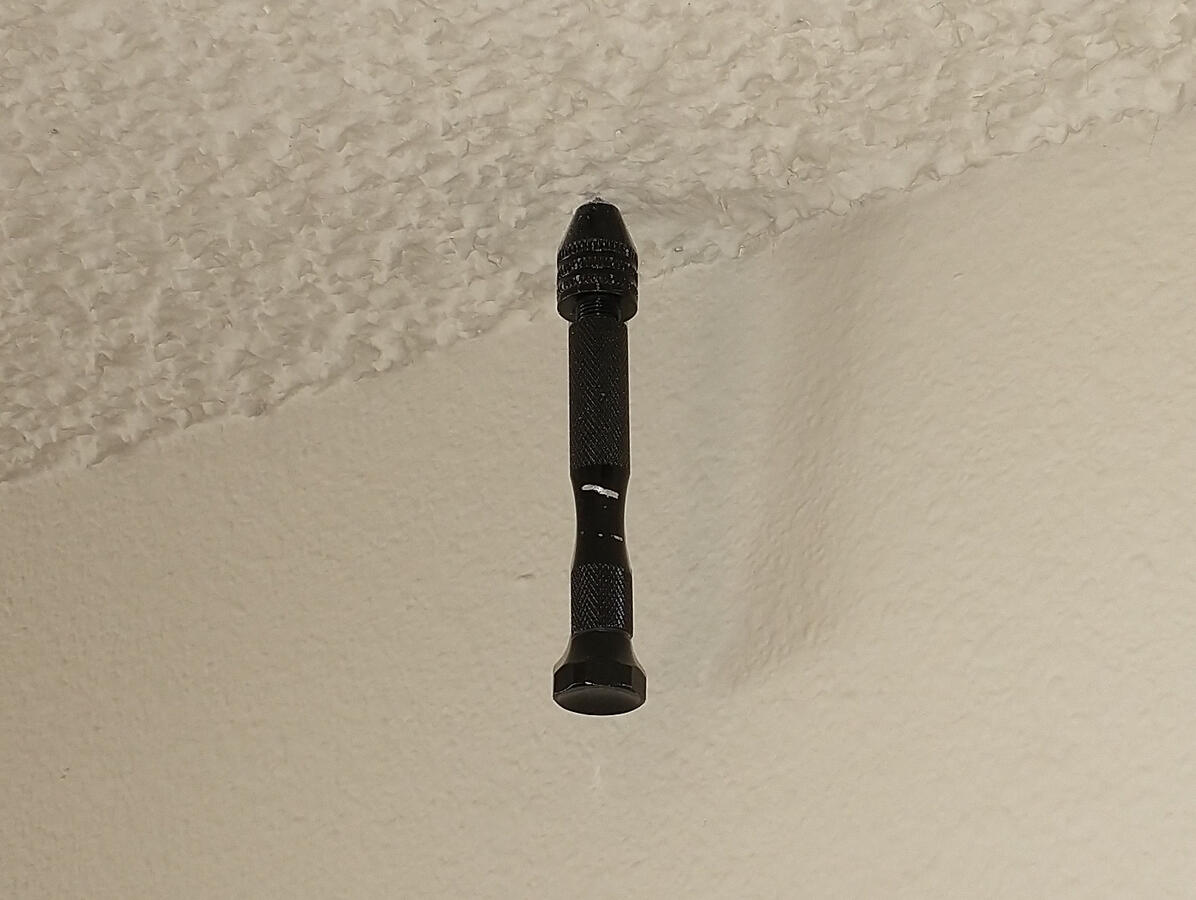
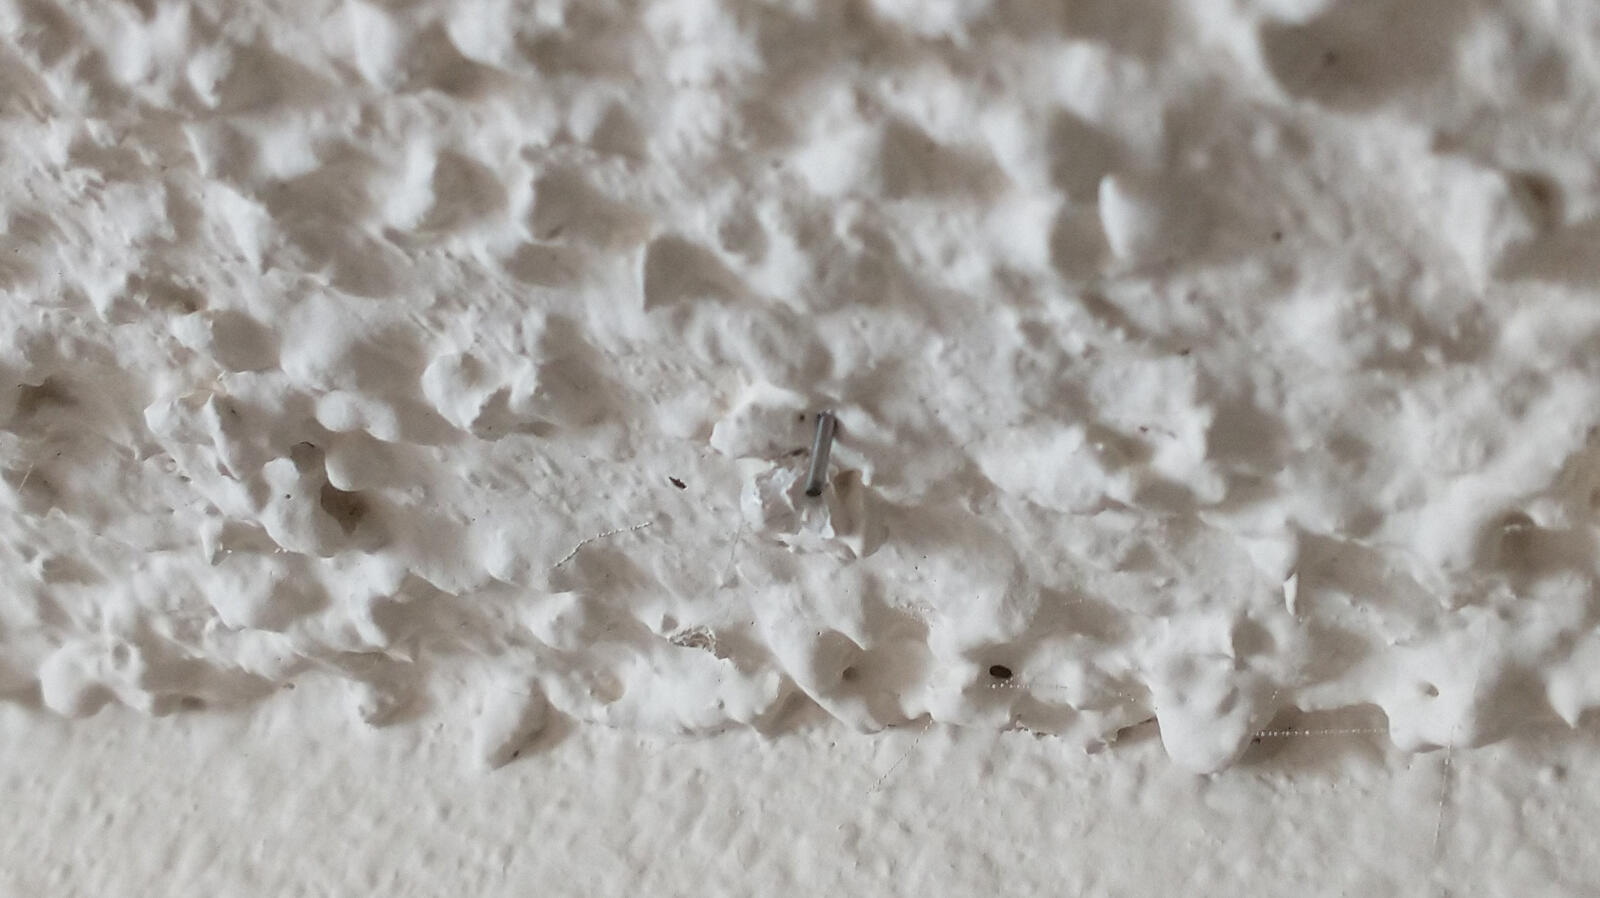
In the attic, I wasted a lot of time trying to follow existing wire routes. In the future, I will skip straight to the method I ended up using. I used a stud finder to locate the horizontal position of the new outlet, and then drilled a ~1mm hole in the ceiling right next to the wall in that spot. I used a hand drill and a bit intended for PCBs, then left the drill bit embedded halfway through the ceiling as a guide. Back in the attic (wearing gloves), I felt around the area for the drill bit and cleared away the insulation once I found it. The drill bits are right next to the wall, so it is easy to see where to drill through the top plate.
When working anywhere near insulation, you should wear goggles and a dust mask. They don’t necessarily need to be safety goggles if debris isn’t an issue. Even swimming goggles would be fine as long as they aren’t shaded for UV protection. Lab goggle would be okay, but they have vents to allow air through. While working on this project, I wore safety glasses up into the attic half the time instead of goggles, and managed to get a tiny piece of fiberglass dust embedded under my upper eyelid that had to be removed by an ophthalmologist. Even though I wasn’t working much with the insulation, just being near it and kicking up a little bit of dust was enough. In the future, I will be wearing better safety goggles.
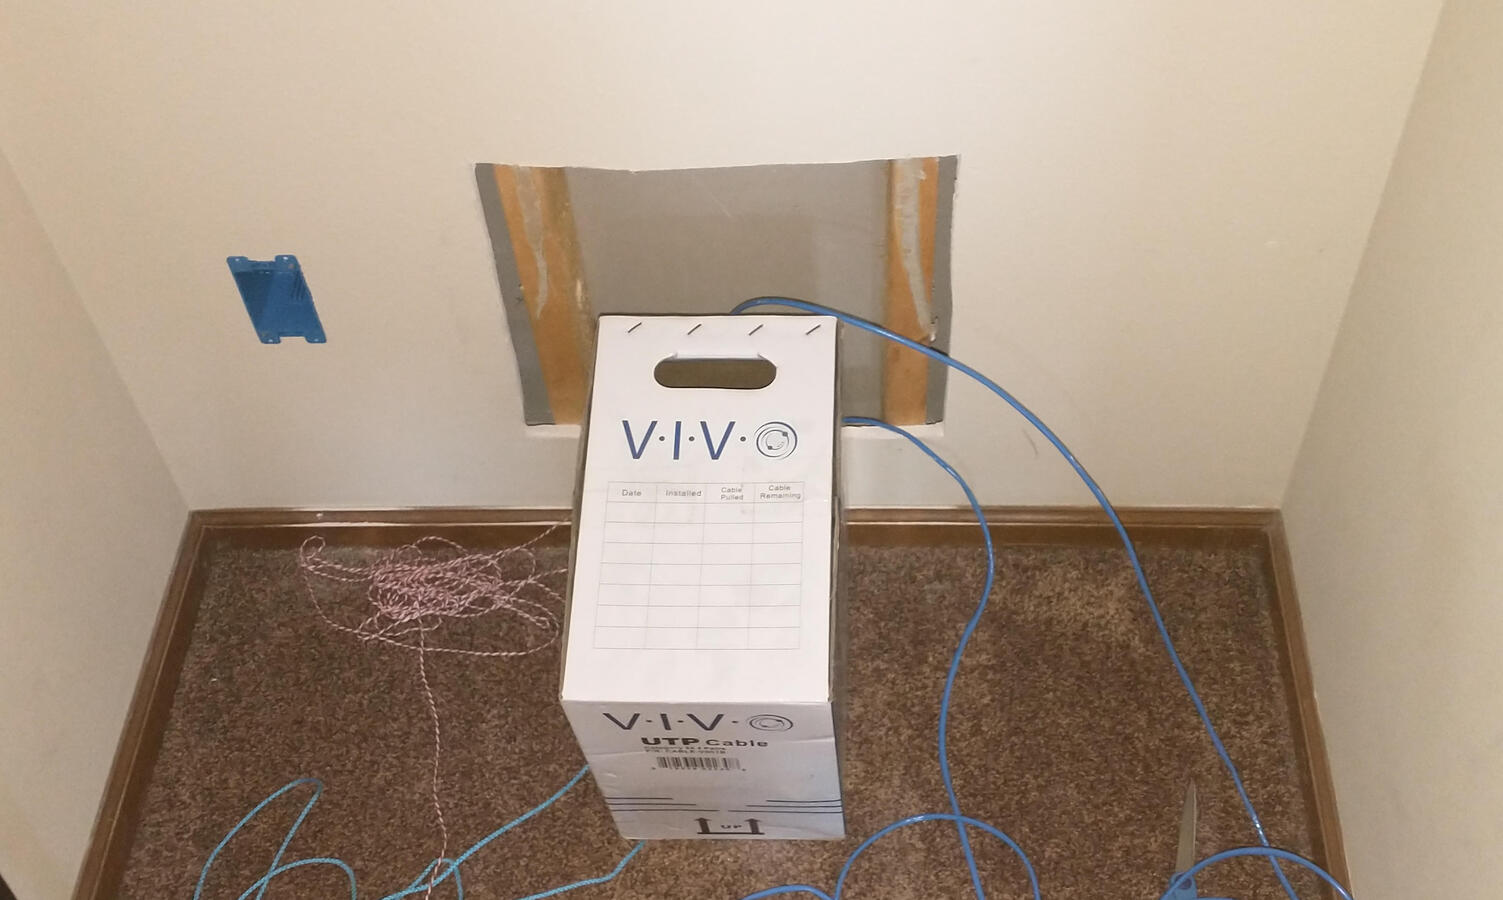
With the outlets ready on the second floor, I put the spool of Cat 5e cable in the attic and used the same string technique to feed the cables down from the 2nd floor to the basement. Then I went up in the attic to cut the cable off and feed it down into one of the rooms.
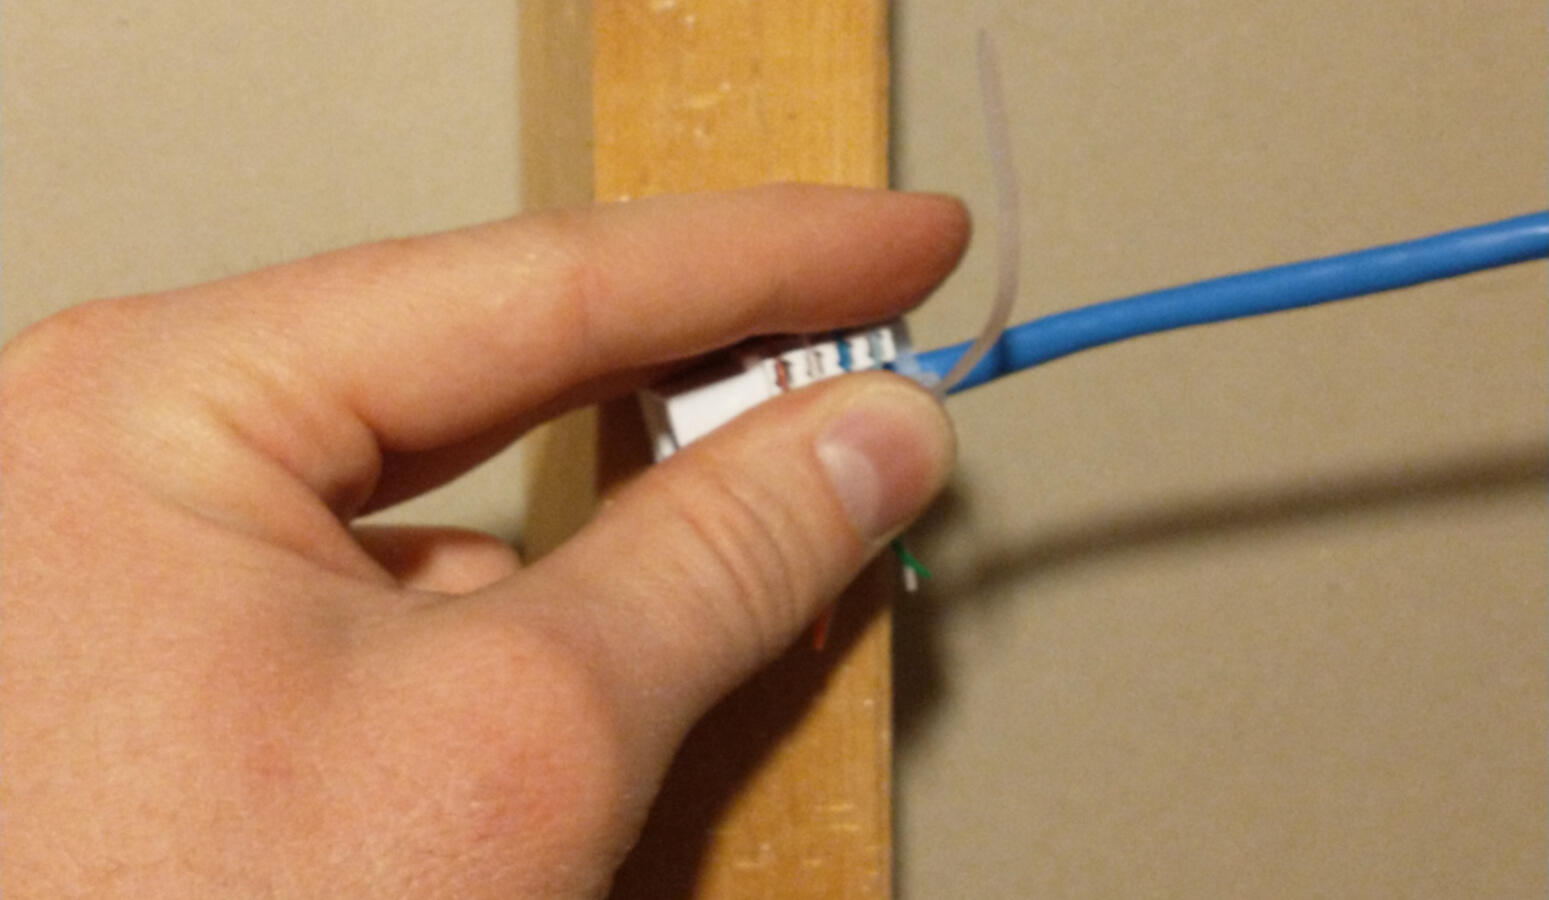
I terminated each of the cables with a punch-down keystone jack and held the cables in place with plastic brackets of various sizes. I tested each data drop by jumping the two outlets in the room together and connecting one of the patch panel ports to my router and the other to my laptop. I used iperf between my desktop and laptop to verify that each of the data drops was capable of gigabit transfer rates.

Once all the hard work was done, I ordered a 16-port switch and a router to manage all those connections. Both the switch and router work pretty well, but I was disappointed to find out that this router, the TP-Link ER605v2 (and also the ER605v1) do not provide DNS services. I guess maybe they are intended to be used in an office environment where a business may already have a central DHCP/DNS/AD server, but I don’t think most home internet users will want to run a DNS server of their own. I returned the ER605 and replaced it with the ER605v2 (since I already made the mounting place for it), which at least had a firmware update to add the option to forward mDNS requests between VLANs. So if I need to lookup a machine’s dynamic IP, like to access my octopi server, I can usually do it with mDNS.
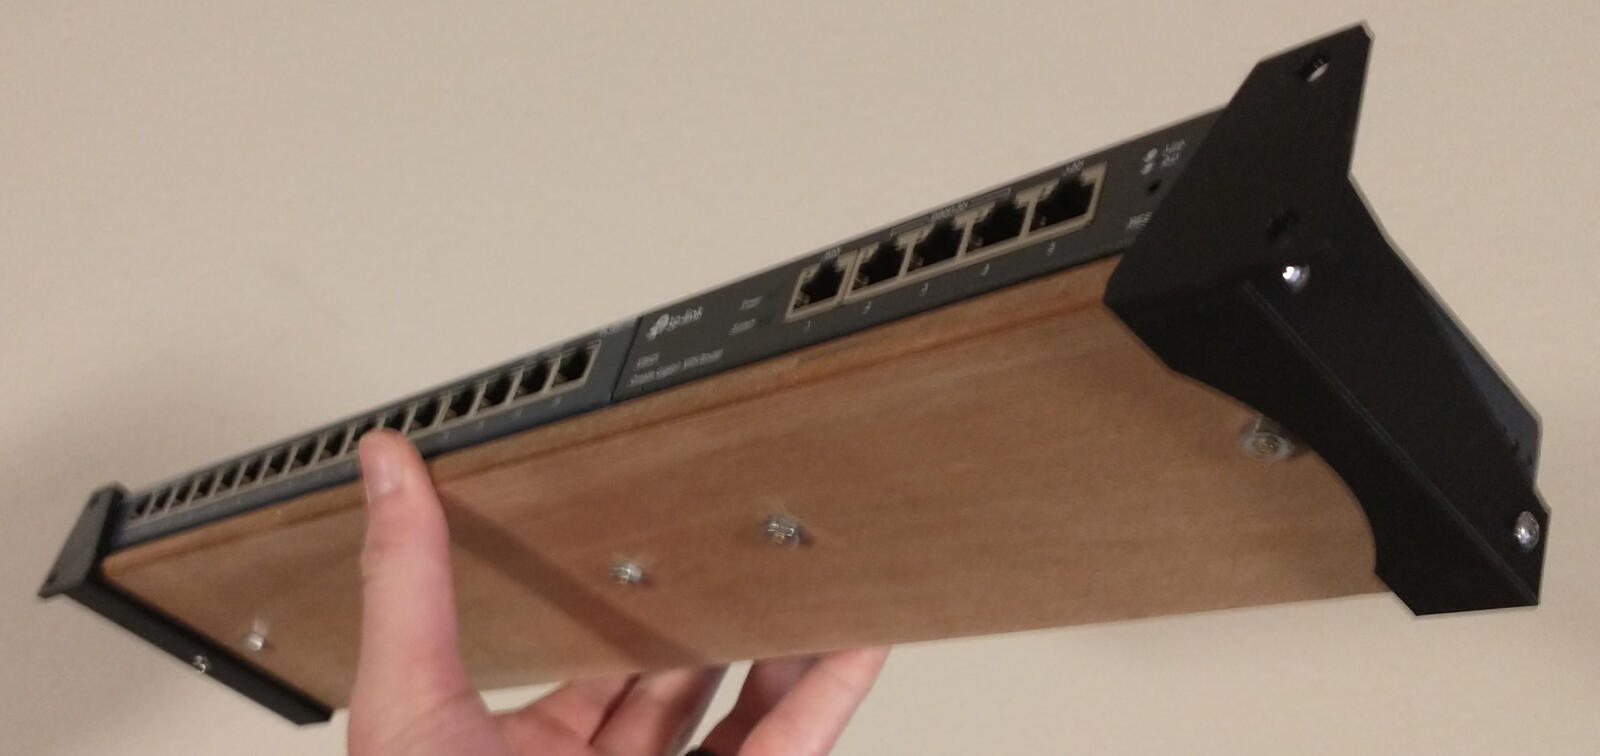
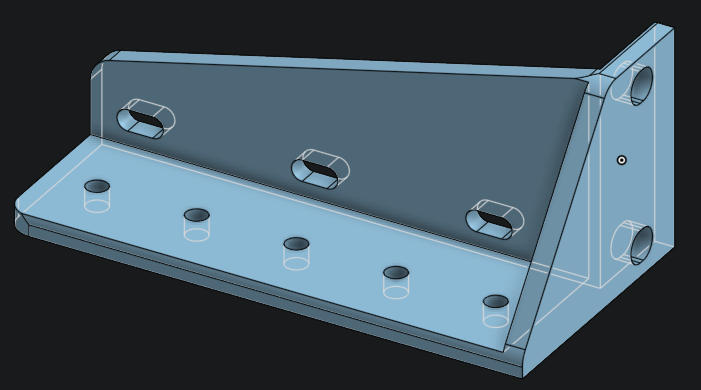
The switch and router I got both fit in a single 1u slot, but I needed a shelf to put them on. I designed a simple little 1u shelf bracket in Onshape and printed it out, then cut a piece of scrap wood down to size and put mounting screws in it to hold the components in place. I eventually used the same design to hold the modem hanging off the bottom of the rack where the coaxial cable would have clearance.

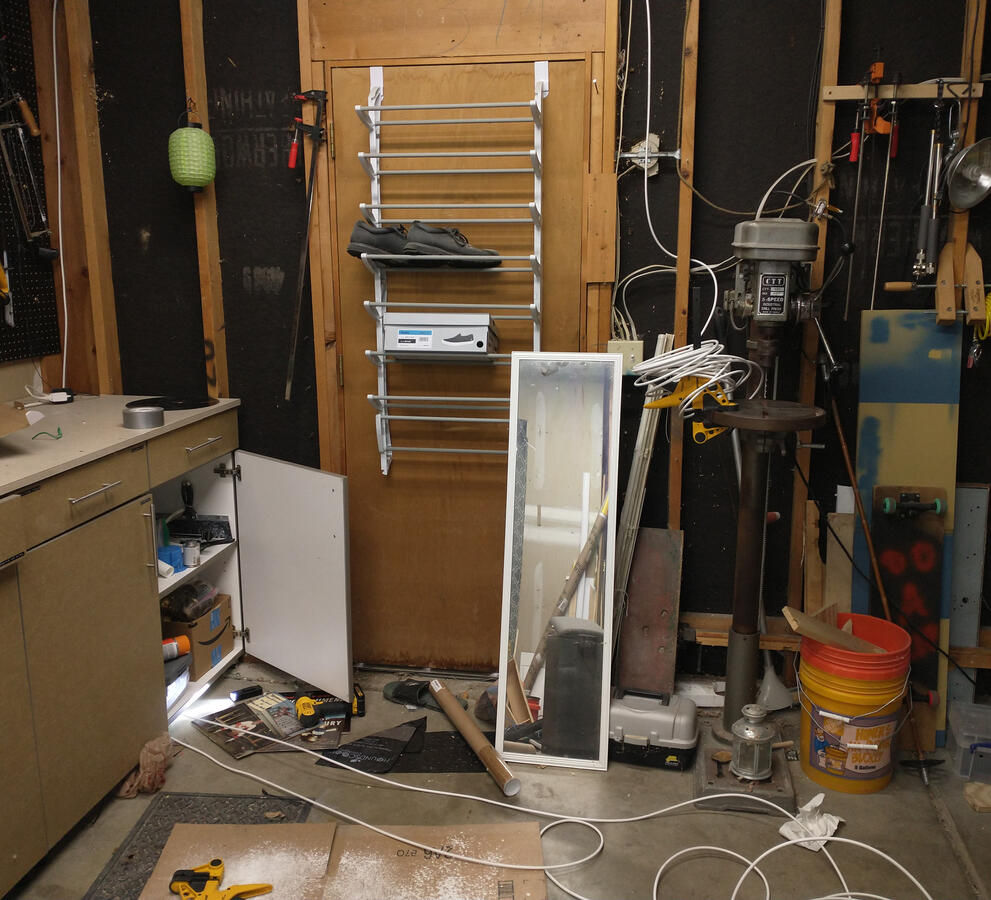
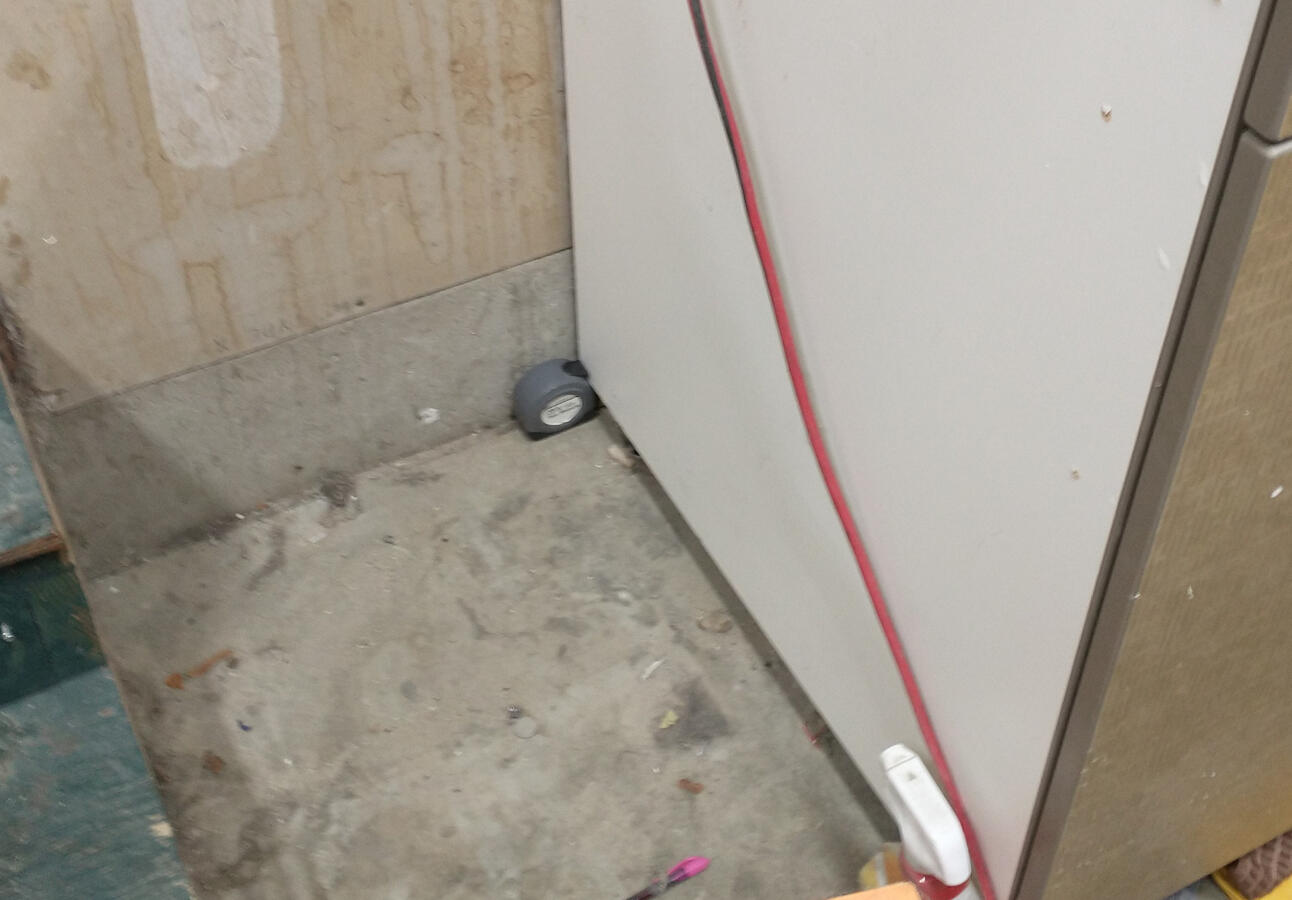
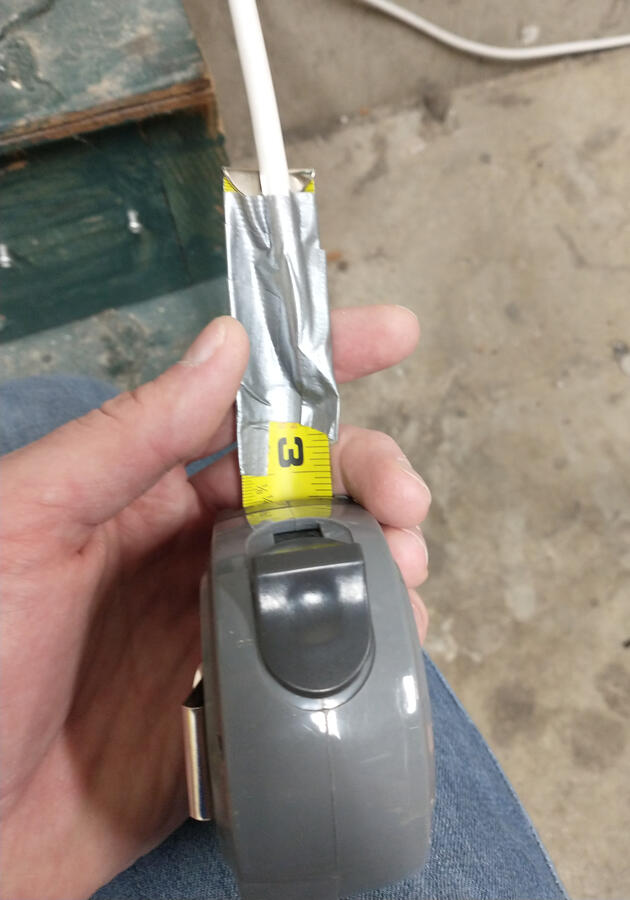
After testing everything out, I ran a new coaxial cable from the ISP drop point in the garage down into the utility room. I passed it through the exposed wall of the garage, then down to the floor and along the back of my workbench. To pull the cable that long distance, I extended a crappy tape measure the entire length of the counter and fed the cable down so they were in the same place. I pulled them both out from under the cabinets and taped the cable to the tape measure. With the tape measure’s spring retraction pulling gently on the cable, it was very easy to feed the cable down while the tape measure pulled it through. On the other end, I fed the cable through an opening I had used before for a Cat 5e cable and down into the crawlspace and utility room over to the modem.
I closed up the drywall holes, but I cut an opening in the middle of each of the closets to install an access plate. These electrical box panels can be removed to reveal an opening in the wall big enough to stick my hand into so that I can run more cables through the same channel in the future if I want.
Looking back on this project, I’m glad that I decided to run 2 data drops to each room. At first it seemed like overkill, but it means I have the option to connect a wireless access point and a computer in the same room without powering another switch. It also means that I have the option to use one port for a computer and one for a VOIP device on a different VLAN just by changing what the patch panel port is connected to. If I do this in the future, I will spring for Cat 6 cable to get even higher speeds, but I already had a 1000ft spool of Cat 5e cable, so this worked out perfectly.