
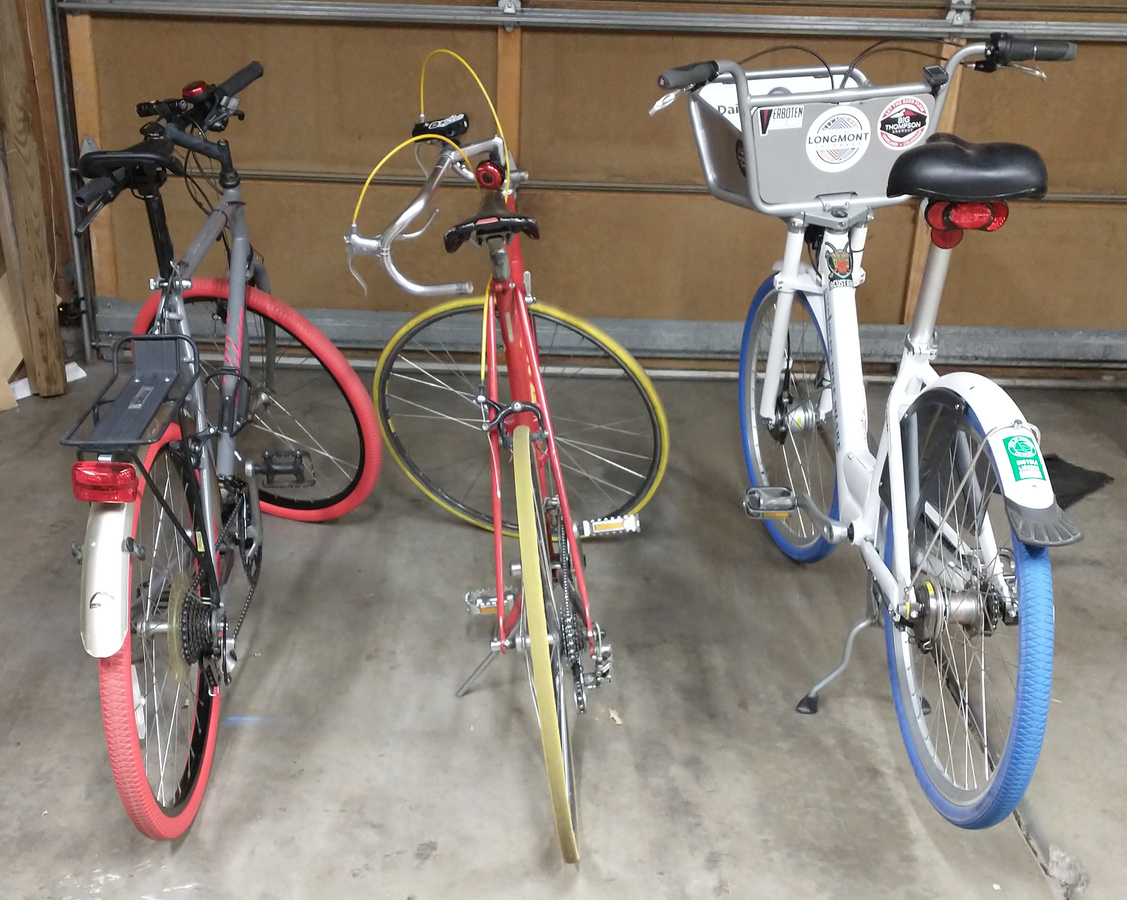
I have now installed solid tires on 3 bicycles and been very happy with them each time. This is an overview of installing Tannus solid tires that includes lessons I have learned by doing it wrong so that you don’t have to learn the same lessons the hard way. This is not comprehensive, since the company provides good installation instructions already, but hopefully my experience can help someone else to do it better in the future.
There are other companies that produce solid tires as well, but these are the only ones that I have experience using.
Measuring and ordering tires
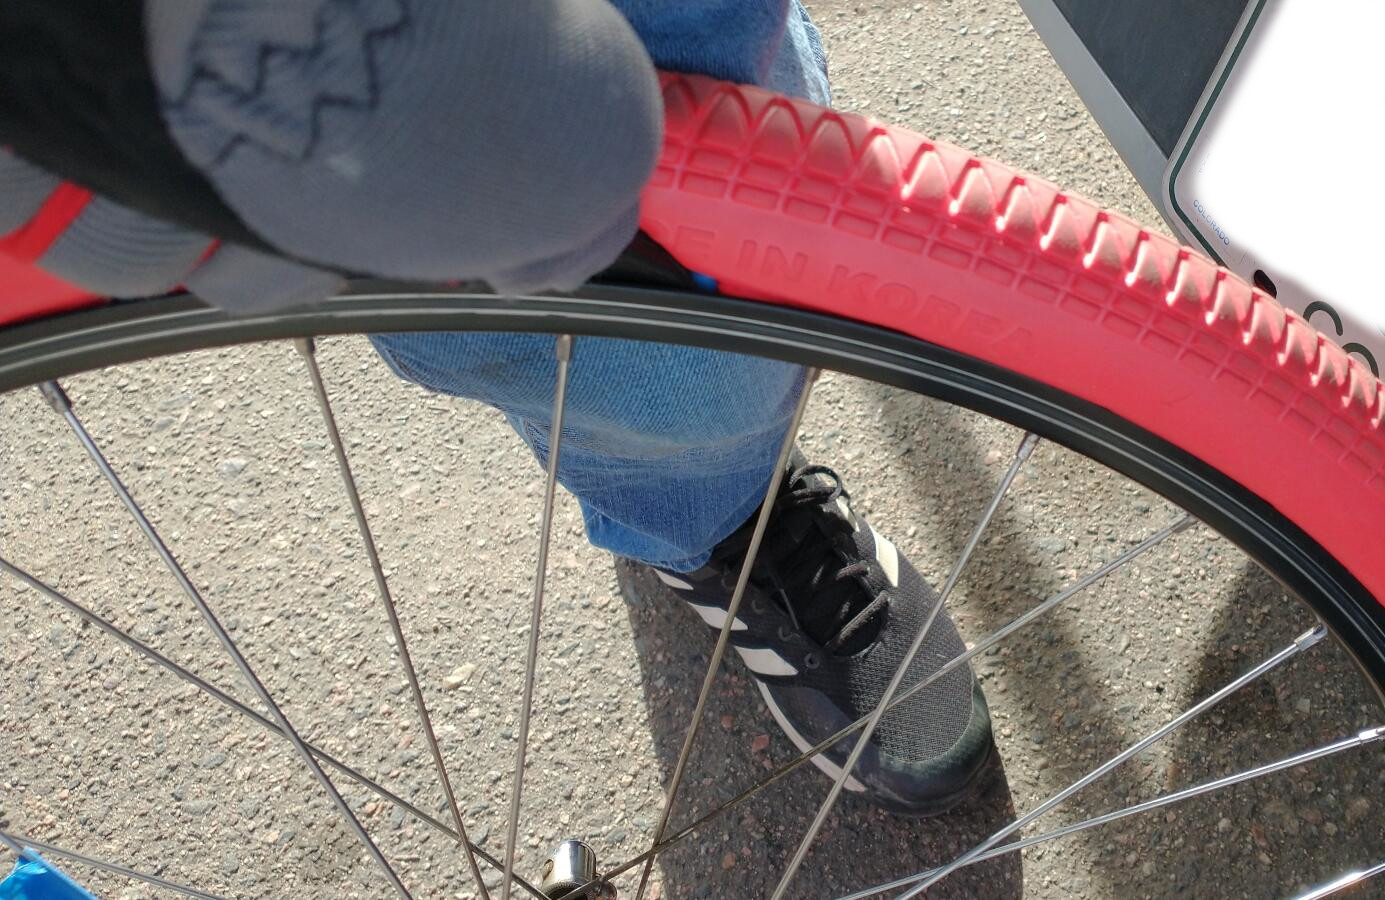
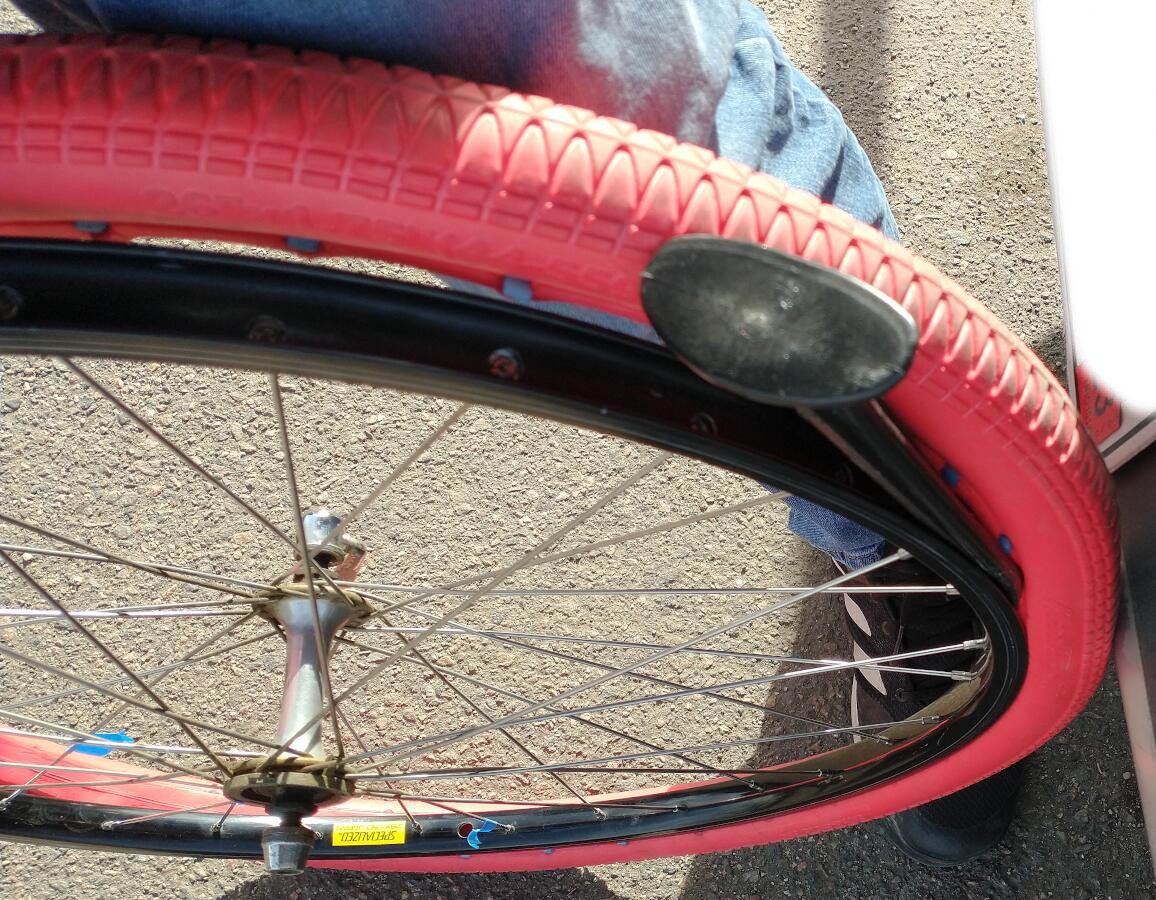
The tires are held in place with locking pins that snap in under the bead of the rims, which would normally retain the metal ring of an inflated tire. So step one is that your rims need to have retaining beads. This isn’t usually a problem, but some very old rims will not have them.
The manufacturer’s website has really good instructions on this, but I would recommend using calipers since the measurement has a precision of +/- 1mm. Once you have the wheel size and rim width you can order solid tires from Tannus’s website.
Preparation
Actually installing a tire will take about 30 minutes, but the preparation can take quite a long time, especially in cold weather or if the wheel is damaged.
Removing an existing solid tire
To remove a solid tire that is already installed, start by locating one of the retaining pins. You can see the holes they install through from the outside pretty easily. Shove a new pry tool into the rim right next to a retaining pin and swing it back and forth so that it walks into the pin and rotates it out from under the bead. You have to be careful while doing this, because it wouldn’t be that hard to apply too much force and damage a rim, especially an older one that is less strong to begin with.

Just continuing around the wheel is difficult until you get a few pins removed. Once the tire is starting to come off, you can start to remove pins just by pushing the pry tool along the rim while holding on to the tire. Hold on to the tire and not the rim, because the rim will start to slip once the tire is loose.
I would recommend using a new or almost new plastic pry tool for this. Using the Tannus pry tool to install the tire in the first place will put a dent in the middle of the tip piece, and the points on either side of that can catch on the rubber and make this process harder. The tire can be reused as long as it isn’t torn, which can happen if the pry tool is too sharp. The pins can probably also be reused, but you would have to inspect them for damage first.
Wheel inspection
The point of solid tires is that they last a very long time. That means that the wheel also needs to last a very long time, so it’s important to get the wheel in good shape to begin with.
I would recommend taking the wheel to a bike shop to have it trued or doing that yourself. It is especially important to look for stripped spoke nipples, since they are the only part of the wheel that the tires will prevent you from replacing. I actually learned to remove a solid tire because I put one on a wheel without realizing it was bent and took it to a bike shop that discovered it could not be trued.
Truing
When truing the wheel, it is especially important to get the spokes tight. The spokes are going to take slightly more load than they would with an inflated tire, so it is important that they are tensioned correctly. Truing the wheel correctly before putting the tire on can save a lot of headache if something goes wrong.
Installation
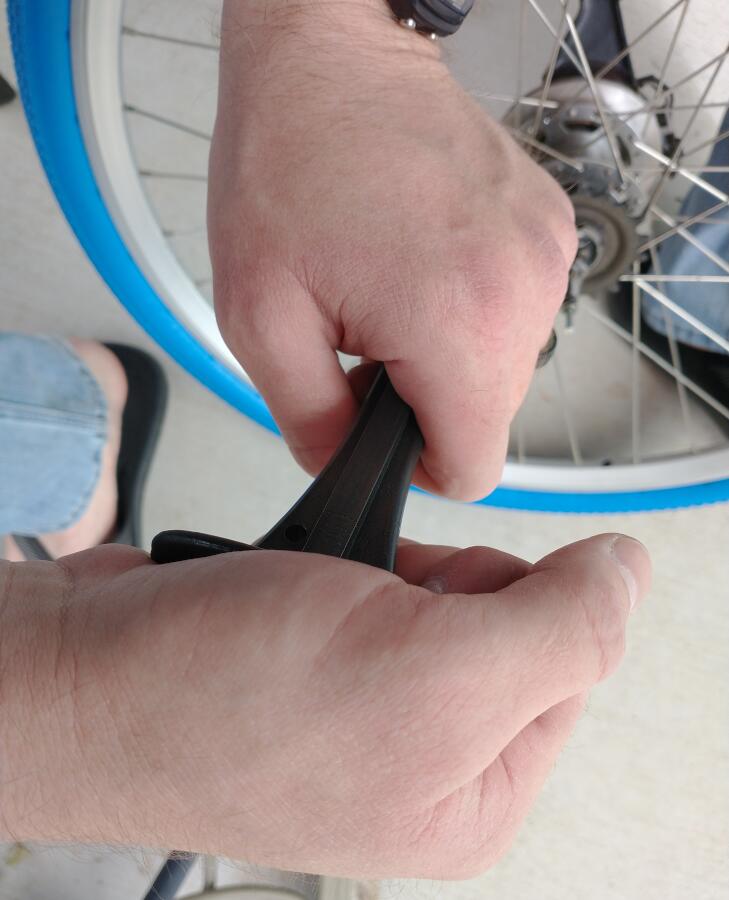
Inserting the pins
Go around the tire and put a pin in each hole. The ends are kind of pointy, but it’s easy to use the flat handle of the pry tool to push them in all the way.
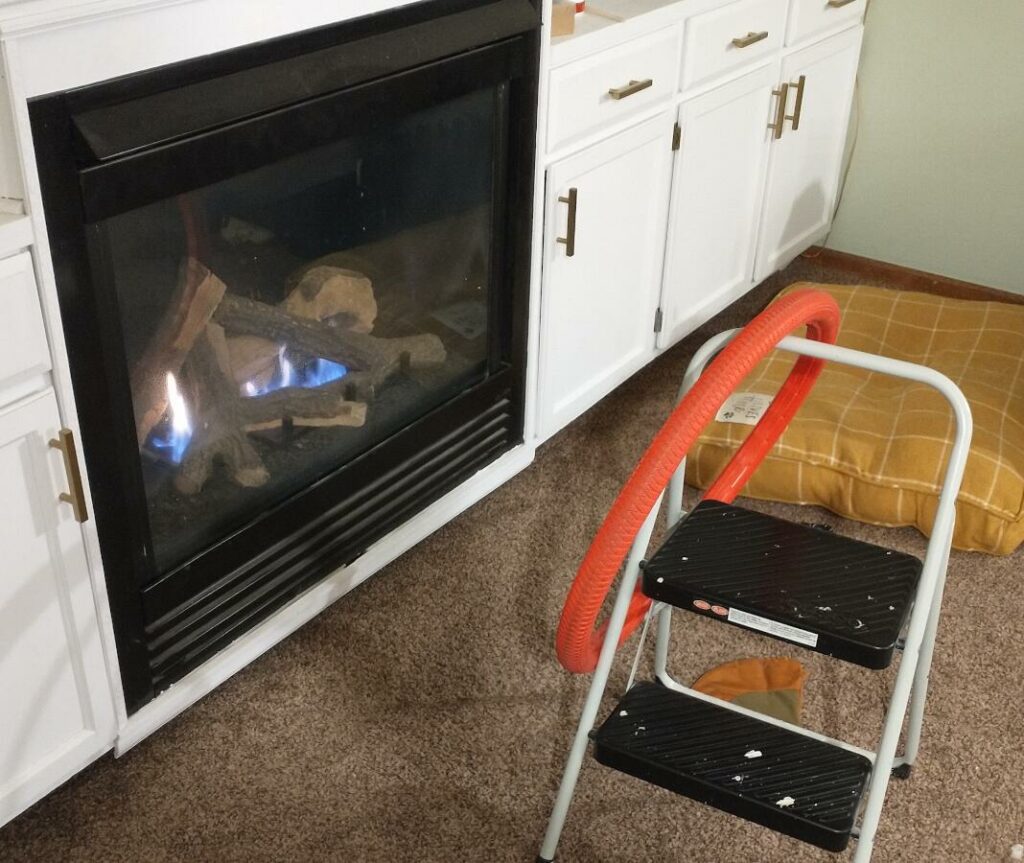
Warming and stretching
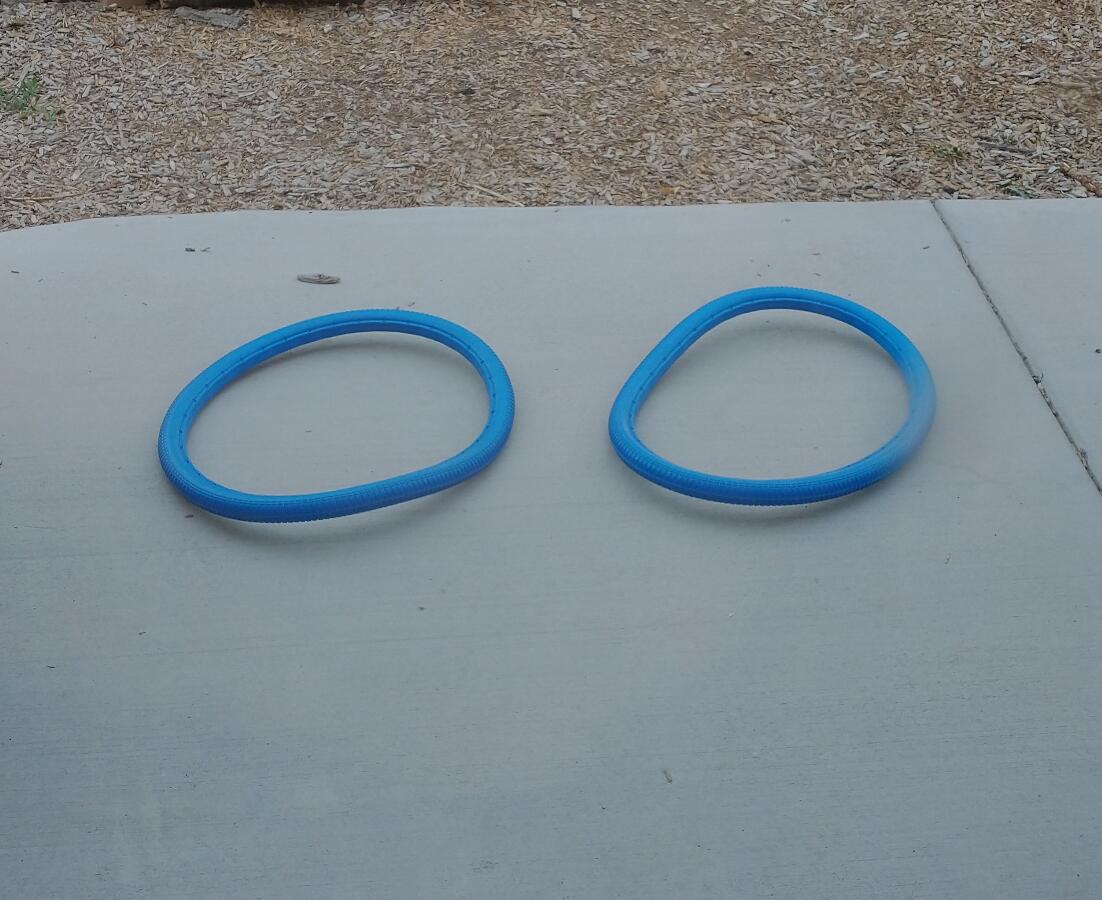
The first installation step is the easiest to forget and the longest: the tire has to be warm. I would normally leave it out in the sun on a hot day, but in the winter I have had to put it in front of the fireplace to get it hot. The tire has to be hot enough to be warm to the touch before it can be stretched around a wheel.
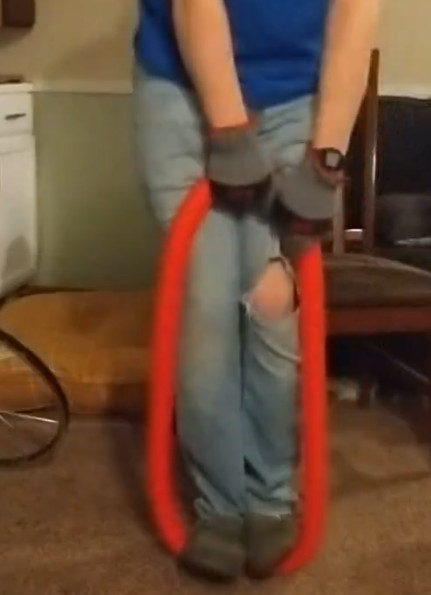
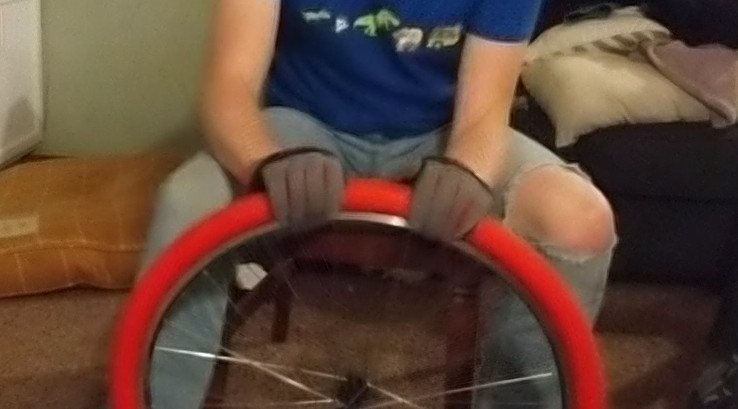
Once the tire is warm, it needs to be stretched a bit before it can be installed. I have had a good experience putting my knees through it and pushing out with my feet.

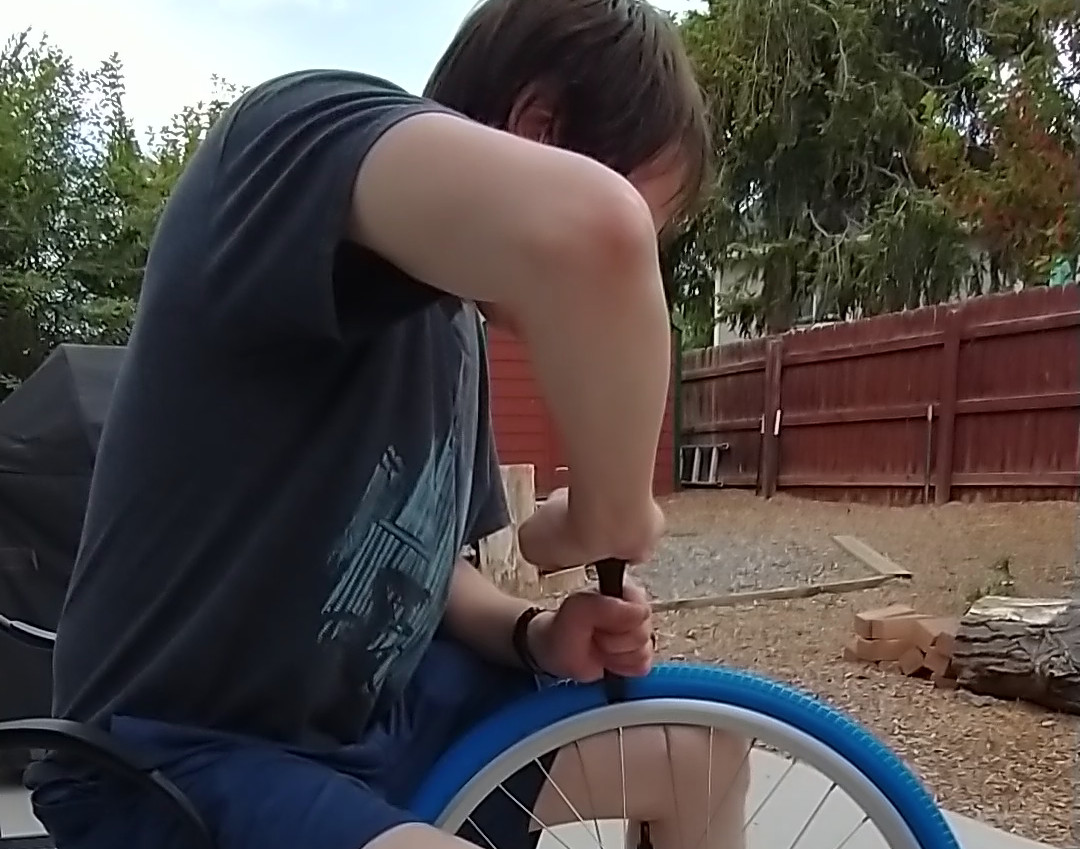
Installing
One aspect of stretching the tire on that was overlooked in the instructions I watched at first is that it will not go on straight. You have to use a lot of energy to work it around the rim, but once you get to the opposite side you will not have a good angle to finish the process. You have to roll the tire over the edge for the last little bit so that it is twisted 90 degrees. Once you have it there, you can take a breather before un-twisting it.
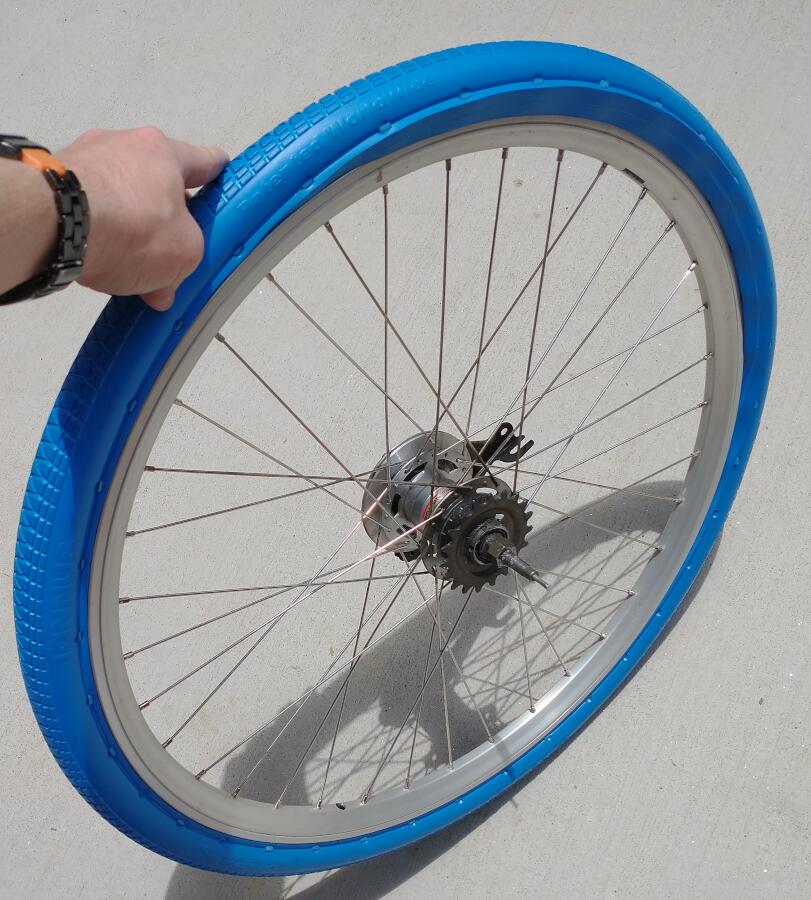
Also, make sure to wear gloves. The tire is grippy, so when your bare hands slip on it it will hurt.
Tucking in the tire
Once the tire is on the rim, use the tip of the pry tool to tuck the lip of the tire under the bead of the rim, especially the parts of the lip that are under the locking pins.
When you have gone all the way around the wheel tucking in the lip, the locking pins should be resting directly against the metal of the rim.
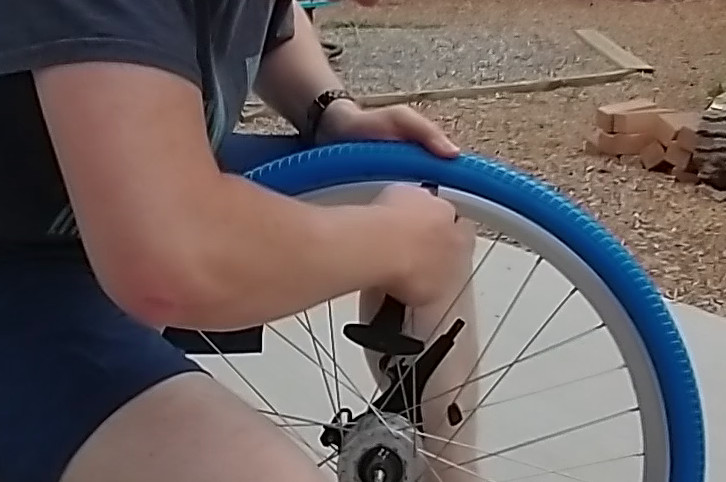
Snapping in the pins
Pushing the retaining pins in takes a lot of effort, so it is important to use the correct technique to avoid as much discomfort as possible.
It will feel natural to hold the tool with your thumb pushing from the outside, but that is the wrong way. If you use it that way, you will put unnecessary stress on your thumb and almost definitely pull a muscle in your hand, which is a muscle that I have found I use for a lot of things.
The correct technique seems to be to hold the wheel with your legs and use both hands on the pry tool. One hand holds the tool in place and the other pushes it down to snap the pin in.
Working out the pinches
Once the pins are all snapped in, go around the wheel pushing and pulling the tire.
After snapping the tire in, some of the rubber from the tire will be pinched between the retaining pins and the rim. You will hear little popping noises as those pinch points are relieved.