
Last year we had our bathroom professionally remodeled. One part of the bathroom that I wanted to do myself was to build the new vanity from a cute dresser. We had seen DIY sites with how-to tutorials for converting a wood dresser into a water-resistant vanity, so we went to the Vintage Marketplace in Fort Collins and bought a nice dresser, loaded it in a truck, and drove it back home. Then it sat in our guest bedroom for 6 months until the bathroom remodel was finished. No comment on the time frame for that project.

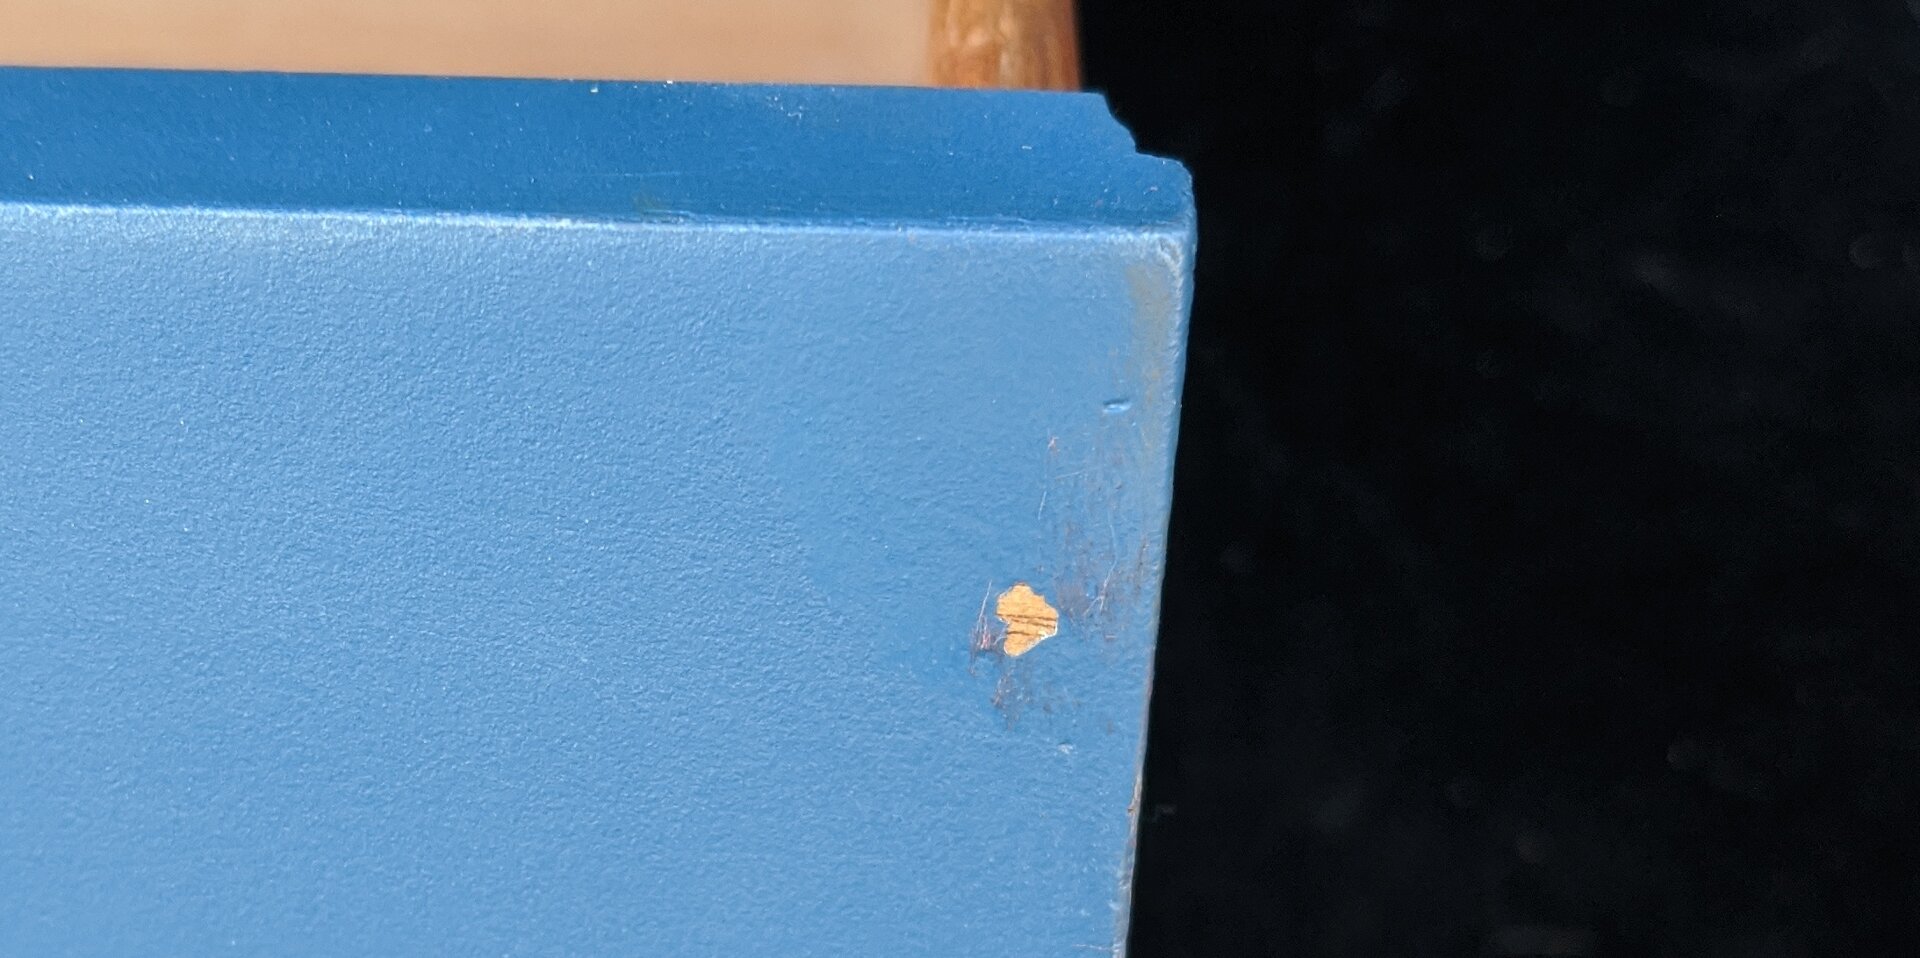
I started off by going down to the paint store and asking for their most waterproof paint, essentially outdoor trim paint, in a color match to the existing cabinet but with a much glossier finish. Here is a good tip for anyone else who does this: leave written instructions with the paint store manager that they should test the color match by painting a small dot on the back of the piece, not the front. Otherwise you will have to go back to the paint store and demand that they supply you with a non-glossy paint as well so that you don’t have one shiny dot on the front of the piece, or worse, whatever happened here.
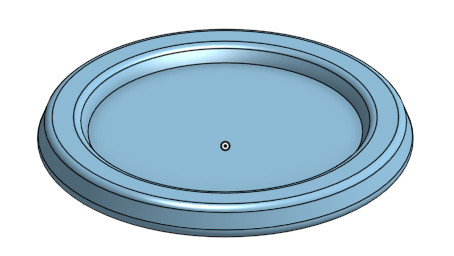
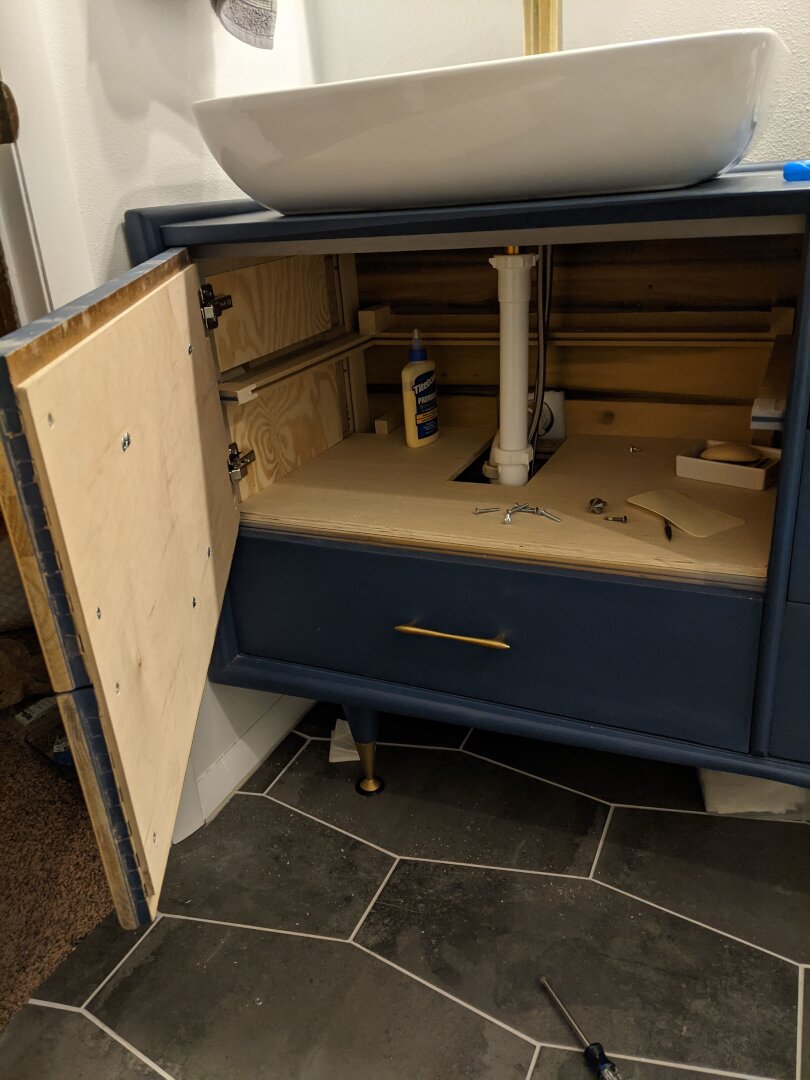
I painted several coats on the top surface of the vanity to protect it from damage for as long as possible. Then I drilled the hole for the basin sink and faucet and put those in place. Silicone is used as both a water seal around the bottom of the sink and, to some extent, an adhesive that prevents the sink from rotating. Unfortunately, this means any future touch-up painting will have to be done with the sink attached because removing the silicone would do more damage to the paint. It might look fine to apply a coat of satin polyurethane over the paint here, but that is a later project.
The rear-left leg of the vanity is placed on top of the block that the water lines are run through, so I 3D-printed some stands for the other three legs to level out the cabinet.
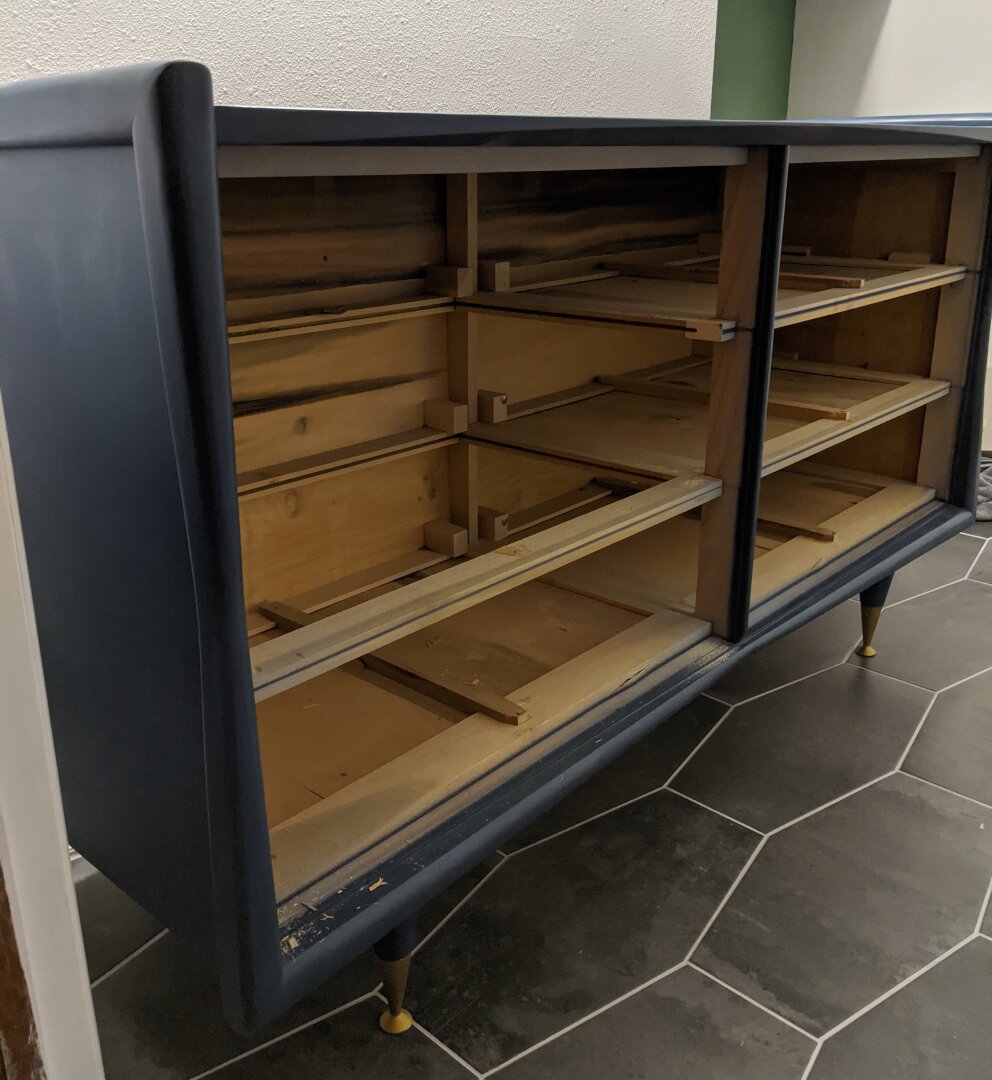
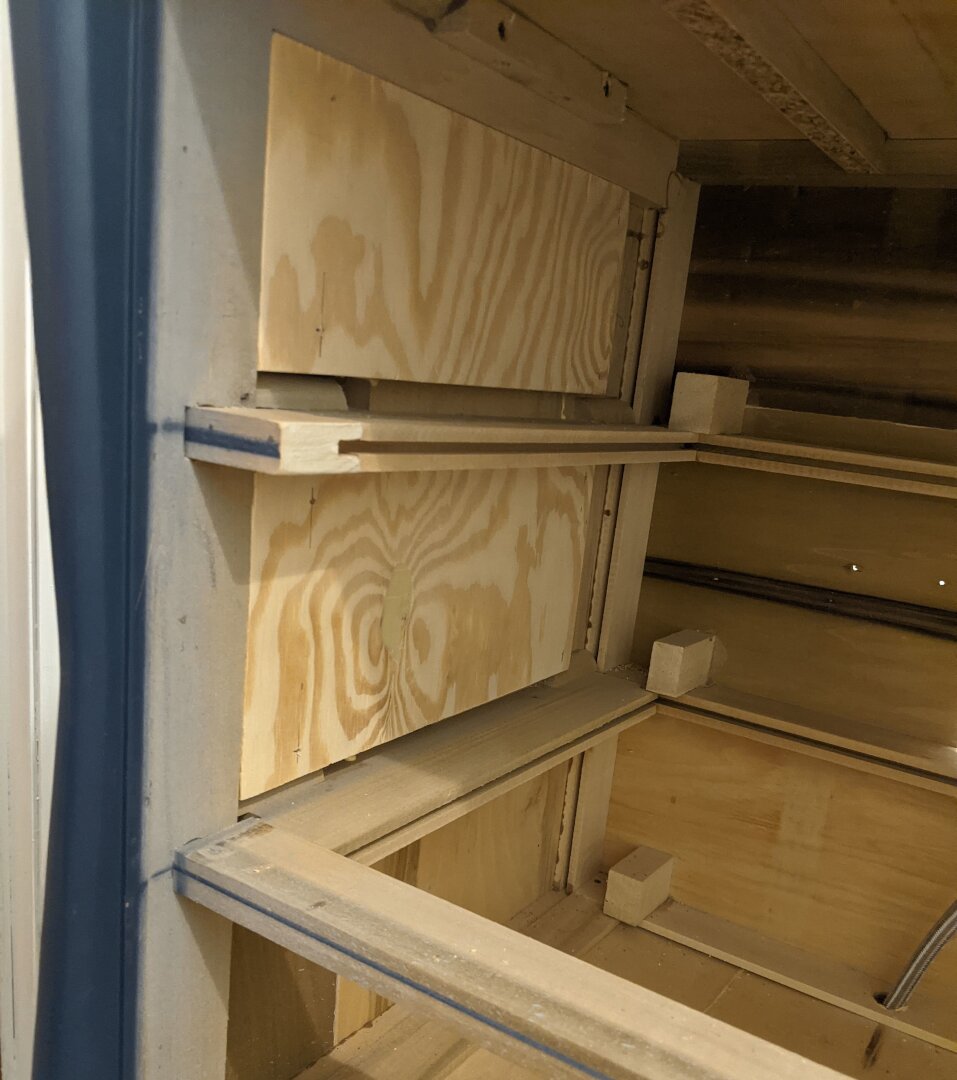
In order to accommodate the sink plumbing, I removed the two drawers directly under the sink and cut out the shelves they sat on.
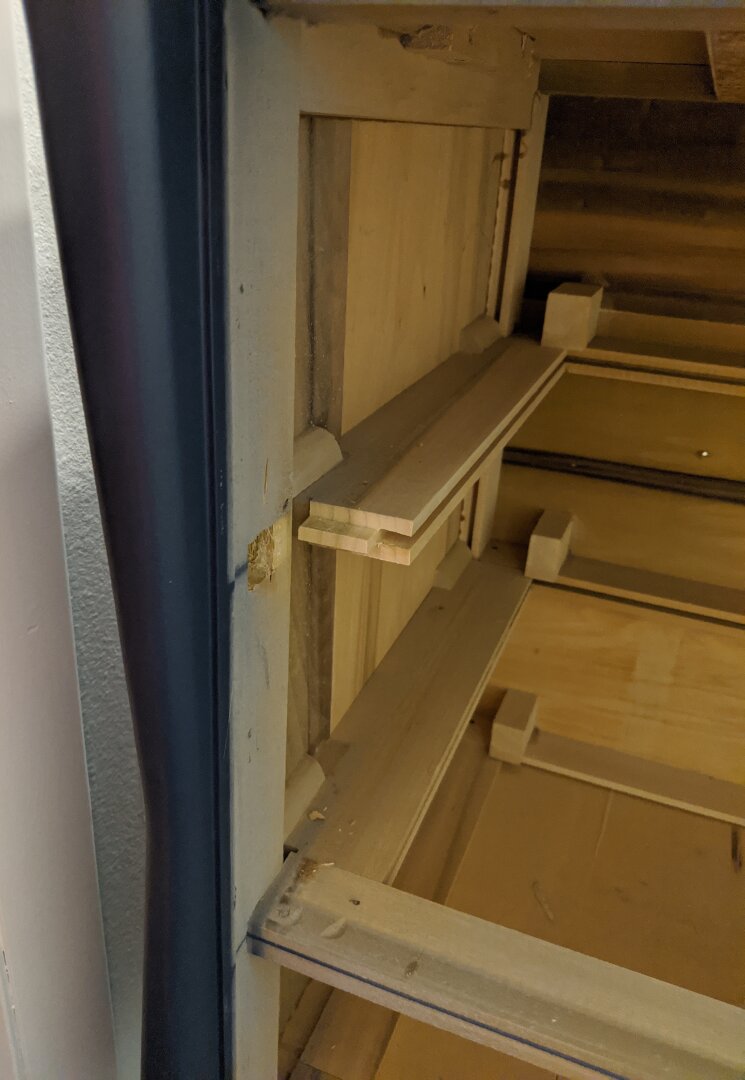
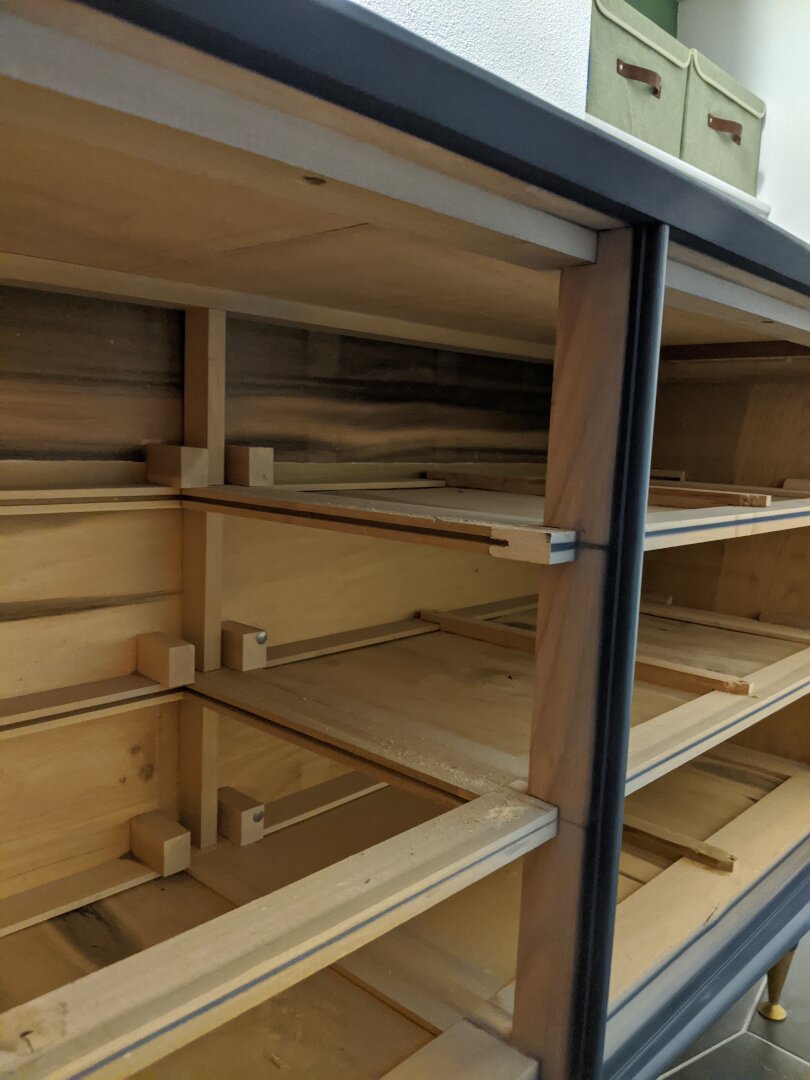
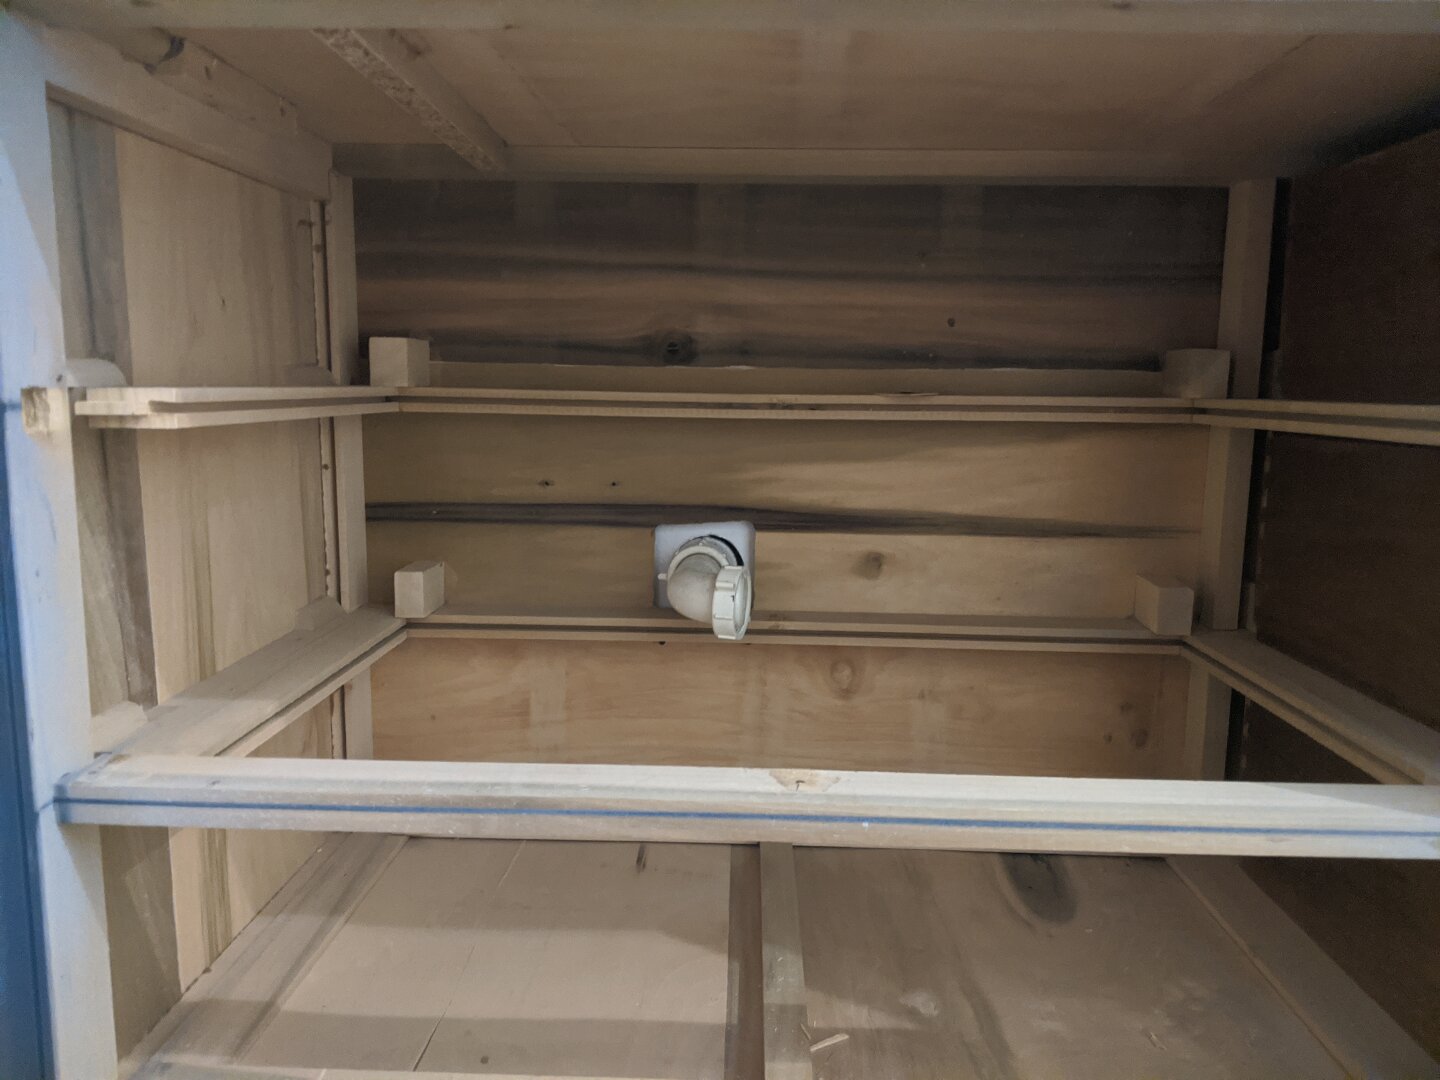
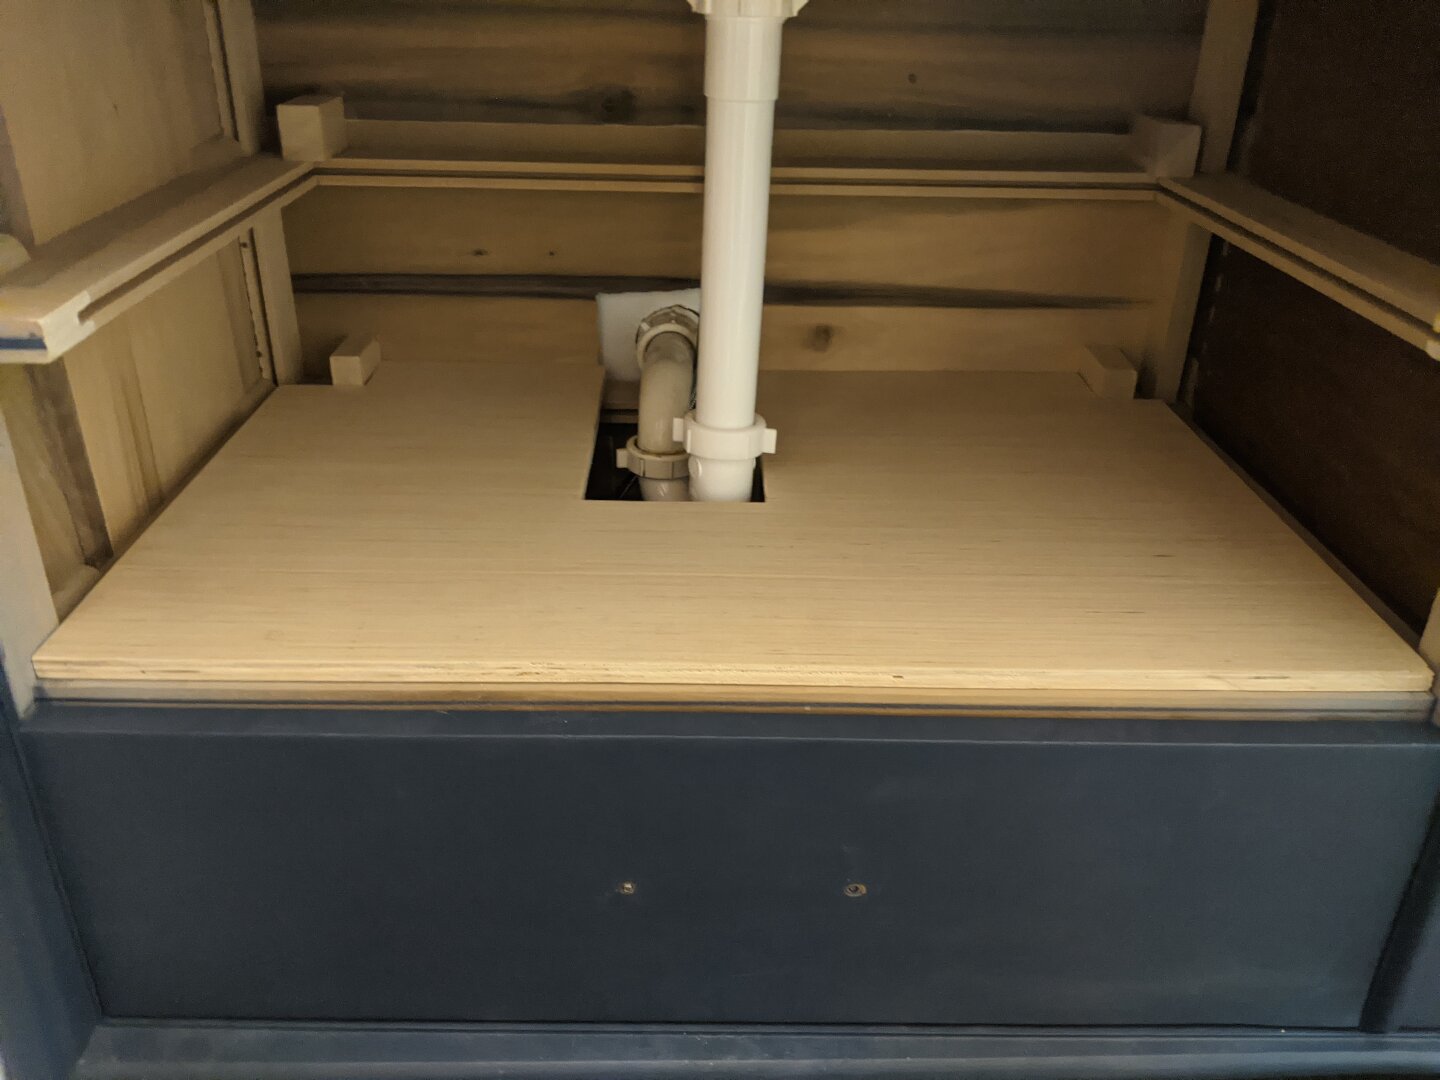
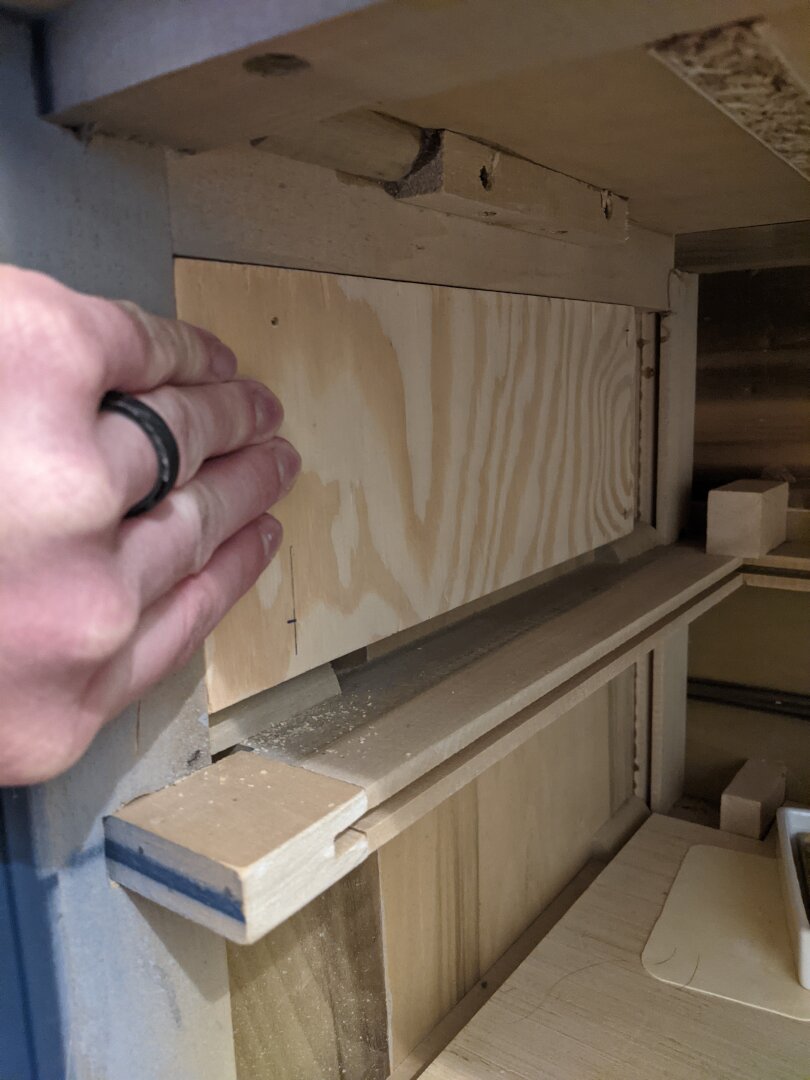
At this point I went ahead and installed the sink vessel and plumbing. Then I cut a new plywood shelf to slot into the cabinet above the lowest drawer. I also cut a section away from the back of the very bottom drawer so that it can slide in under the P-trap.
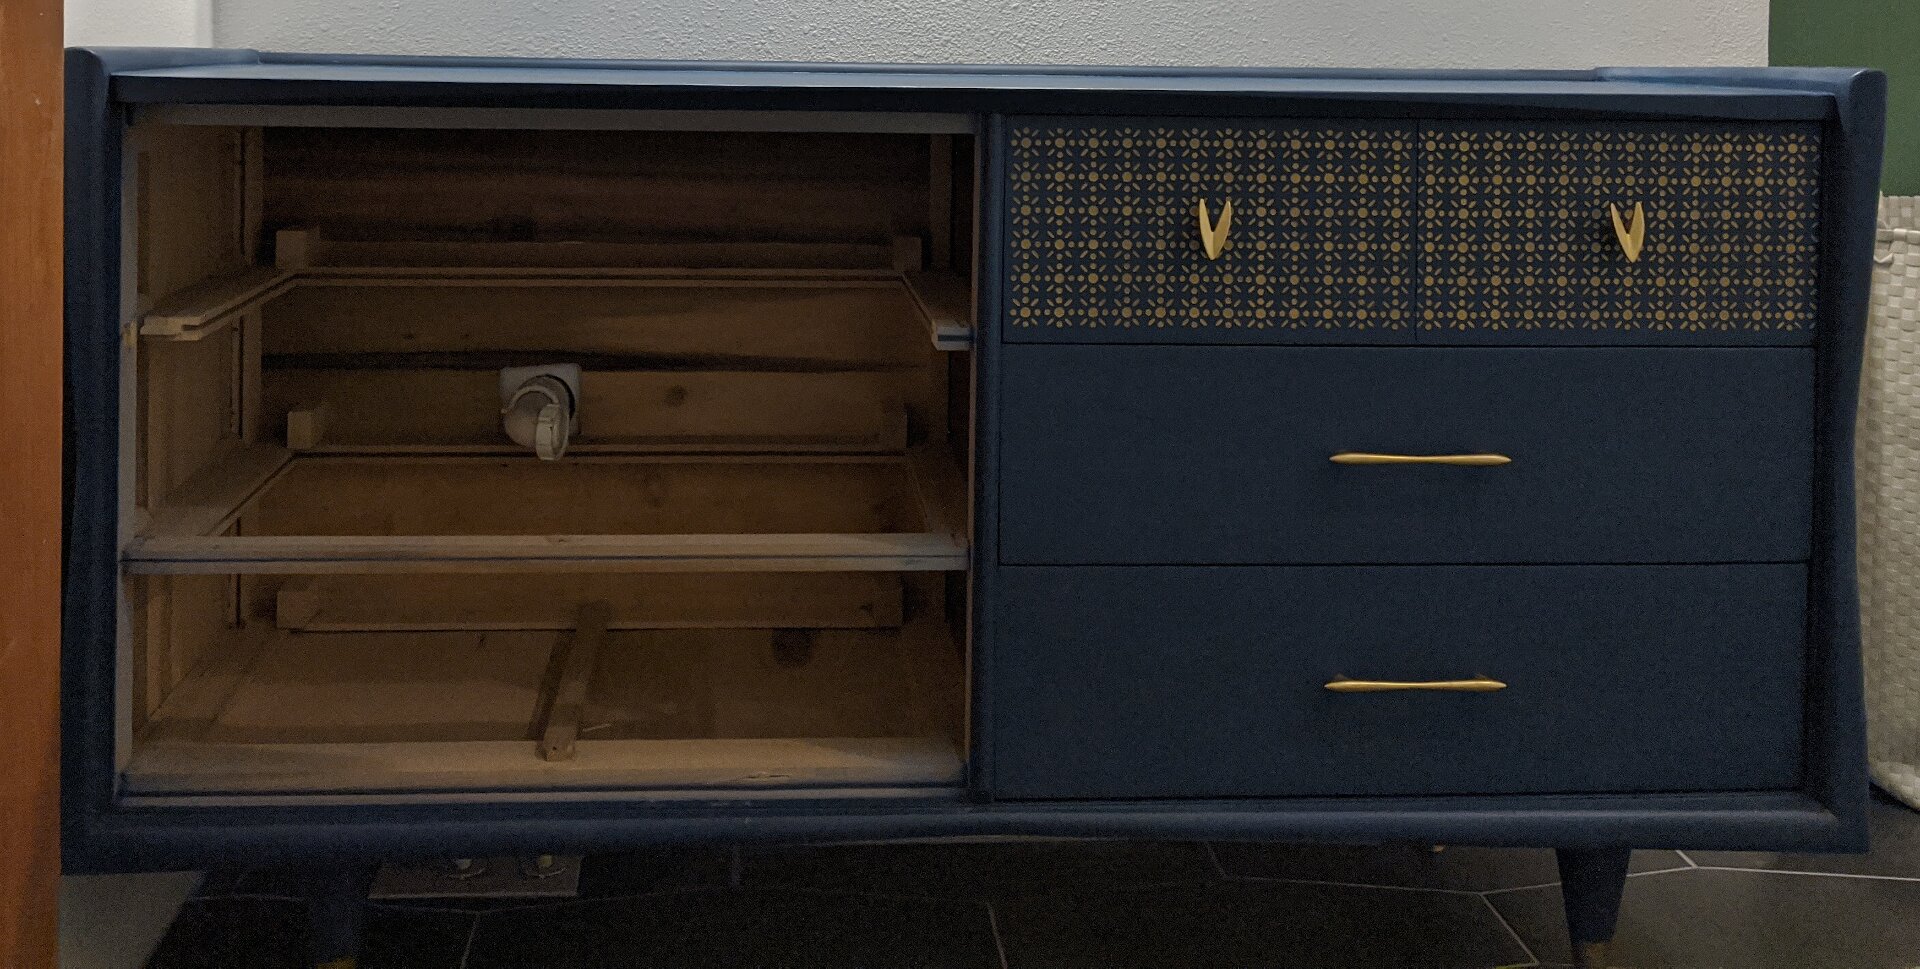
We were able to use the vanity in this half-finished state for a while before I got around to making the cabinet door.
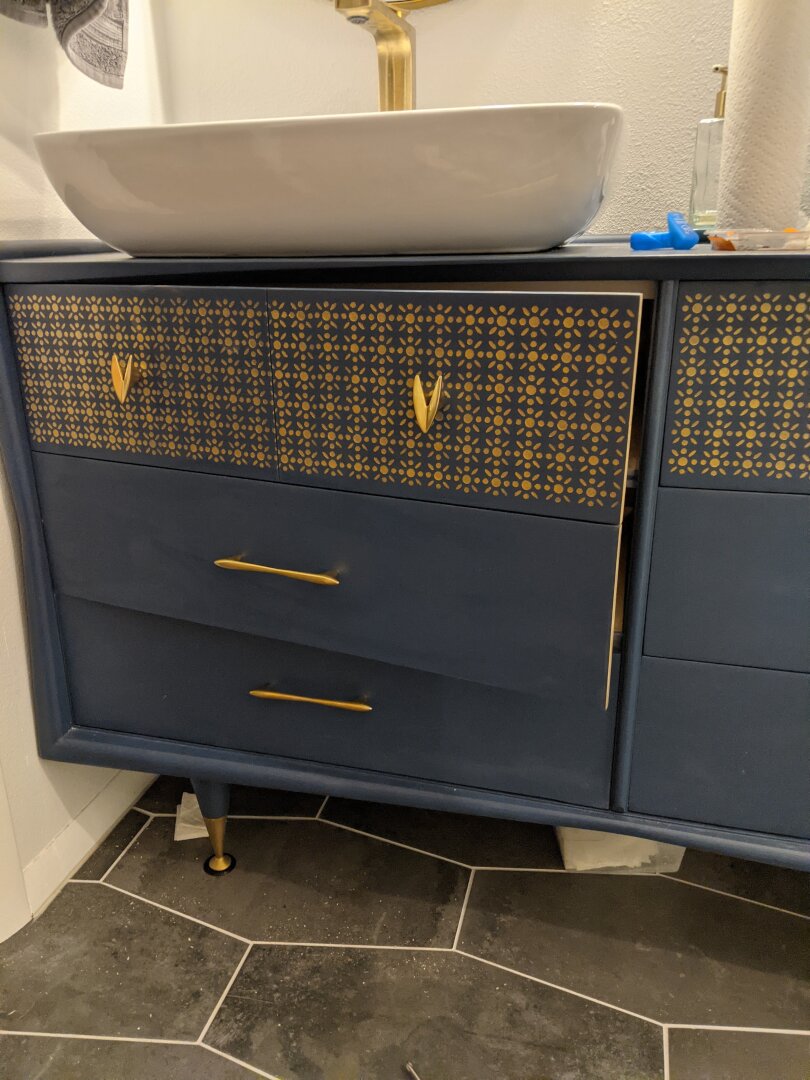
The plan was to make the top two drawers into a door without altering the appearance, so I carefully harvested the faces off the drawers. I used a heat gun to soften the glue before chiseling away support pieces and hammering apart the joinery.

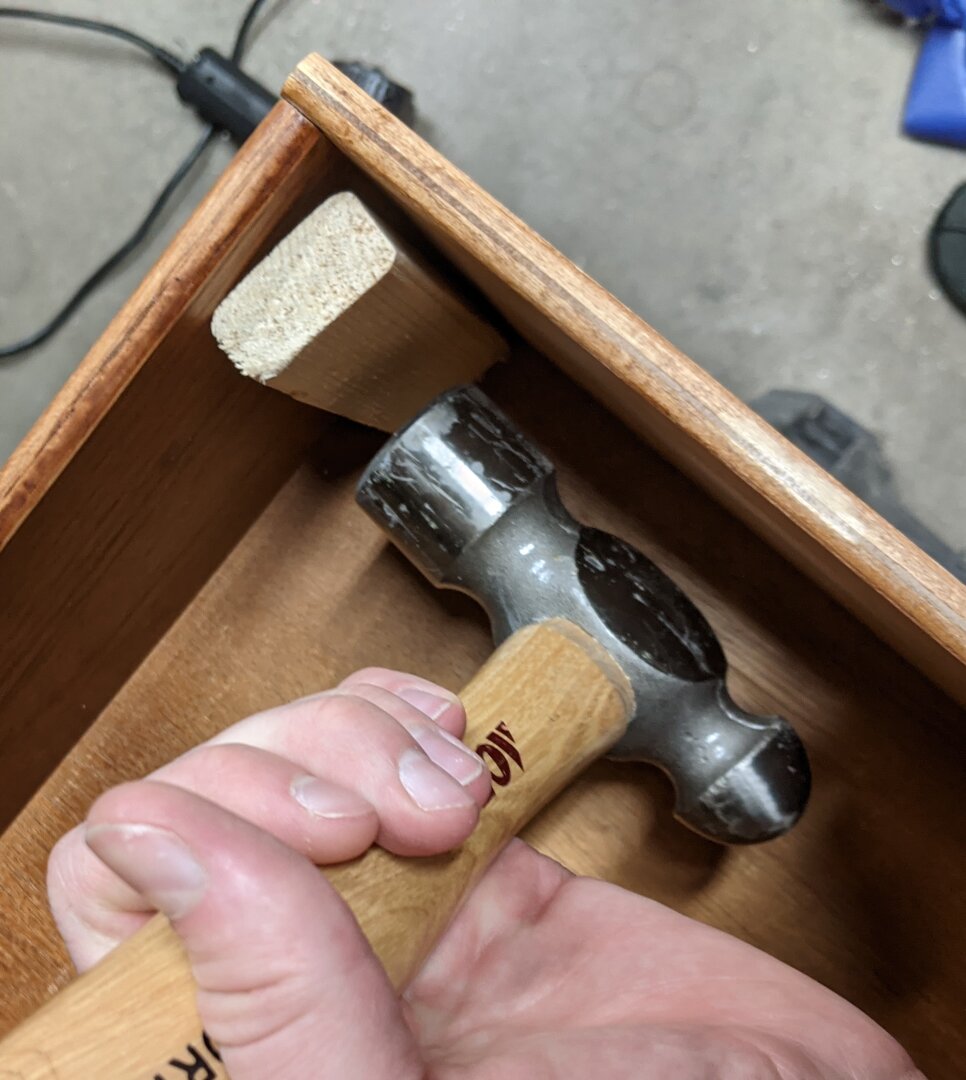
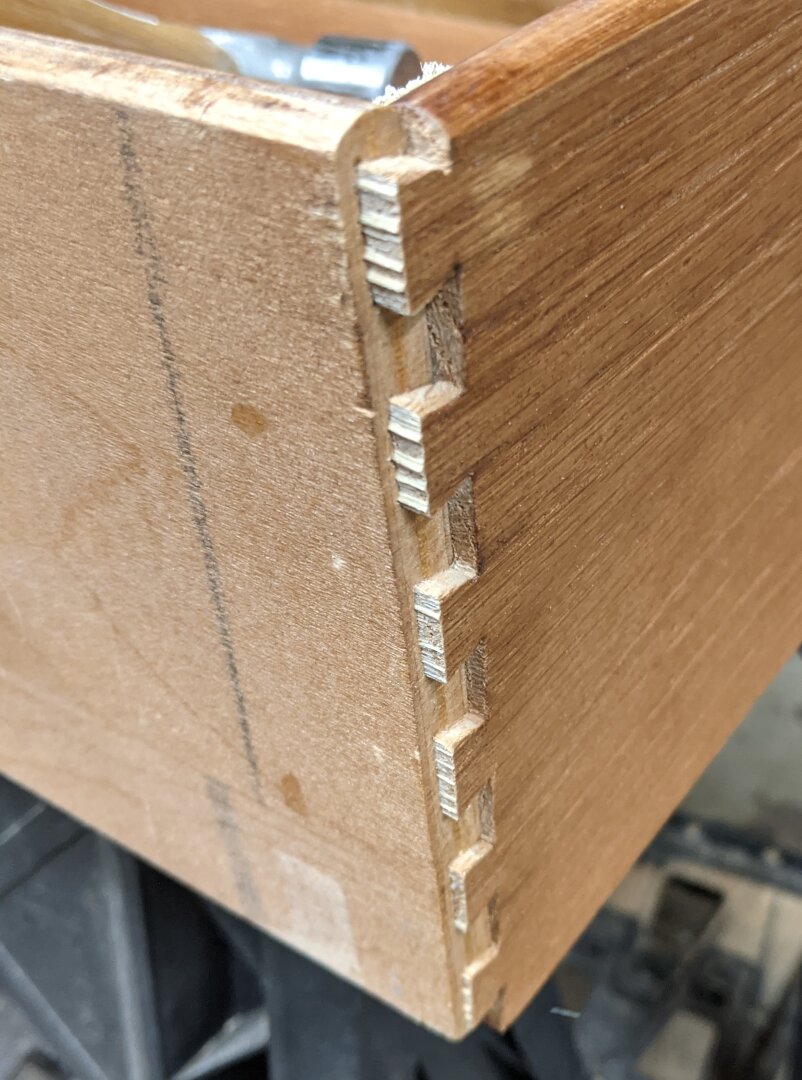
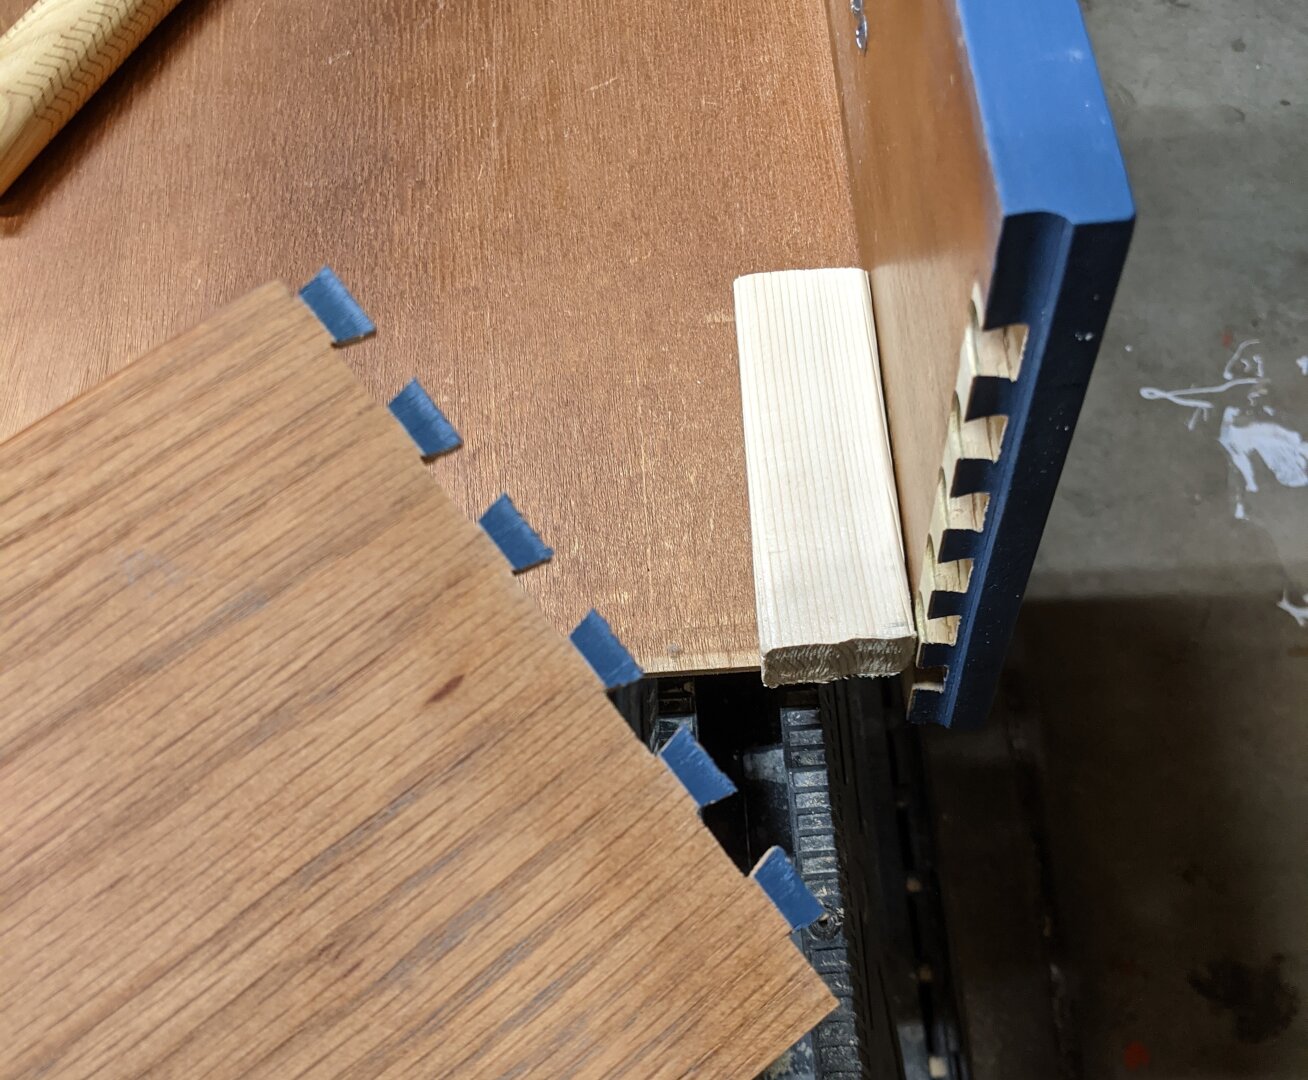

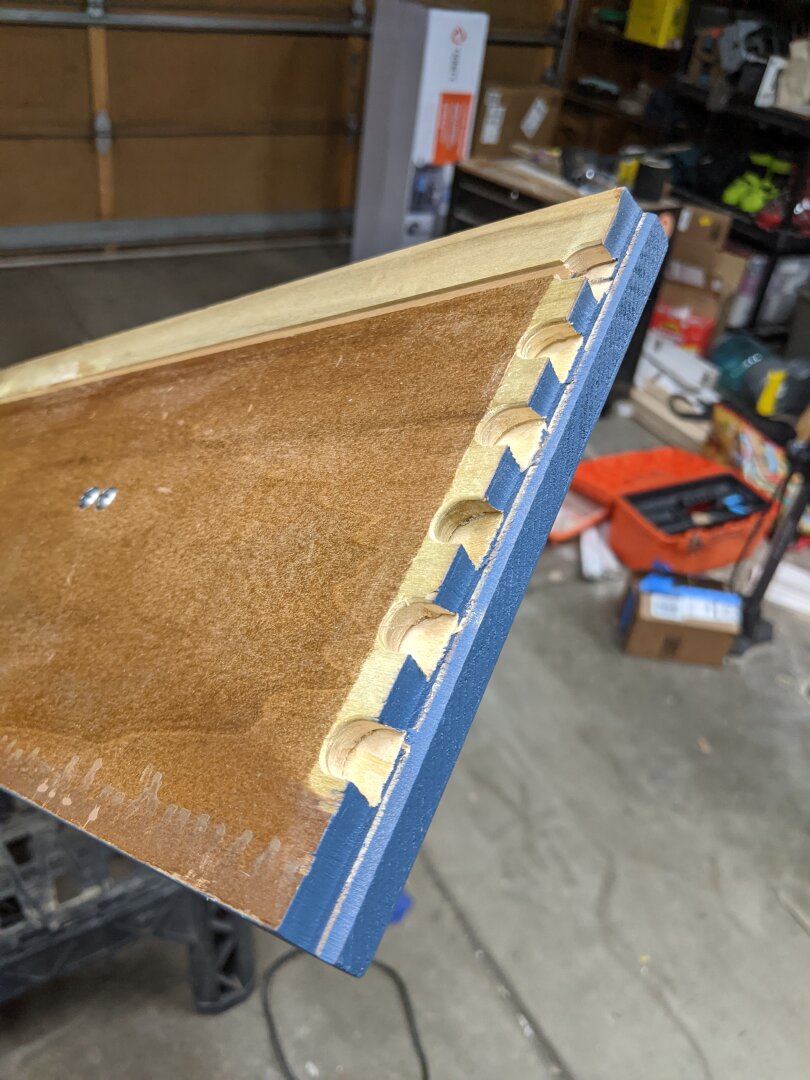
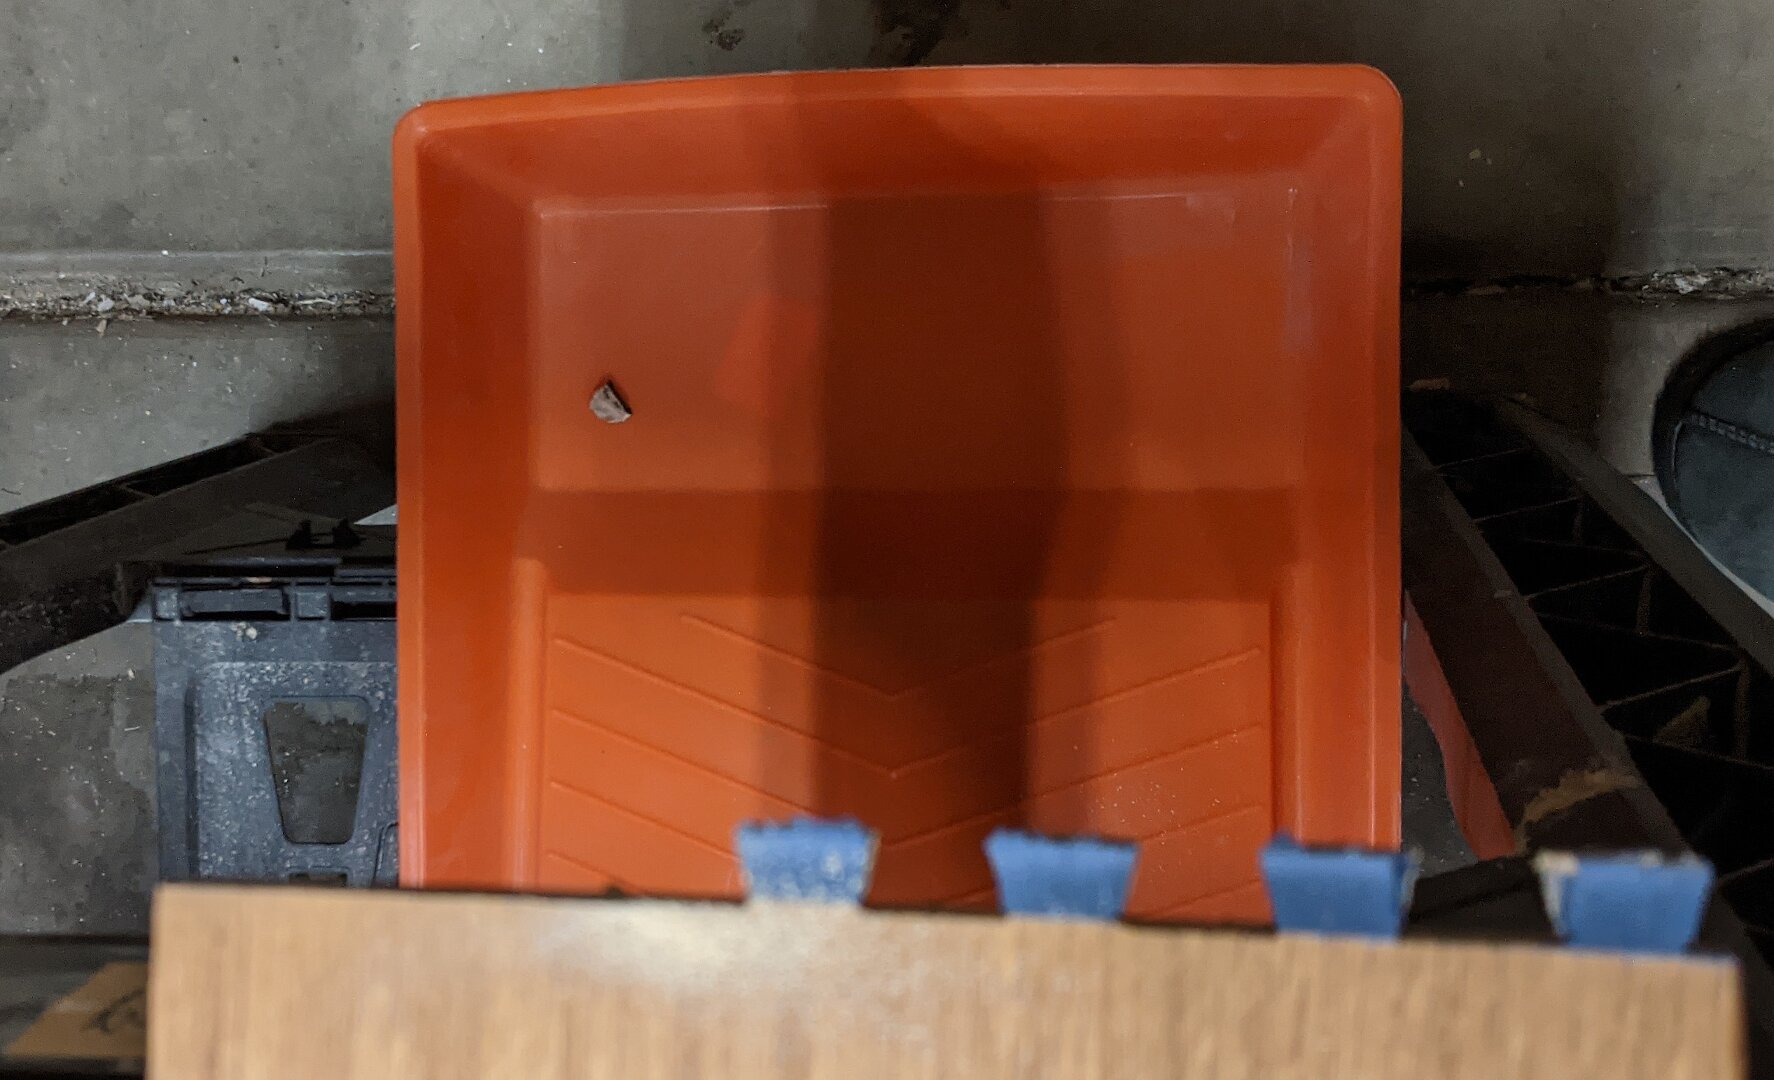
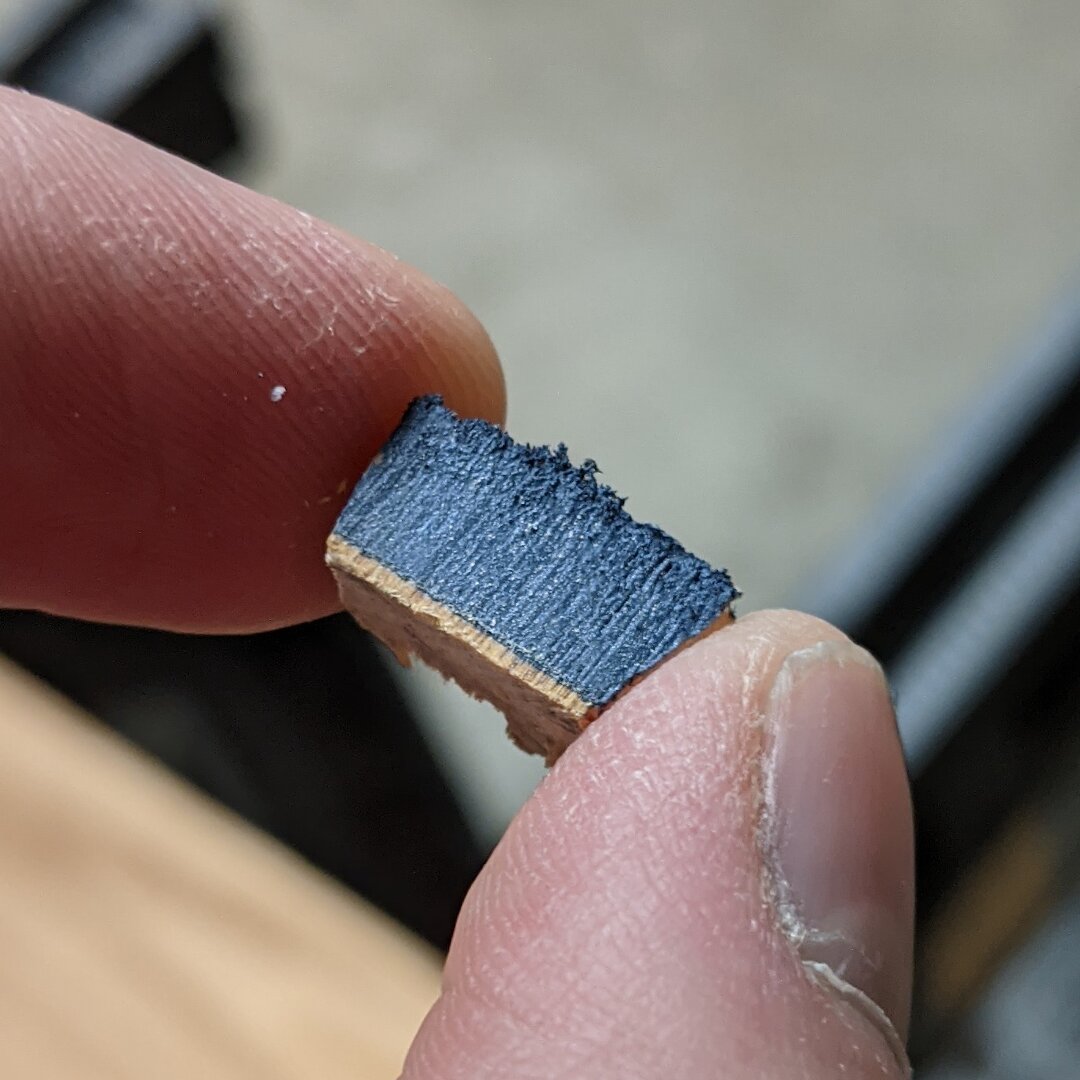
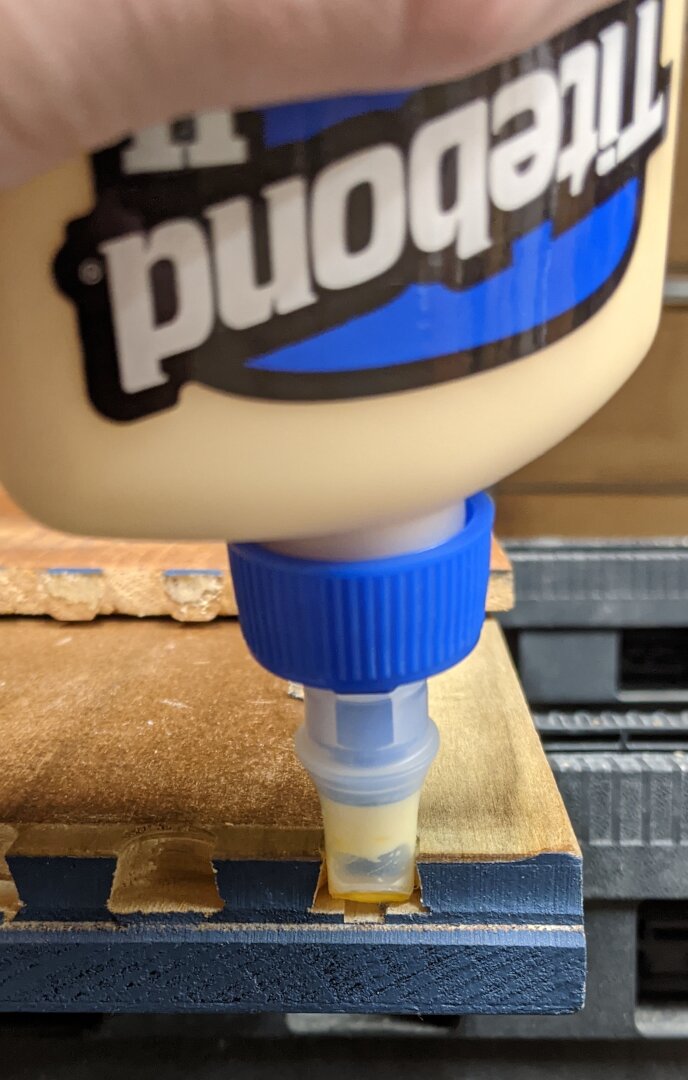
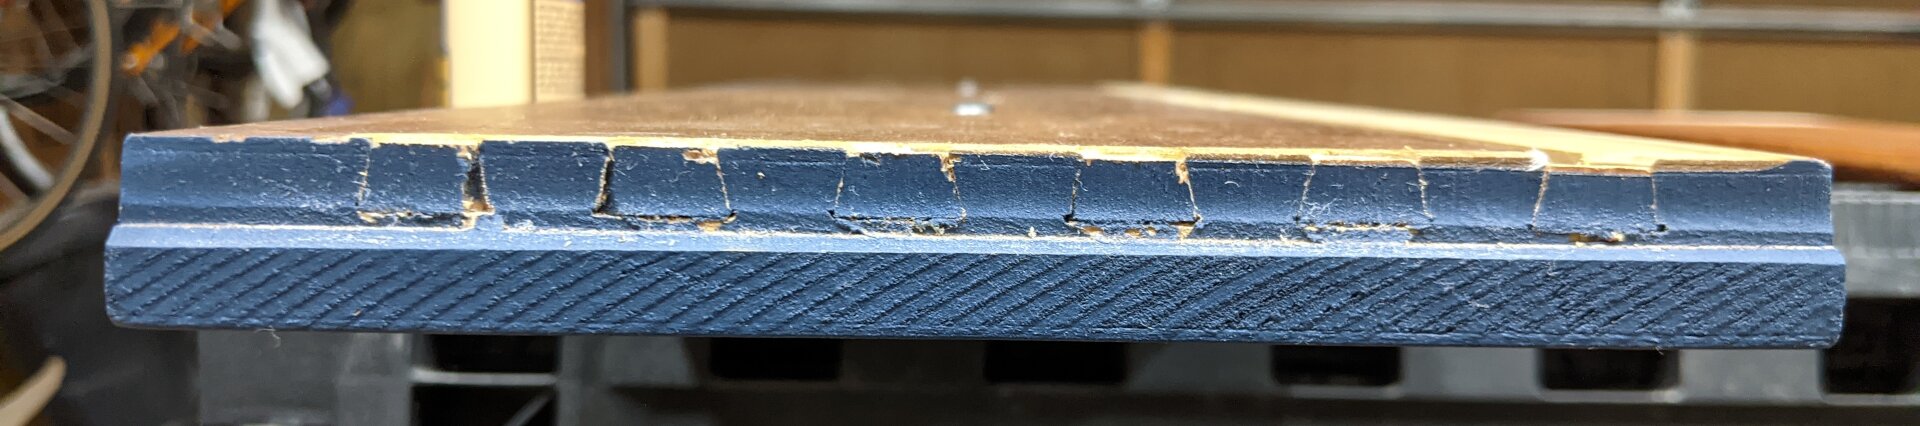
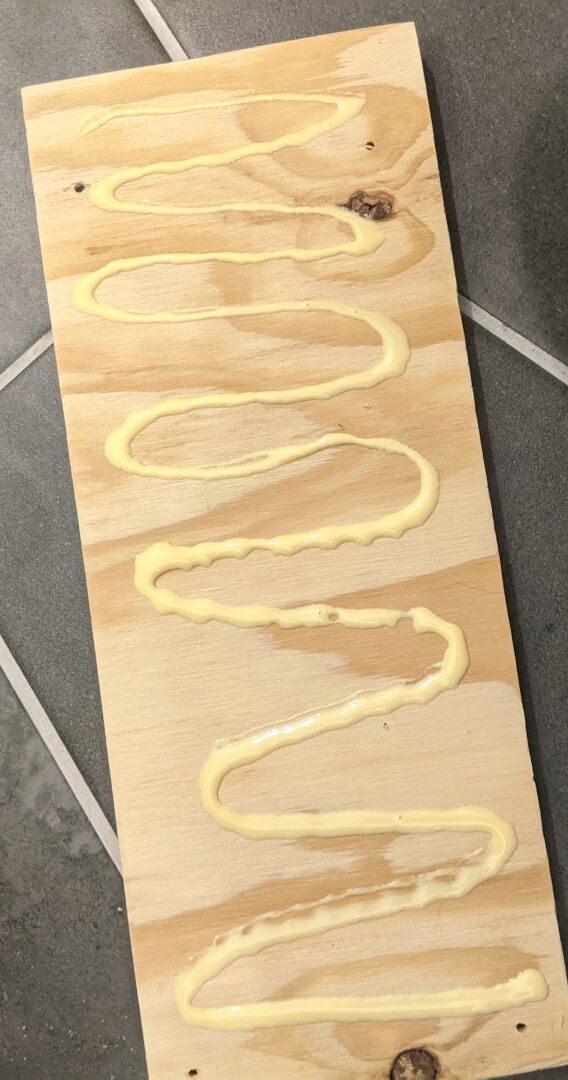
To fill in the empty spots on the sides of each drawer face, I just re-plugged them with the original wood bits. I used a hacksaw to cut the male dovetail pieces off (I think this can be called a dovetail, even if it is rounded off) to glue back in place. It is important to use a bucket to catch delicate little pieces like this so they don’t hit the ground and run away into the shop. To make the door, I measured the other side of the cabinet to match and mounted the drawer faces to a thick piece of plywood.
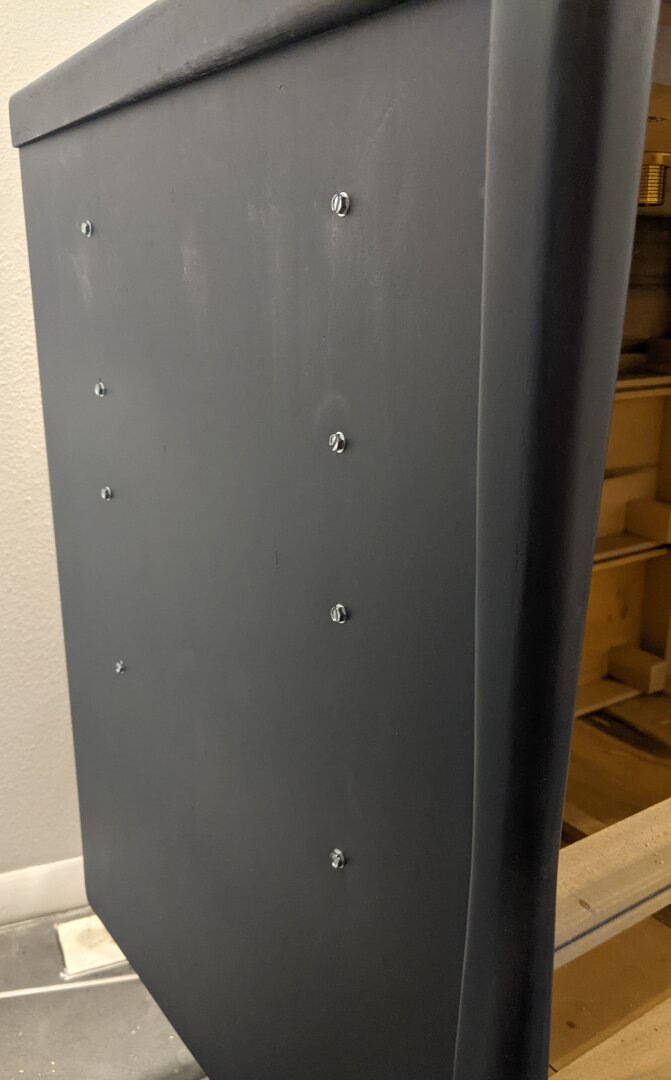
In order to make the door open and close, there were a couple of fit issues. First I had to reinforce the wall of the vanity where the hinges would attach just in case they might apply force to it. This turned out to be a good idea, since the screw points for the hinges just happened to land right at the edge of the cabinet frame. Fortunately, the left side of the vanity is against a wall, so I just glued and screwed it together.
The hinges were a bit more complicated. This type of cabinet door is called an inset door and is typically installed flush with the front surface of the cabinet with a fairly wide (about 1/16″) clearance to prevent interference. When you open one of these doors, it swings out and points straight away from the front of the cabinet with the door sticking off to the side of the cabinet opening.
The problem I ran into is that there was this neat little fin on the side of the cabinet opening, and two things can’t occupy the same space. I was very frustrated by this, and it took me a while to come up with the correct solution, which was to buy nice soft-close hinges intended for inset cabinets and then bore the cabinet door so that the functional thickness of the door is reduced. These hinges are essentially 4-bar mechanisms, and I couldn’t come up with any 4-bar linkages that I could manufacture myself that would work better than them. Boring the door thinner (or milling it, which I might do later to eliminate the last bit of inaccuracy) essentially moves the door away from the side of the cabinet when it is fully opened so that it doesn’t hit the wall on the left.
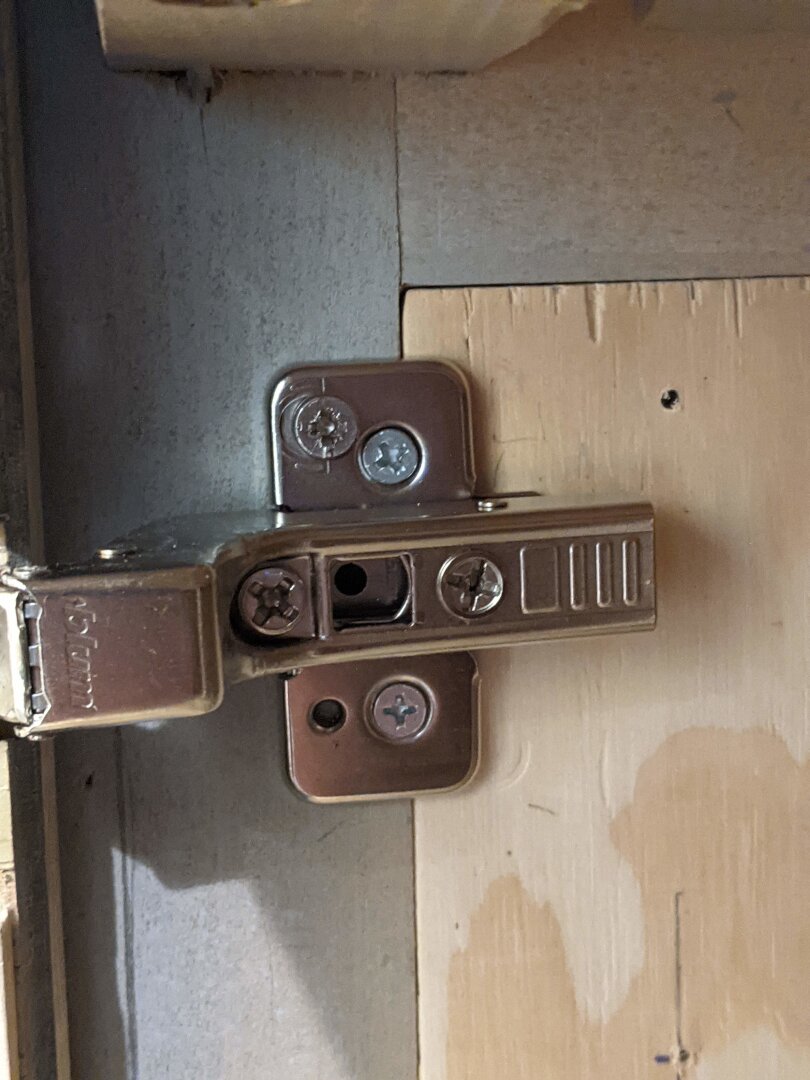
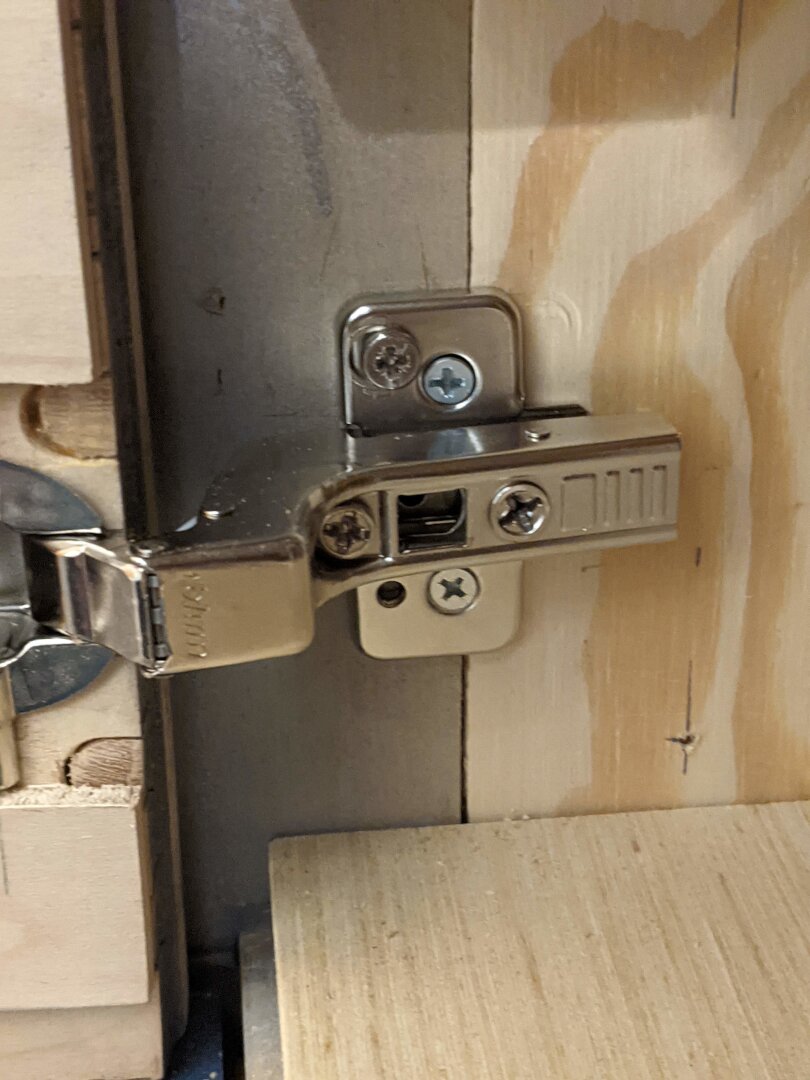
Once the door was done and installed, the soft-close hinges needed to be adjusted. Due to the weight of the door, the hinges are not adjusted evenly and I had to remove the door and sand down the hinge side to squeeze a little more clearance out of the door.

Now that it’s all done we have a good-looking vanity with a ton of storage. I think this project ran us about $450 total, between the dresser, sink hardware, and paint.