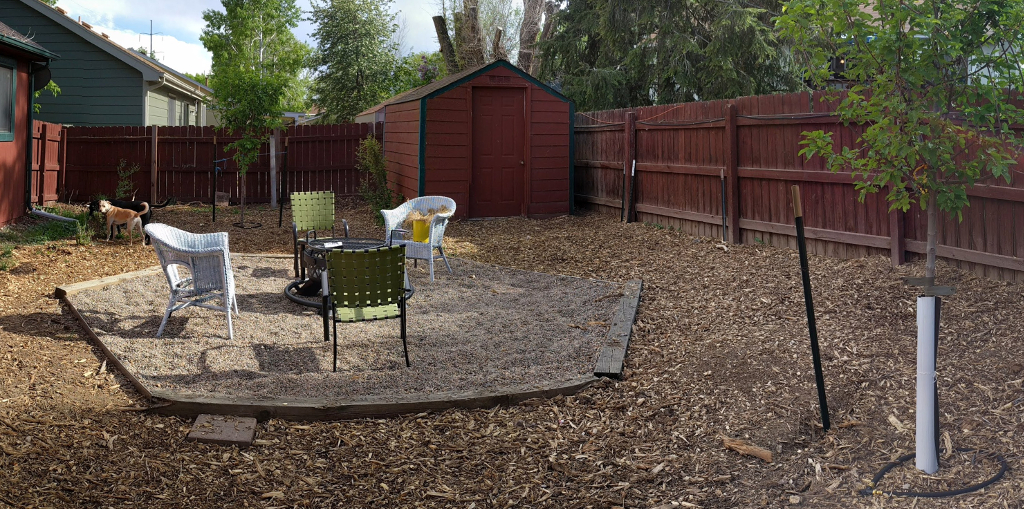
After our dogs dug up all the grass in our backyard and we had two gigantic trees removed, we decided to build a seating area for a fire pit. The yard is covered in wood chips for the dogs, so it needed to be big enough to prevent a stray spark from reaching the rest of the yard.
We had some beams the general shape of (although slightly longer than) railroad ties on hand from a previous flower bed that was there when we moved in, and we decided to make a hexagonal area with the beams for sides. We only had 4 beams, so the two sides that would be most like an entrance and exit would be made of metal edging.
We measured the beams as 8 feet long and dug up the ground for about an 8-foot radius about the point we generally wanted it. We put the beams out to visualize the final product and decided it looked good, and set about making the hexagon.
A regular hexagon, of course, can be described as made up of 6 congruent equilateral triangles and thus can be circumscribed by a circle with radius equal to the hexaside length.

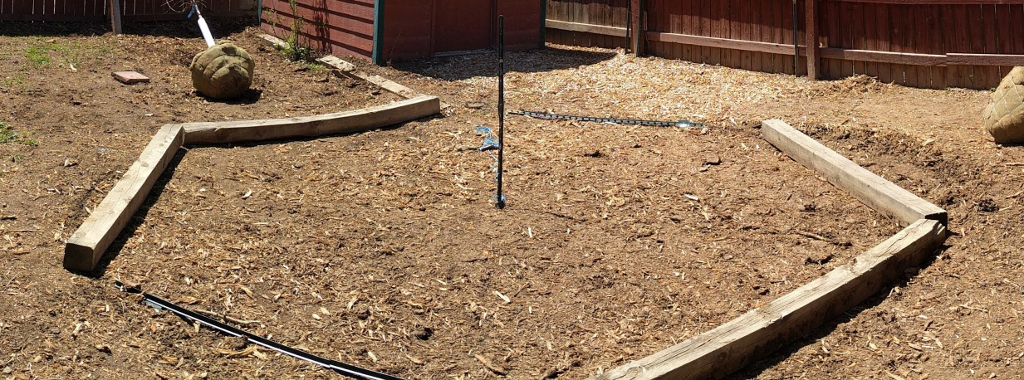
So I planted a stake in the ground, looped a string around it, and tied a gardening trowel to the string 8 feet from the stake. Then I walked around the area we had begun to level and marked the ground where the extents of the hexagon would be.
The ground wasn’t level, so we spent a very long time digging out the offending slope so that the pit would be even.
Once the ground was level, I carried the beams over and put them along the circle. The inside edges of the beams were lined up with the circle, and we adjusted the orientation so that an imaginary 8-foot beam was where the metal edging would go.
My lovely wife, Yani, and I worked together to dig out 1-to-2-inch trenches for each of the beams. This was a huge pain because of the tree roots that were still in the ground at that depth. Luckily, the ground was soft from the stump grinding that the tree removal company did, so I was able to use a regular pull saw to cut through the roots.
Once we had laid in the beams, I used an edging cutter to make the crevasse for the metal edging. Again, many roots had to be cut.
Finally, we bought a 4′ wide roll of polyspun landscaping fabric and laid it out in the pit. There is not a slope here anymore, so we laid it out in a way that will hopefully encourage water to run away from the center of the pit, which we tried to leave slightly higher than the edges.
We calculated the quantity of pea-gravel we would need and ordered it from the local landscaping supply company. When it arrived, it only took a couple of hours to carry all of it to the backyard with a wheelbarrow.
I would not recommend a 100% pea-gravel mixture for this application. The benefit to pea-gravel is that it is very small and easy to walk on. The downside is that it is very small, so individual pieces are very light. When the dogs run through the fire area, they spray bits of gravel across the yard. I plan to add 3/4-inch river rock until the mixture is about 1:2 river rock:pea-gravel. We have found that mixing larger rocks in provides some weight to the hardscaping while the smaller rocks fill in the cracks so that a shallower bed can still obscure the fabric underneath and provide a nice even surface.
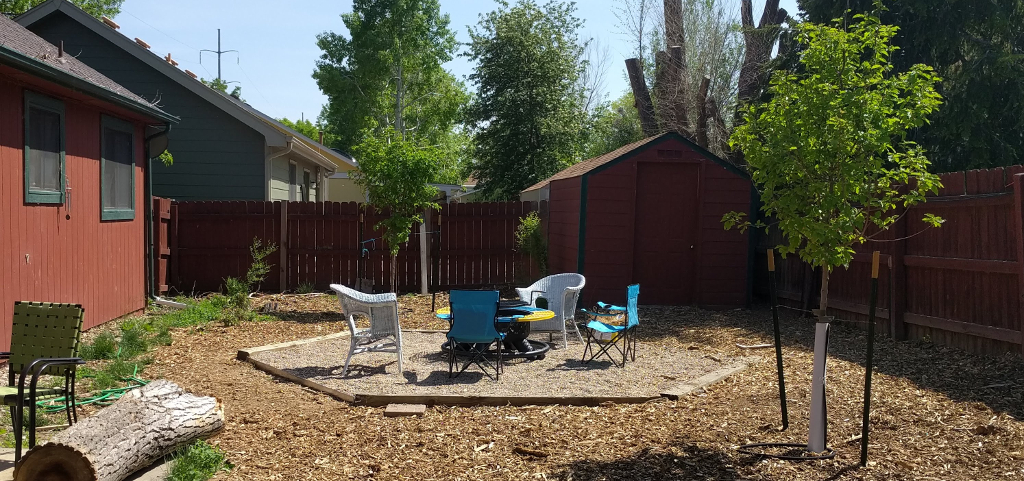
After the pit was done, we went to the local outdoor sports supply store and bought a nice big metal fire pit. We also stopped by the hardware store and bought some spray paint in pretty colors to decorate it. We chose to use enamel paint because it has a hard, glossy surface that doesn’t chip easily.
Now the fire pit is done. Next up we need some chairs and little stone walkways to get from the porch to the fire pit and from the fire pit to the shed.
And s’mores.